How to Repaint Cabinets for a Fresh New Look
Transform your tired kitchen or bathroom with our expert guide on how to repaint cabinets for a fresh new look. Learn professional techniques, avoid common mistakes, and achieve showroom-worthy results on a DIY budget.
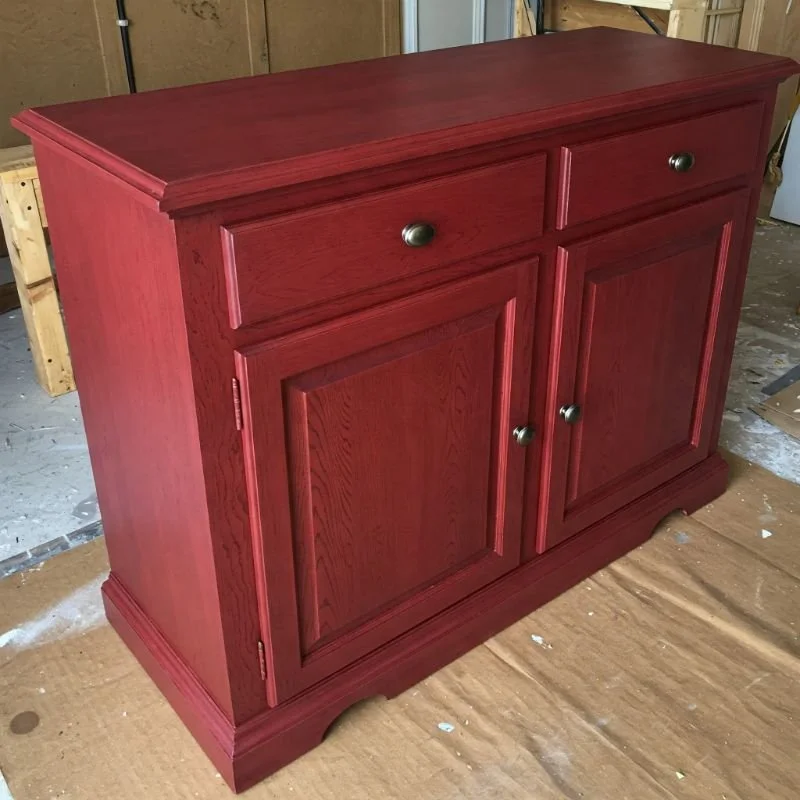
Boy oh boy, isn't it amazing how quickly a kitchen or bathroom can start feeling outdated? One day you're admiring your brand-new cabinets, and before you know it, they're looking as tired as you feel on a Monday morning. The good news? You don't need to sell a kidney to afford brand-new cabinetry. With a little elbow grease, some quality materials, and a weekend or two of your time, those sad-looking cabinets can be transformed into the showstoppers they once were—or perhaps never were!
I'll never forget tackling my own kitchen cabinets three years ago. There I was, surrounded by cabinet doors spread across my garage floor like some weird wooden jigsaw puzzle, wondering if I'd bitten off more than I could chew. Fast forward 48 hours, and I couldn't stop grinning every time I walked into my kitchen. The transformation was nothing short of magical, and my wallet remained surprisingly intact.
Learning how to repaint cabinets for a fresh new look isn't rocket science, but it does require attention to detail and a willingness to follow the proper steps. Skip the prep work or rush through the painting process, and you might end up with a sticky, peeling mess that looks worse than what you started with. But follow this guide, and you'll end up with cabinets that look like they were professionally refinished—without the professional price tag.
So grab your coffee, put on some old clothes, and let's dive into the cabinet transformation journey that'll have your friends thinking you won the lottery and splurged on custom cabinetry!
Understanding Your Cabinet Material: The Foundation of Success
Before you so much as crack open a paint can, you've got to know what you're working with. Different cabinet materials require different approaches, and what works beautifully on wood might be a disaster on laminate.
Wood Cabinets: The Classic Canvas
Solid wood cabinets are the dream for repainting projects. Their porous surface accepts primer and paint readily, and they're forgiving if you need to sand out mistakes. Oak, maple, cherry, or pine—all these woods can be successfully repainted, though their individual characteristics might require slight adjustments to your approach:
Oak cabinets have pronounced grain patterns that might show through your paint unless properly filled. If you're aiming for a smooth, contemporary look, you'll need grain filler before priming.
Maple and cherry cabinets tend to have smoother surfaces but may have been finished with glossy polyurethane that requires thorough sanding to create a surface the new paint can grip.
Pine cabinets are softer and more prone to dents and dings, which you might want to fill before repainting, unless you're going for a charming, distressed look.
Engineered Materials: Proceed with Caution
MDF (Medium-Density Fiberboard), particleboard with laminate or thermofoil coatings, or melamine cabinets require special handling:
MDF cabinets accept paint relatively well but may swell if they get too wet during the cleaning or painting process. They also tend to absorb more primer, so be prepared for potentially needing an extra coat.
Laminate or thermofoil surfaces are trickier because they're non-porous and designed to resist moisture—including paint. You'll need to use special bonding primers and be meticulous about preparation.
Melamine cabinets (that white, plastic-like finish) need specific primers designed for glossy surfaces and very light sanding to avoid damaging the thin surface layer.
Essential Supplies for How to Repaint Cabinets for a Fresh New Look
Don't get caught halfway through your project missing a crucial tool. Here's your comprehensive shopping list:
Preparation Materials
Screwdriver set for removing cabinet doors, drawers, and hardware
Label maker, painter's tape, or plastic bags and markers for labeling hardware and doors
TSP (Trisodium Phosphate) cleaner or another heavy-duty degreaser
Sponges and rags for cleaning and drying
Rubber gloves, safety glasses, and a dust mask for protection
Plastic drop cloths for floor protection
Painter's tape for protecting walls, countertops, and appliances
Wood filler for repairing dents or holes (if needed)
Caulk for filling in gaps or cracks (if needed)
Sandpaper in various grits (120, 180, and 220)
Sanding block or electric sander for larger cabinets
Tack cloths for removing dust after sanding
Painting Supplies
High-quality angled paintbrush (2-inch for larger surfaces, 1-inch for detail work)
Small foam roller and tray for smooth surfaces
High-adhesion primer appropriate for your cabinet material
Cabinet paint (more on choosing the right one later)
Paint conditioner like Floetrol for minimizing brush marks
Fine-grit sandpaper (320-400) for between-coat sanding
Polycrylic or waterborne polyurethane for protective topcoat (optional but recommended)
New hardware if you're updating handles and knobs
Preparation: The Make-or-Break Phase
I can't stress this enough—preparation isn't just important; it's absolutely critical. Rush through this stage, and I guarantee you'll be staring at peeling, chipping paint within months.
1. Empty and Clean Your Cabinets
Start by emptying all cabinets and drawers. Then, give yourself some clear workspace:
Remove all items from your cabinets and drawers
Clear countertops to create working space
Set up a work area for doors and drawers (garage or basement is ideal)
Lay down drop cloths to protect floors
2. Remove Hardware and Label Everything
Next, take everything apart—carefully:
Unscrew and remove all cabinet doors and drawers
Remove all hardware (hinges, knobs, pulls)
Label each door, drawer, and corresponding hinge set with numbered tape or bags
Store hardware in labeled bags or containers
Pro tip: Take photos of your cabinet configuration before disassembly. This will be a lifesaver when it's time to put everything back together!
3. Clean Like You've Never Cleaned Before
Kitchens are grease magnets, and bathroom cabinets collect all sorts of products and moisture. All this gunk needs to go before painting:
Mix TSP according to package directions (or use your preferred heavy-duty degreaser)
Thoroughly scrub all surfaces with the cleaning solution
Pay extra attention to areas around handles and any sticky spots
Rinse with clean water (be careful not to saturate MDF or particleboard)
Allow to dry completely
4. Repair and Fill Damage
Now's the time to address any imperfections:
Fill holes, dents, or deep scratches with wood filler
Repair any loose joints with wood glue
Fill gaps between cabinet frames and walls with caulk if needed
Allow all repairs to dry completely according to product instructions
Sand repairs flush with surrounding surfaces
5. Sand Strategically
Sanding creates the "tooth" that helps primer and paint adhere properly:
Sand all surfaces with 120-grit sandpaper to remove the existing finish
Progress to 180-grit for a smoother surface
Use 220-grit for final smoothing
Sand in the direction of the wood grain when possible
Thoroughly remove all dust with tack cloths and/or vacuum
For laminate or other non-wood surfaces, use a very light hand with fine-grit sandpaper—just enough to scuff the surface without damaging it.

Priming: Building the Foundation for Perfect Paint
Skipping primer is like skipping sunscreen at the beach—you might think you're saving time, but you'll regret it later.
Choosing the Right Primer
The proper primer creates a bond between your cabinet surface and the new paint:
For wood cabinets: Use a high-quality oil-based primer or shellac-based primer like Zinsser B-I-N for the best adhesion and stain-blocking.
For laminate or melamine: Use a specialized bonding primer designed for glossy, non-porous surfaces.
For previously painted cabinets: If the current paint is in good condition, a high-adhesion water-based primer can work well.
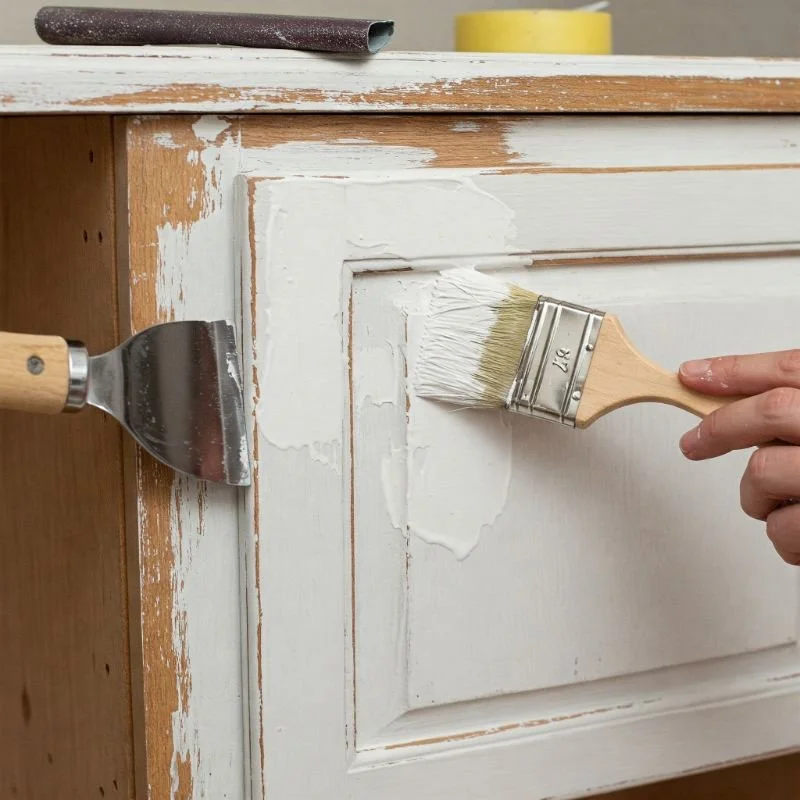
Applying Primer Like a Pro
Stir primer thoroughly (never shake, as this creates bubbles)
Start with the back of doors and drawer fronts, allowing them to dry completely before flipping
Use a brush for inset areas, details, and edges
Use a foam roller for flat surfaces to minimize brush marks
Apply thin, even coats—primer that's too thick can drip or take too long to dry
Allow primer to dry according to manufacturer's directions (usually overnight)
Lightly sand with 320-grit sandpaper to smooth any drips or brush marks
Remove dust with a tack cloth before painting
Painting: Where Your Vision Comes to Life
After all that prep, you're finally ready for the fun part—actually adding color to transform your cabinets!
Selecting the Perfect Paint
Not all paints are created equal, especially for high-use surfaces like cabinets:
Cabinet-specific paints: These are formulated specifically for cabinets and offer the best durability. Brands like Benjamin Moore Advance, Sherwin-Williams ProClassic, or Cabinet Coat are excellent choices.
Acrylic enamel paints: These offer good durability and a smooth finish that resists yellowing.
Alkyd paints: These hybrid paints combine the best of oil and water-based formulations, with excellent leveling properties and durability.
Regardless of type, choose a semi-gloss or satin finish—these are easier to clean than matte finishes and stand up better to moisture and handling.
Applying Paint for Professional Results
Stir paint thoroughly (again, don't shake)
Add paint conditioner like Floetrol according to package directions if you want to minimize brush marks
Start with the backs of doors, using the same brush-and-roller technique as with primer
Apply thin coats—two or three thin coats will give much better results than one thick coat
Let dry completely between coats according to manufacturer's instructions
Lightly sand with 320 or 400-grit sandpaper between coats
Remove dust with tack cloth before applying the next coat
Paint cabinet frames while doors and drawers are drying
Adding a Protective Topcoat (Optional but Recommended)
For maximum durability, especially in kitchens or bathrooms with high humidity:
Allow final paint coat to dry for at least 24 hours (longer is better)
Apply a thin coat of water-based polyurethane or polycrylic sealer
Use a high-quality synthetic brush or foam applicator
Apply in thin, even coats to avoid drips
Let dry completely between coats (usually 2-3 hours)
Apply 2-3 coats for maximum protection
Reassembly: The Moment of Truth
After everything has thoroughly dried (patience is key here), it's time to put your kitchen or bathroom back together.
Careful and Methodical Reassembly
Allow all painted surfaces to cure for at least 3-7 days before handling, if possible
Reattach hinges to cabinet doors according to your labeling system
Install doors on cabinet frames
Adjust hinges as needed for proper alignment
Install drawer fronts and any remaining pieces
Add hardware—this is the perfect time to update with new knobs or pulls if desired
Style Tips for Your Newly Painted Cabinets
Now that you know how to repaint cabinets for a fresh new look, let's talk about some design options that can take your project to the next level:
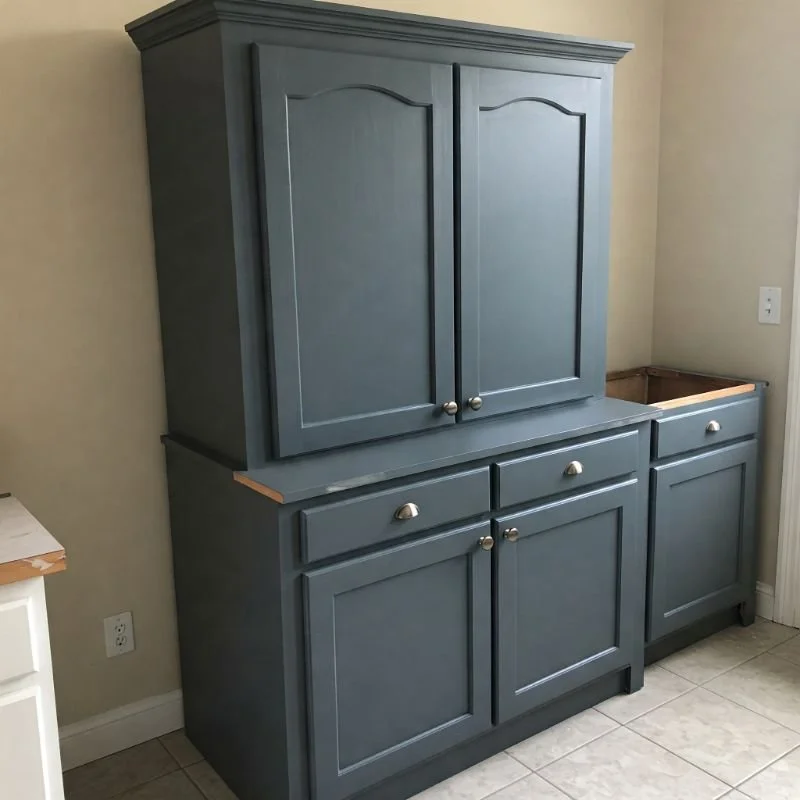
Two-Tone Cabinet Trends
Try darker colors on lower cabinets with lighter shades on uppers to make ceilings appear higher
Paint your island a complementary accent color for a designer touch
Consider a different color inside glass-front cabinets for an unexpected pop
Hardware Selection Strategies
Sleek, modern handles can instantly update traditional cabinets
Vintage glass or ceramic knobs can add character to simple shaker styles
Matte black hardware creates dramatic contrast against light-colored cabinets
Brushed brass or gold tones add warmth and luxury
Maintenance: Protecting Your Investment
Your hard work deserves to last as long as possible. Here's how to keep those newly painted cabinets looking fresh:
Wait at least two weeks before cleaning newly painted surfaces
Clean with mild soap and water, avoiding harsh chemicals
Wipe up spills immediately to prevent staining or damage
Use soft cloths for cleaning to avoid scratching
Consider adding felt pads to doors and drawers to prevent chips from slamming
Conclusion
Mastering how to repaint cabinets for a fresh new look is truly one of the most rewarding home improvement projects you can tackle. The transformation-to-effort ratio simply can't be beaten! With careful preparation, quality materials, and patience through each step, you can create custom-looking cabinetry for a fraction of replacement costs. Remember that proper prep work is the secret sauce to professional results, and taking your time between coats will ensure a finish that not only looks amazing but stands up to years of daily use. Happy painting—and enjoy those double-takes from friends who can't believe you did it yourself!
Frequently Asked Questions
Q1: How long does the entire cabinet repainting process take?
A: For an average kitchen, plan on 1-2 weekends if you're working solo. The actual hands-on time might be 20-30 hours, but drying time between steps adds several days to the total project duration.
Q2: Can I paint laminate cabinets successfully?
A: Absolutely, but the prep work is crucial. Use a special bonding primer designed for glossy surfaces, sand very lightly just to create a slight texture, and be meticulous about cleaning before priming.
Q3: Do I really need to remove the cabinet doors?
A: It's strongly recommended. Painting doors while hung almost always results in drips, uneven coverage, and paint in the hinges. The extra time spent removing and labeling doors pays off in a much more professional-looking finish.
Q4: What's the most durable color for kitchen cabinets?
A: The color itself doesn't affect durability, but darker colors tend to show chips and wear more obviously than lighter colors. The paint quality and proper preparation matter far more than the color choice.
Q5: How soon can I put items back in my cabinets?
A: You can reassemble and use the cabinets after the paint has dried to the touch (usually 24-48 hours), but avoid placing heavy items or items you'll need to slide in and out for at least a week. Full curing typically takes 30 days.
Stay up to date with our latest ideas!