How to Clean Popcorn Ceiling Without Damaging It
Master how to clean popcorn ceiling without damaging it using gentle techniques, proper tools, and expert tips for spotless results.
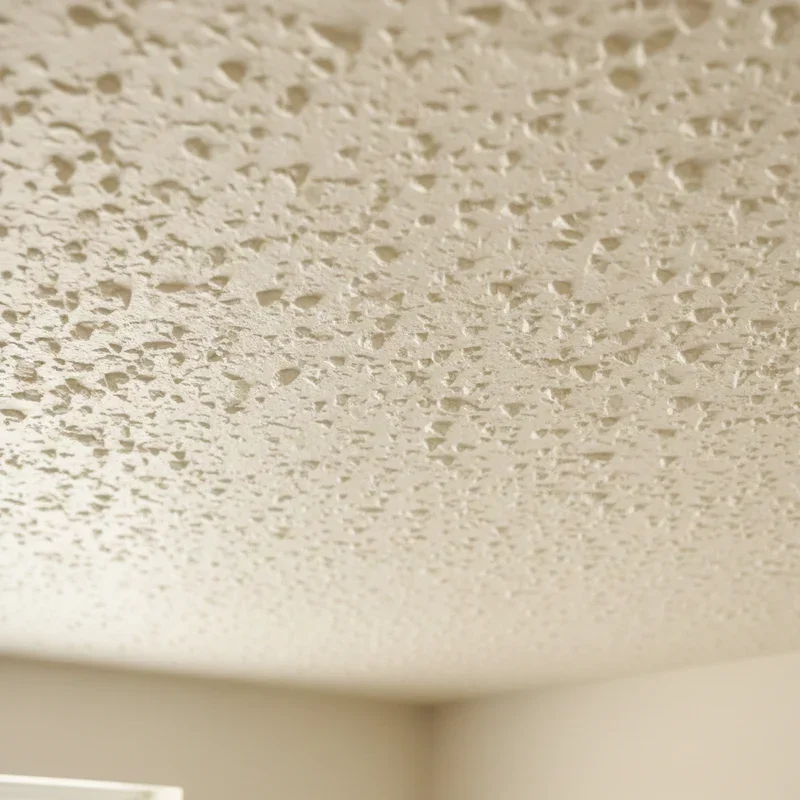
Ah, the popcorn ceiling. That bumpy, textured surface that was all the rage back in the day and now seems to collect every speck of dust, cobweb, and mystery stain in your entire home. If you've ever looked up at your ceiling and wondered how on earth you're supposed to clean that thing without chunks of texture raining down like confetti, you're definitely not alone.
Popcorn ceilings, also known as acoustic ceilings or cottage cheese ceilings (appetizing, right?), present a unique cleaning challenge that regular flat ceilings simply don't. That distinctive bumpy texture that hides imperfections so beautifully also happens to be a magnet for dust, dirt, smoke residue, and spider webs. And here's the kicker: the same delicate texture that makes these ceilings effective at absorbing sound also makes them incredibly easy to damage if you don't know what you're doing.
Many homeowners avoid cleaning their popcorn ceilings altogether, fearing they'll end up with bald patches or texture crumbling onto their furniture. Others attack the job too aggressively and, well, end up with exactly those problems. But here's the good news: learning how to clean popcorn ceiling without damaging it is absolutely possible, and it doesn't require special skills or expensive equipment.
Throughout this comprehensive guide, we'll walk through everything you need to know about safely cleaning your textured ceilings. From gentle dusting techniques to tackling stubborn stains, we've got you covered. Whether your popcorn ceiling just needs a light refresh or has years of accumulated grime, the methods we'll discuss will help you restore it to its former glory without causing any harm. So grab a cup of coffee, and let's figure out how to make those ceilings sparkle again.
Understanding Your Popcorn Ceiling Before You Clean
Before you grab a ladder and start scrubbing away, it's important to understand exactly what you're dealing with. Not all popcorn ceilings are created equal, and knowing yours helps you choose the safest cleaning approach.
What Makes Popcorn Ceilings Different?
Popcorn ceilings get their distinctive texture from a spray-on application that contains small particles, traditionally made from vermiculite, polystyrene, or styrofoam. This texture creates tiny peaks and valleys across the entire surface, which is fantastic for acoustic dampening but terrible for cleaning.
The texture isn't just sitting on top of the ceiling; it's bonded to the drywall or plaster beneath. However, that bond can weaken over time, especially in humid environments or if the ceiling has experienced water damage. This is why aggressive cleaning methods can literally pull the texture right off the surface.
Painted vs. Unpainted Popcorn Ceilings
Here's something crucial to determine before you start cleaning: is your popcorn ceiling painted or unpainted?
Unpainted popcorn ceilings are more porous and absorbent. They're also more delicate and prone to water damage. If your ceiling has never been painted, you'll need to be extremely careful with any wet cleaning methods.
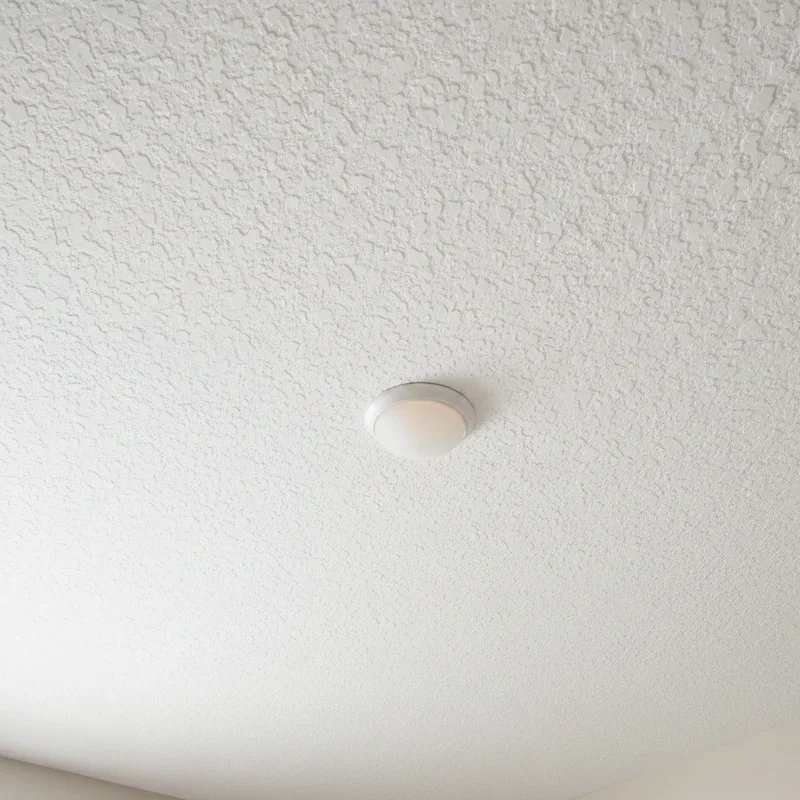
Painted popcorn ceilings have a protective layer that makes them more durable and easier to clean. The paint seals the texture somewhat, making it more resistant to moisture and less likely to absorb stains. You can be a bit more aggressive with painted ceilings, though you still need to exercise caution.
To test whether your ceiling is painted, lightly mist a small, inconspicuous area with water. If the water beads up, you've got paint. If it absorbs immediately, the ceiling is unpainted.
The Asbestos Question
We need to address the elephant in the room. Popcorn ceilings installed before 1980 may contain asbestos fibers, which were commonly used in construction materials during that era. Asbestos becomes dangerous when disturbed and becomes airborne, so this is a serious consideration.
If your home was built before 1980 and you're unsure whether your popcorn ceiling contains asbestos, consider having it tested before doing any cleaning that might disturb the material. Many hardware stores sell asbestos testing kits, or you can hire a professional testing service. This isn't meant to scare you, but it's definitely worth knowing before you start any ceiling work.
Essential Tools and Supplies for Safe Cleaning
Having the right equipment makes all the difference when learning how to clean popcorn ceiling without damaging it. The wrong tools can spell disaster, while the right ones make the job efficient and safe.
Must-Have Cleaning Tools
Soft-bristle brush or feather duster: The gentlest option for regular dust removal. Look for natural bristle brushes or genuine feather dusters that won't snag on texture.
Lint roller or tape roller: Perfect for grabbing cobwebs and light dust without any rubbing or pressure.
Vacuum with brush attachment: Essential for more thorough dust removal. Make sure the brush bristles are soft and the suction isn't too powerful.
Clean, dry microfiber cloths: These grab dust without leaving fibers behind and work wonderfully on textured surfaces.
Spray bottle: For misting cleaning solutions when tackling stains. Avoid trigger sprayers that create heavy streams.
Paint edger pad or lambswool ceiling duster: These long-handled tools let you work from the floor rather than constantly climbing up and down a ladder.
Cleaning Solutions That Won't Harm Texture
When wet cleaning becomes necessary, stick to gentle solutions:
Plain warm water (sometimes that's all you need)
Mild dish soap diluted in warm water (a few drops per quart)
White vinegar solution (one part vinegar to four parts water)
Commercial ceiling cleaner specifically designed for textured surfaces
Oxygen-based cleaner for tougher stains (mixed according to package directions)
What to Avoid at All Costs
Stay far away from these cleaning methods and products:
Abrasive scrub brushes or scouring pads
Pressure washing or steam cleaning
Harsh chemical cleaners like bleach (unless heavily diluted for mold)
Excessive water that saturates the texture
Rubbing or scrubbing motions that apply pressure
How to Clean Popcorn Ceiling Without Damaging It: Step-by-Step Methods
Now we're getting to the good stuff. These methods progress from gentlest to more intensive, and you should always start with the least aggressive approach.
Method 1: Dry Dusting for Regular Maintenance
This is your bread and butter cleaning method, the one you should use regularly to prevent buildup that requires more intensive cleaning later.
Step 1: Prepare the room by covering furniture and flooring with drop cloths or plastic sheeting. Dust will fall, guaranteed.
Step 2: Using a long-handled lambswool duster or soft-bristle brush, work in small sections across the ceiling. Use light, sweeping motions rather than pressing into the texture.
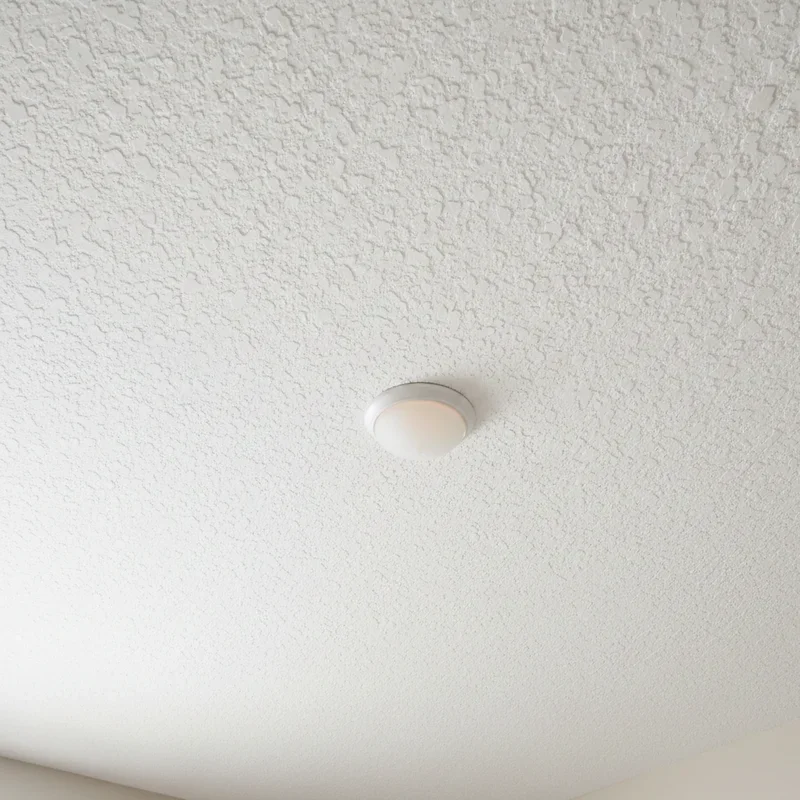
Step 3: For cobwebs in corners and around light fixtures, a lint roller works wonders. Simply roll it gently across the area without applying pressure.
Step 4: Follow up with a vacuum fitted with a soft brush attachment, holding it about an inch from the ceiling surface. Let the suction do the work rather than pressing the brush into the texture.
Step 5: Work systematically from one end of the room to the other so you don't miss any spots.
This dry dusting method should be performed every few months to prevent dust accumulation. Regular maintenance means you'll rarely need to resort to wet cleaning methods.
Method 2: Vacuum Cleaning for Moderate Dust Buildup
When regular dusting isn't cutting it anymore, the vacuum method provides deeper cleaning without introducing moisture.
Step 1: Use a shop vacuum or regular vacuum with adjustable suction. High suction can pull texture right off the ceiling, so start with the lowest setting and increase only if necessary.
Step 2: Attach the soft brush attachment. If your vacuum only came with a hard plastic nozzle, wrap it with a microfiber cloth secured with a rubber band to create a softer contact surface.
Step 3: Hold the attachment close to but not touching the ceiling surface. Move slowly and methodically across each section.
Step 4: For stubborn areas, you can barely touch the surface with the brush, but avoid pressing or rubbing.
Step 5: Empty your vacuum canister or change the bag before it gets too full. Reduced suction from a full container might tempt you to press harder, which defeats the purpose.
Method 3: Spot Cleaning Stains and Marks
Stains happen. Whether it's water marks, smoke residue, or mystery spots that appeared from who knows where, spot cleaning addresses specific problem areas without treating the entire ceiling.
Step 1: Identify the type of stain you're dealing with. Water stains, smoke residue, food splatters, and mold each respond to different treatments.
Step 2: Mix your cleaning solution. For general stains, start with plain warm water. For grease or smoke, add a few drops of dish soap. For musty odors or mild mold, use the vinegar solution.
Step 3: Lightly mist the stained area with your spray bottle. The key word here is "mist." You want the surface barely damp, not wet.
Step 4: Blot (never rub) with a clean, dry microfiber cloth. Use a gentle pressing motion to lift the stain without disturbing the texture.
Step 5: If the stain persists, let the area dry completely before attempting another treatment. Multiple light treatments beat one aggressive attack every time.
Step 6: Once the stain lifts, blot with a clean cloth dampened with plain water to remove any cleaning solution residue.
Method 4: Comprehensive Wet Cleaning for Neglected Ceilings
This method is reserved for ceilings that haven't been cleaned in years and have significant buildup. It's also best suited for painted popcorn ceilings that can handle a bit more moisture.
Step 1: Thoroughly dust the ceiling first using Methods 1 or 2. Wet cleaning works better when loose dust isn't turning into mud on contact.
Step 2: Mix your cleaning solution in a bucket. For general cleaning, warm water with a few drops of dish soap works well.
Step 3: Dip a natural sponge or microfiber cloth into the solution and wring it out thoroughly. It should be barely damp, not dripping.
Step 4: Working in small sections, gently press the sponge against the ceiling and lift straight off. Don't drag, scrub, or rub in any direction.
Step 5: Immediately follow with a dry microfiber cloth, blotting each section you've cleaned.
Step 6: Allow each section to dry before moving to adjacent areas. This prevents oversaturation from overlapping wet sections.
Step 7: Use fans or open windows to speed drying time. The less time your ceiling stays damp, the better.
Tackling Specific Problems on Popcorn Ceilings
Different issues require different approaches. Here's how to handle the most common popcorn ceiling problems.
Dealing with Smoke and Nicotine Stains
Years of cigarette smoke can turn white ceilings a dingy yellow-brown color. This is one of the trickier stains to address because the residue penetrates deep into porous texture.
For painted ceilings, a solution of warm water, dish soap, and a splash of white vinegar often works. You may need multiple applications over several days. For unpainted ceilings, dry cleaning methods like specialized smoke sponges (available at hardware stores) work better than wet methods.
In severe cases, cleaning may not be enough, and you might need to prime and paint the ceiling with a stain-blocking primer followed by ceiling paint.
Removing Water Stains
Water stains typically leave brown or yellowish rings on ceilings. While you can clean the surface, the discoloration often penetrates the material and may require painting to fully conceal.
First, address whatever caused the water damage. There's no point in cleaning if water is still getting through. Once the source is fixed and the area is completely dry, lightly clean the stained area with a mild solution. If discoloration remains after drying, spot-prime with a stain-blocking primer before touching up with ceiling paint.
Handling Mold and Mildew
Mold on ceilings typically appears as dark spots or fuzzy growth, often in bathrooms, kitchens, or areas with poor ventilation. This is a situation where you need to be a bit more aggressive with your cleaning solution.
Mix one part bleach to ten parts water (stronger concentrations can damage texture and paint). Wearing gloves and eye protection, lightly spray the affected area and let it sit for 10 to 15 minutes. Blot dry with clean cloths. Repeat if necessary.
After cleaning, address the moisture source that caused the mold. Improved ventilation, exhaust fans, or dehumidifiers prevent recurrence.
Conquering Cobwebs in Textured Surfaces
Cobwebs love popcorn ceilings because all those nooks and crannies provide perfect anchor points. A lint roller is genuinely your best friend here.
Extend your arm (or use a long-handled lint roller if available) and roll gently across areas where cobwebs gather. The adhesive grabs the webs without pulling at the texture. Replace sheets frequently, as a full roller becomes ineffective quickly.
Tips for Maintaining Clean Popcorn Ceilings Long-Term
Keeping your textured ceilings clean is much easier than deep cleaning neglected ones. These maintenance strategies help preserve your hard work.
Regular Dusting Schedule
Set a reminder to dust your popcorn ceilings every two to three months. Quick maintenance passes prevent the buildup that makes cleaning difficult. A five-minute dusting session is infinitely easier than a weekend deep-cleaning project.
Address Stains Immediately
When you notice a new stain or mark, tackle it right away. Fresh stains clean up much more easily than set-in ones. Keep a small spray bottle of your cleaning solution handy for quick spot treatments.
Control Indoor Air Quality
Dust, smoke, cooking oils, and airborne particles all end up on your ceiling eventually. Good ventilation, air purifiers, and regular HVAC filter changes reduce the amount of grime that settles on textured surfaces.
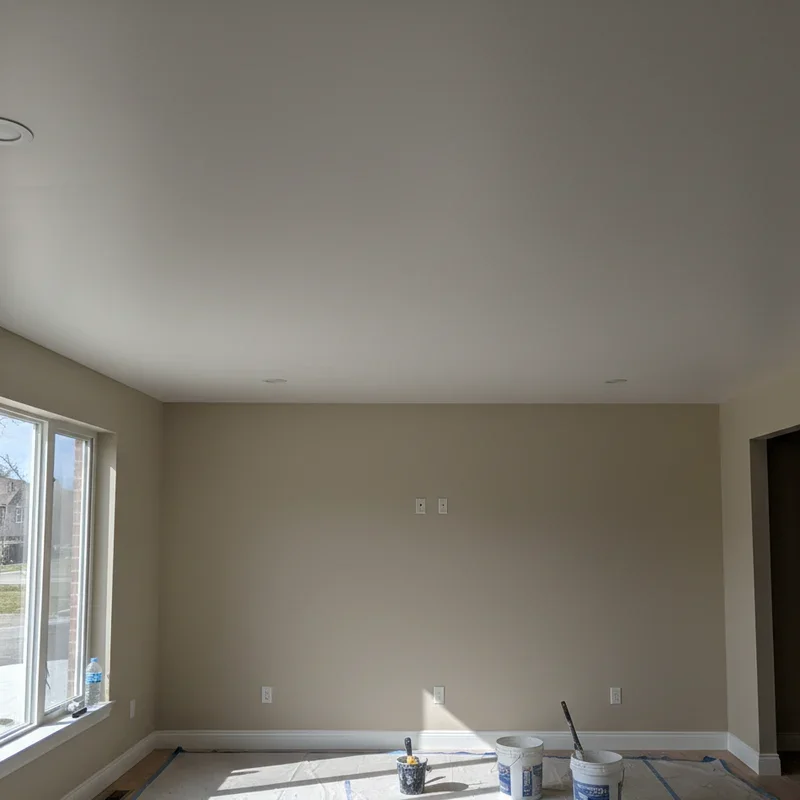
Consider Painting for Protection
If your popcorn ceiling is unpainted and you're tired of how difficult it is to clean, consider applying a coat of ceiling paint. Use a thick-nap roller and apply paint in a single direction without back-rolling to avoid pulling texture. Painted ceilings clean much more easily and resist staining better.
Humidity Management
High humidity can damage popcorn ceilings over time, causing texture to sag or fall off. Use exhaust fans in bathrooms and kitchens, run dehumidifiers in damp spaces, and ensure proper ventilation throughout your home.
When Cleaning Isn't Enough: Knowing Your Limits
Sometimes, despite your best efforts, cleaning just won't achieve the results you're after. Recognizing when to consider alternatives saves frustration and effort.
If your popcorn ceiling has extensive water damage, severe mold infestation, or large areas of falling texture, cleaning won't solve the underlying problems. In these cases, you might need to consider repairs, skim coating over the texture, or complete removal.
Similarly, if you've tried multiple cleaning attempts and stains simply won't budge, painting might be your best option. A fresh coat of ceiling paint after cleaning can transform a dingy ceiling into one that looks brand new.
Conclusion
Learning how to clean popcorn ceiling without damaging it really comes down to patience and gentle techniques. Those textured surfaces may be dust magnets, but with the right approach, you can keep them looking fresh without sending chunks of texture raining down onto your furniture. Start with dry methods, progress to wet techniques only when necessary, and always use a light touch. Regular maintenance prevents the heavy buildup that makes cleaning difficult, so a quick dusting every few months keeps major projects at bay. Your popcorn ceilings have been quietly doing their job for years; with proper care, they'll continue serving you well.
Read next: How to Remove Popcorn Ceiling Safely and Easily
Frequently Asked Questions
1. Can I use a pressure washer on my popcorn ceiling?
No, pressure washing will destroy the delicate texture immediately and create extensive damage.
2. How often should I clean my popcorn ceiling?
Dust every two to three months and spot clean stains as they appear.
3. Will wet cleaning cause my popcorn ceiling to fall off?
Excessive moisture can damage texture, so use barely damp cloths and blot gently.
4. Can I paint over a dirty popcorn ceiling?
Always clean the ceiling first for proper paint adhesion and professional-looking results.
5. Is it safe to clean popcorn ceilings that contain asbestos?
Have it tested first and consult professionals if asbestos is confirmed present.
Stay up to date with our latest ideas!