How to Remove Oven Door: Simple Step-by-Step Guide
Learn how to remove oven door with our simple step-by-step guide. Make deep cleaning easier and safer today!
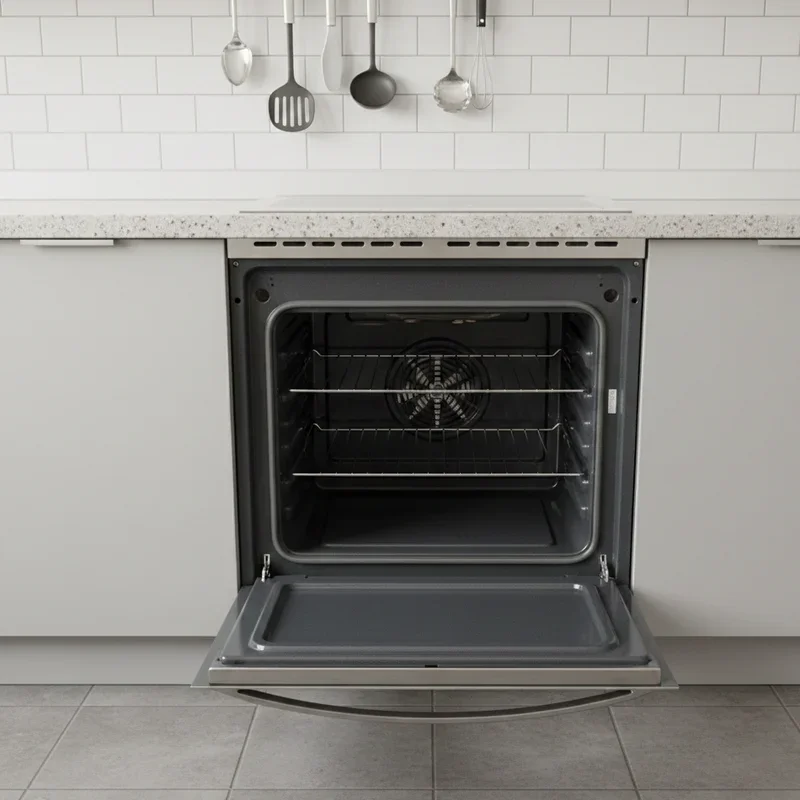
Ever tried cleaning between those double glass panels on your oven door? You know, where all that mysterious brown gunk accumulates and stares back at you every time you peek at your roasting chicken? It's enough to drive anyone crazy! The good news is that you don't need to live with that grimy view forever, and you definitely don't need to call an expensive repairman to fix the situation.
Here's a little secret that most people don't realize. Oven doors are designed to come off easily. Yep, manufacturers actually built them that way on purpose! They knew we'd eventually need to clean them thoroughly or replace worn hinges. The problem is that nobody reads the manual, and let's be honest, who even knows where that thing ended up after installation day?
Removing your oven door might sound intimidating at first. After all, it's a heavy piece of equipment with glass panels, and the last thing you want is a shattered mess on your kitchen floor. But trust me, once you understand how the mechanism works, you'll wonder why you ever hesitated. The whole process takes about five minutes, and you'll feel like a kitchen appliance whisperer afterward.
This how to remove oven door: simple step-by-step guide will walk you through everything you need to know. From understanding different hinge types to safely lifting that door off and putting it back, we've got every detail covered. So roll up your sleeves, and let's get that oven door sparkling clean!
Why Would You Need to Remove Your Oven Door
Before we dive into the how, let's talk about the why. Understanding when door removal makes sense helps you decide if this project is right for your situation.
Deep Cleaning Access
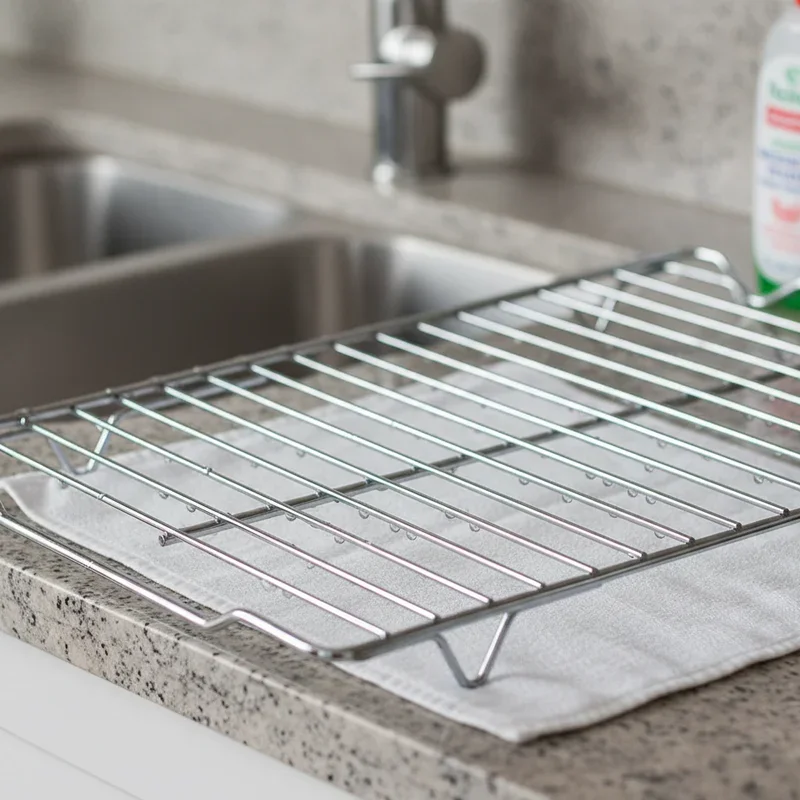
This is the big one for most folks. That space between the inner and outer glass panels becomes a grease trap over time. Steam and splatter work their way in through tiny vents, and suddenly you've got a permanent haze that no amount of surface wiping will touch.
With the door removed and laid flat, you can access screws holding the inner panel in place. Taking apart the glass sandwich lets you clean both sides of each panel until they're crystal clear. The difference in your oven's appearance afterward is honestly shocking.
Easier Overall Cleaning
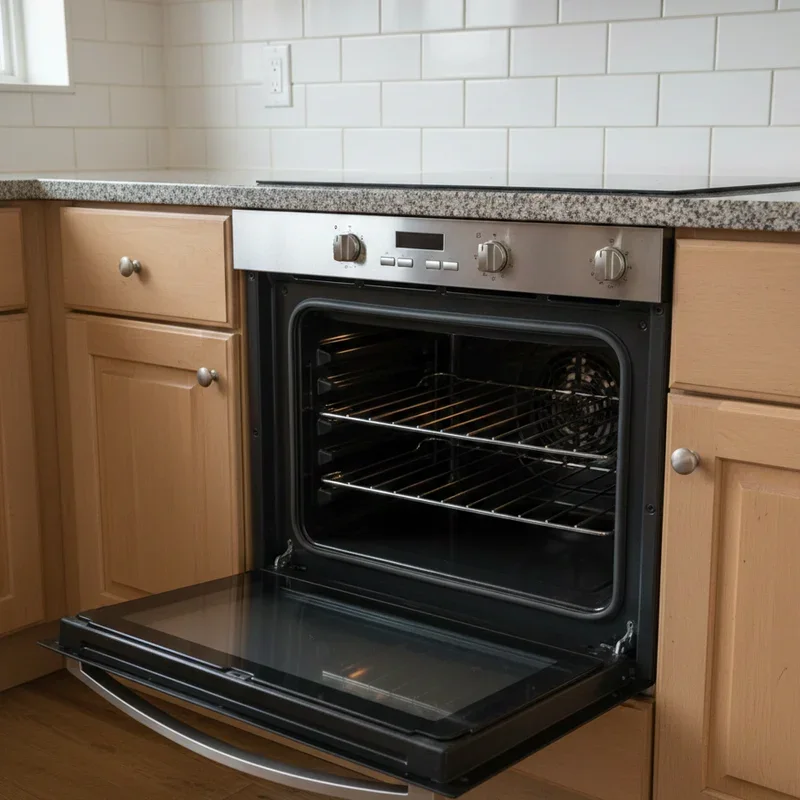
Even if the glass isn't your main concern, removing the door makes cleaning the oven cavity so much easier. Without that heavy door in the way, you've got full access to every corner. Your arms won't get tired holding the door open, and you can see what you're doing without awkward contortions.
Professional oven cleaners often remove doors for exactly this reason. It's faster, more thorough, and less physically demanding.
Hinge Repair or Replacement
Oven door hinges take a beating over the years. Opening and closing hundreds of times, plus the occasional accidental slam, wears them down. When hinges start failing, the door doesn't close properly, heat escapes, and your energy bills climb.
Replacing hinges requires removing the door first. Once you know how the removal process works, this repair becomes a totally manageable DIY project.
Moving or Tight Spaces
Need to squeeze your oven through a narrow doorway during a move or renovation? Taking off the door reduces the overall width and weight significantly. Same goes for installing a new oven in a tight kitchen layout.
Replacing Damaged Glass
Accidents happen. Maybe a heavy pot slipped, or the kids got a little too enthusiastic with a baking sheet. Cracked oven door glass needs replacing, and that means door removal is step one.
Understanding Your Oven Door's Hinge System
Not all oven doors come off the same way. Before you start yanking on anything, you need to identify what type of hinge system you're dealing with. Taking two minutes to figure this out saves potential frustration and damage.
Standard Hinges with Locking Tabs
This is the most common type found on freestanding ranges and many built-in ovens. The hinges have small metal tabs or levers that lock the hinge in the open position. Flipping these tabs allows the door to lift straight off.
Look at the hinges with the door partially open. You'll see small rectangular tabs, usually about an inch long, positioned along the hinge arm. These flip up or down depending on the manufacturer.
Slot-Style Hinges
Some ovens, particularly European brands, use a slot mechanism. The door has brackets that slide onto fixed hinge pins mounted in the oven frame. Removal involves lifting the door at a specific angle to disengage these slots.
You'll notice there are no visible tabs or levers with this type. Instead, the connection point looks more like a hook and slot arrangement.
Mounting Screw Systems
Older ovens and some commercial-style ranges use screws to secure the door hinges. You'll need a screwdriver to remove these doors, and the screws are typically accessed from inside the oven cavity or along the door's inner edge.
Check for visible screw heads near the hinge mounting points. If you see them, this is your system.
Hidden Release Buttons
A few modern oven designs feature hidden release buttons or catches. These are often located along the top edge of the door or recessed into the hinge mechanism. Pressing these releases allows the door to disengage.
Look for small holes or indentations near the hinges that might indicate hidden release points.
How to Remove Oven Door: Simple Step-by-Step Guide for Standard Hinges
Alright, let's get into the actual removal process. This how to remove oven door: simple step-by-step guide focuses on the most common hinge type with locking tabs, but we'll cover other types afterward.
Step 1: Prepare Your Workspace
Clear the area around your oven completely. You'll need room to maneuver and a safe place to set the door once removed. Lay a thick blanket or moving pad on the floor nearby. This protects both the door and your flooring during the process.
Make sure the oven is completely cool. This might seem obvious, but rushing after baking leads to burns. Give it at least two hours after any cooking before starting.
Gather any tools you might need. For most standard hinges, you won't need anything except maybe a flathead screwdriver to flip stubborn tabs. Have it nearby just in case.
Step 2: Open the Door to the Broil Position
This is crucial and often where people go wrong. The door needs to be at a specific angle, not fully open and not barely cracked. Look for the point where the door feels like it wants to stay on its own, usually around 45 degrees.
Some folks call this the broil position because it's roughly where you'd leave the door when broiling. The hinges are designed to release at this angle.
If your door has a broil stop, which is a notch that holds the door partially open, that's exactly where you want it.
Step 3: Locate the Hinge Locks
With the door at the proper angle, look at the hinges on both sides where they connect to the oven frame. You should see small metal tabs or levers. These are typically flat pieces of metal about an inch long, positioned along the hinge arm near where it enters the oven.
The locks might be pointing up, down, or at an angle depending on their current position. Note which way they're facing so you know which direction to flip them.
Step 4: Unlock the Hinges
Using your fingers or a flathead screwdriver if needed, flip both hinge locks. They should pivot to the opposite position. If the locks were down, flip them up. If they were pointing toward you, flip them back.
You should feel the locks snap into the new position. If they're stubborn, don't force them aggressively. A little wiggling usually helps. Stuck locks sometimes mean you're not at quite the right door angle, so adjust slightly and try again.
Make absolutely sure you've unlocked both sides. Trying to lift a door with one locked hinge can damage the mechanism or cause the door to twist dangerously.
Step 5: Grip the Door Securely
Here's where proper technique matters. Position yourself directly in front of the oven. Place both hands on the sides of the door, gripping firmly near the top corners. Keep your back straight and prepare to lift with your legs.
Oven doors are heavier than they look, often 20 to 30 pounds or more. Don't underestimate this weight, especially when it's concentrated in an awkward shape with glass panels.
Step 6: Lift and Remove
With a firm grip, lift the door straight up. You should feel the hinges disengage from the oven frame. The door will feel suddenly free.
Continue lifting and carefully pull the door toward you to completely clear the hinge arms from their slots. Move slowly and steadily. Jerky movements can cause you to lose balance or bang the door against the oven.
Immediately carry the door to your prepared blanket and lay it down gently, glass side facing up.
Step 7: Verify Complete Removal
With the door removed, look at the exposed hinges. They should be extending outward from the oven with no door attached. If one hinge looks different than the other, double-check that the door released properly from both sides.
Fold the hinges back into their stored position inside the oven opening. This prevents accidental bumps while you're cleaning and protects the hinge mechanism.
Removing Other Hinge Types
If your oven doesn't have standard locking tab hinges, here's how to handle alternative systems.
Slot-Style Hinge Removal
Open the door to approximately 45 degrees. Without any tabs to unlock, you'll simply grip the door firmly on both sides and lift upward. The door should travel up about an inch before the brackets clear the mounting pins.
With slot hinges, the angle is even more critical. Too flat or too open and the slots won't align for release. If the door doesn't want to lift, adjust your angle slightly and try again.
Screw-Mounted Door Removal
Open the door fully. Locate the mounting screws, usually found along the interior edge of the door where the hinge attaches, or accessible from inside the oven cavity near the hinge slots.
Using the appropriate screwdriver, remove all hinge mounting screws completely. Keep these screws somewhere safe because you'll need them for reinstallation.
With screws removed, carefully lift the door away from the oven. Some screw-mounted doors are surprisingly heavy since they're often found on older or commercial-style ovens.
Hidden Release Button Removal
Locate the release buttons or catches. They're typically small recessed buttons along the top edge of the door or integrated into the hinge mechanism itself.
With the door at the proper angle, press both release buttons simultaneously while lifting the door. You may need a helper for this since coordinating the button presses while gripping the door can be awkward.
Cleaning Between the Glass Panels
With your door successfully removed, now's the perfect time to tackle that between-glass grime. Here's the basic approach.
Lay the door flat with the inner surface facing up. Look for screws along the edges of the inner panel. There might be anywhere from two to eight screws depending on the design.
Remove these screws carefully and keep them organized. Gently lift the inner panel away from the door frame. Now you can access both surfaces of both glass panels.
Clean each glass surface with your preferred glass cleaner or a mixture of dish soap and warm water. Avoid abrasive scrubbers that might scratch. Dry thoroughly before reassembly to prevent water spots.
Replace the inner panel and screws, making sure everything seats properly before tightening.
Reinstalling Your Oven Door
Getting the door back on is essentially the reverse of removal, but a few tips help things go smoothly.
Prepare the Hinges
If you folded the hinges back during cleaning, extend them outward again to their full open position. Make sure the hinge locks are still in the unlocked position.
Align and Insert
Grip the door firmly and approach the oven straight on. Line up the hinge arms with their corresponding slots in the oven frame. Both sides need to engage simultaneously.
Lower the door slowly, guiding the hinge arms into their slots. You should feel them seat into place with a subtle click or thunk.
Lock the Hinges
With the door still at the partially open position, flip both hinge locks back to their original locked position. You should feel them snap securely.
Test Operation
Slowly open and close the door several times. It should move smoothly without sticking or resistance. The door should stay closed securely without gaps.
If something feels off, remove the door and check that both hinges are fully seated and locked. Misalignment usually means one side didn't insert completely.

Common Mistakes to Avoid
Learning from others' errors saves you headaches. Here are the most frequent problems people encounter.
Forgetting to unlock both hinges causes door twisting and potential damage. Always double-check before lifting. Lifting at the wrong angle makes removal unnecessarily difficult or impossible. Find that sweet spot around 45 degrees.
Using excessive force indicates something isn't right. If the door won't budge, stop and reassess rather than muscling through. Setting the removed door on a hard surface without padding risks cracking the glass panels.
Losing hinge lock screws or other small hardware during cleaning creates reassembly problems. Keep everything organized in a small container.
Conclusion
Removing your oven door really isn't the intimidating task it might seem at first glance. This how to remove oven door: simple step-by-step guide has shown you that with the right technique and a bit of patience, anyone can master this useful skill. Whether you're tackling deep cleaning, replacing worn hinges, or just making your oven maintenance easier, knowing how to safely remove and reinstall your door puts you in control. Take your time with each step, respect the weight of the door, and you'll have a crystal-clear view into your oven in no time!
Read next: How to Clean Oven Racks Easily and Effectively
Frequently Asked Questions
1. Can I remove the oven door by myself without help?
Yes, most people can safely remove oven doors alone with proper technique and preparation.
2. What if my oven door hinges don't have visible locking tabs?
Your oven likely uses slot-style hinges or hidden release buttons requiring different removal methods.
3. Is it safe to remove the door while the oven is warm?
No, always wait until the oven is completely cool to avoid burns during removal.
4. How do I know if my oven door hinges need replacing?
Signs include the door not closing properly, sagging, squeaking, or difficulty opening smoothly.
5. Can removing the oven door void my warranty?
Generally no, since manufacturers design doors for user removal, but check your warranty terms.
Stay up to date with our latest ideas!