How to Build Shelves: Simple Step-by-Step Guide
Learn how to build shelves with this simple step-by-step guide. Create beautiful, functional storage for any room in your home today!
So, you've been staring at that empty wall for weeks now, haven't you? Maybe you're drowning in books with nowhere to put them, or perhaps your collection of vintage records needs a proper home. Whatever's brought you here, I've got good news for you. Building your own shelves isn't nearly as intimidating as it might seem, and honestly, it's one of the most satisfying weekend projects you can tackle.
Here's the thing about store-bought shelving. It's often flimsy, overpriced, and never quite fits the space you need it to. When you build your own, you're in complete control. Want shelves that are exactly 47 inches wide? No problem. Need something sturdy enough to hold your grandmother's cast iron collection? You got it.
This how to build shelves: simple step-by-step guide will walk you through everything from gathering materials to mounting your finished masterpiece on the wall. Whether you're a complete beginner who's never picked up a drill or someone who's dabbled in DIY projects before, you'll find this guide straightforward and easy to follow. Let's roll up our sleeves and get started, shall we?
Why Building Your Own Shelves Makes Perfect Sense
Before we dive into the nuts and bolts of construction, let's talk about why this project is worth your time. Sure, you could hop online and order some pre-made shelving unit, but where's the fun in that?
First off, custom shelves fit your space like a glove. That awkward corner in your bedroom? That narrow strip of wall in your bathroom? Factory-made shelves rarely accommodate these quirky spaces, but when you're building from scratch, you can make shelves that slide right into any spot.
Then there's the cost factor. Quality wood and a few supplies will run you considerably less than comparable store-bought options. Plus, the shelves you build will last for decades rather than a few years before they start sagging and looking worn out.
And let's not forget the pride factor. There's something deeply satisfying about pointing to a piece of furniture and saying, "Yeah, I made that." Your guests will be impressed, your partner will be thrilled, and you'll have learned a valuable skill that keeps on giving.
Tools You'll Need for This Project
Alright, before you start cutting wood, you'll want to gather your tools. Don't worry if you don't own everything on this list. Most hardware stores rent tools, and some items you can borrow from neighbors or family members.
The essential power tools include a circular saw or miter saw for cutting boards to length, a drill with various bits for creating pilot holes and driving screws, and a sander or sanding block for smoothing rough edges. If you're going the bracket route, you might also want a stud finder, which honestly, every homeowner should have anyway.
Hand tools are equally important. You'll want a tape measure (the most used tool in any workshop, if we're being honest), a carpenter's square for ensuring your cuts are straight, a level for making sure everything hangs properly, a pencil for marking measurements, and a hammer for those moments when gentle persuasion is needed.
Safety gear is non-negotiable. Grab some safety glasses to protect your eyes from sawdust, work gloves for handling rough lumber, and ear protection if you're using power tools for extended periods.
Choosing the Right Materials
Now we're getting to the good stuff. The materials you choose will determine both the look and the durability of your finished shelves, so let's break down your options.
Wood Selection
Pine is the go-to choice for beginners, and for good reason. It's affordable, easy to work with, and takes stain beautifully. If you're painting your shelves, pine works wonderfully and hides its knots under a coat of primer.
Plywood offers excellent value and stability. It won't warp like solid wood sometimes does, and you can find it in various thicknesses. Just be aware that the edges need covering with veneer tape if you want a polished look.
Oak, maple, and walnut are gorgeous hardwood options for those wanting a more refined appearance. They cost more and require sharper tools to cut cleanly, but the results are stunning.
MDF, or medium-density fiberboard, provides a smooth surface that's perfect for painting. It's heavy and doesn't handle moisture well, but for indoor shelves in dry rooms, it's a budget-friendly champion.
Hardware Considerations
The brackets, screws, and mounting hardware you select matter just as much as the wood itself. Heavy-duty L-brackets work great for basic shelving and can support significant weight when properly installed into wall studs. Floating shelf brackets create that modern, minimalist look where the shelf appears to hover on the wall. Standard shelf pins work perfectly for adjustable bookcases where you want the flexibility to change shelf heights.
How to Build Shelves: Simple Step-by-Step Guide to Measuring and Planning
Here's where the old saying "measure twice, cut once" becomes your new mantra. Trust me on this one because nothing kills project momentum faster than wasting materials on a bad cut.
Taking Accurate Measurements
Start by deciding exactly where your shelves will go. Use your tape measure to determine the available width and height of your space. Write these numbers down immediately. Don't trust your memory because even the sharpest minds get fuzzy when sawdust starts flying.
Consider what you'll be storing on these shelves. Books? Plan for shelves at least 10 inches deep and space them 10 to 12 inches apart vertically. Decorative items? You might get away with narrower shelves and more varied spacing. Kitchen supplies? Think about the tallest bottles and containers you'll need to accommodate.
Creating Your Cut List
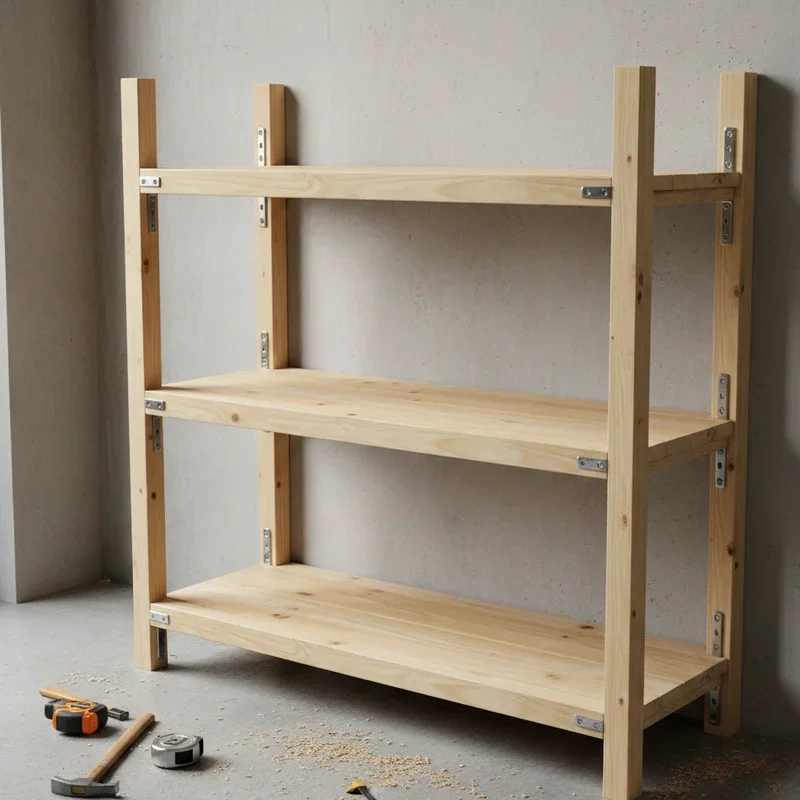
Once you've got your measurements, create a cut list. This is simply a detailed record of every piece of wood you need to cut and its exact dimensions. For a basic three-shelf unit, you might have three shelf boards at 36 inches by 10 inches, two side pieces at 36 inches by 10 inches, and a back panel if you're building a freestanding unit.
Having this list before you head to the lumber yard saves time and helps you buy exactly what you need without wasteful overbuying or frustrating return trips.
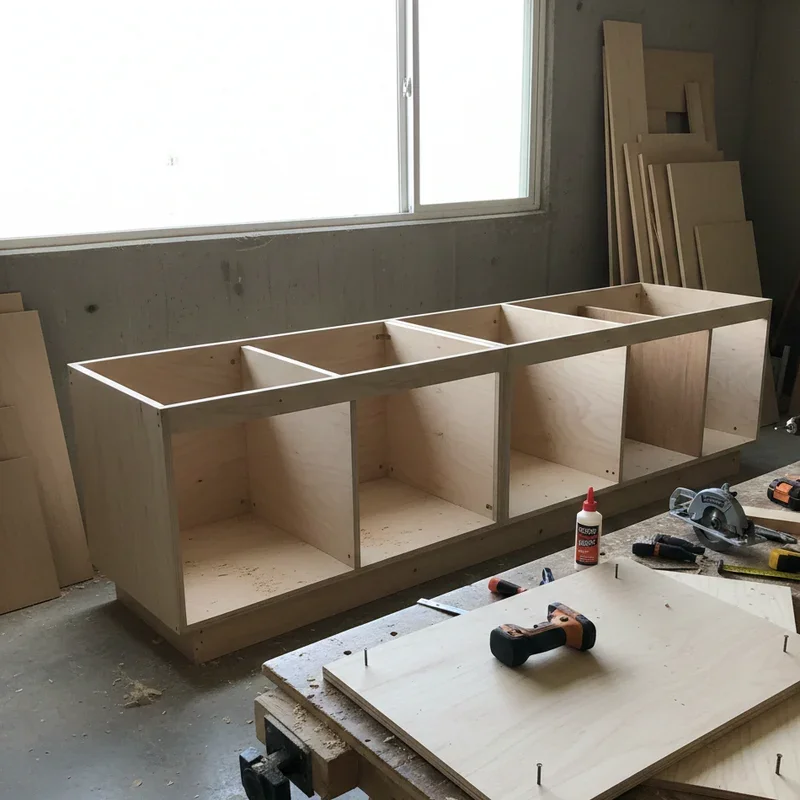
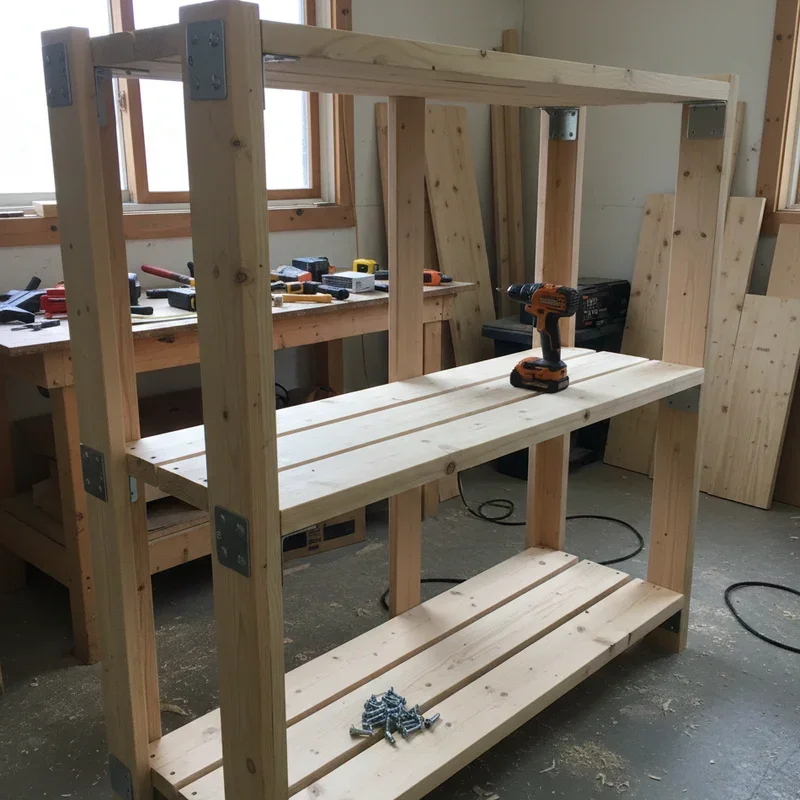
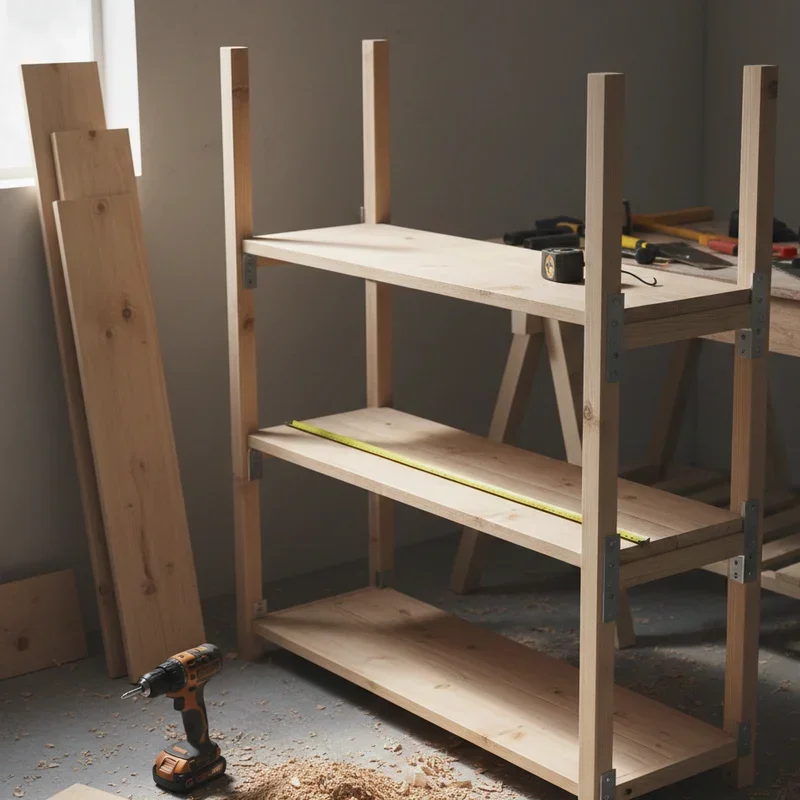
Cutting Your Wood Like a Pro
With your materials gathered and measurements double-checked, it's time to make some sawdust. If power tools make you nervous, here's a little secret. Most home improvement stores will cut your lumber to size for free or for a small fee. There's absolutely no shame in taking advantage of this service, especially for your first project.
For those ready to do their own cutting, set up your saw on a stable surface with plenty of support for longer boards. Mark your cut lines clearly with a pencil and carpenter's square. When cutting, let the saw do the work. Don't force it through the wood, as this leads to rough cuts and potential kickback.
After each cut, sand the edges smooth. This step takes just a few minutes but makes a huge difference in the finished product. Nobody wants splinters when they're reaching for a book, right?
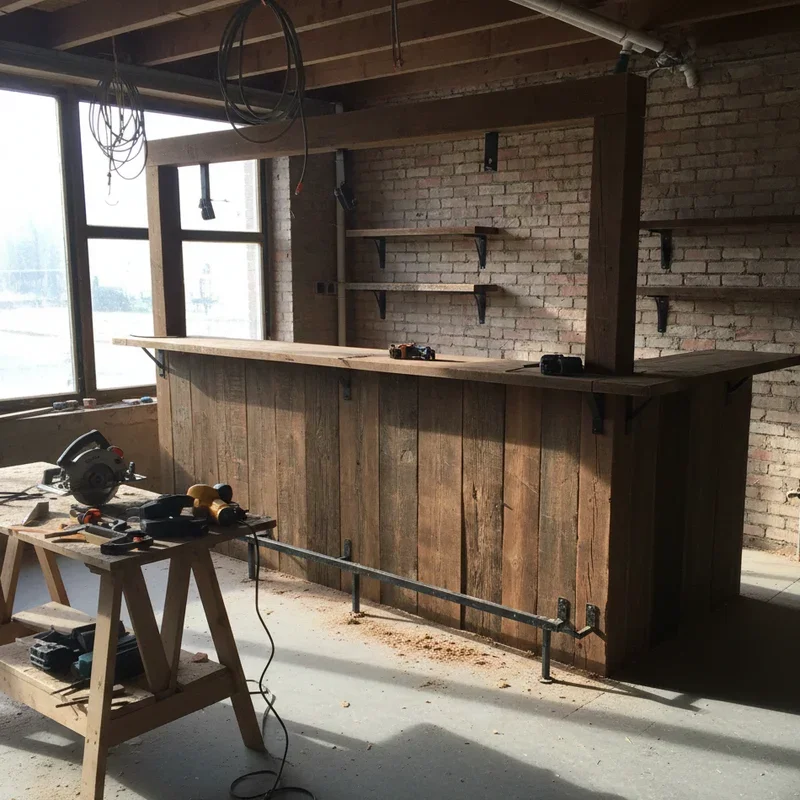
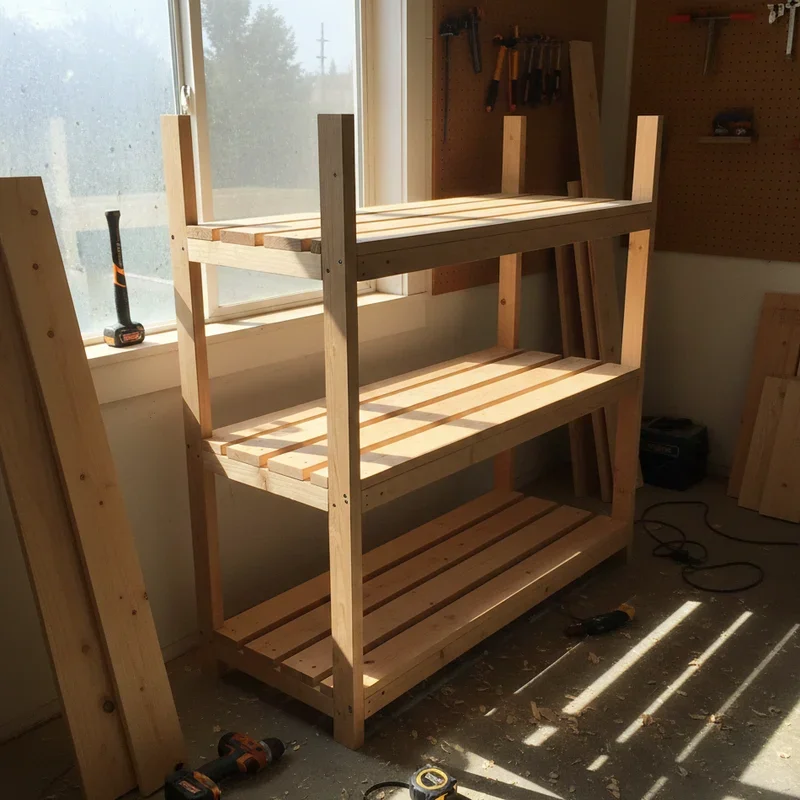
Assembly Methods That Actually Work
There are several ways to put your shelves together, and the method you choose depends on your skill level, tools available, and desired final look.
Basic Bracket Mounting
This is the simplest approach and works perfectly for most applications. Position your brackets along the bottom of each shelf, spacing them evenly. For shelves under 24 inches, two brackets will suffice. Longer shelves need three or more brackets to prevent sagging.
Pre-drill holes in the shelf boards to prevent splitting, then attach the brackets with wood screws. When mounting to the wall, always try to hit wall studs for maximum support. If studs aren't available where you need them, use appropriate wall anchors rated for the weight you're planning to hold.
Dado Joint Construction
For a more professional look, dado joints create a clean appearance where shelves slide into grooves cut into the side pieces. This method requires a router or table saw but produces incredibly strong and attractive results. The shelves appear to be part of the unit rather than just attached to it.
Pocket Hole Joinery
Pocket hole jigs have revolutionized DIY furniture building. They create angled holes that allow you to screw pieces together from the inside, hiding the fasteners from view. The joint remains incredibly strong, and even beginners can master this technique in minutes.
Finishing Touches That Make All the Difference
You've cut your wood, assembled your shelves, and now you're staring at something that looks pretty good but not quite finished. This is where the magic happens.
Sanding for Smoothness
Start with medium-grit sandpaper (around 120 grit) and work your way up to fine grit (220). Always sand in the direction of the wood grain to avoid scratches. Wipe away dust between grits with a tack cloth or slightly damp rag.
Staining for Character
Wood stain brings out the natural beauty of the grain and adds warmth to your project. Apply stain with a brush or rag, let it sit for a few minutes, then wipe away the excess. Multiple coats deepen the color, so build up gradually until you achieve the look you want.
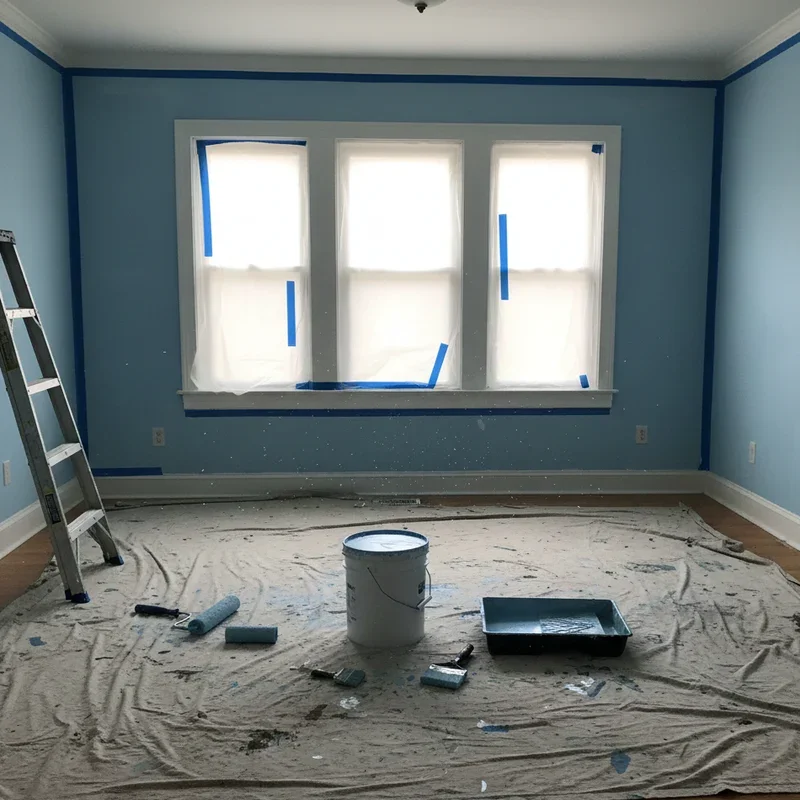
Painting for a Clean Look
If you're painting, start with a quality primer, especially on pine or MDF. Two thin coats of paint beat one thick coat every time. Thin coats dry faster, resist dripping, and create a smoother final finish.
Sealing for Protection
Whether you've stained or painted, a clear topcoat protects your work from scratches, moisture, and daily wear. Polyurethane works great for high-use areas, while paste wax gives a softer sheen for decorative pieces.
Mounting Your Shelves Safely
This step is crucial because poorly mounted shelves can come crashing down, damaging your belongings or worse, injuring someone. Let's make sure that doesn't happen.
Finding wall studs gives you the strongest possible mount. Studs are typically spaced 16 inches apart, and you can locate them with a stud finder or by tapping on the wall and listening for a solid rather than hollow sound. Mark the stud locations clearly before you start drilling.
When studs aren't available where you need them, toggle bolts and heavy-duty wall anchors become your best friends. These fasteners spread the load across a larger area of drywall, significantly increasing holding power. Always check the weight rating on any anchors you use and stay well under that limit to maintain a safety margin.
Use a level religiously when mounting. Even a slight tilt becomes glaringly obvious once items are placed on the shelf, and there's nothing more frustrating than starting over because you eyeballed it instead of checking.
Common Mistakes and How to Avoid Them
Every woodworker has made these errors at some point, so don't feel bad if you've fallen into these traps before. The key is learning from them.
Skipping the pilot hole is probably the most common mistake. Driving screws directly into wood without pre-drilling often causes splitting, especially near board edges. Take the extra thirty seconds to drill a pilot hole slightly smaller than your screw diameter.
Ignoring wood grain direction leads to weak joints and unattractive results. Always orient boards so the grain runs lengthwise on shelves, providing maximum strength where it's needed most.
Overloading shelves happens when people underestimate how heavy their collections are. Books, records, and dishes add up quickly. Build stronger than you think you need, and your shelves will serve you for years rather than months.
Rushing the finish is tempting when you're excited to see your project complete, but patience pays off. Let each coat dry fully before adding the next, and resist the urge to load up your shelves before everything has cured.
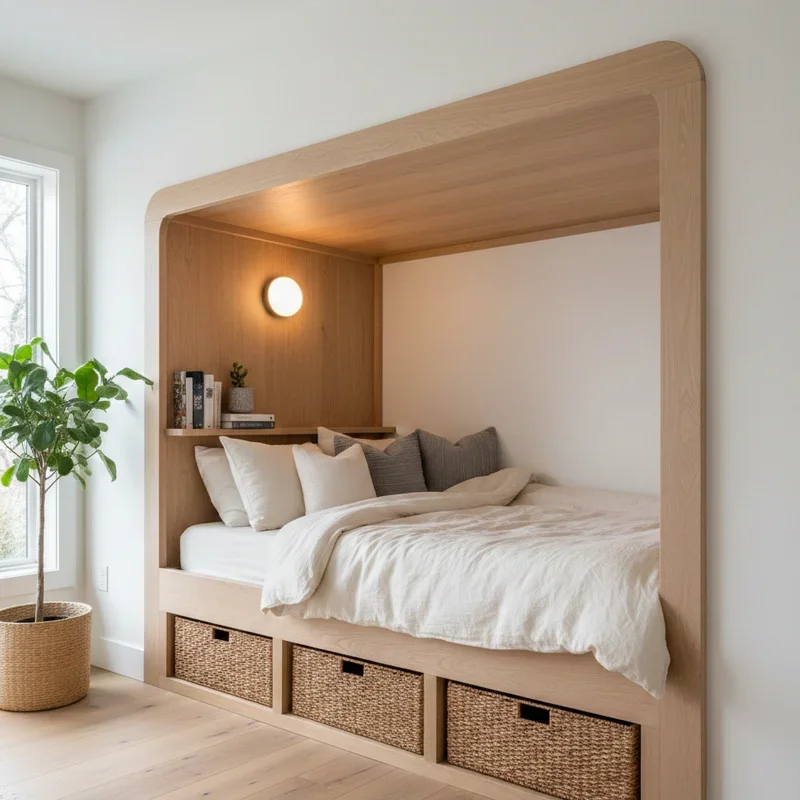
Creative Ideas to Customize Your Shelves
Once you've mastered the basics in this how to build shelves: simple step-by-step guide, the real fun begins. Customization turns ordinary storage into something special.
Adding integrated lighting underneath shelves creates dramatic display areas for artwork or collectibles. LED strip lights are affordable and easy to install, running on low voltage that's completely safe.
Built-in charging stations keep electronics organized while hiding ugly cords. Route a power strip behind your shelves with a small hole for cables to pass through.
Adjustable shelf pins let you reconfigure your storage as your needs change. Drill rows of evenly spaced holes in your side pieces, and shelves can move up or down with ease.
Decorative brackets add personality and extra support. Vintage cast iron brackets bring an industrial feel, while ornate wooden corbels create a traditional aesthetic.
Conclusion
Building your own shelves transforms empty walls into functional, beautiful storage that reflects your personal style and fits your space perfectly. With basic tools, quality materials, and a bit of patience, you can create something that store-bought options simply can't match. The skills you develop on this project will serve you well on countless future endeavors, making each one easier than the last. So gather your supplies, clear your workspace, and give yourself permission to learn as you go. Your walls are waiting.
Read next: How to Insulate a Garage Door Effectively
Frequently Asked Questions
1. What type of wood works best for beginners building shelves?
Pine is ideal for beginners because it's affordable, easy to cut, and accepts stain well.
2. How thick should shelf boards be to prevent sagging over time?
Three-quarter inch thickness works well for most applications with proper support spacing underneath.
3. Can I build sturdy shelves without using any power tools at all?
Yes, hand saws and screwdrivers work fine, though projects take considerably more time and effort.
4. How far apart should brackets be spaced on longer floating shelves?
Space brackets every 16 to 24 inches maximum to ensure adequate support and prevent sagging.
5. Do I need to hit wall studs when mounting heavier loaded shelves?
Wall studs provide the strongest mount, though heavy-duty anchors work for lighter loads.
Stay up to date with our latest ideas!