How to Install Heating & AC Ducts: Easy Guide
Transform your home's comfort with our comprehensive How to Install Heating & AC Ducts: Easy Guide. Learn professional techniques, avoid common mistakes, and save thousands on your HVAC system installation with our step-by-step instructions.
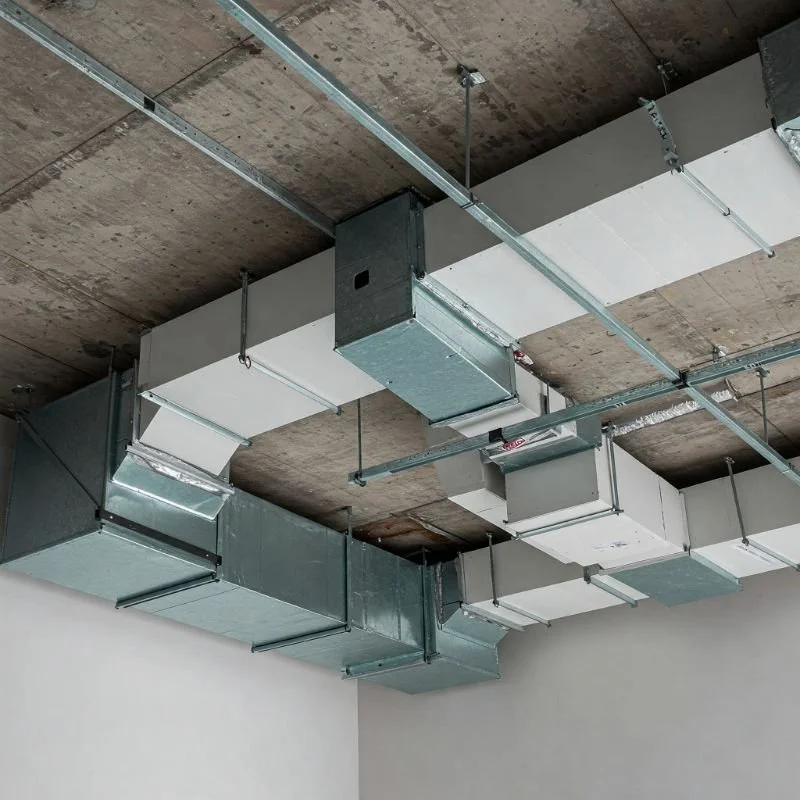
There's nothing quite like the satisfaction of walking into a perfectly climate-controlled home on a blistering summer day or a freezing winter night. Behind that comfort lies a network of pathways you rarely see but definitely feel—your home's ductwork. It's the unsung hero of your HVAC system, quietly carrying warm or cool air to every corner of your living space.
Many homeowners flinch at the thought of installing ductwork themselves, imagining it's a job strictly for professionals with specialized training and fancy tools. And listen, I'm not gonna lie to you—it's not as simple as hanging a picture frame. But with the right guidance, a weekend or two of time, and a willingness to get your hands dirty, you absolutely can tackle this project yourself and save a small fortune in the process.
Whether you're renovating an older home, finishing a basement, or adding an extension to your current place, knowing how to install heating & AC ducts properly can make or break your climate control system's efficiency. Poor ductwork doesn't just lead to uncomfortable hot and cold spots—it can send your energy bills through the roof faster than you can say "why is it so drafty in here?"
In this comprehensive guide, we'll walk through everything you need to know about planning, preparing, and installing a functional, efficient duct system that would make any professional HVAC technician nod in approval. Grab your tools and let's dive into the nitty-gritty of becoming your home's ductwork hero!
Understanding the Basics of HVAC Ductwork
Before you start cutting into sheet metal or crawling around your attic, let's make sure you've got a solid grasp on what you're actually building.
Types of Ductwork Systems
Not all duct systems are created equal. Depending on your home's layout and your HVAC equipment, you'll likely be working with one of these common setups:
Radial System: Think of this as a wheel with spokes. Your furnace or air handler sits at the center (the hub), and individual ducts run directly to each room (the spokes). This system is straightforward to install but uses more materials.
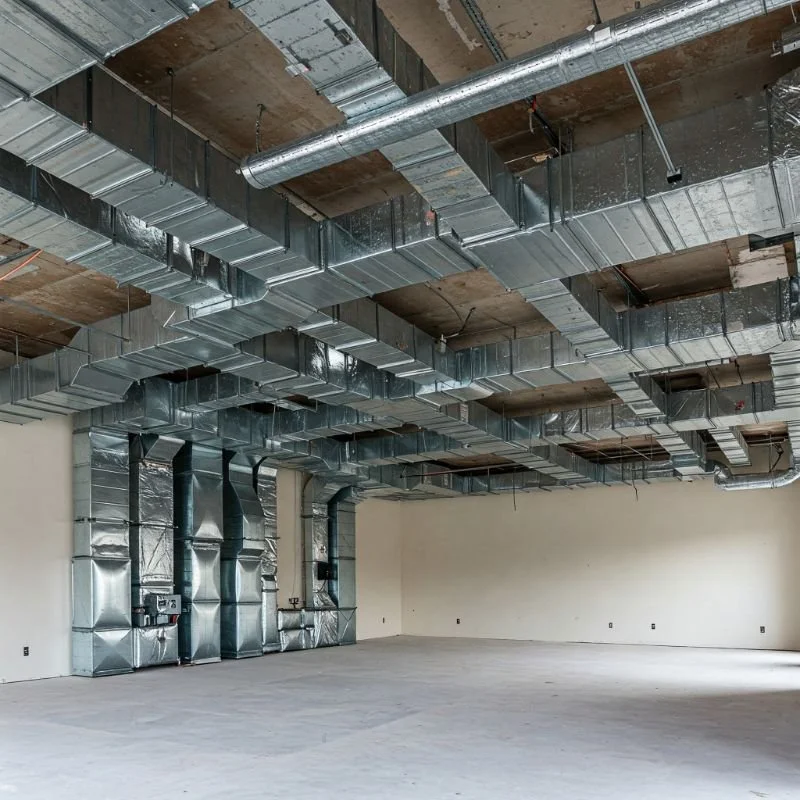
Extended Plenum System: A main trunk line runs from your HVAC unit, with smaller branch ducts feeding off it to supply different rooms. This is probably the most common system in residential homes.
Perimeter Loop System: A single main duct forms a loop around the perimeter of your home, with branch ducts feeding interior spaces. This design works well for slab foundations.
Reducing Trunk System: Similar to the extended plenum, but the main trunk gets smaller as it extends farther from the HVAC unit, accounting for reduced airflow needs.
Common Ductwork Materials
Your choice of materials impacts everything from cost to efficiency and longevity:
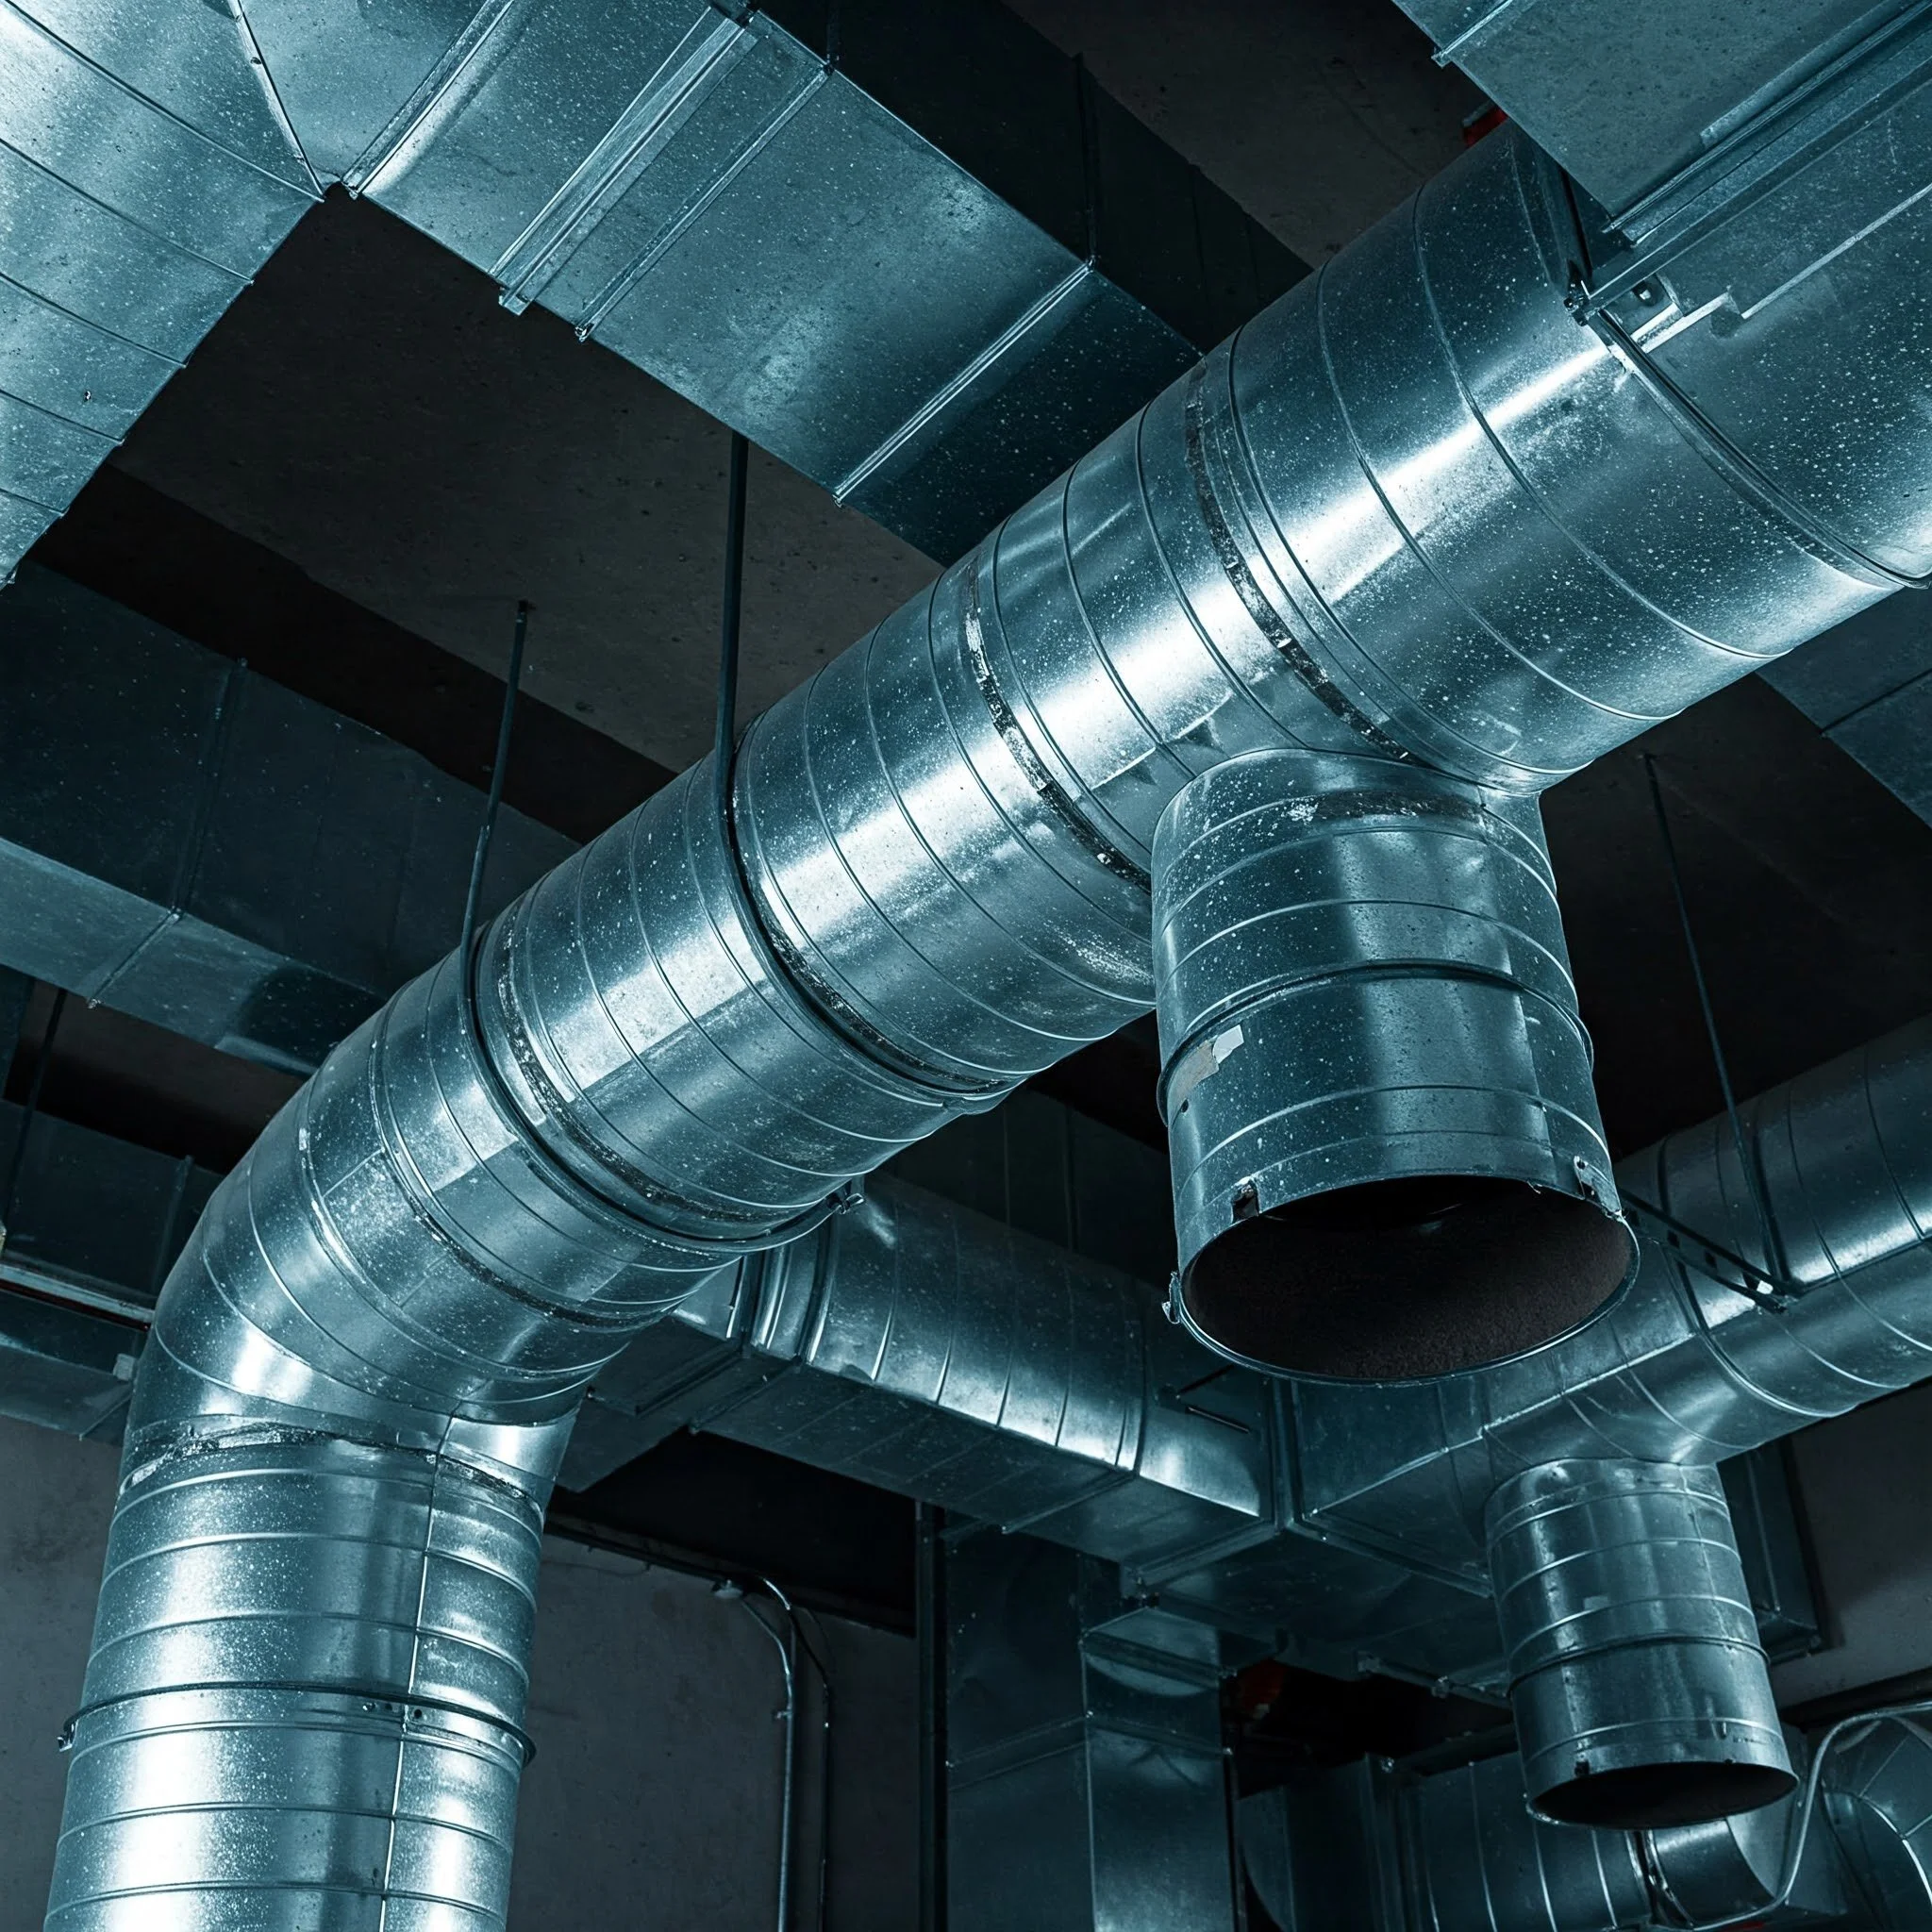
Sheet Metal: The gold standard for durability. Galvanized steel ducts can last 20+ years, resist mold, and can be cleaned easily. The downside? They can be noisy and tend to lose heat without proper insulation.
Flexible Ducts: These insulated, wire-reinforced tubes are perfect for navigating awkward spaces and connecting rigid ductwork to registers. They're easier to install but more prone to kinking and damage over time.
Fiberglass Duct Board: Rigid fiberglass panels formed into rectangular ducts. They provide built-in insulation and sound dampening but aren't as durable as metal.
Fiberboard: Similar to fiberglass duct board but made from compressed fibers. It's less expensive but more susceptible to mold if it gets wet.
Planning Your Duct Installation: The Blueprint for Success
Jumping into duct installation without proper planning is like trying to bake a cake without a recipe—you might end up with something, but it probably won't be what you wanted.
Calculating Your Home's HVAC Needs
Before you purchase a single piece of ductwork, you need to understand what your home actually requires:
Determine Room-by-Room Requirements: Each room needs a specific amount of airflow based on its size, usage, and insulation. As a rough guide, most rooms need about 1 CFM (cubic foot per minute) of air per square foot.
Account for Heat Loss/Gain: Rooms with lots of windows, exterior walls, or high ceilings will need more heating or cooling capacity.
Balance Supply and Return: Your system needs to return roughly the same amount of air it supplies to maintain proper pressure and efficiency.
Several online calculators can help with these calculations, but for a comprehensive assessment, software like Manual J or Wrightsoft's Right-Suite Universal can provide precise figures.
Creating a Ductwork Layout Plan
With your airflow requirements in hand, it's time to map everything out:
Start at Your HVAC Unit: Identify where your furnace or air handler is (or will be) located. This is the starting point of your entire system.
Map the Main Trunk Line(s): Draw the path of your main supply duct. It should take the most direct and accessible route possible.
Plan Branch Ducts: These smaller ducts will connect your trunk line to each room. Try to keep them as short and straight as possible.
Locate Supply Registers: Position these where they'll provide the best air distribution. In heating systems, registers near the floor work best; for cooling, higher registers may be more effective.
Plan Return Air Pathways: Determine where your return air registers will be. Ideally, each major room should have one, though many homes use a central return system.
Pro tip: Draw your plan to scale on graph paper or use a CAD program if you're comfortable with it. Include measurements for duct sizes, register locations, and any obstacles you'll need to work around.
Essential Tools for How to Install Heating & AC Ducts: Easy Guide
Having the right tools on hand can make the difference between a weekend project and a month-long headache.
Must-Have Tools for Duct Installation
Gather these essentials before you begin:
Tin snips: For cutting sheet metal ducts
Drill with hole saw attachments: For creating openings in walls and floors
Tape measure and marking pencil: Accuracy is crucial!
Aviation snips: These come in different colors for different cuts (straight, left, or right)
Sheet metal screws and screwdriver: For joining metal components
Foil duct tape or mastic sealant: For sealing joints and connections
Utility knife: For cutting flexible duct insulation
Work gloves: Sheet metal edges are sharp!
Strap material and fasteners: For hanging and supporting ductwork
Insulation: For wrapping metal ducts to improve efficiency
Zip ties: For securing flexible duct to collars
Safety Gear You Shouldn't Skip
Working with ductwork isn't extremely dangerous, but proper safety equipment prevents common injuries:
Safety glasses: Protect your eyes from metal shavings
Dust mask or respirator: Especially important when working in attics with insulation
Knee pads: Your knees will thank you after hours crawling in crawlspaces
Work boots: To protect your feet from dropped tools and sharp edges
Headlamp or work light: Attics and crawlspaces are dark!
Step-by-Step Guide: How to Install Heating & AC Ducts
Alright, with planning done and tools in hand, let's get down to the actual installation process.
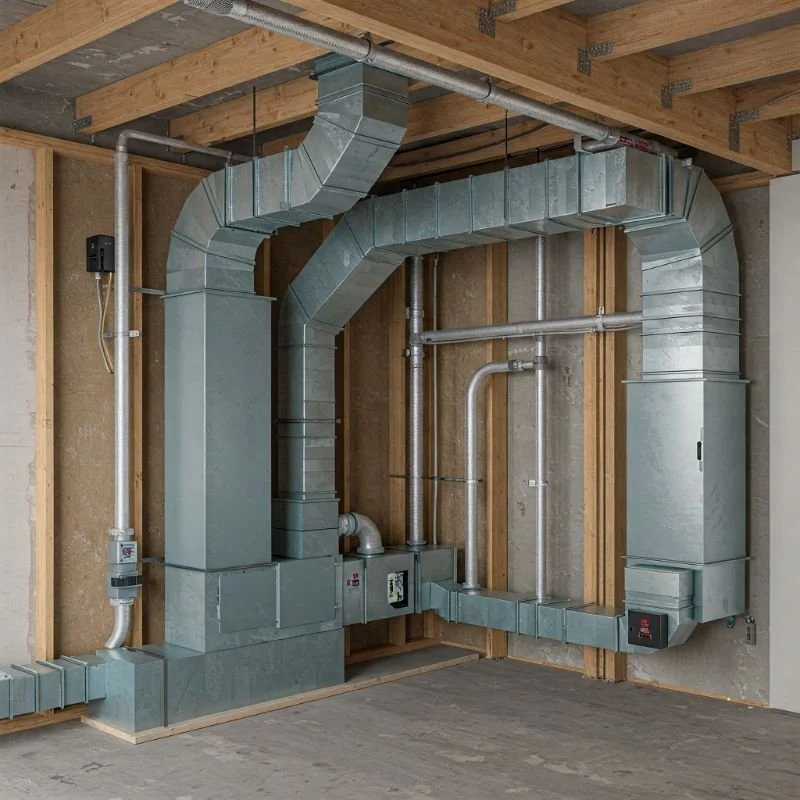
Step 1: Installing the Main Trunk Lines
The backbone of your system deserves careful attention:
Start at the Plenum: Connect the main trunk to your furnace or air handler plenum using S-clips or drive cleats for metal ducts.
Support as You Go: Install hanging straps every 4-6 feet to support horizontal runs. The duct should have a slight slope toward the HVAC unit (about 1/4 inch per 10 feet) to allow condensation drainage.
Maintain Proper Clearance: Keep ducts at least 4 inches away from electrical wiring and allow clearance for other utilities.
Connect Sections Properly: For metal ducts, use drive cleats or S-locks at connections, securing with sheet metal screws and sealing with mastic or foil tape.
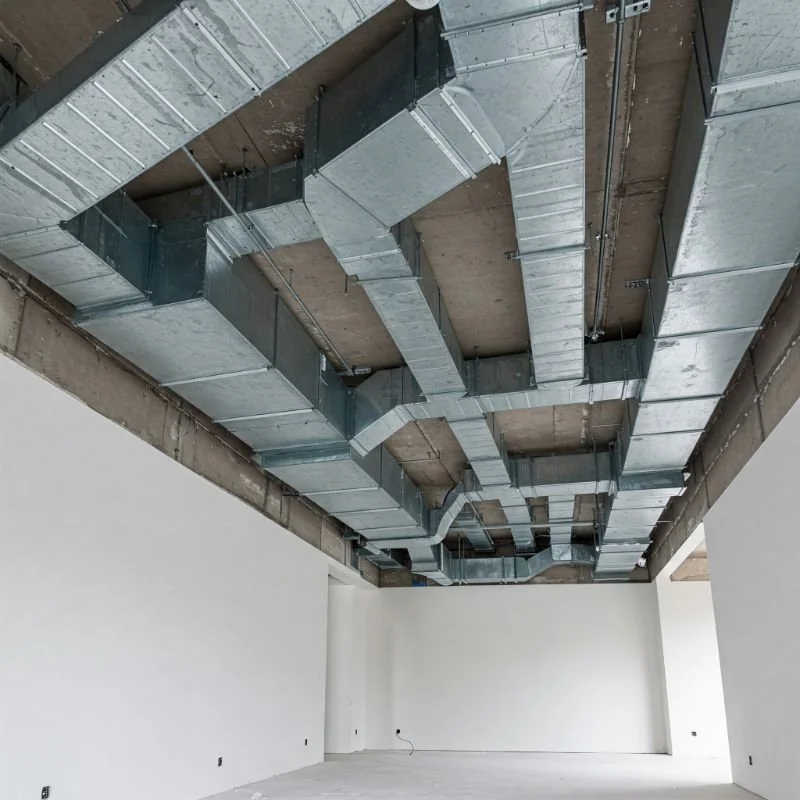
Insulate as Needed: If your trunk runs through unconditioned spaces like attics or crawlspaces, wrap it with insulation to prevent energy loss.
Step 2: Running Branch Ducts
With your main trunk in place, it's time to extend the system to individual rooms:
Cut Take-offs in the Main Trunk: Use a hole saw or tin snips to create openings for branch ducts. Install take-off fittings, securing them with screws and sealing thoroughly.
Measure and Cut Branch Runs: Measure the distance from the take-off to the register location, allowing for bends and connections.
Install Branch Ductwork: For metal ducts, connect sections using the same methods as the trunk line. For flexible ducts:
Cut the proper length with a utility knife
Pull the insulation back to expose the inner liner
Attach the inner liner to the take-off fitting with zip ties
Seal the connection with foil tape
Pull the insulation and outer liner over the connection
Secure the outer liner with another zip tie and seal with tape
Support Flexible Ducts Properly: Support flexible ductwork every 4-5 feet to prevent sagging, which can restrict airflow dramatically. Never allow more than 1/2 inch of sag per foot of horizontal run.
Step 3: Installing Registers and Grilles
The visible part of your system deserves careful installation:
Cut Register Openings: Use your measurements to cut precisely sized holes for supply registers and return grilles in floors, walls, or ceilings.
Connect Ductwork to Registers: For supply registers, attach the branch duct to a boot that fits the register size, then secure the boot to the subfloor or wall framing.
Install Register Covers: Once the boots are in place and connected, install the actual register covers, securing them with the provided screws.
Set Up Return Air Pathways: Return air systems can be more complex, often requiring larger ducts or framed chases. Ensure return grilles are sized appropriately for your system's needs.
Step 4: Sealing and Insulating
Don't skip this critical step—proper sealing can improve efficiency by 20% or more:
Seal All Joints and Seams: Apply mastic sealant or foil tape (not regular duct tape!) to every joint, seam, and connection in the system. Pay special attention to areas around boots and take-offs.
Insulate Ducts in Unconditioned Spaces: Any ductwork running through attics, crawlspaces, garages, or unfinished basements should be insulated to prevent energy loss and condensation issues.
Check for Leaks: Once your system is connected to the HVAC unit, run the fan and check for air leaks at connections. A smoke pencil can help identify subtle leaks.
Troubleshooting Common Duct Installation Issues
Even with careful planning, you might encounter some hiccups along the way.
Airflow Problems and Solutions
Not Enough Air From Registers: This could indicate ductwork that's too small, has too many bends, or is leaking. Check for kinks in flexible ducts and ensure proper sizing.
Noisy Ductwork: Popping or banging sounds often indicate improperly sized ducts that expand and contract with pressure changes. Metal straps that are too tight can also cause noise as the duct expands with warm air.
Uneven Heating or Cooling: If some rooms get plenty of air while others get little, you may need to install dampers to balance the system or adjust the existing ones.
Condensation and Moisture Issues
Sweating Ducts: Uninsulated ducts in humid areas can develop condensation, leading to water damage and potential mold. Proper insulation is the solution.
Mold in Ductwork: This requires immediate attention. Clean the affected areas and determine the source of moisture—often it's related to condensation or leaks from nearby plumbing.
Advanced Tips for Professional-Quality Results
Want to take your DIY duct installation to the next level? These pro tips can make a huge difference:
Upsize When in Doubt: Slightly oversized ducts create less airflow resistance than undersized ones. If you're between sizes, go with the larger option.
Use Turning Vanes in Sharp Bends: These curved metal inserts help air navigate 90-degree turns more efficiently, reducing turbulence and noise.
Consider Zone Dampers: If your home has distinct areas with different heating/cooling needs, motorized dampers can direct airflow where it's needed most.
Plan for Future Maintenance: Install access panels at strategic points to allow for future cleaning and inspection of your ductwork.
Sound-Proof Where Needed: For ducts running through quiet areas like bedrooms, consider using insulated flexible duct for the last few feet to reduce noise transmission
Conclusion
Mastering how to install heating & AC ducts might seem daunting at first glance, but armed with this easy guide, you've got what it takes to create an efficient, effective duct system for your home. Remember that proper planning is half the battle—take your time measuring, calculating, and mapping before cutting a single piece of ductwork. With careful attention to sealing and insulation, your DIY duct system can perform just as well as a professionally installed one, saving you thousands while providing the comfort you deserve. So roll up those sleeves, gather your materials, and transform your home's climate control one duct at a time!
Read next: How Much Does Air Duct Cleaning Cost? A Complete Guide
Frequently Asked Questions
Q1: How much money can I really save by installing ductwork myself?
A: Professional ductwork installation typically costs between $1,000 and $5,000 depending on the size of your home and complexity of the system. DIY installation usually costs between $500 and $1,500 for materials, potentially saving you thousands.
Q2: Do I need a permit to install my own ductwork?
A: It depends on your local building codes. Many jurisdictions require permits for new HVAC systems or significant modifications to existing ones. Check with your local building department before starting.
Q3: How long should ductwork last?
A: Properly installed metal ductwork can last 20-25 years or longer. Flexible ducts typically last 10-15 years before they may need replacement.
Q4: Can I connect new ductwork to my existing system?
A: Yes, but ensure the new sections are compatible in size and type. You'll also need to verify that your existing HVAC unit has the capacity to handle the additional square footage.
Q5: Should I clean my ducts after installation?
A: It's a good idea to vacuum out any construction debris before connecting to your HVAC system. However, a full professional cleaning isn't usually necessary for new installations.
Stay up to date with our latest ideas!