How to Remove a Dishwasher Safely and Easily
Learn how to remove a dishwasher safely and easily with our step-by-step guide covering tools, disconnection tips, and expert advice.

So your dishwasher has finally given up the ghost, huh? Maybe it's been making those awful grinding noises for months, or perhaps the dishes come out dirtier than when they went in. Whatever the reason, you've decided it's time for that old appliance to go. The good news is that removing a dishwasher isn't nearly as intimidating as it might seem, and with a little know-how, you can handle this project yourself without calling in a professional.
Here's the thing about dishwasher removal that trips up most people: they overthink it. Sure, you're dealing with water connections and electrical wiring, but once you understand what you're looking at and take proper precautions, the whole process becomes surprisingly manageable. In fact, most homeowners can complete this task in about an hour, maybe two if they're being extra careful or encounter some stubborn connections.
Whether you're replacing an old unit with a shiny new model, renovating your kitchen, or simply reclaiming that cabinet space for other uses, knowing how to remove a dishwasher safely and easily is a valuable skill that'll save you both time and money. Professional appliance removal services can charge anywhere from $100 to $200 or more, and honestly, that's money better spent elsewhere when you can do the job yourself.
Throughout this comprehensive guide, we'll walk through everything you need to know about disconnecting and removing your dishwasher without flooding your kitchen or giving yourself an electrical shock. We'll cover the tools you'll need, the preparation steps you shouldn't skip, and those little tricks that make the job go smoothly. By the time you finish reading, you'll feel confident tackling this project head-on. So let's roll up our sleeves and get started.
Why Would You Need to Remove a Dishwasher?
Before we dive into the how-to, let's briefly touch on the why. Understanding your end goal helps ensure you approach the removal correctly.
Replacement with a New Unit
This is the most common reason folks find themselves searching for removal instructions. The average dishwasher lasts between 7 and 12 years, depending on usage and maintenance. When yours starts leaving residue on dishes, making unusual sounds, or developing leaks, replacement often makes more sense than repair.
Kitchen Renovation
Maybe you're gutting your kitchen for a complete makeover. Removing the dishwasher might be necessary to install new cabinetry, change the layout, or update the flooring that runs beneath the appliance.
Repairs and Troubleshooting
Sometimes you need to pull out a dishwasher just to diagnose a problem or access components for repair. Water damage to adjacent cabinets, for instance, might require temporary removal for proper remediation.
Converting to Different Use
Some homeowners decide they'd rather have cabinet storage or install a specialty appliance like a wine cooler in that space. Lifestyle changes happen, and your kitchen should adapt accordingly.
Tools and Materials You'll Need
Getting everything together before you start prevents those annoying mid-project trips to the hardware store. Here's your shopping list for learning how to remove a dishwasher safely and easily.
Essential Tools
Adjustable wrench: For disconnecting water supply lines. A good quality adjustable wrench handles most fitting sizes you'll encounter.
Screwdrivers: Both flathead and Phillips head varieties. You'll need these for removing mounting brackets and accessing electrical connections.
Pliers: Channel-lock pliers work great for stubborn connections that won't budge with a wrench alone.
Flashlight or headlamp: The space under your dishwasher is dark, and you'll need to see what you're doing. A headlamp keeps your hands free.
Towels and rags: Water will drip when you disconnect lines. Having plenty of absorbent materials on hand prevents a mess.
Shallow pan or container: To catch water from the drain line and supply connections.
Voltage tester: This little tool confirms whether electrical circuits are truly off. Never trust a breaker label alone.
Optional but Helpful
Work gloves to protect your hands from sharp edges
Knee pads for comfort while working on the floor
Penetrating oil for stuck fittings
Bucket for carrying tools and catching water
Drop cloth to protect your flooring during removal
Preparation Steps Before Removal
Rushing into disconnection without proper prep is asking for trouble. Take these preliminary steps seriously.
Clear the Area
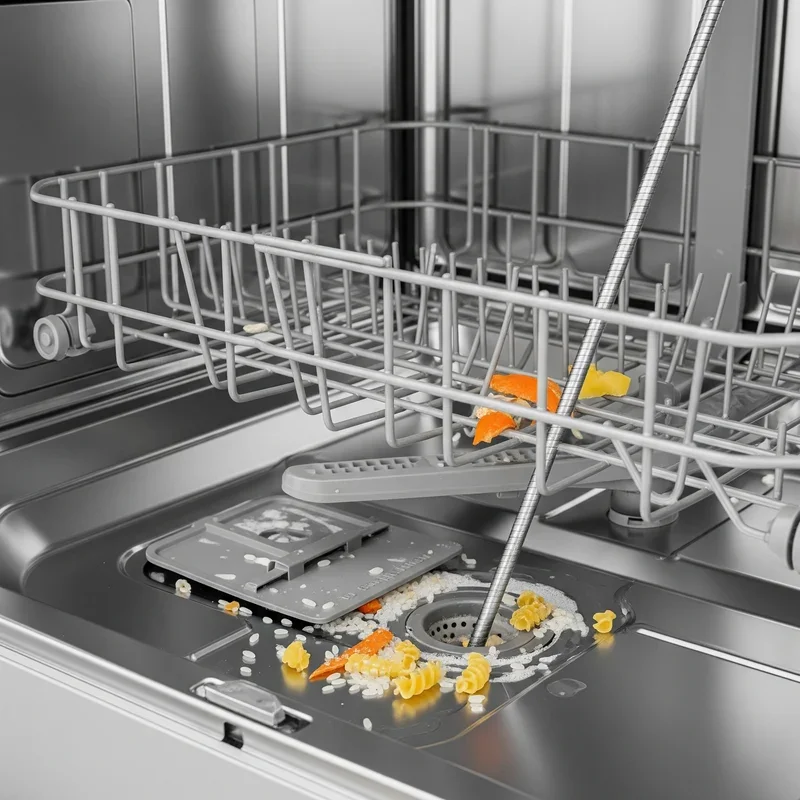
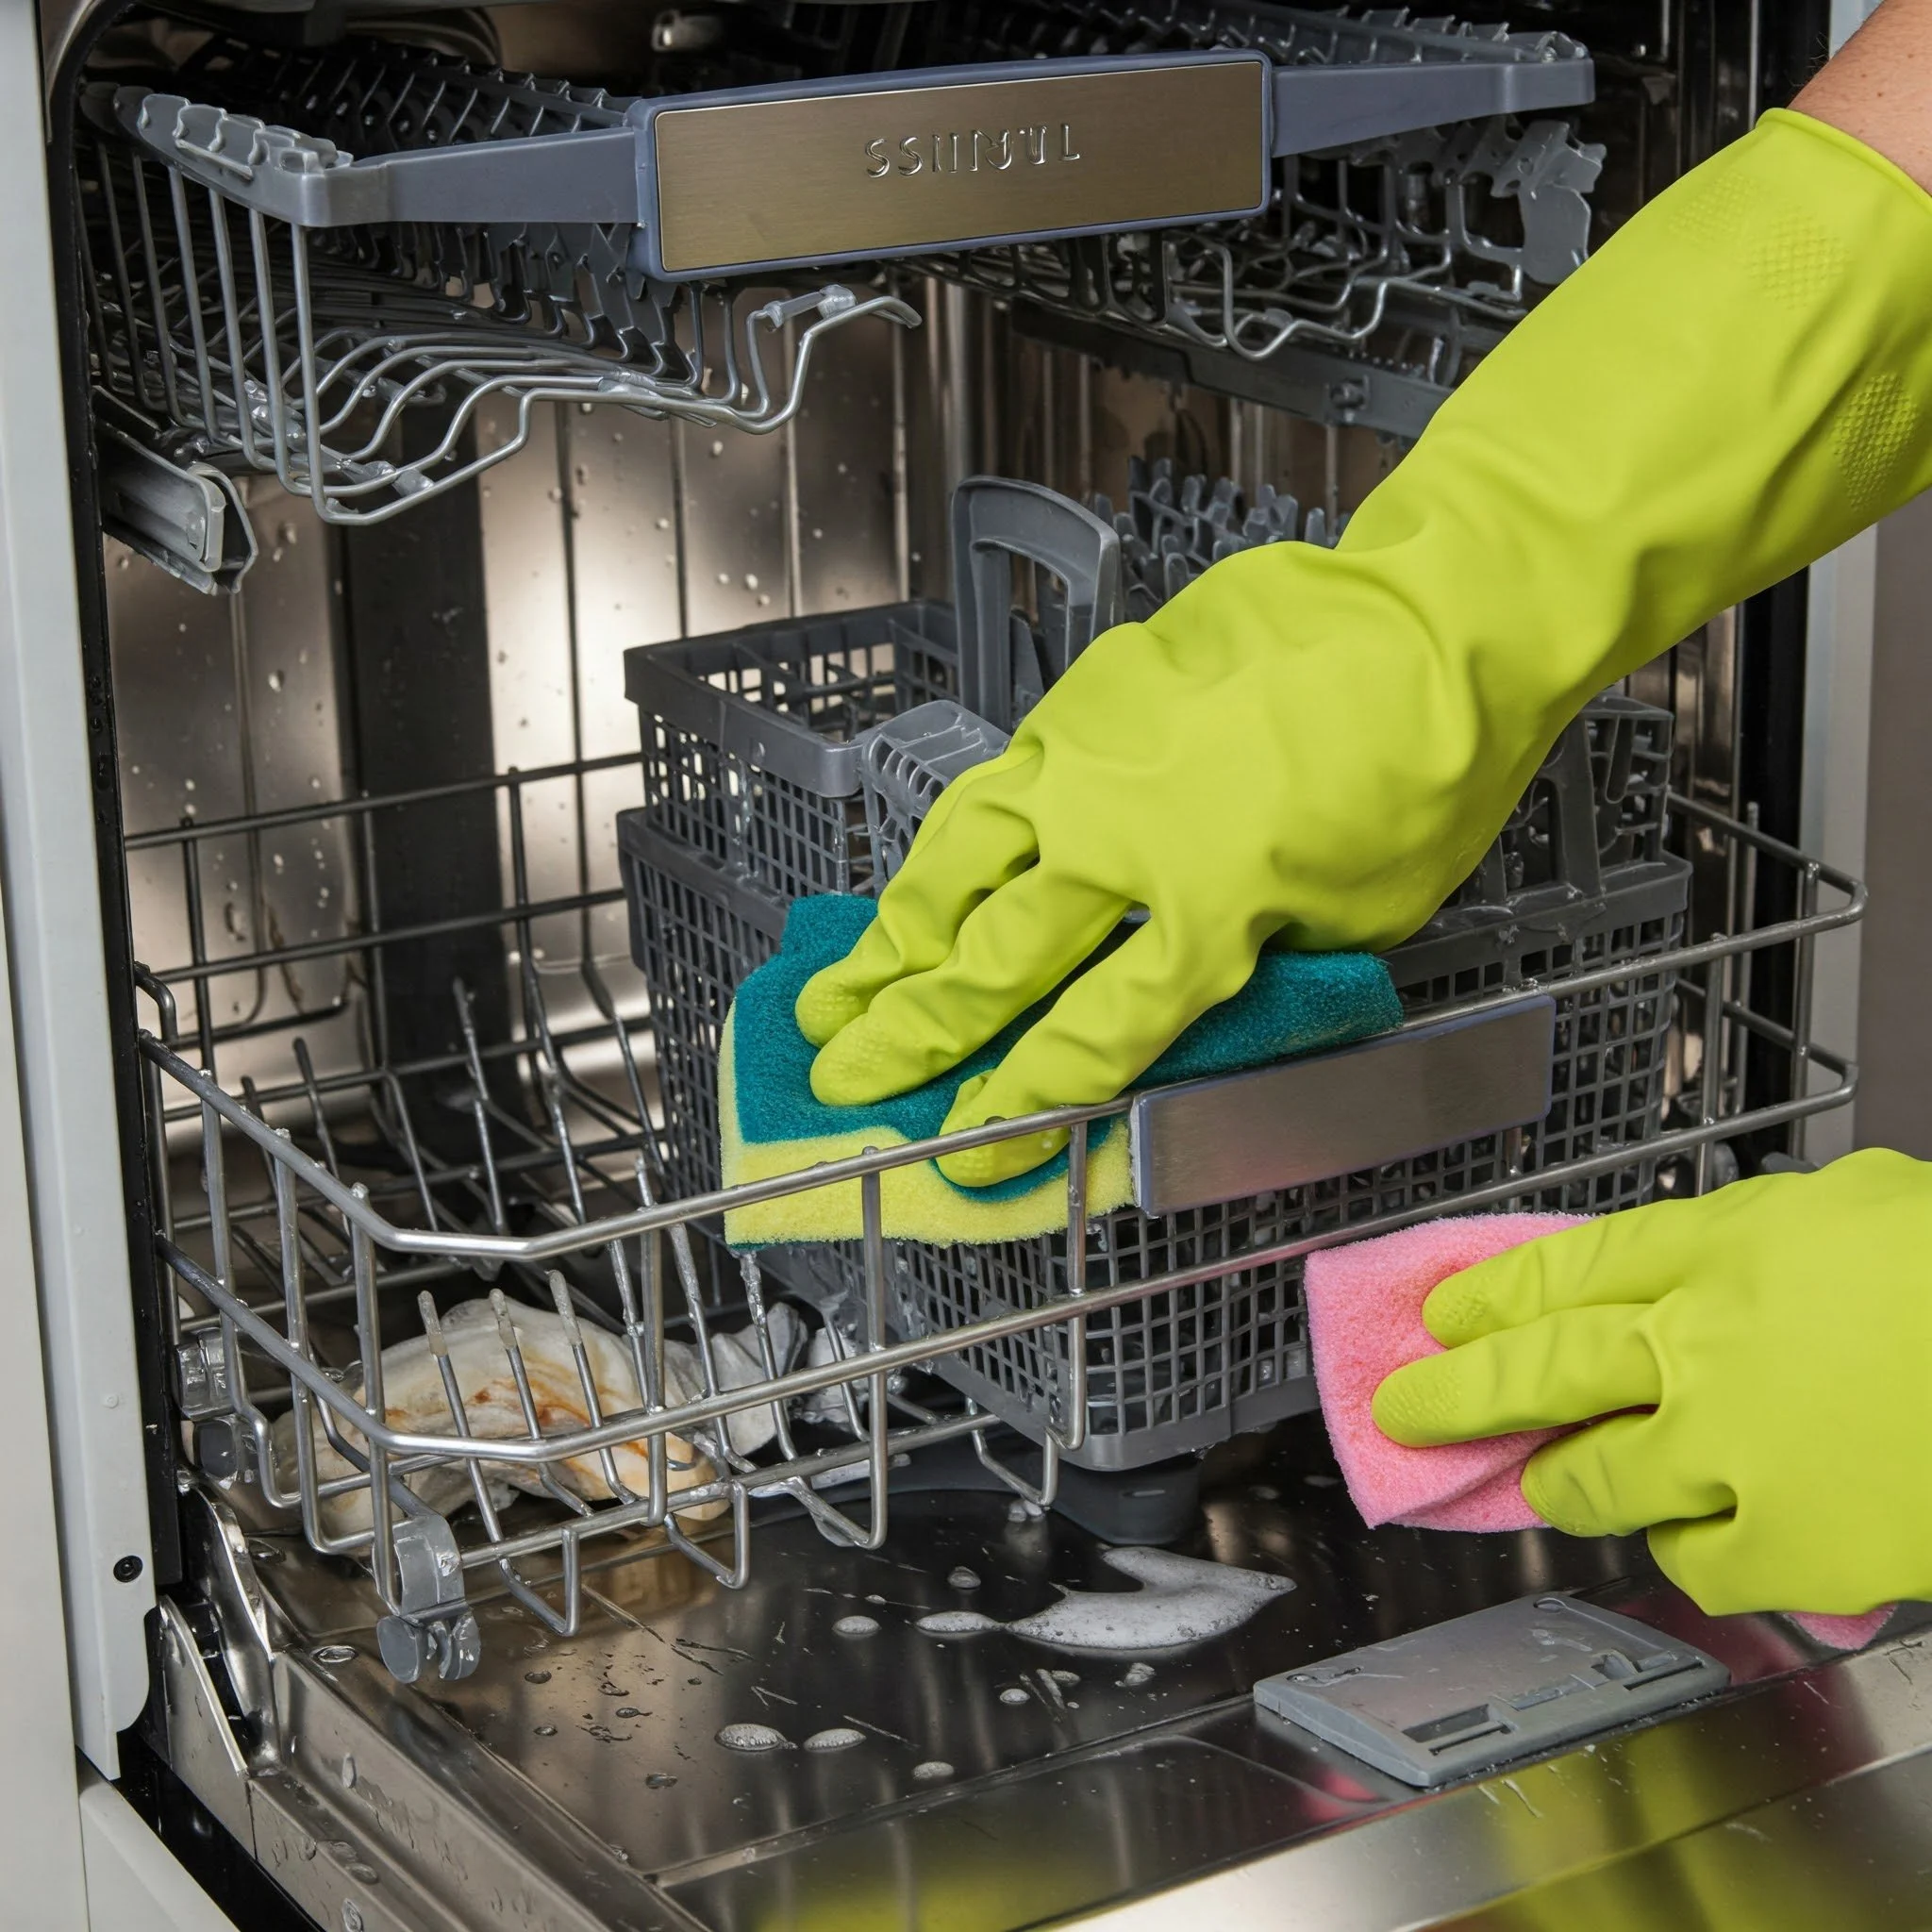
Remove everything from inside the dishwasher, including racks, utensil holders, and any forgotten dishes. Check the bottom for debris, silverware that might have fallen through, or standing water. Empty dishwashers are lighter and easier to maneuver.
Clear out the cabinets on either side of the dishwasher too. You'll need access to the space beneath the counter, and having room to work makes everything easier.
Run a Short Cycle (If Possible)
Here's a tip many people don't think about: if your dishwasher still runs, start a cycle and let it drain. Cancel it after the drain cycle completes. This removes most of the standing water from the sump and hoses, meaning less water to deal with during disconnection.
Locate Your Shutoff Valves
Find the water supply shutoff valve for your dishwasher. It's typically located under the kitchen sink, connected to the hot water supply line. The valve might be a standard gate valve, a quarter-turn ball valve, or sometimes a compression fitting. Familiarize yourself with its operation before you need to use it.
Identify the Electrical Setup
Dishwashers connect to electricity in one of two ways: hardwired directly into your home's electrical system or plugged into an outlet. Check beneath the dishwasher or in the adjacent cabinet space to determine which setup you have. This information affects how you'll approach the electrical disconnection.
Shutting Off Utilities: The Critical First Step
This is where safety becomes paramount. Water and electricity don't play nice together, and you definitely don't want to learn that lesson firsthand.
Turning Off the Water Supply
Locate the hot water shutoff valve under your sink. Turn it clockwise until it stops to shut off water flow to the dishwasher. If your valve is a quarter-turn ball valve, rotate the handle perpendicular to the pipe.
After closing the valve, turn on the hot water at your kitchen faucet briefly to release pressure in the lines. This step minimizes the water that'll spray when you disconnect the supply line from the dishwasher.
What if you can't find a dedicated shutoff valve? Some older installations connect the dishwasher directly to the hot water line without a separate valve. In this case, you'll need to shut off the main water supply to your home or the branch valve serving your kitchen.
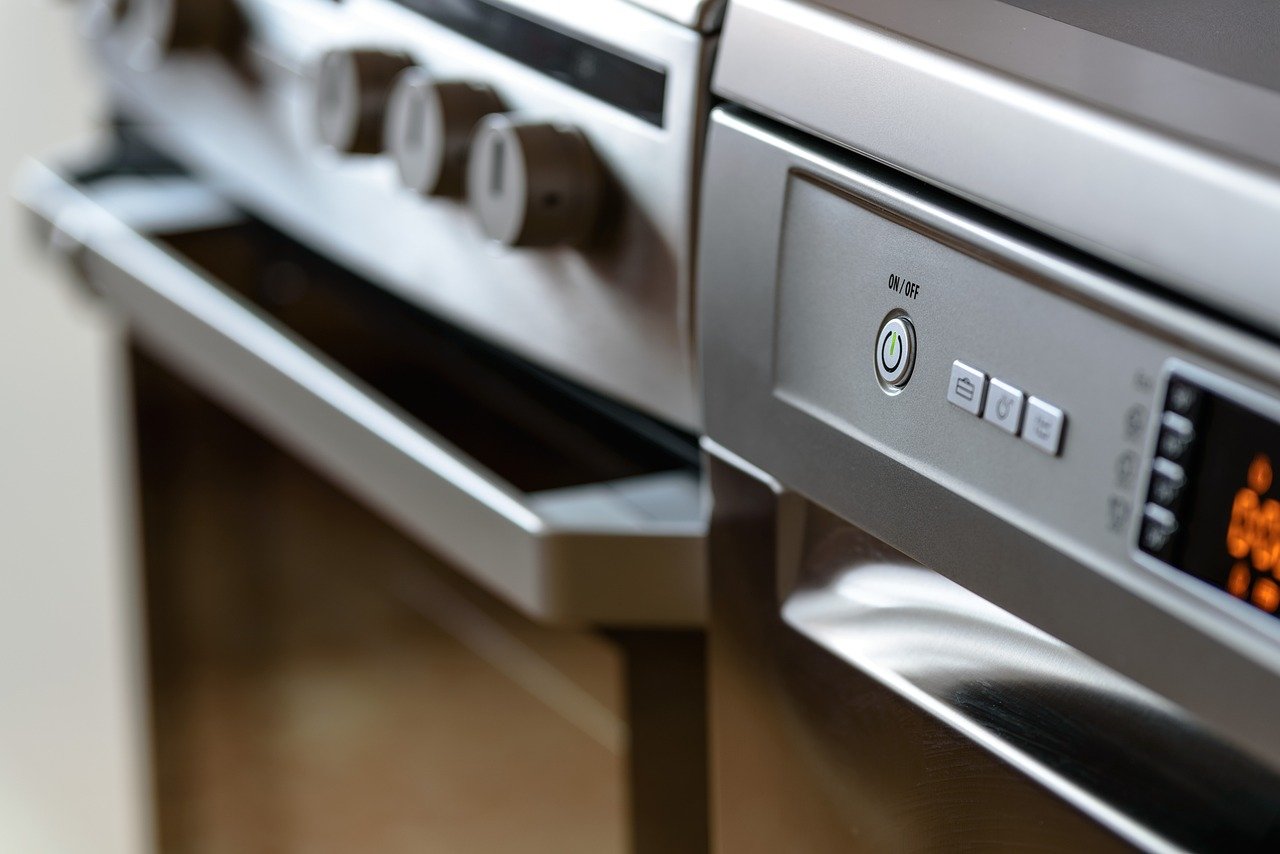
Cutting the Electrical Power
Head to your electrical panel and locate the breaker that controls your dishwasher circuit. It should be labeled, but labels aren't always accurate, especially in older homes. Flip the breaker to the off position.
Now here's the crucial part: verify the power is actually off. Use your voltage tester at the dishwasher's electrical connection point before touching any wires. This simple step takes seconds and could save your life. Never assume a breaker is correctly labeled or functioning properly.
If your dishwasher plugs into an outlet, simply unplug it. However, still verify with your voltage tester that the outlet isn't live before you go poking around inside the electrical junction box.
How to Remove a Dishwasher Safely and Easily: Step-by-Step Process
Alright, with utilities safely off, it's time to get down to business. Follow these steps in order for the smoothest removal experience.
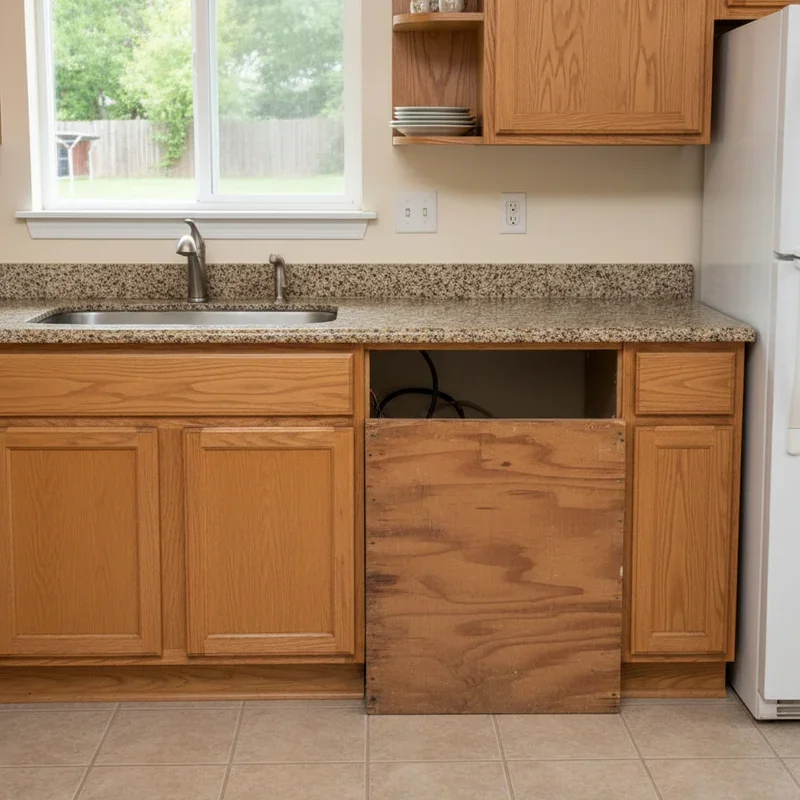
Step 1: Access the Front Panels
Most dishwashers have a lower access panel, sometimes called a kick plate, at the bottom front. This panel typically attaches with two screws, one on each side. Remove these screws and set the panel aside. Behind it, you'll find the water supply connection, drain hose, and electrical junction box.
Some models also have a narrow top panel just below the door that needs removal. Check your specific dishwasher's configuration and remove any panels blocking access to connections.
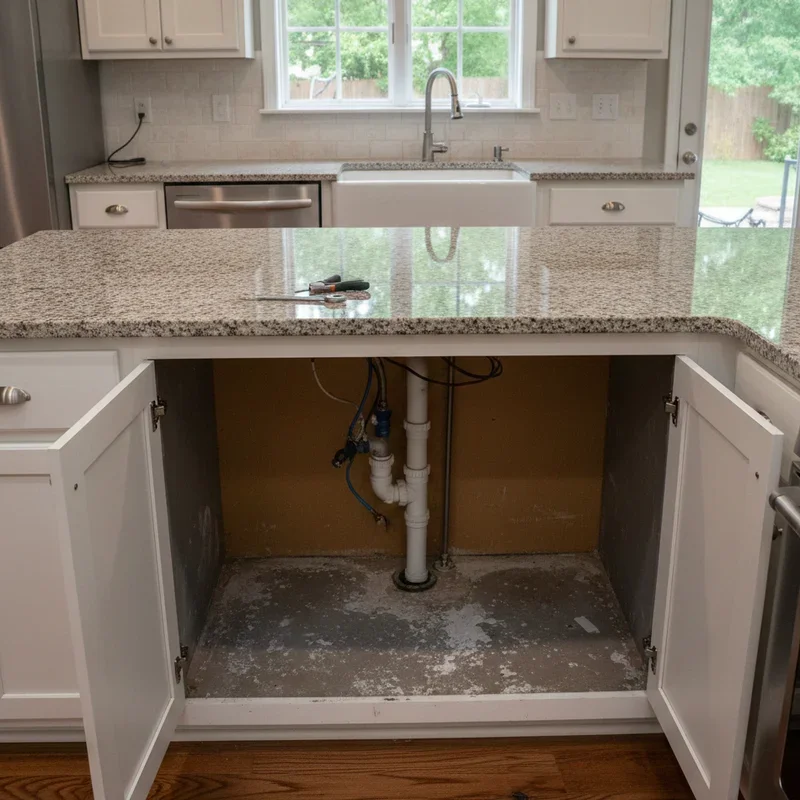
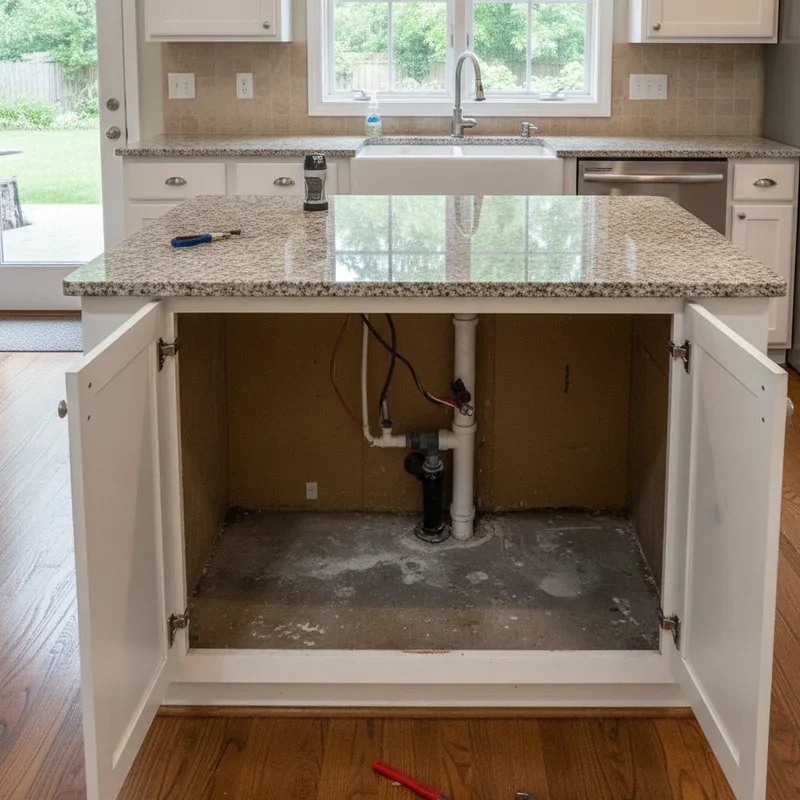
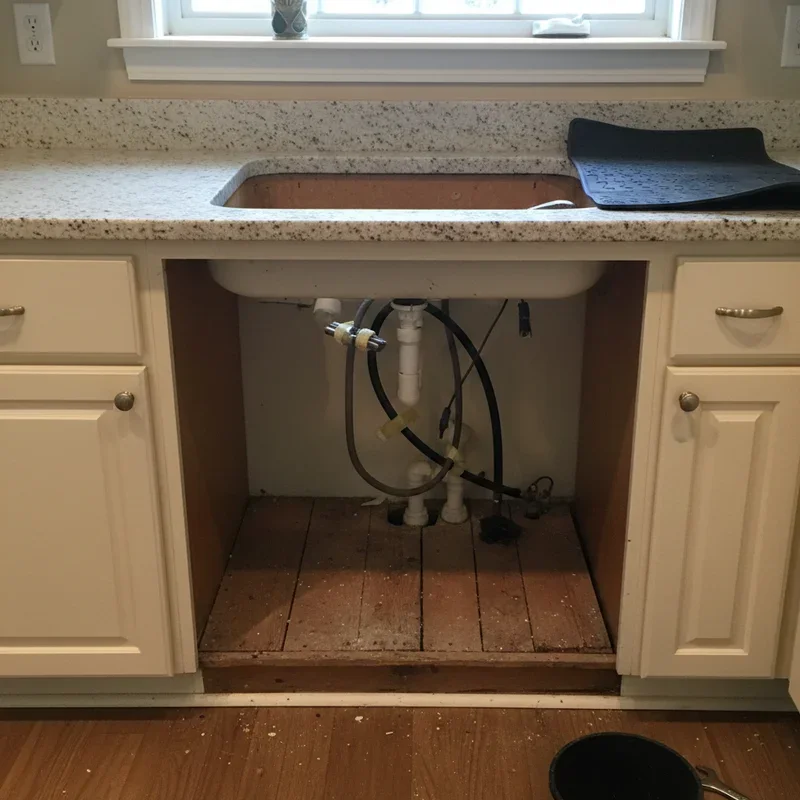
Step 2: Disconnect the Water Supply Line
Place your shallow pan or container beneath the water supply connection to catch drips. The supply line connects to an inlet valve, usually a 90-degree elbow fitting on the front left side of the dishwasher.
Using your adjustable wrench, loosen the compression fitting that connects the supply line to the inlet valve. Turn counterclockwise to loosen. Once loose, carefully pull the supply line free. Some water will drain out, so have those towels ready.
If the fitting seems stuck, try applying a bit of penetrating oil and letting it sit for a few minutes. Patience here prevents damaged fittings or stripped threads.
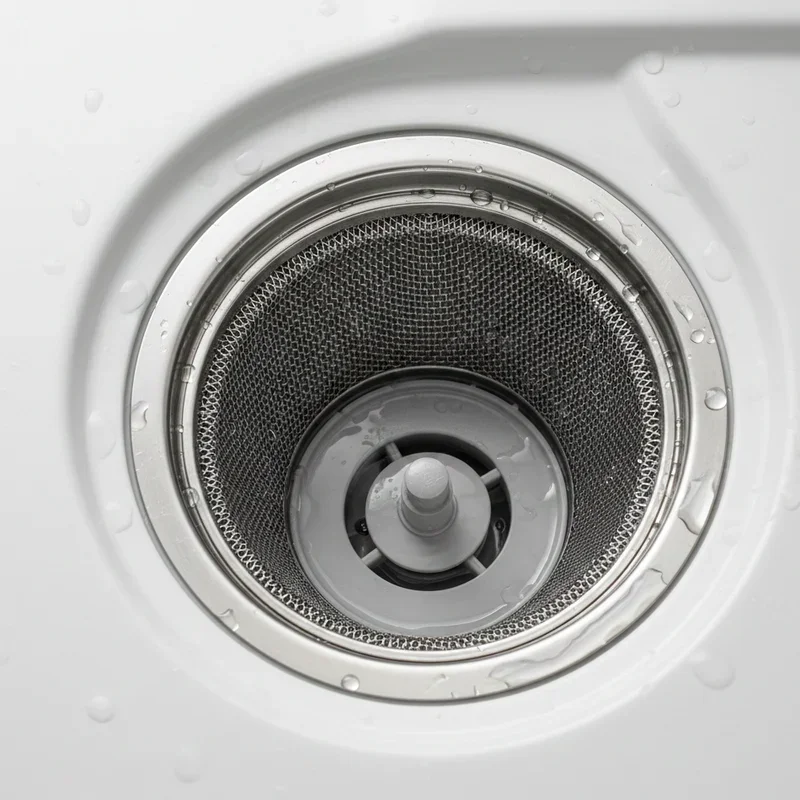
Step 3: Disconnect the Drain Hose
The drain hose typically connects either to your garbage disposal or to the sink's drain tailpiece. Follow the hose from the dishwasher to its termination point.
If connected to a garbage disposal, you'll find it attached to a side inlet on the disposal unit. Loosen the hose clamp using a screwdriver or pliers, then wiggle the hose free. Have your container ready because residual water will drain out.
For connections to the sink drain, the process is similar. Locate the hose clamp, loosen it, and pull the hose free. The drain hose might also loop up high under the counter before descending to its connection point; this loop prevents backflow into the dishwasher.
Step 4: Disconnect the Electrical Connection
With power verified off, remove the cover plate from the electrical junction box, usually located near the front of the dishwasher. Inside, you'll find wire connections covered with wire nuts.
Untwist the wire nuts to separate the dishwasher's wires from your home's electrical supply. You'll typically find three connections: black to black (hot), white to white (neutral), and green or bare copper (ground). Some installations use a metal conduit rather than flexible cable.
For plug-in installations, simply ensure the cord is unplugged and accessible. You may need to fish it out from behind or under the dishwasher.
Step 5: Remove the Mounting Brackets
Dishwashers are secured to the underside of the countertop using mounting brackets. Open the dishwasher door and look up at the top of the unit. You'll see brackets with screws going up into the countertop.
Remove these screws while supporting the dishwasher slightly to prevent it from tipping forward. Most units have two brackets, one on each side, but some have a third in the center. Check carefully and remove all mounting screws.
Some dishwashers also have side mounting brackets that attach to adjacent cabinets. Look for these and remove any screws securing them as well.
Step 6: Lower the Leveling Legs
Here's where a lot of people get stuck. Dishwashers have adjustable legs at the front that level the appliance and help it fit snugly under the countertop. These legs often need to be lowered (shortened) to create clearance for sliding the unit out.
Locate the adjustment screws on the front legs. Turning them clockwise usually lowers the leg. You might need to use pliers if the adjustment is stiff. Lower both front legs until you have some visible gap between the dishwasher top and the countertop underside.
Don't forget about the rear legs if your model has adjustable ones. Some dishwashers have fixed rear legs or rollers, which simplifies this step.
Step 7: Carefully Slide Out the Dishwasher
Before pulling the dishwasher forward, double-check that all connections are free and no hoses or wires are still attached. Overlooking a connection is the number one cause of water damage during dishwasher removal.
Protect your flooring by placing cardboard or a drop cloth in front of the dishwasher cavity. Then, grasping the dishwasher firmly on both sides, carefully walk it forward out of the opening. The unit is front-heavy when the door is open, so keep it closed during removal.
If the dishwasher seems stuck, don't force it. Check for obstructions, ensure the legs are lowered enough, and verify no connections remain attached. Sometimes the unit catches on uneven flooring or the drain hose gets snagged.
Step 8: Final Inspection and Cleanup
With the dishwasher out, take a moment to inspect the cavity. Look for signs of water damage, mold, pest activity, or deteriorated flooring. Addressing these issues now, before installing a new appliance, saves headaches later.
Clean up any debris, old insulation, or residue left behind. If you're not immediately installing a replacement, cap off the water supply line and cover the drain connection to prevent sewer gas from entering your kitchen.
Dealing with Common Challenges
Not every removal goes smoothly. Here's how to handle the curveballs this project might throw your way.
Stuck Water Fittings
Compression fittings that have been in place for years can seize up something fierce. If your adjustable wrench isn't cutting it, try these approaches:
Apply penetrating oil liberally and wait 15 to 20 minutes. Sometimes heat from a hair dryer helps expand metal fittings enough to break the seal. If all else fails, you may need to cut the supply line and replace the fitting entirely when installing the new unit.
Corroded Mounting Screws
Dishwashers create a humid environment, and mounting screws sometimes corrode into their holes. Try penetrating oil first. If the screw head strips, you might need to drill it out or use a screw extractor tool.
In extreme cases, you can rock the dishwasher slightly while pulling forward to break corroded screws free, though this risks damaging your countertop. Use this method as a last resort only.
No Apparent Shutoff Valve
Older homes sometimes lack dedicated dishwasher shutoff valves. If you can't find one, you have two options: shut off the main water supply to your home or install a shutoff valve before proceeding.
Installing a valve isn't complicated, but it does require cutting into your plumbing. If you're not comfortable with this, calling a plumber for just this portion might be worthwhile.
Hardwired Without Junction Box Access
Some older installations have the electrical connection buried behind the dishwasher where you can't easily reach it. In this situation, you may need to pull the dishwasher out slightly, supporting it carefully, to access the junction box for disconnection.
Safety Reminders Worth Repeating
When learning how to remove a dishwasher safely and easily, certain safety points deserve extra emphasis.
Electricity Demands Respect
Even after flipping the breaker, test for voltage before touching any wires. Breakers can fail, labels can be wrong, and assumptions can lead to serious injury. The few seconds spent testing could save your life.
Water Damage Happens Fast
Have towels and containers positioned before you disconnect any water lines. Even small amounts of water can damage flooring, especially if it seeps into the subfloor. Clean up drips immediately.
Mind Your Back
Dishwashers typically weigh between 70 and 100 pounds. Lift with your legs, not your back, and don't hesitate to ask for help maneuvering the unit out of its cavity. A pulled muscle isn't worth proving you can handle it solo.
Watch for Sharp Edges
The interior cavity and the dishwasher itself may have sharp metal edges. Work gloves protect your hands from cuts that can happen when reaching into tight spaces.
What to Do with Your Old Dishwasher
You've successfully removed the appliance. Now what?
Recycling Options
Many municipalities offer appliance recycling programs, and scrap metal recyclers often accept dishwashers for free or even pay you a few dollars. Check with your local waste management department for specific programs in your area.
Retailer Haul-Away
If you're purchasing a new dishwasher, many retailers offer haul-away service for your old unit, sometimes free with purchase or for a small fee. This convenient option handles disposal without any effort on your part.
Donation Possibilities
If your dishwasher still works and you're upgrading for other reasons, organizations like Habitat for Humanity ReStore accept functioning appliances. You'll help someone in need and possibly get a tax deduction.
Curbside Pickup
Some areas offer bulk item pickup for large appliances. Schedule a pickup with your waste management provider, following any preparation requirements they specify.
Conclusion
Removing a dishwasher is genuinely one of those home improvement tasks that sounds more intimidating than it actually is. With proper preparation, the right tools, and careful attention to safety when handling water and electrical connections, most homeowners can complete this project in an hour or two. This guide on how to remove a dishwasher safely and easily has walked you through every step, from preparation to final cleanup. Armed with this knowledge, you're ready to tackle the job confidently, saving yourself the cost of professional removal and gaining valuable DIY experience along the way.
Read next: How to Install a Dishwasher Step by Step
Frequently Asked Questions
1. How long does it take to remove a dishwasher?
Most homeowners can complete dishwasher removal in one to two hours with proper preparation.
2. Do I need to turn off electricity to remove a dishwasher?
Yes, always shut off the electrical breaker and verify power is off before disconnecting.
3. Can I remove a dishwasher by myself?
Yes, though having a helper makes maneuvering the heavy appliance out easier and safer.
4. What if I cannot find the water shutoff valve?
You may need to shut off the main water supply to your entire home.
5. Is it safe to leave the dishwasher space empty temporarily?
Yes, just cap water lines and cover drain connections to prevent odors and leaks.
Stay up to date with our latest ideas!