How to Paint a Bathroom: Step-by-Step Guide for Beginners
Learn how to paint a bathroom like a pro with our beginner-friendly guide. Get expert tips on prep, paint selection, and techniques.

So you've decided to give your bathroom a fresh new look, huh? Well, painting a bathroom isn't exactly rocket science, but it's not as simple as slapping some color on the walls either. Bathrooms are tricky little spaces with their own unique challenges, from humidity concerns to tight corners that'll test your patience. But don't worry because this comprehensive guide on how to paint a bathroom: step-by-step guide for beginners will walk you through everything you need to know.
Here's the thing about bathroom painting that most people don't realize. Your bathroom takes a beating every single day. Steam from hot showers, splashing water, fluctuating temperatures, and let's not forget all that moisture that loves to cling to every surface. Regular paint just won't cut it in this environment. You'll end up with peeling, bubbling, and mold growth faster than you can say "renovation disaster."
The good news? With the right preparation, quality materials, and a solid game plan, even complete beginners can achieve professional-looking results. Whether you're updating a tiny powder room or tackling a master bathroom renovation, this guide has got you covered. We're talking about everything from choosing the perfect paint sheen to mastering those cutting-in techniques that separate the amateurs from the pros.
Let's roll up our sleeves and dive into the nitty-gritty of bathroom painting, shall we?
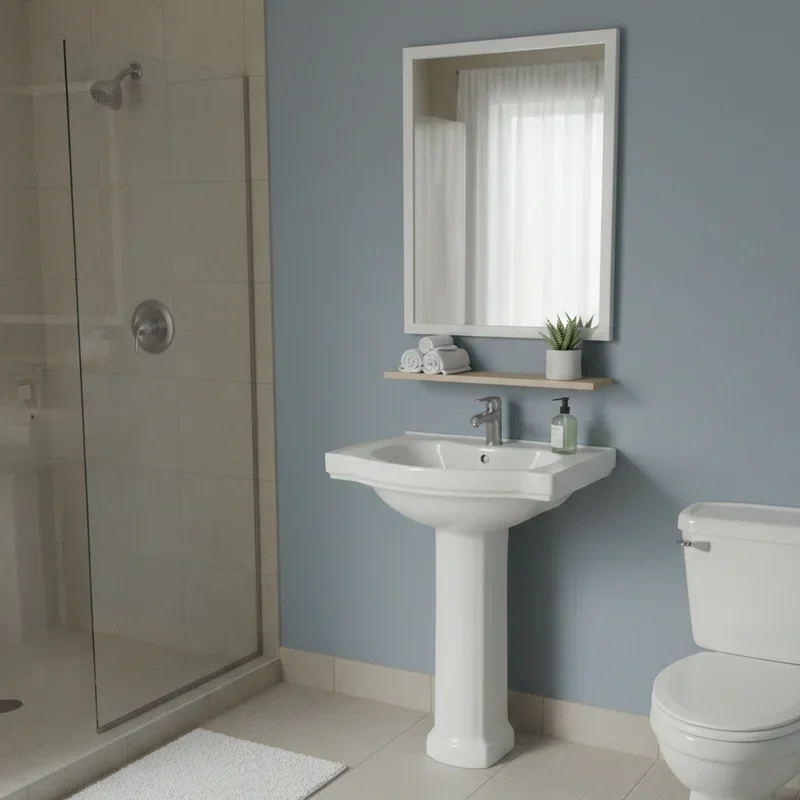
Why Bathroom Painting Requires Special Consideration
Before we jump into the actual painting process, it's crucial to understand why bathrooms demand extra attention compared to other rooms in your home. You see, bathrooms are basically humidity factories. Every shower, every bath, and even running the sink creates moisture that hangs around in the air and settles on your walls.
This constant exposure to moisture means that standard interior paint will quickly become your worst enemy. Within months, you might notice the paint starting to peel away from surfaces. Mold and mildew could begin creeping into corners and along ceiling lines. The whole room might start looking dingy and worn despite being recently painted.
That's precisely why this how to paint a bathroom: step-by-step guide for beginners emphasizes proper preparation and paint selection. When you do things right from the start, your paint job can last for years without showing signs of wear. Skip the crucial steps, and you'll find yourself repainting way sooner than you'd like.
Additionally, bathrooms typically have more obstacles to work around than other rooms. Toilets, vanities, mirrors, light fixtures, and shower enclosures all create challenges that require careful planning and precise technique. But honestly, once you know what you're doing, these challenges become manageable tasks rather than overwhelming obstacles.
Gathering Your Supplies and Materials
Alright, let's talk about what you'll need to get this job done right. Having everything ready before you start will save you from those frustrating mid-project trips to the hardware store. Trust me, there's nothing worse than stopping halfway through because you forgot painter's tape.
For paint and primers, you'll want to pick up a high-quality bathroom-specific paint with mildew-resistant properties. Satin or semi-gloss finishes work best in bathrooms because they're easier to clean and resist moisture better than flat paints. You'll also need a primer designed for bathroom use, especially if you're covering darker colors or dealing with stained surfaces.
Your tool kit should include a variety of brushes in different sizes. A two-inch angled brush works wonders for cutting in around edges and trim. A three-inch brush handles larger flat areas nicely. For the bulk of your wall coverage, grab a quality roller with a three-eighths inch nap cover, which provides the perfect balance between smooth application and adequate paint pickup.
Don't forget the supporting cast of supplies either. Painter's tape in various widths, drop cloths to protect your floors and fixtures, a paint tray with disposable liners, sandpaper in various grits, a putty knife, spackling compound, and clean rags should all be on your list. Oh, and grab a sturdy step stool because bathrooms often have tall ceilings relative to their floor space.

Preparing Your Bathroom for Painting Success
Here's where the real work begins, and honestly, this stage is where most DIY paint jobs go wrong. Proper preparation isn't glamorous, but it's absolutely essential. Skimp on prep work, and your beautiful new paint color will start failing within months.
Clearing and Protecting the Space
First things first, clear out everything you possibly can from the bathroom. Remove towels, rugs, toiletries, and any decorative items. Take down curtains, towel bars, toilet paper holders, and light fixture covers if possible. The more stuff you remove, the easier your painting process will be.
For items that can't be removed, like the toilet, sink, and bathtub, cover them carefully with plastic sheeting and secure it with painter's tape. Use drop cloths on the floor, making sure they're taped down at the edges so they don't shift while you're working. You'd be surprised how easily paint splatters can travel across a room.
Cleaning the Walls Thoroughly
Bathroom walls accumulate all sorts of grime that you might not even notice until you try painting over it. Soap scum, body oils, hairspray residue, and general dust create a film that prevents paint from adhering properly. Give your walls a thorough cleaning with a solution of trisodium phosphate mixed with warm water, then rinse with clean water and let everything dry completely.
Pay special attention to areas around the toilet and near the shower or tub where moisture and residue tend to concentrate. Those spots need extra scrubbing to ensure a clean surface for your new paint.
Repairing Surface Imperfections
Now's the time to fix any holes, cracks, or dents in your walls. Use spackling compound to fill nail holes and small imperfections, applying it with a putty knife and letting it dry completely according to the manufacturer's instructions. For larger repairs, you might need joint compound and possibly even some patching material for more significant damage.
Once your repairs are dry, sand them smooth with fine-grit sandpaper until they're flush with the surrounding wall surface. Run your hand over the repairs to check for smoothness because any bumps or ridges will show through your paint job. Wipe away sanding dust with a damp cloth before moving forward.
Choosing the Right Paint for Humid Environments
Selecting the proper paint makes an enormous difference in how your bathroom holds up over time. Not all paints are created equal, and bathroom environments demand specific properties that standard interior paints simply don't offer.
Understanding Paint Sheens
When it comes to bathrooms, you've got several sheen options to consider. Flat or matte finishes might look sophisticated, but they're terrible choices for bathrooms because they absorb moisture and are difficult to clean. Eggshell offers a slight sheen and some washability, making it acceptable for powder rooms with minimal moisture exposure.
Satin finishes hit the sweet spot for most bathroom applications. They offer a subtle luster that's easy to clean while being durable enough to handle regular moisture exposure. Semi-gloss takes durability up another notch with even better moisture resistance and easier cleaning, though some folks find it a bit too shiny for their taste.
For areas that get direct water exposure, like walls surrounding the shower or tub, semi-gloss is really your best bet. The extra shine might take some getting used to, but the practical benefits outweigh aesthetic concerns in these high-moisture zones.
Mildew-Resistant Formulations
Look for paints specifically labeled as bathroom paint or those containing mildewcides in their formulation. These additives help prevent mold and mildew growth on your painted surfaces, which is crucial in bathroom environments. Many major paint brands offer bathroom-specific lines that combine moisture resistance with mildew-fighting properties.
While these specialty paints typically cost more than standard interior paints, the investment pays off through longer-lasting results and reduced maintenance headaches. Think of it as paying a little more now to avoid repainting in two years.
Mastering the Priming Process
Primer might seem like an unnecessary extra step, especially if you're painting over existing paint in a similar color. However, in bathroom applications, primer serves several critical functions that make it well worth the extra time and expense.
When Primer Is Essential
You absolutely need primer when covering dark colors with lighter shades, painting over new drywall or patches, dealing with stained surfaces, or switching from oil-based to latex paint. Primer creates a uniform surface that allows your topcoat to adhere properly and provides consistent color coverage.
Even if you think you don't need primer, consider using one anyway in bathroom settings. Many primers are specifically formulated to block moisture and prevent stain bleed-through, providing an extra layer of protection for your paint job.
Application Tips for Primer
Apply primer using the same techniques you'll use for your finish coat. Cut in around edges with a brush first, then roll the main wall surfaces. Work in small sections to maintain wet edges and avoid lap marks. Let the primer dry completely according to label directions before proceeding to your color coat.
If you notice any imperfections or rough spots after priming, now's the time to address them. A light sanding with fine-grit sandpaper can smooth out minor issues before you apply your finish paint.

How to Paint a Bathroom: Step-by-Step Guide for Beginners - The Actual Painting Process
Finally, we've reached the main event. With all your preparation complete and primer dried, it's time to bring color to your bathroom walls. Take a deep breath because this is the fun part.
Cutting In Around Edges
Start by cutting in around all the edges of your walls with your angled brush. This means painting a two to three-inch border along the ceiling line, in corners, around door and window frames, and along baseboards. Load your brush with a moderate amount of paint and tap off the excess rather than wiping it on the rim of the can.
Hold your brush at a slight angle and use smooth, steady strokes to create clean lines. Work slowly and carefully, especially along the ceiling where mistakes are most visible. Many painters find it helpful to cut in the entire room before switching to the roller, while others prefer to cut in one wall at a time and immediately roll it.
Rolling the Main Wall Surfaces
Pour paint into your tray and load your roller by dipping it into the paint and rolling it on the tray's textured surface until the roller is evenly coated. You want enough paint for good coverage without drips or heavy spots.
Apply paint to the wall using a W or M pattern, then fill in the pattern with overlapping strokes to distribute the paint evenly. Work from top to bottom and maintain a wet edge to prevent visible lines where wet paint meets dried sections. Don't press too hard on the roller because excessive pressure causes uneven coverage and can create texture problems.
Working Around Bathroom Fixtures
When painting around toilets, sinks, and other fixtures, patience becomes your best friend. Use your smaller brushes to carefully work into tight spaces, applying paint in thin, even coats. If you can't reach behind a fixture properly, consider whether removing it might be easier than working around it.
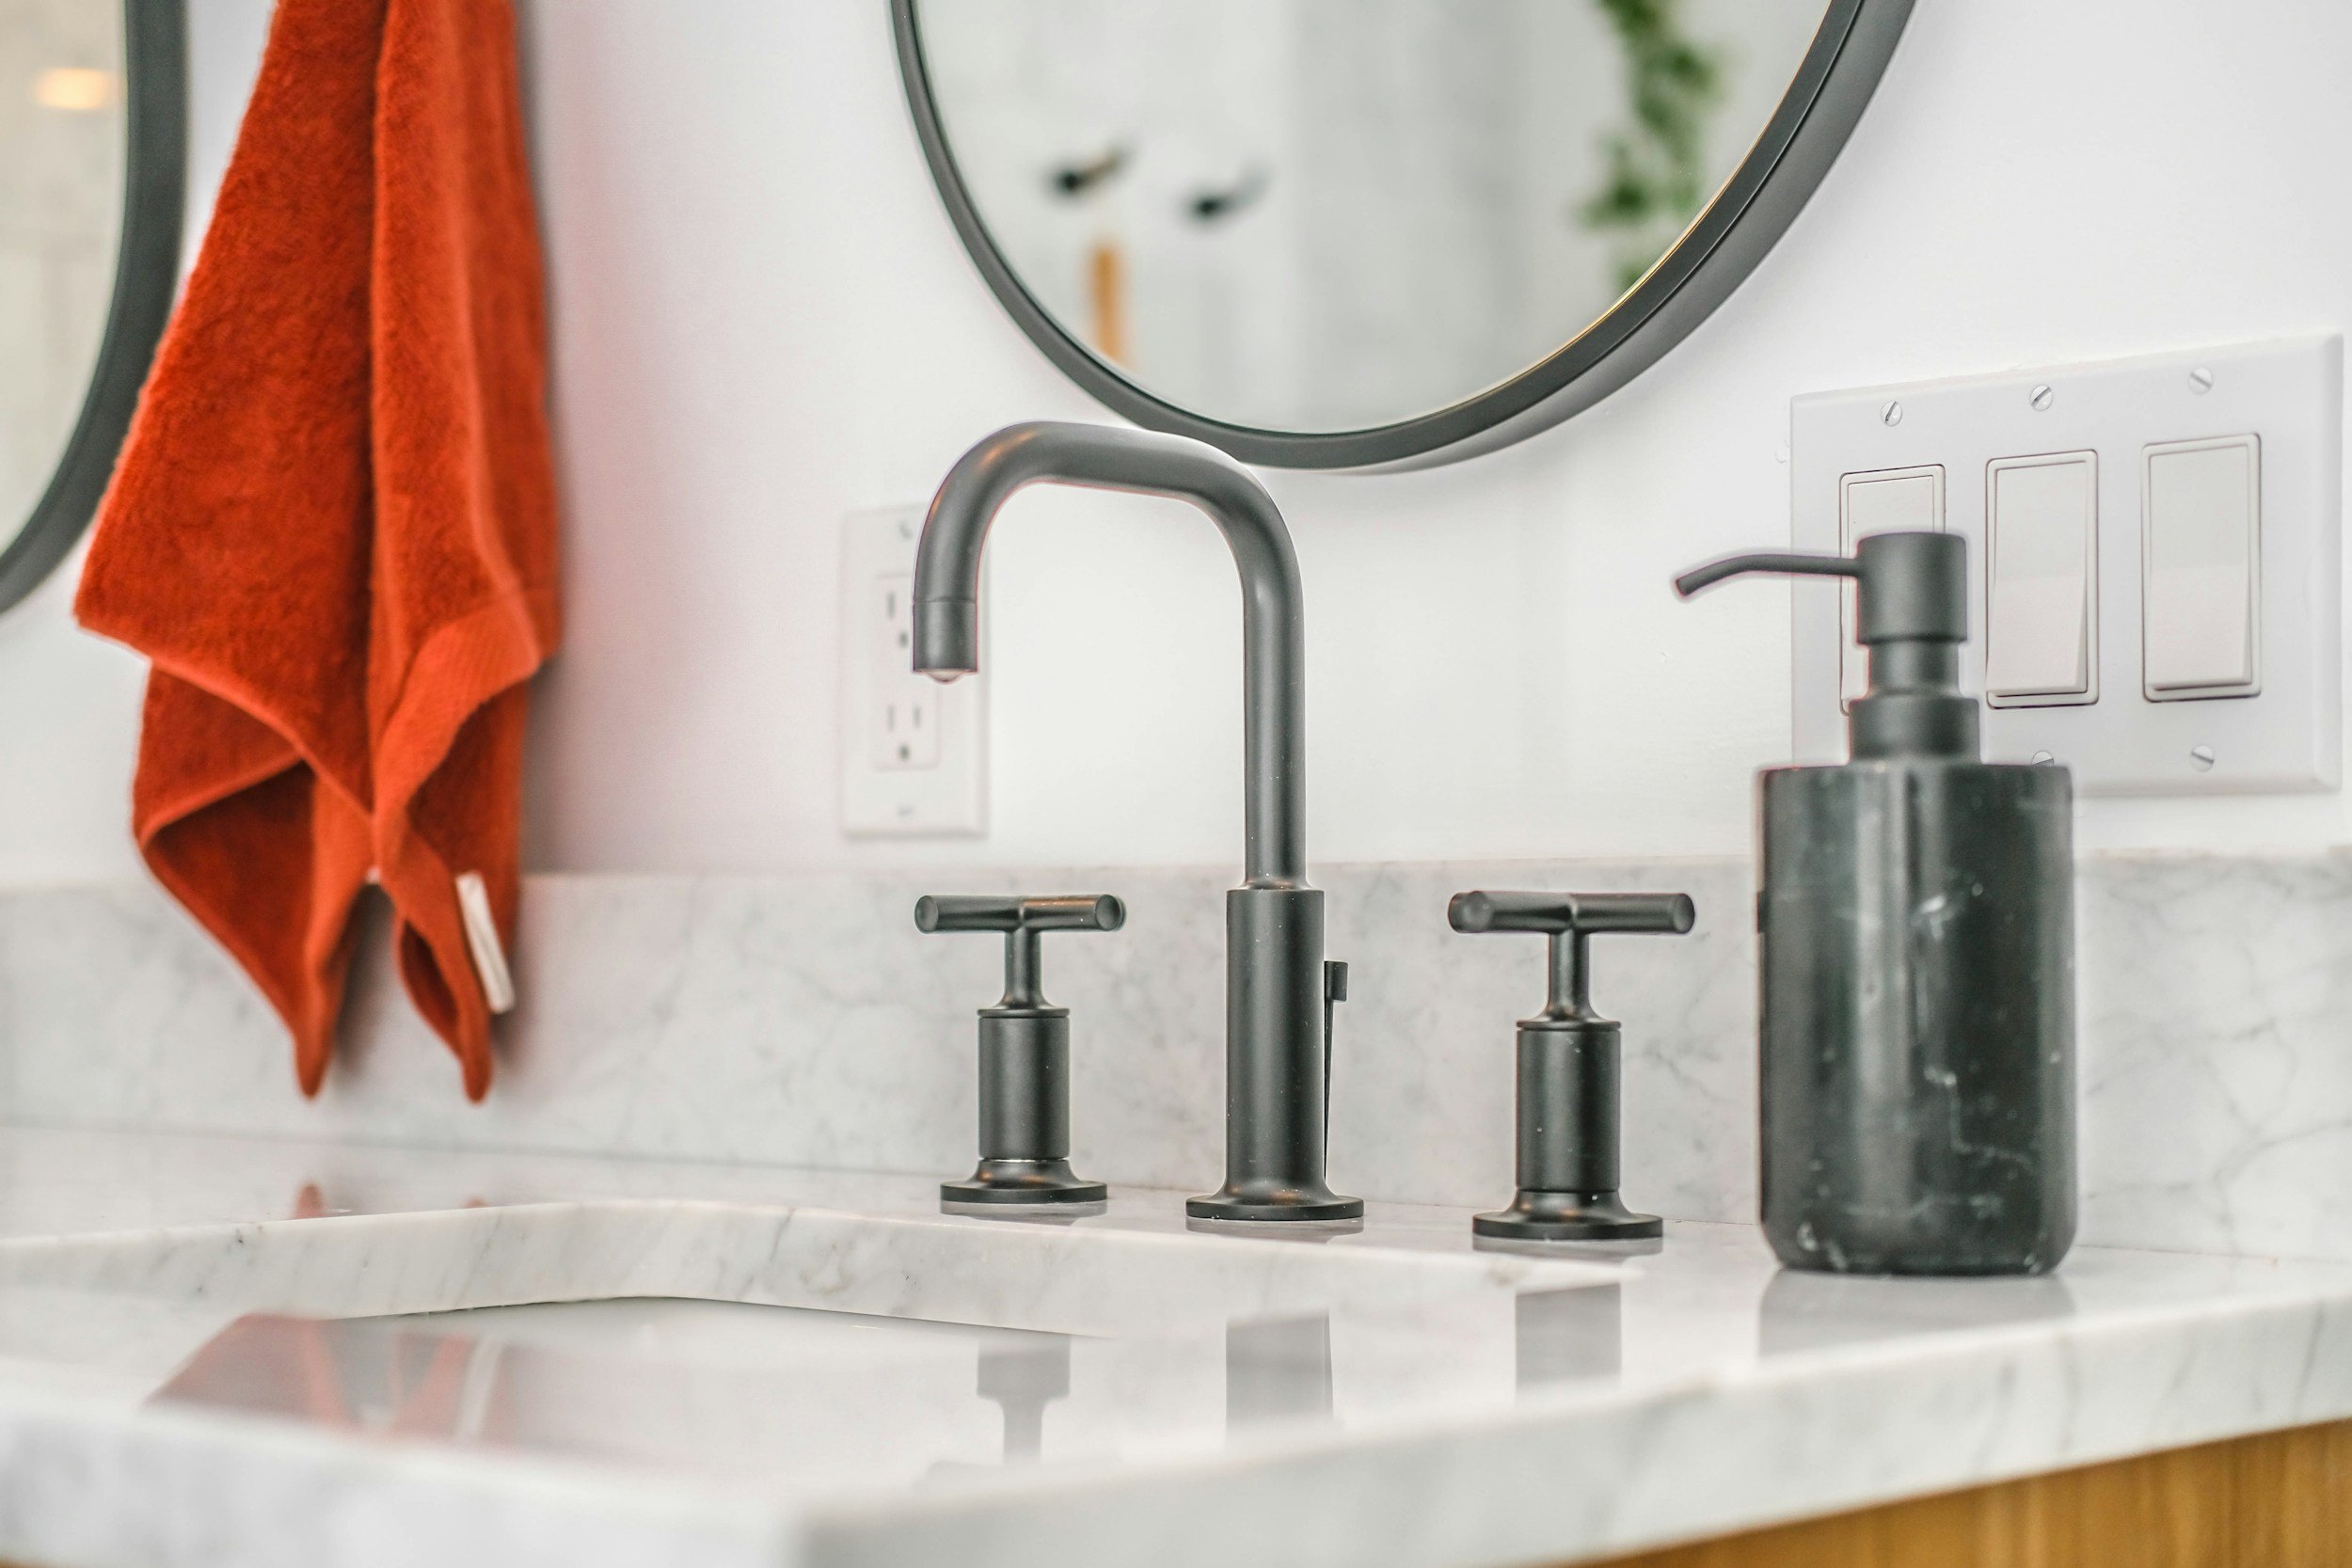
For areas around medicine cabinets and mirrors, be especially careful with your tape application and paint technique. These are high-visibility areas where sloppy work will be noticed every single day.
Applying Multiple Coats
One coat rarely provides sufficient coverage and durability in bathroom settings. Plan on applying at least two coats of your finish paint, allowing adequate drying time between coats. Check your paint can for specific recoat times because applying the second coat too soon can cause problems like lifting and uneven texture.
When applying your second coat, pay attention to any spots that look thin or uneven from the first coat. These areas might need extra attention or even a third coat to achieve uniform coverage.
Professional Tips for Flawless Results
Want your bathroom paint job to look like a professional handled it? These insider tips will elevate your results from acceptable to impressive.
Maintaining Consistent Technique
Consistency is everything when it comes to professional-quality results. Use the same amount of paint on your brush or roller throughout the project. Apply pressure evenly as you work. Keep your cutting-in technique uniform from wall to wall. These small consistencies add up to a cohesive, polished final appearance.
Managing Tape Removal
Here's a trick that many beginners miss. Remove your painter's tape while the final coat is still slightly tacky rather than waiting until it's completely dry. Pull the tape back on itself at a forty-five degree angle, working slowly and steadily. This technique helps prevent the paint from peeling up with the tape and creates crisp, clean lines.
If you do wait until the paint is fully cured, score along the tape edge with a utility knife before removing to prevent tearing.
Dealing With Touch-Ups
Even with careful work, you'll likely need to do some touch-ups once everything dries and you can see the results in natural lighting. Keep some of your leftover paint for this purpose. Apply touch-ups with a small brush, feathering the edges to blend with the surrounding paint.
For best results, touch-ups should be done within a few weeks of the original paint job. Paint colors can shift slightly over time due to oxidation and exposure, making older touch-ups more noticeable.
Cleanup and Curing Considerations
Your painting is done, but the job isn't quite finished yet. Proper cleanup and allowing adequate cure time ensures your hard work pays off in the long run.
Cleaning Your Tools
If you've used latex paint, clean your brushes and rollers with warm, soapy water immediately after finishing. Work the soap through the bristles or nap until the water runs clear. Reshape brush bristles and stand brushes upright to dry, or hang them with bristles facing down.
Dispose of paint cans, used tape, and drop cloths according to your local regulations. Many areas have specific requirements for paint disposal, so check before tossing everything in the trash.
Allowing Proper Cure Time
Here's something crucial that many eager homeowners overlook. Paint might feel dry to the touch within hours, but it takes much longer to fully cure and develop maximum durability. In bathroom environments, wait at least two weeks before exposing your new paint to steam from showers or baths.
During this curing period, keep humidity levels as low as possible by running exhaust fans and leaving the door open when the bathroom isn't in use. This helps the paint cure properly and develop its full moisture-resistant properties.

Common Mistakes to Avoid
Learning from others' mistakes saves you time, money, and frustration. Here are the pitfalls that trip up most beginners.
Skipping primer to save time almost always backfires with poor adhesion and uneven coverage. Using cheap paint that lacks moisture resistance leads to premature failure. Rushing through surface preparation causes peeling and adhesion problems. Painting in high humidity conditions prevents proper drying. Applying coats too thick creates runs, drips, and extended drying times.
Additionally, many beginners underestimate how much paint they'll need and end up with mismatched batches. Calculate your square footage and buy enough paint for at least two coats, plus a little extra for touch-ups. Having paint left over is far better than running short mid-project.
Conclusion
Painting your bathroom doesn't have to be intimidating, even if you've never picked up a paintbrush before. By following this how to paint a bathroom: step-by-step guide for beginners, you'll achieve results that rival professional work. Remember that proper preparation, quality materials, and patience are your keys to success. Take your time with each step, don't cut corners on prep work, and let each coat dry thoroughly. Your freshly painted bathroom will reward you with years of beautiful, durable color.
Read next: How to Get Paint Out of Clothes Easily
Frequently Asked Questions
1. What type of paint finish works best for bathroom walls?
Satin or semi-gloss finishes are ideal because they resist moisture and clean easily.
2. How long should I wait between paint coats in a bathroom?
Wait at least two to four hours between coats, following your specific paint's recommendations.
3. Can I paint over existing bathroom paint without priming first?
Yes, if existing paint is in good condition and you're using similar colors.
4. How long before I can shower after painting my bathroom?
Wait at least two weeks for paint to fully cure before exposing it to steam.
5. Do I need special paint for bathroom ceilings?
Yes, use ceiling paint with mildew-resistant properties formulated for high-humidity areas.
Stay up to date with our latest ideas!