How to Paint a Front Door: Tools, Prep, and Tips
Discover how to paint a front door with essential tools, prep, and tips. Transform your home's entrance this weekend!

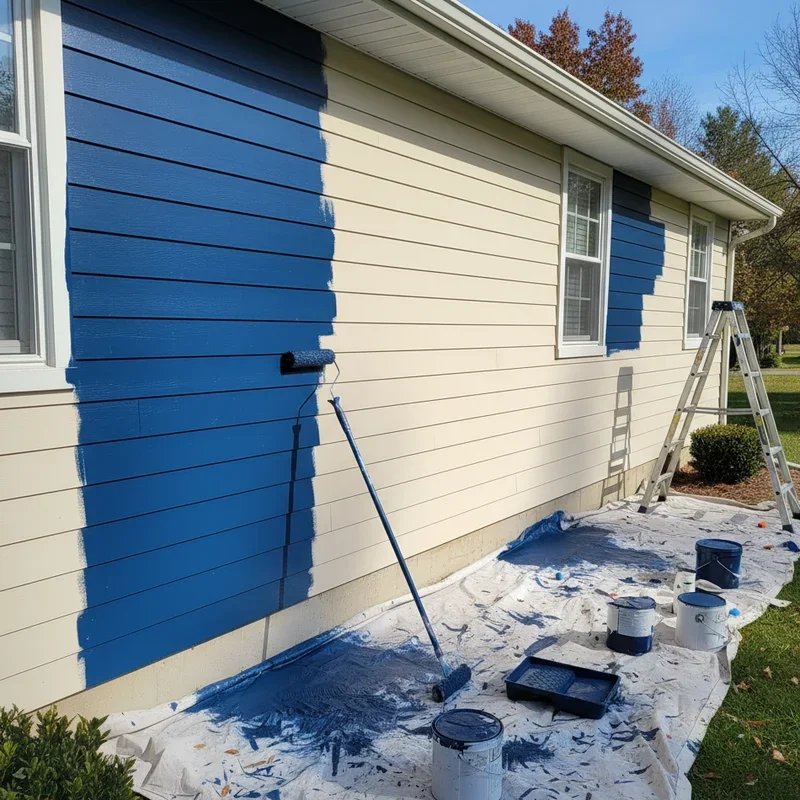
Your front door is basically your home's handshake. It's the first thing visitors notice, and let's be honest, it says a lot about what's inside. A faded, peeling, or just plain boring door? That's not the impression you want to make. But here's the beautiful thing about front doors. A fresh coat of paint can completely transform your home's entire appearance in just a single afternoon.
Now, I know what you're thinking. Painting sounds simple enough, right? Just slap some color on there and call it a day? Well, not quite. There's definitely a right way and a wrong way to tackle this project, and the difference shows. A rushed paint job leaves you with drips, brush marks, and peeling paint within months. A properly done job? That'll look gorgeous for years and make your neighbors wonder if you hired a professional.
The good news is that painting your front door is absolutely a DIY-friendly project. You don't need fancy equipment or years of experience. What you do need is the right approach, a bit of patience, and some insider knowledge about what actually works. This how to paint a front door: tools, prep, and tips guide covers everything from choosing the perfect color to that final satisfying brush stroke. By the time we're done, you'll be ready to give your entrance the makeover it deserves!
Why Your Front Door Deserves Fresh Paint
Before we grab the brushes, let's talk about why this project is worth your weekend. Understanding the benefits helps you appreciate why each step matters.
Instant Curb Appeal Boost
Real estate agents always say that curb appeal sells houses, and they're not wrong. A freshly painted front door can increase your home's perceived value significantly. Even if you're not selling, driving up to a welcoming, attractive entrance just feels good.
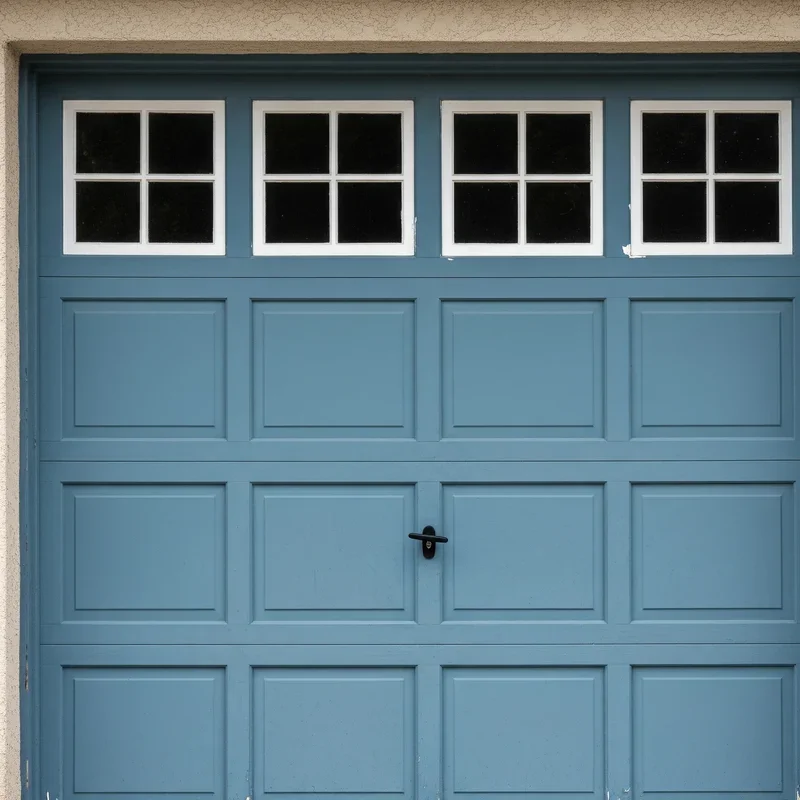
The color you choose communicates personality. Bold red says confident and energetic. Classic black whispers sophistication. Cheerful yellow radiates warmth and friendliness. Your door color sets the tone before anyone steps inside.
Protection Against the Elements
Paint isn't just decorative. It's your door's armor against sun, rain, snow, and temperature swings. Quality exterior paint creates a protective barrier that prevents moisture damage, wood rot, and UV degradation.
Without this protection, wooden doors deteriorate surprisingly fast. Even fiberglass and steel doors need paint to prevent fading, chalking, and corrosion. Regular repainting every few years maintains this crucial protective layer.
Cost-Effective Home Improvement
Compared to other home upgrades, painting your front door delivers incredible bang for your buck. A gallon of quality paint, some basic supplies, and an afternoon of work transforms your home's entire facade for under fifty bucks.
Try getting that kind of impact from any other home improvement project. You'd be hard-pressed to find something with better return on investment.
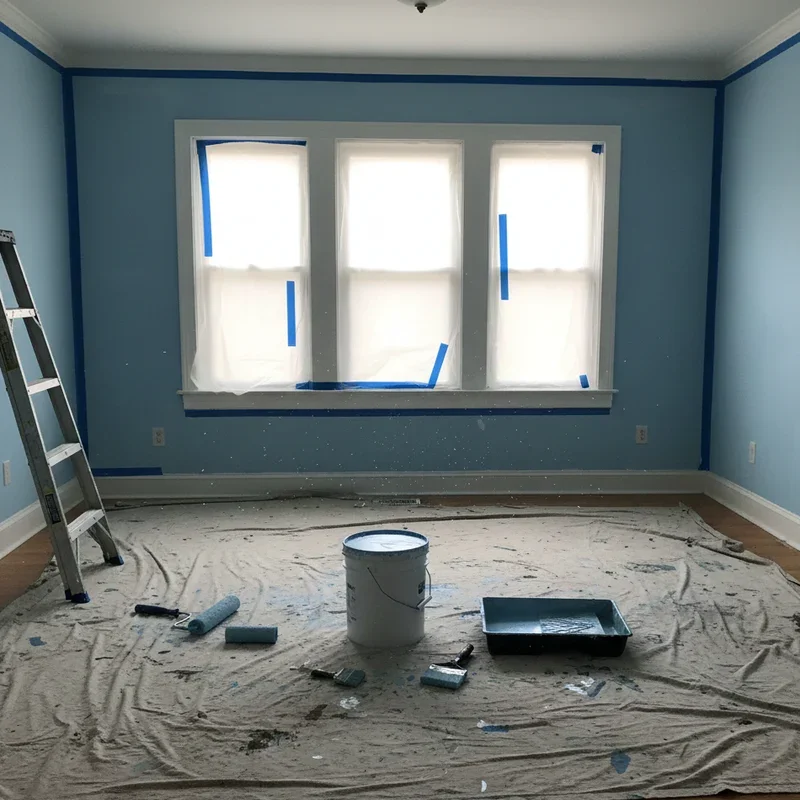
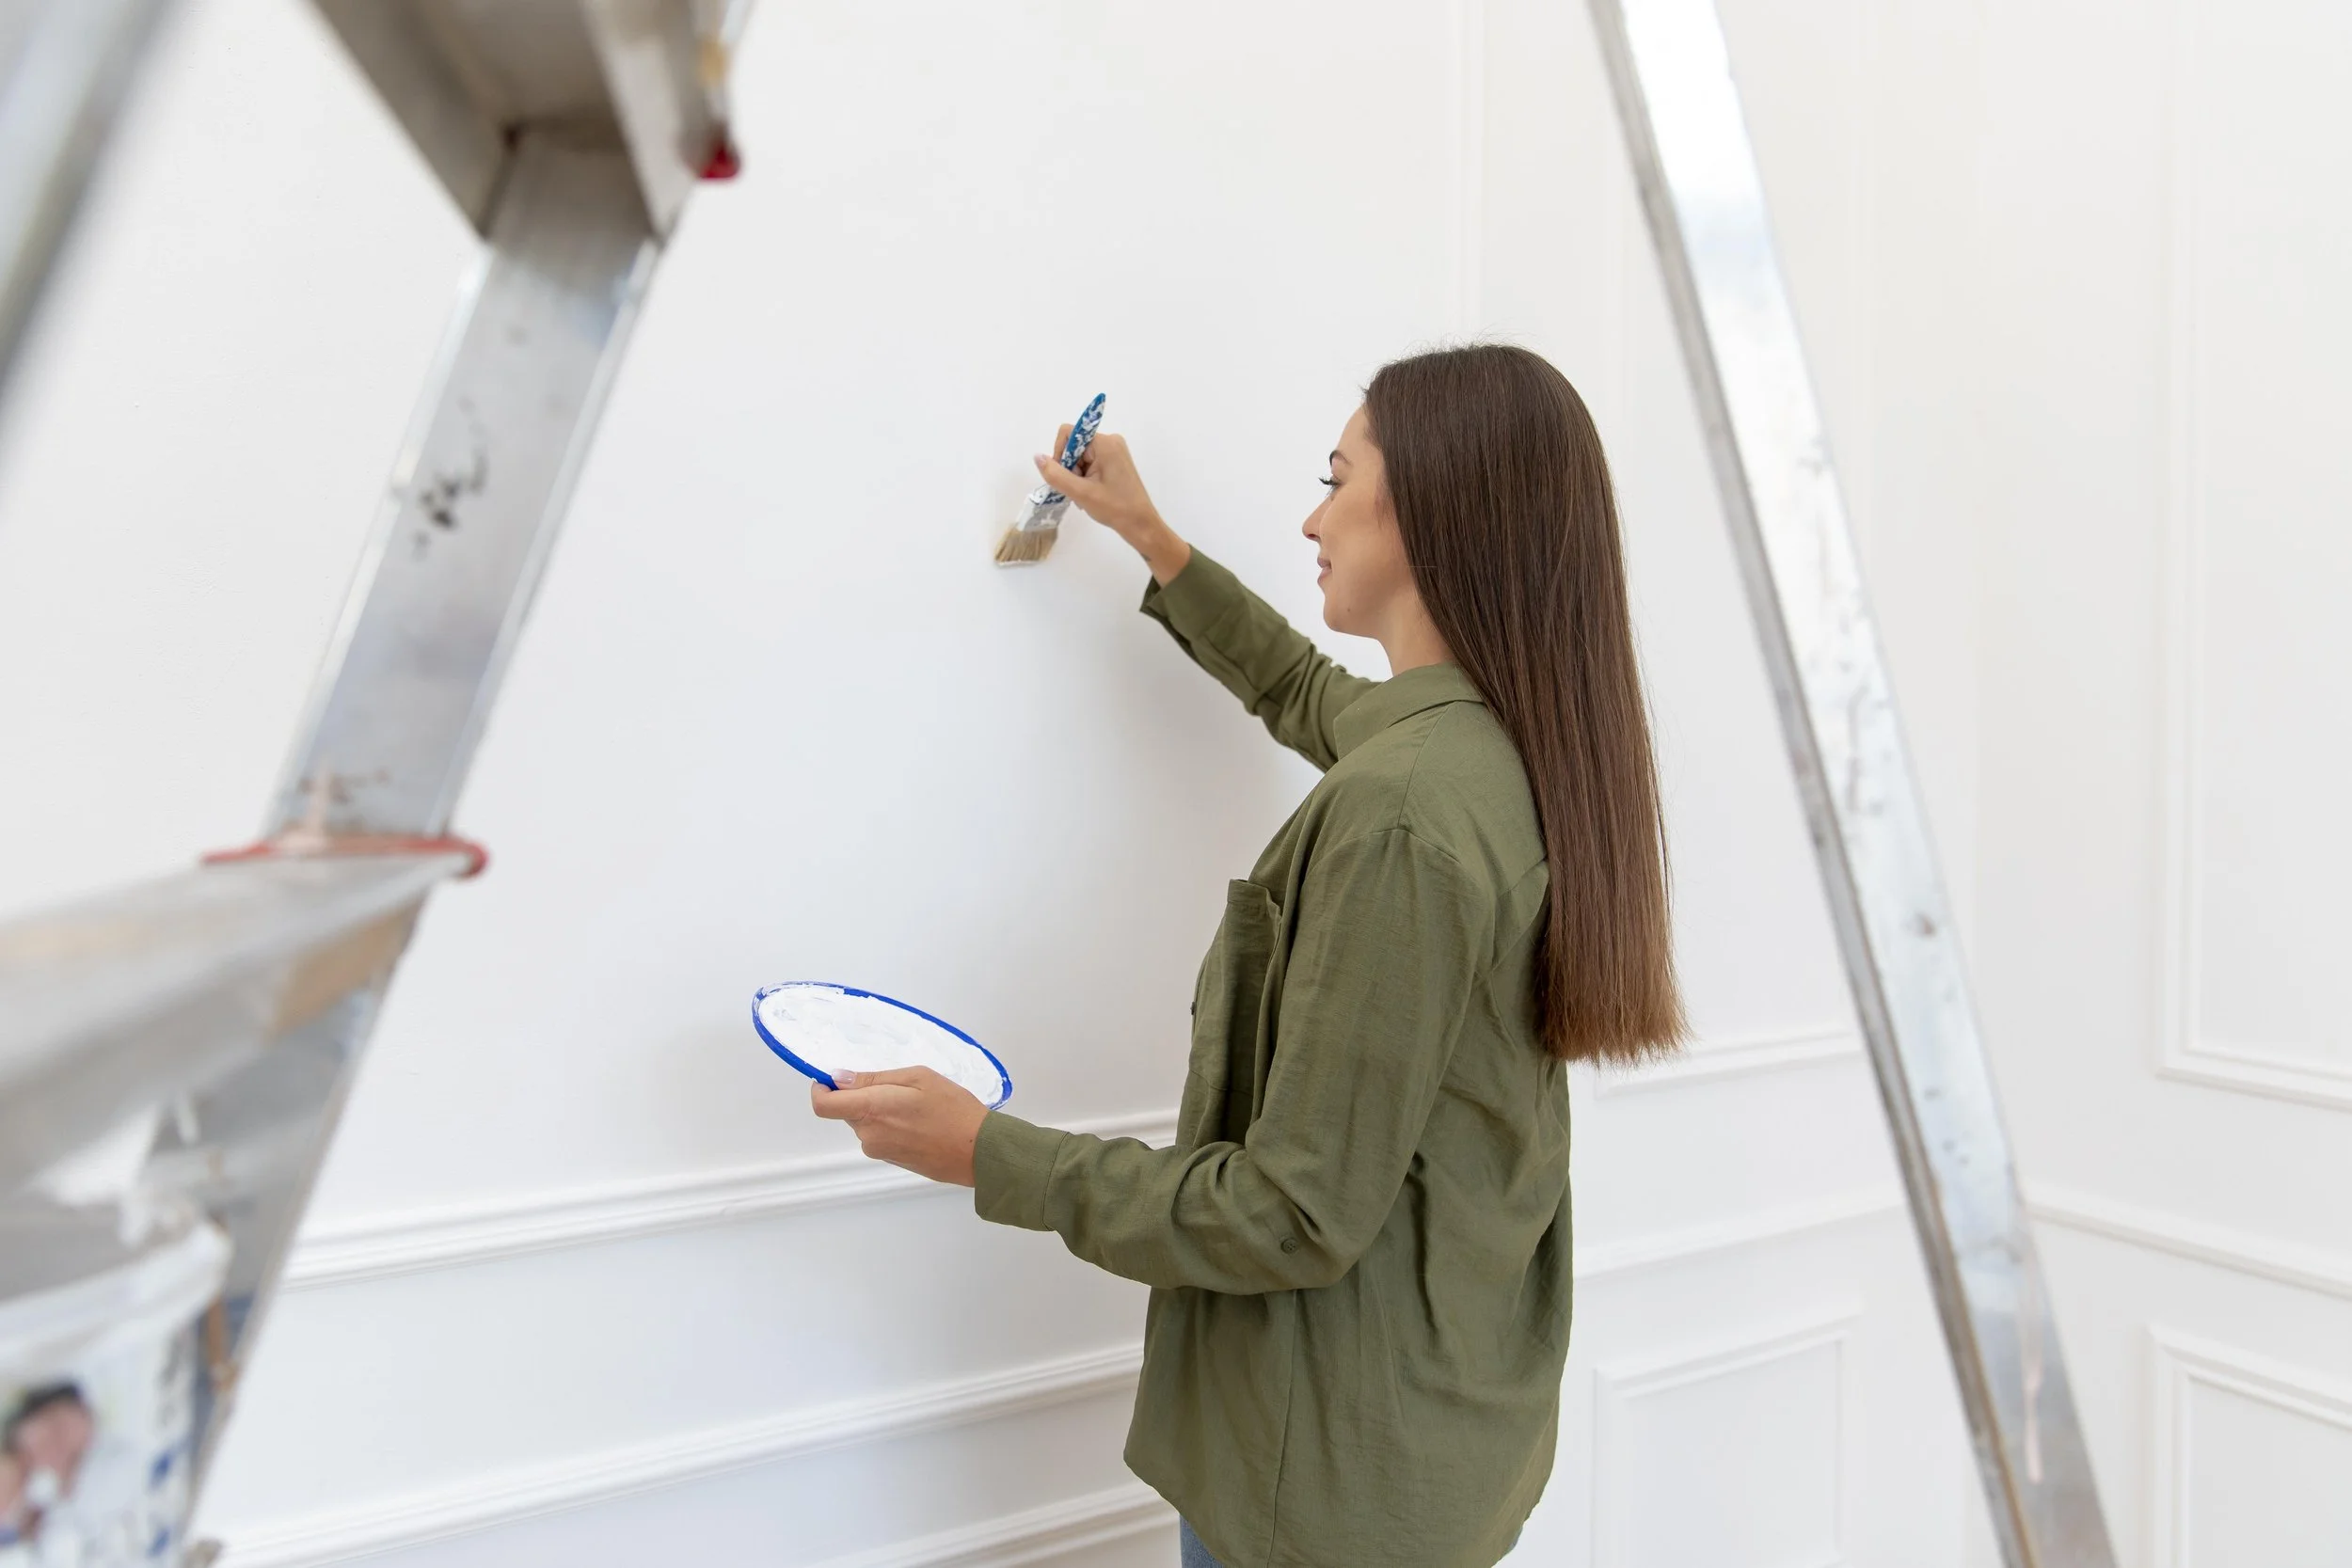
Essential Tools and Materials You'll Need
Success in any project starts with having the right gear. Let's round up everything before getting started so you won't be making emergency hardware store runs mid-project.
Paint and Primer Supplies
Exterior paint specifically formulated for doors and trim is essential. Don't grab interior paint thinking it's close enough. Exterior formulas contain additives that resist UV rays, moisture, and temperature fluctuations.
Primer might be necessary depending on your situation. Bare wood always needs primer. Switching from dark to light colors? Primer helps achieve true color faster. Many modern paints include primer, but a separate coat often produces better results.
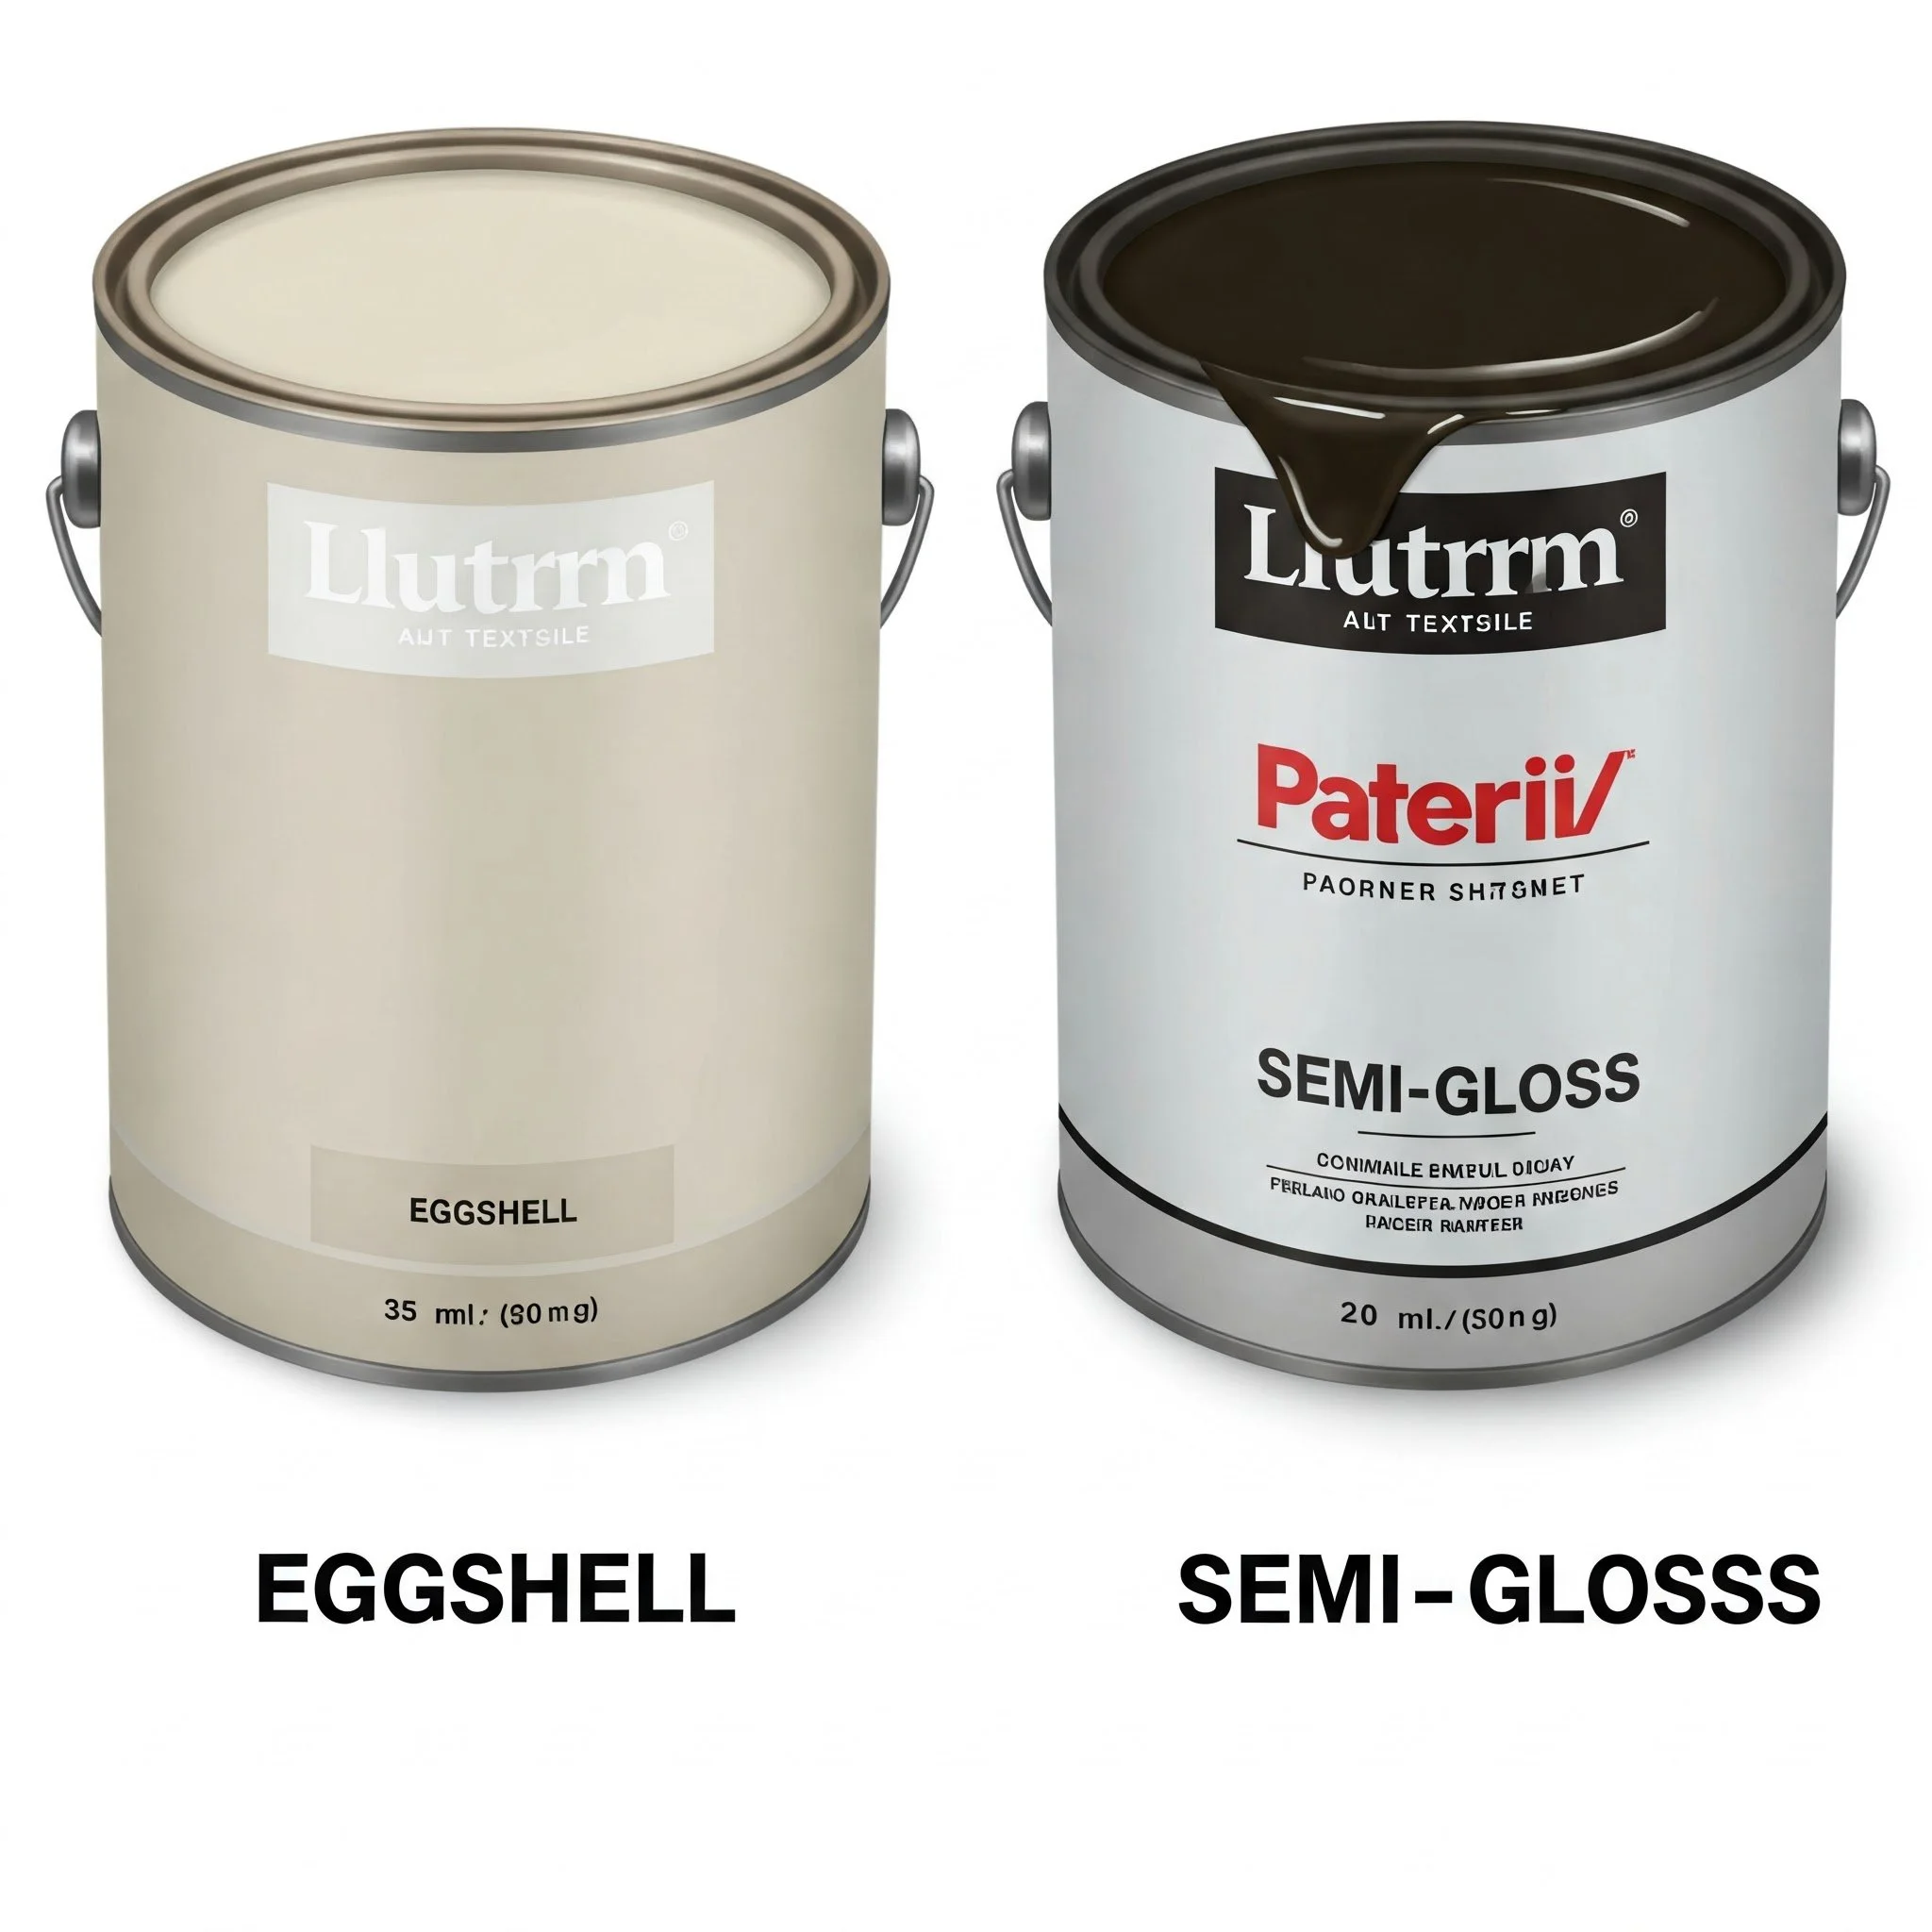
Semi-gloss or satin finishes work best for front doors. They're durable, easy to clean, and provide attractive sheen without being overly shiny. High-gloss is beautiful but shows every imperfection mercilessly.
Brushes and Applicators
A high-quality angled brush, usually two to two-and-a-half inches, handles most door painting beautifully. Invest in a good one because cheap brushes leave bristles in your finish and create streaky results.
A small foam roller speeds up work on flat panel areas. Look for high-density foam designed for smooth finishes. Having both brush and roller options gives you flexibility.
Paint trays or disposable tray liners keep things organized. A paint key or flathead screwdriver opens cans. Stir sticks mix paint thoroughly. Painter's pyramids elevate the door if you remove it.
Prep and Protection Supplies
Painter's tape in multiple widths protects hardware, glass, and adjacent surfaces. Get the good stuff designed for exterior use. Cheap tape bleeds and leaves residue.
Drop cloths protect your porch, entryway, and any surfaces below your work area. Canvas drops absorb drips better than plastic, which stays slippery.
Sandpaper in medium and fine grits smooths surfaces between coats. A sanding block or pole sander makes the job easier. Tack cloths remove dust after sanding.
Cleaning supplies include degreaser or TSP substitute, clean rags, and possibly a scrub brush for stubborn spots.
Safety Gear
Safety glasses protect your eyes from paint splatters and sanding dust. A dust mask helps during sanding, especially with older painted surfaces. Nitrile gloves keep paint off your hands.
How to Paint a Front Door: Tools, Prep, and Tips for Surface Preparation
Here's where the real work happens, and honestly, this phase determines your final results more than the actual painting. Rushing through prep guarantees disappointment, while thorough preparation makes painting almost foolproof.
Step 1: Clean the Door Thoroughly
Years of hand oils, dirt, pollen, and grime accumulate on front doors. Paint won't adhere properly to dirty surfaces, so cleaning is non-negotiable.
Mix a solution of warm water with degreaser or TSP substitute. Scrub the entire door surface, paying extra attention to areas around the handle where oils concentrate. Don't forget the edges and any decorative molding.
Rinse thoroughly with clean water and let dry completely. Any soap residue interferes with paint adhesion just like dirt does.
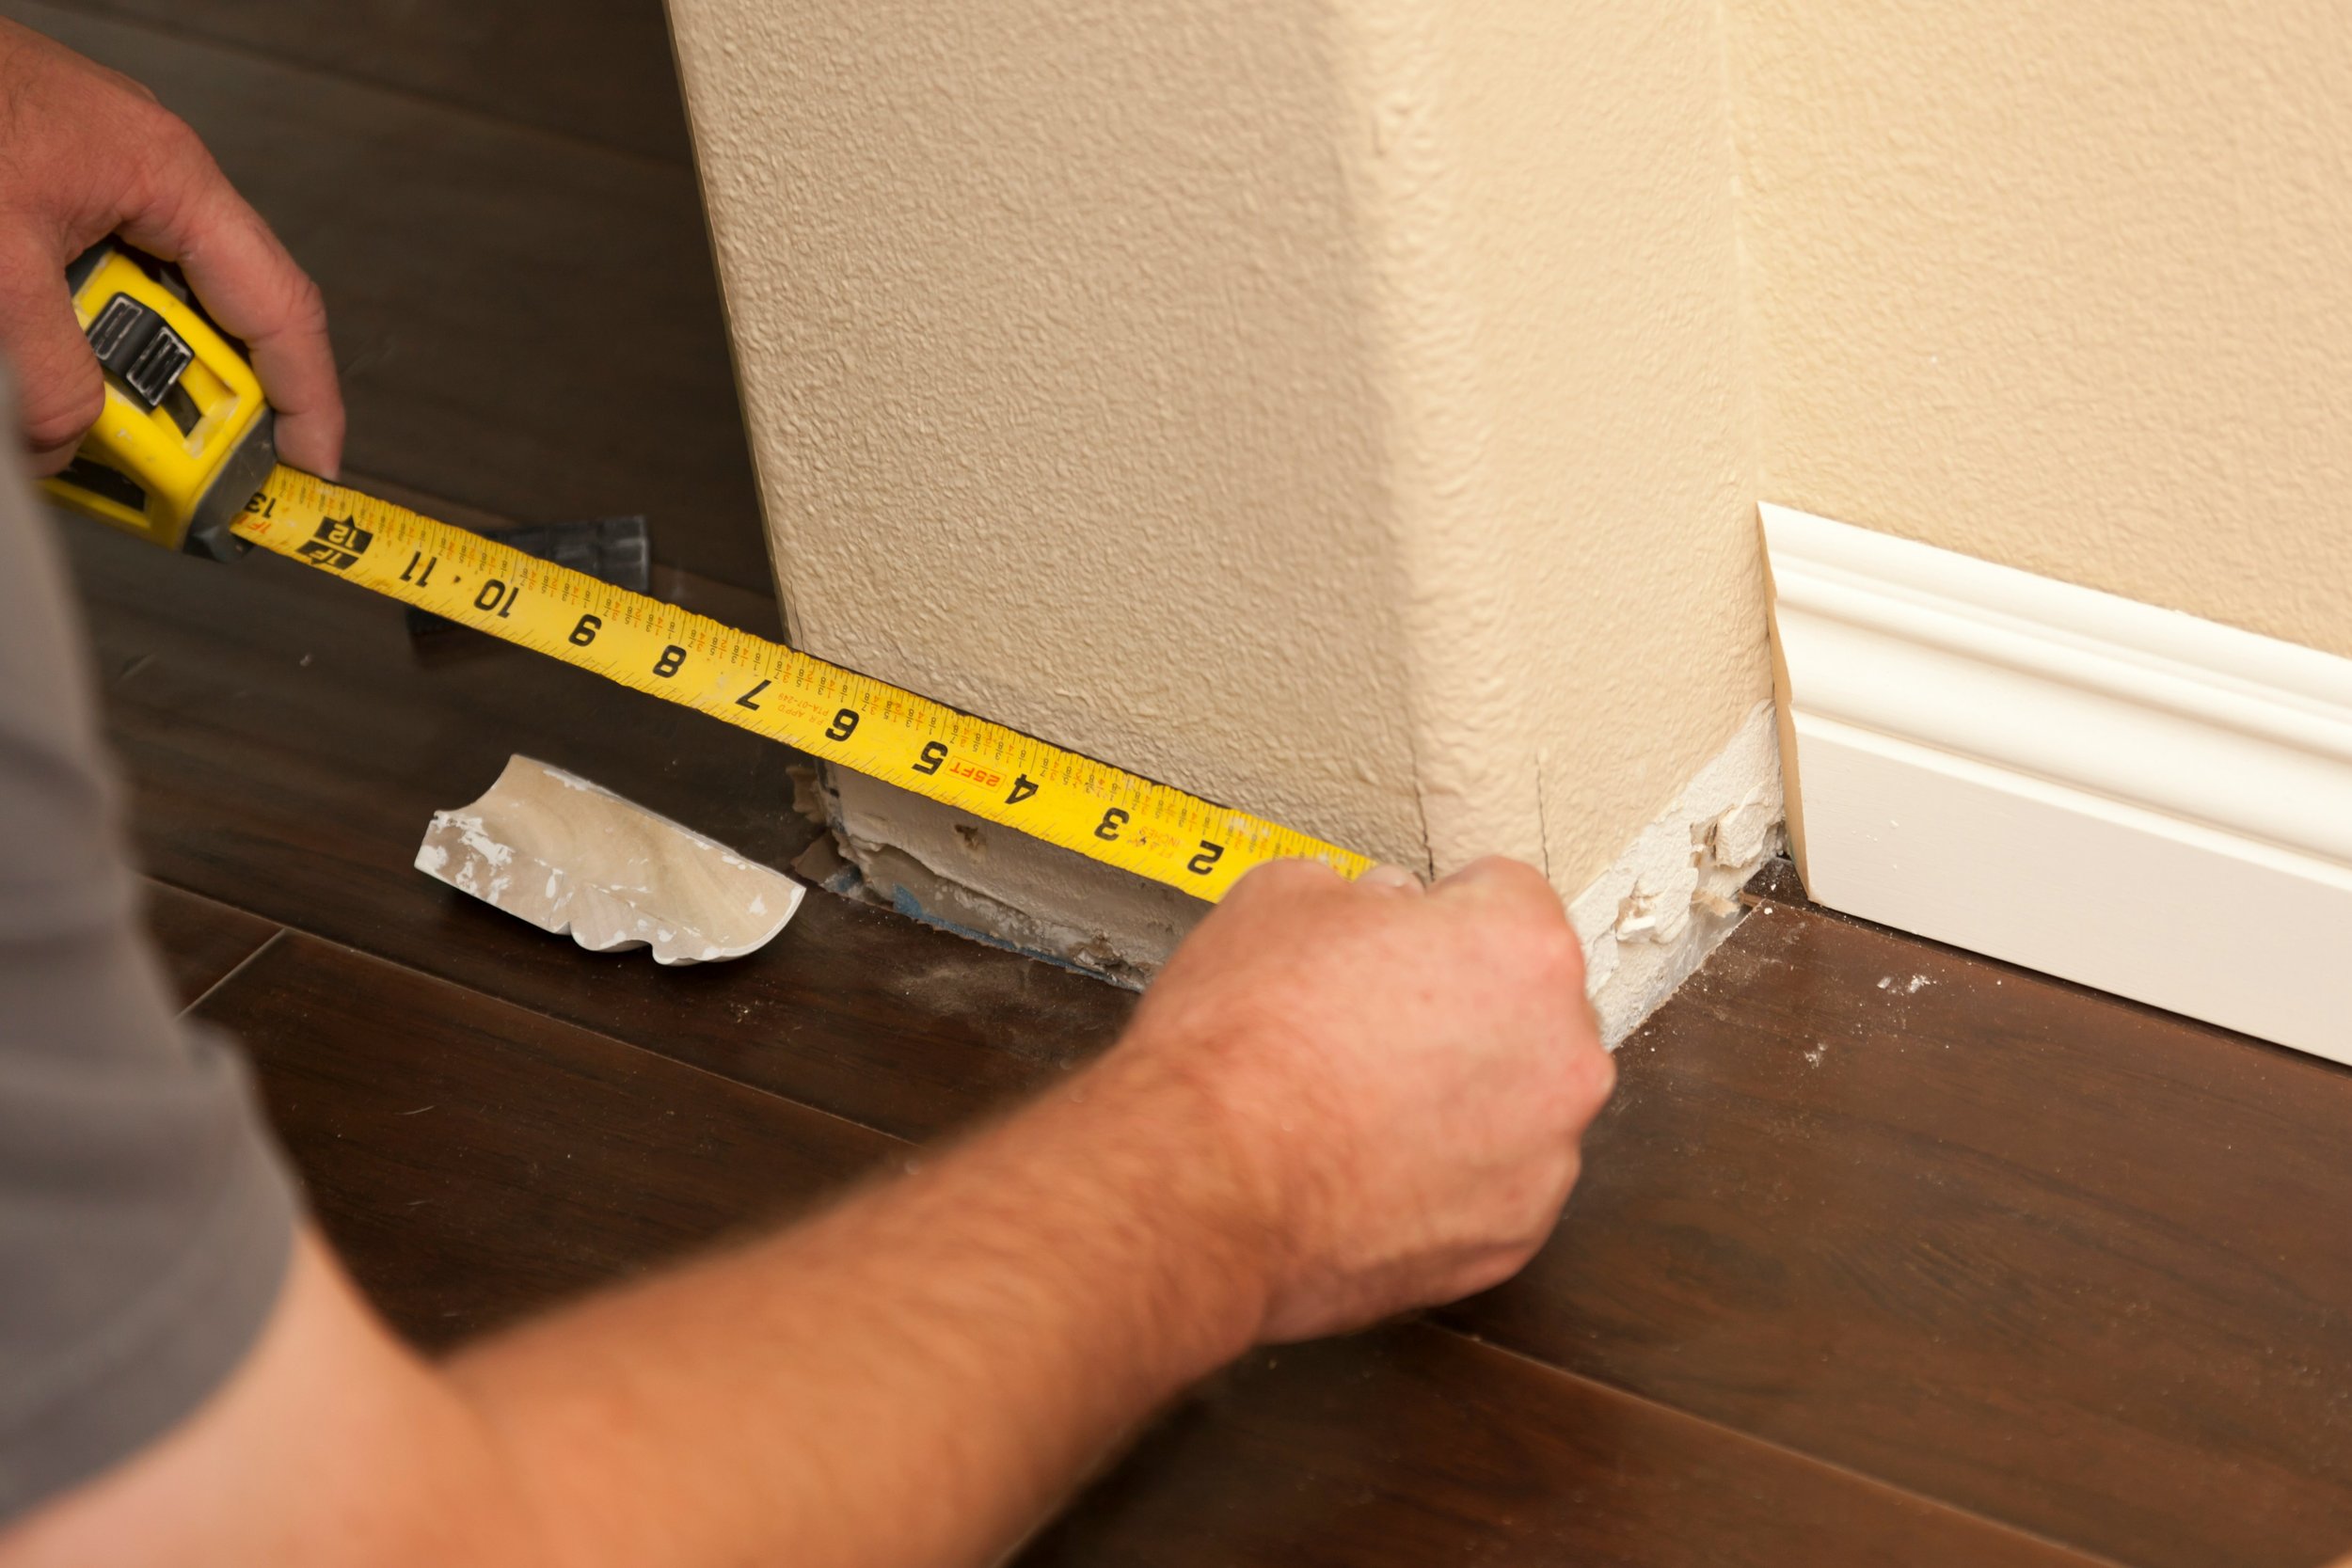
Step 2: Remove or Protect Hardware
You've got two options here. Removing hardware like handles, knockers, house numbers, and kick plates allows cleaner results around these elements. Tape the lockset mechanism to prevent paint getting inside.
If removal isn't practical, tape everything off meticulously. Use multiple tape strips to cover irregular shapes completely. Press tape edges firmly to prevent paint seepage.
Mask off any glass panels, hinges you can't remove, and weatherstripping. Better to spend extra time taping than to spend hours scraping dried paint later.
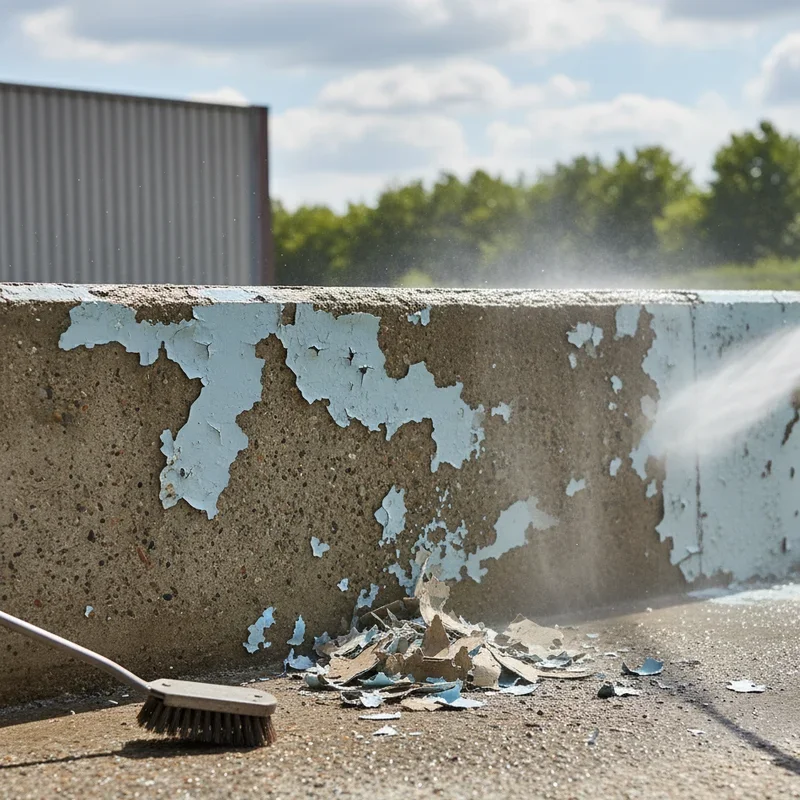
Step 3: Sand the Surface
Sanding serves two purposes. It smooths imperfections and creates tooth for new paint to grip. Even if your existing paint looks fine, light sanding improves adhesion significantly.
For paint in good condition, use medium-grit sandpaper (around 150) to scuff the entire surface lightly. You're not removing paint, just dulling the sheen.
For peeling, chipping, or rough areas, more aggressive sanding may be necessary. Feather edges where old paint meets bare material so transitions don't show through your new coat.
Step 4: Fill and Repair
Inspect the door carefully for dents, gouges, nail holes, or wood damage. Fill these imperfections with appropriate filler. Wood filler works for wooden doors, while auto body filler handles metal doors well.
Let filler dry completely, then sand smooth. Run your hand over repaired areas. If you feel any ridge or depression, address it now. These imperfections become glaringly obvious under fresh paint.
Step 5: Final Cleaning
Sanding creates dust that settles everywhere. Before painting, wipe down the entire door with a tack cloth to remove every particle. Go over it twice to be sure.
Vacuum or sweep the surrounding area too. Dust on your drop cloths can transfer to wet paint when you lean against things.
To Remove or Not to Remove the Door
This question sparks debate among painters, and honestly, both approaches work. Your specific situation determines the best choice.
Painting the Door in Place
Leaving the door hung saves removal hassle and means you don't need to deal with security concerns or weather exposure while paint dries. You can close the door at night or if weather turns bad.
The downsides include harder access to edges and hinges, potential drips running toward the bottom, and working vertically which causes faster arm fatigue.
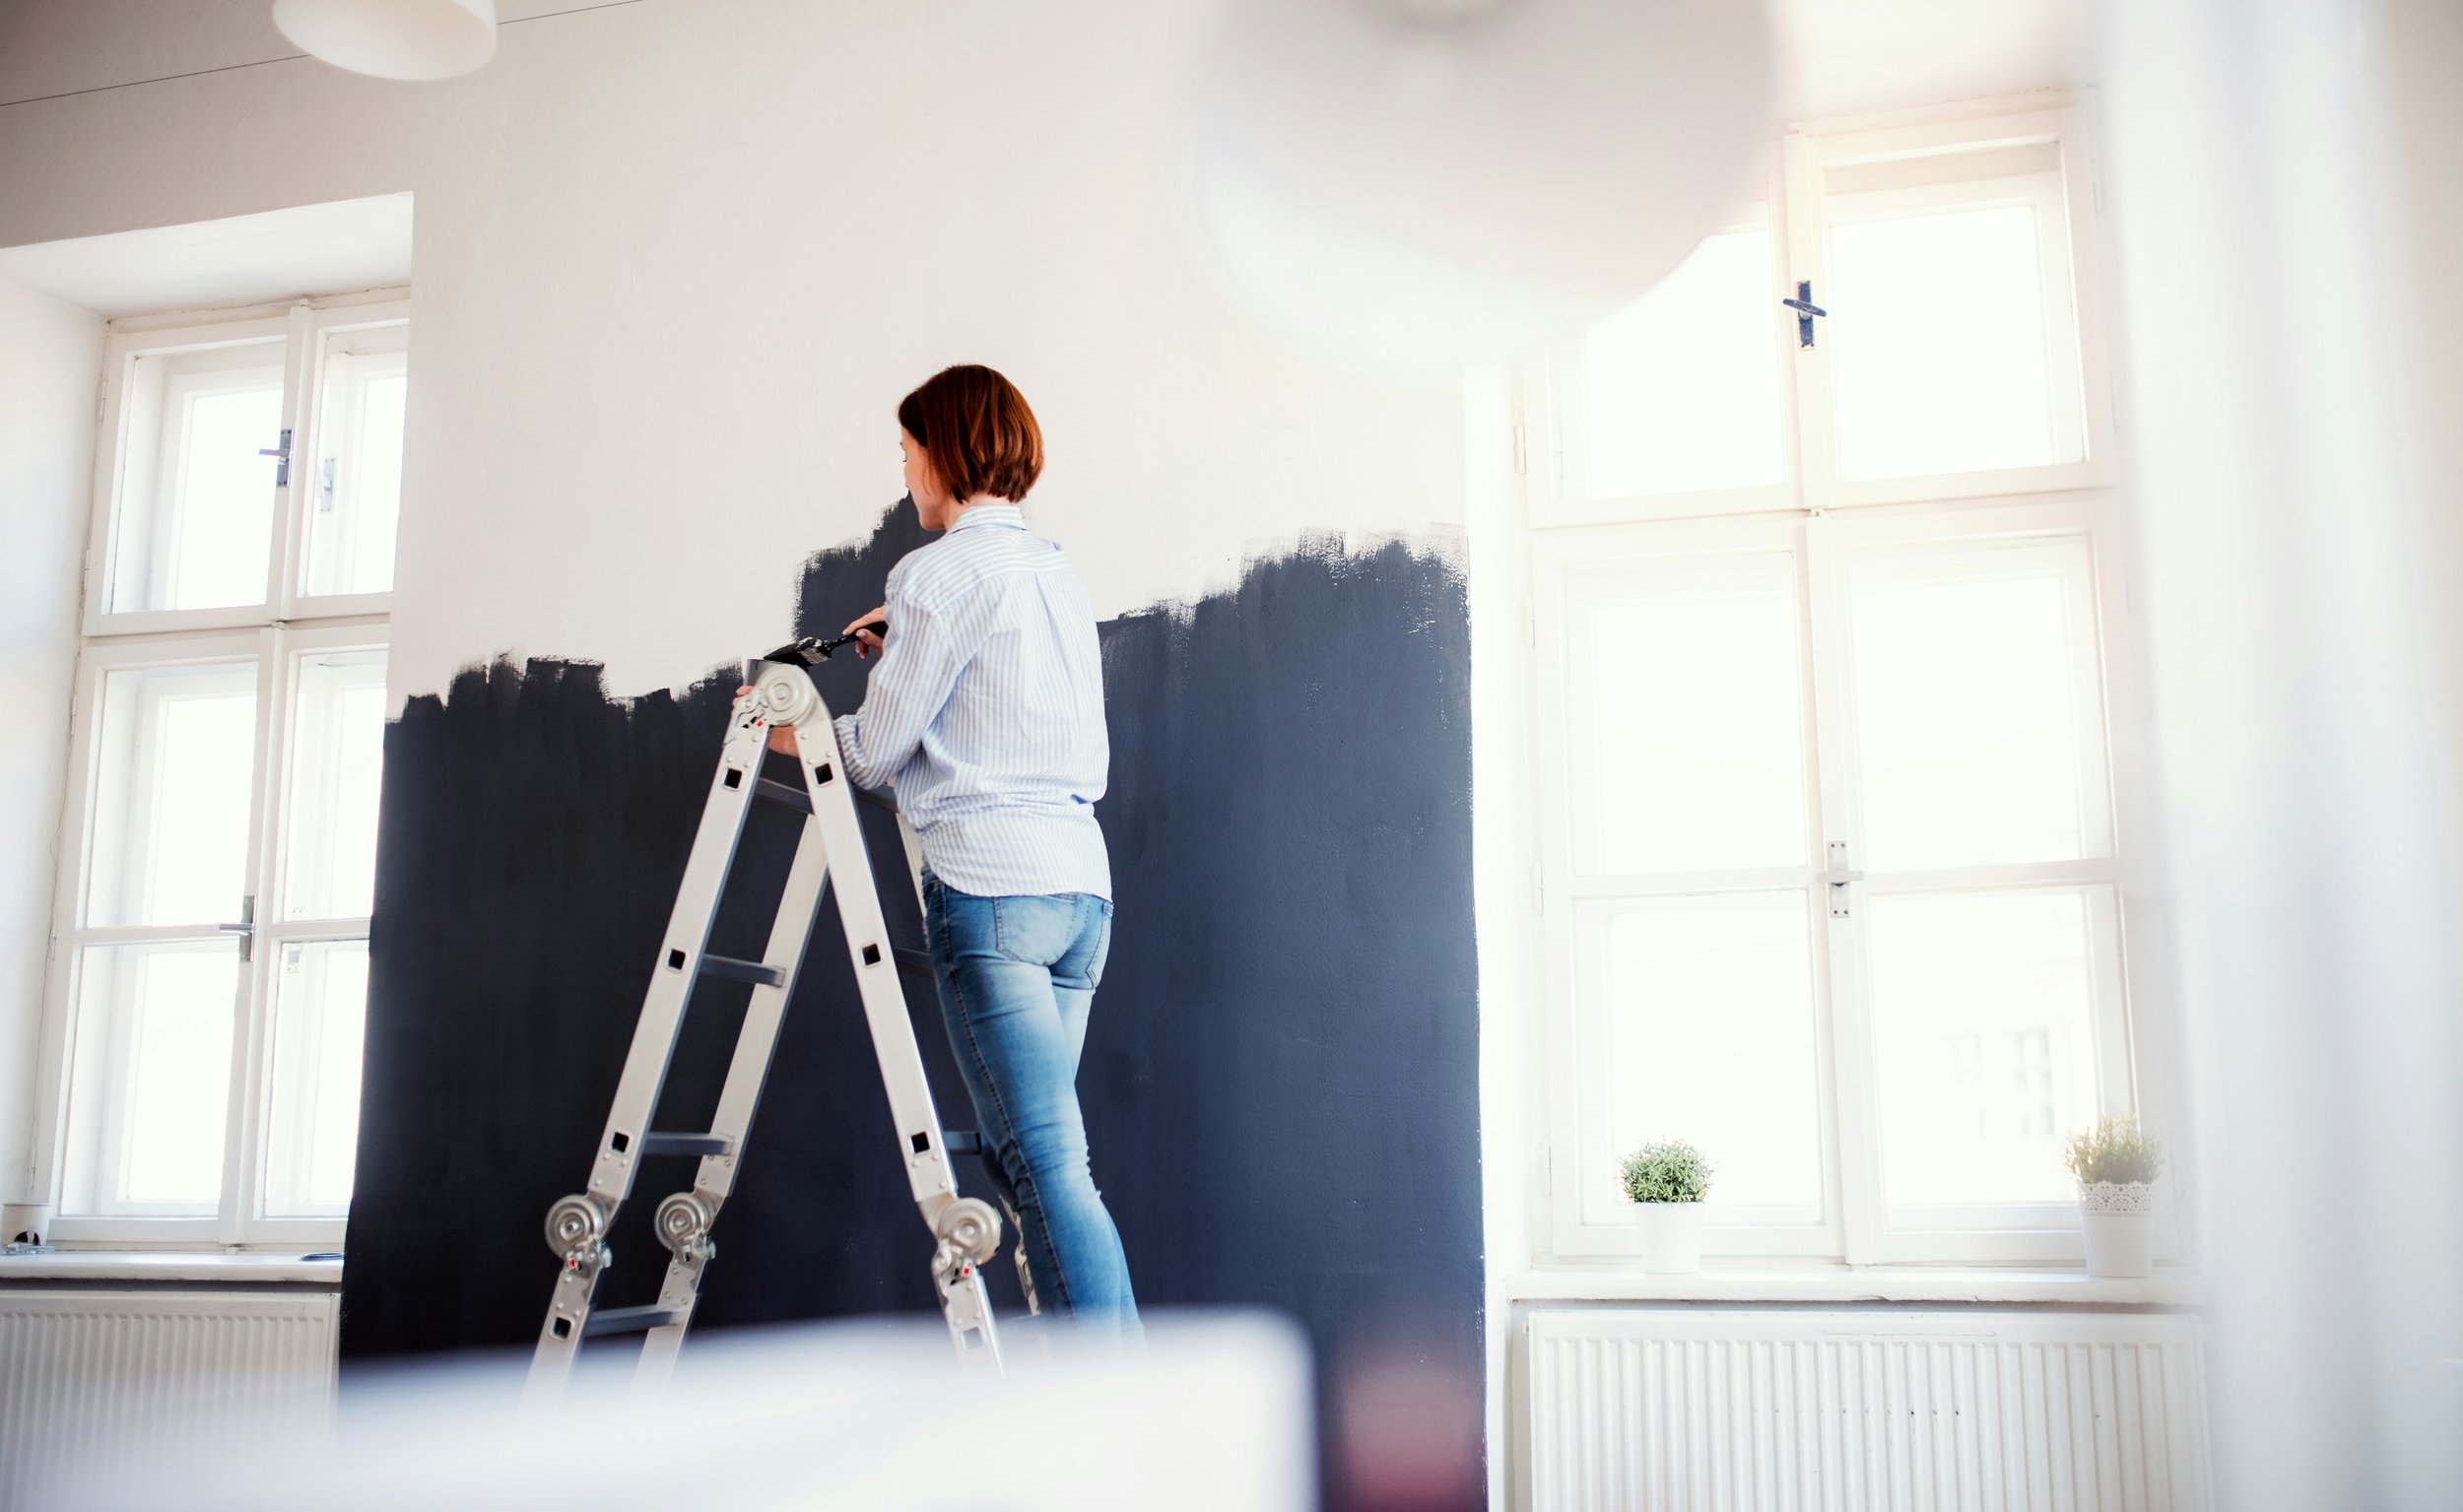
If painting in place, work with the door open and brace it securely so it won't swing. Paint edges first, then work flat surfaces.
Removing the Door for Painting
Taking the door down and laying it flat across sawhorses eliminates drips and provides equal access to all surfaces. Paint flows out more smoothly on horizontal surfaces.
The downsides include leaving your home open during drying time, needing secure supports, and the hassle of removal and reinstallation. You'll also need painter's pyramids or screws in the bottom edge to elevate the door while painting both sides.
This approach typically produces the most professional-looking results, but requires more planning.
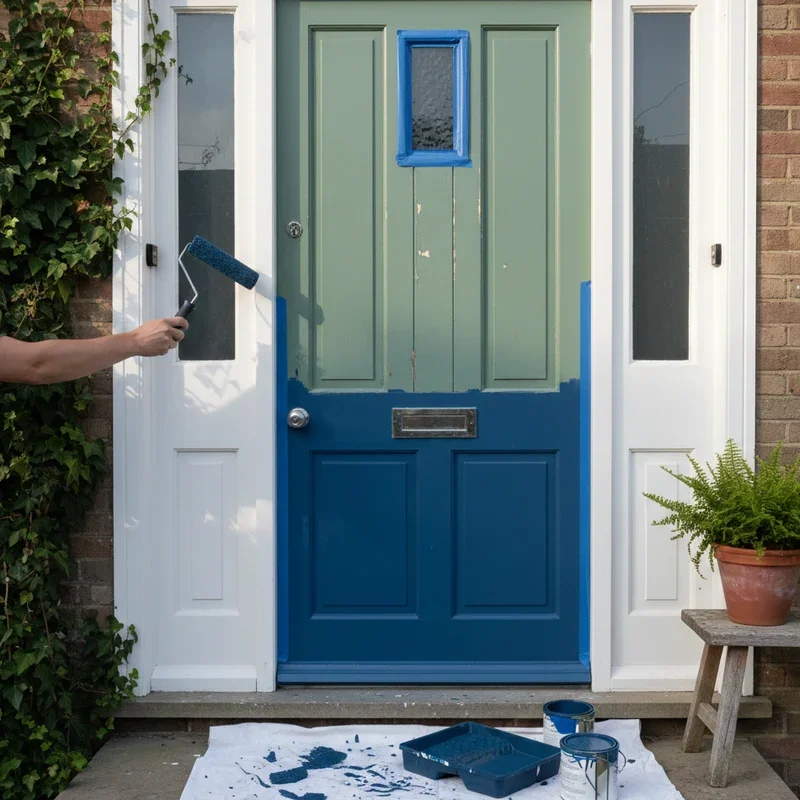
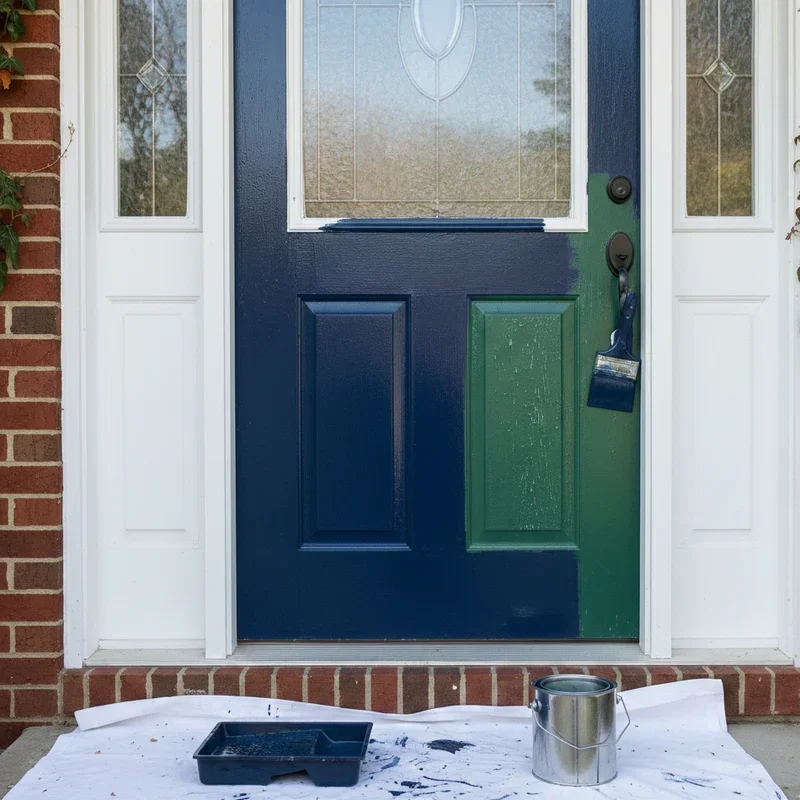
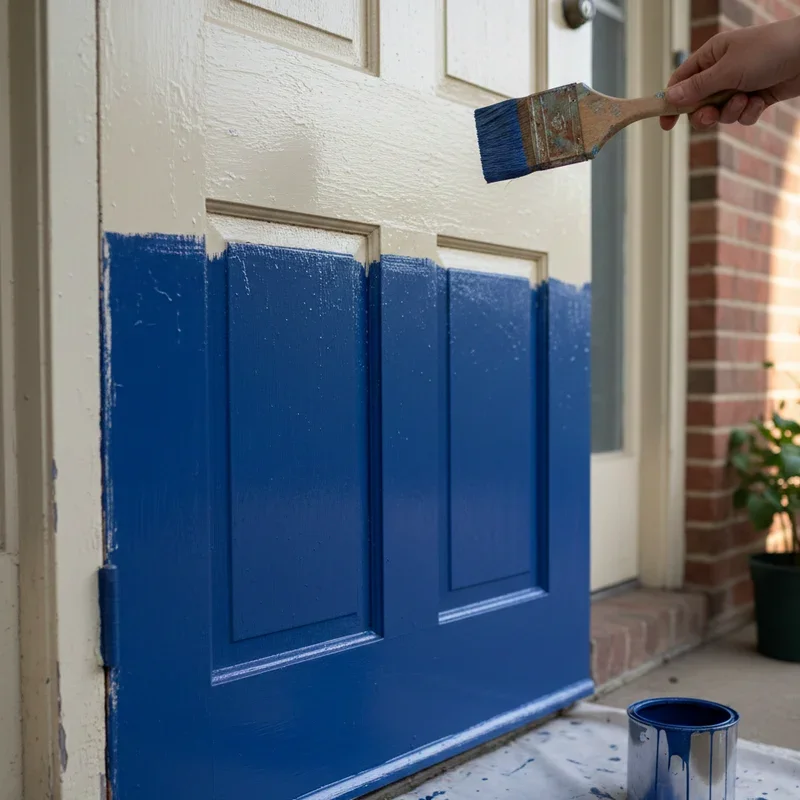
Painting Techniques for Professional Results
With prep complete, the fun part begins. These techniques ensure your paint goes on smooth and stays looking great.
Prime First When Necessary
Apply primer to bare wood, repaired areas, or when making dramatic color changes. Use a brush for detailed areas and roller for flat sections.
Let primer dry according to manufacturer instructions. Don't rush this! Painting over tacky primer causes problems.
Lightly sand dried primer with fine-grit paper, then tack cloth again before topcoating.
Work in the Right Order
For panel doors, paint in this sequence: recessed panels first, then the rails (horizontal pieces), followed by stiles (vertical pieces), and finally the edges.
This order prevents lap marks and keeps wet edges flowing together properly. By the time you finish the stiles, the panels have set up enough to not be disturbed.
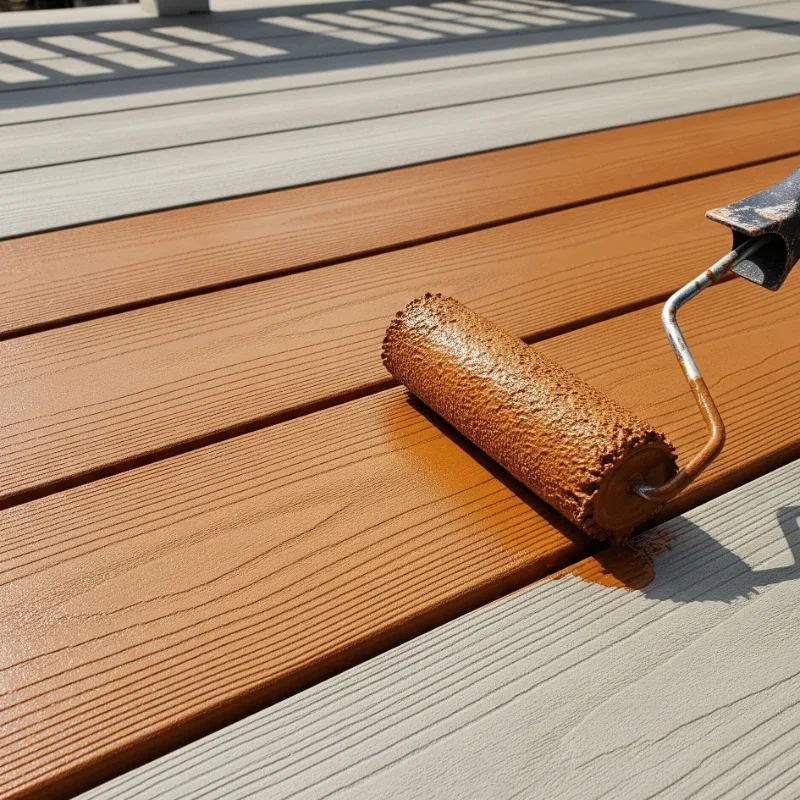
Apply Thin, Even Coats
The biggest amateur mistake is applying paint too thick. Gloopy, heavy coats drip, sag, and take forever to dry. They also hide surface texture and look obviously painted.
Load your brush with paint, tap off excess, and apply in thin even strokes. Let the paint flow from the brush rather than pressing hard. Multiple thin coats always beat one thick coat.
Maintain a Wet Edge
Work efficiently to keep previous strokes wet while applying the next. When you brush into dried paint, you create visible lap marks that won't blend out.
Plan your approach before starting. Work in sections you can complete before edges dry, usually a few minutes in warm weather.
Watch for Drips
Check your work frequently as you go. Drips often form at panel edges, around molding, and along the bottom. Catch them while wet by brushing them out gently.
After finishing each side, step back and look at the door from different angles. Light reflects differently off drips, making them visible before they dry.
Allow Proper Drying Between Coats
Patience pays off here. Paint needs adequate dry time between coats to cure properly. Check your paint can for recoat times, usually two to four hours depending on conditions.
Rushing leads to peeling later because solvents trapped in lower layers eventually work their way out.
Most doors need two topcoats for optimal coverage and durability. Some colors, especially reds and yellows, may need three.
How to Paint a Front Door: Tools, Prep, and Tips for Perfect Finishing Touches
With painting complete, these final steps ensure your project looks professionally done.
Remove Tape at the Right Time
Remove painter's tape while the final coat is still slightly tacky. This prevents dried paint from peeling off with the tape.
Pull tape slowly at a sharp angle back over itself. If you notice paint lifting, score along the tape edge with a razor blade first.
Reinstall Hardware Thoughtfully
Let paint cure fully before reinstalling hardware, usually 24 to 48 hours. Fresh paint scratches easily, and tightening screws against soft paint causes impressions.
Consider upgrading hardware while you're at it. New handles and knockers complete the fresh look without adding much cost.
Touch Up Carefully
Minor imperfections happen. Address them with a small artist's brush and leftover paint. Feather touch-ups into surrounding areas so they blend invisibly.
Conclusion
Transforming your front door with fresh paint delivers one of the most satisfying home improvement experiences imaginable. This how to paint a front door: tools, prep, and tips guide has equipped you with everything needed for professional-quality results. Remember that thorough preparation makes painting almost effortless, and patience with drying times prevents problems down the road. Choose a color that reflects your personality, take your time with each coat, and enjoy the dramatic difference a beautifully painted entrance makes. Your home's new handshake is going to impress everyone who visits!
Read next: How to Paint a Bathroom: Step-by-Step Guide for Beginners
Frequently Asked Questions
1. What is the best weather for painting a front door?
Mild temperatures between 50 and 85 degrees with low humidity produce the best painting results.
2. How long should I wait before closing a freshly painted door?
Wait at least 24 hours, though 48 hours ensures paint won't stick to weatherstripping.
3. Can I paint over existing paint without sanding first?
Light sanding is always recommended for proper adhesion, even over paint in good condition.
4. How many coats of paint does a front door typically need?
Most front doors require two coats of paint for optimal coverage and long-lasting durability.
5. Should I use a brush or roller to paint my front door?
Both work well together, using brushes for details and rollers for flat panel areas.
Stay up to date with our latest ideas!