How to Build a Shed: Tools, Materials, and Tips
Learn how to build a shed with our comprehensive guide covering essential tools, materials, and expert tips for creating your perfect backyard storage.

Well, there you are, staring at that cluttered garage for the umpteenth time, thinking, "I really need more storage space!" Building your own shed might seem like a mountain to climb, but trust me, it's more like a gentle hill once you know the ropes. Whether you're drowning in garden tools, desperate for a workshop, or just need somewhere to stash the holiday decorations, learning how to build a shed: tools, materials, and tips can transform your backyard and your sanity.
Picture this: a crisp Saturday morning, coffee in hand, stepping into your very own shed that you built with your own two hands. Pretty satisfying, right? The journey from empty backyard to functional shed isn't just about following instructions; it's about understanding the process, having the right gear, and knowing those little tricks that make all the difference.
Before you roll up your sleeves and dive in, let's be real for a second. Building a shed isn't rocket science, but it's not exactly a walk in the park either. You'll need patience, some basic skills, and the willingness to learn from mistakes (because, hey, we all make 'em!). The good news? By the time you finish reading this guide, you'll have everything you need to tackle this project with confidence.
Planning Your Shed Project
Determining Your Shed's Purpose
First things first, what's this shed gonna do for you? Knowing your shed's purpose isn't just philosophical pondering; it directly impacts every decision you'll make moving forward. A simple storage shed for lawn equipment needs different features than a workshop where you'll spend hours tinkering with projects.
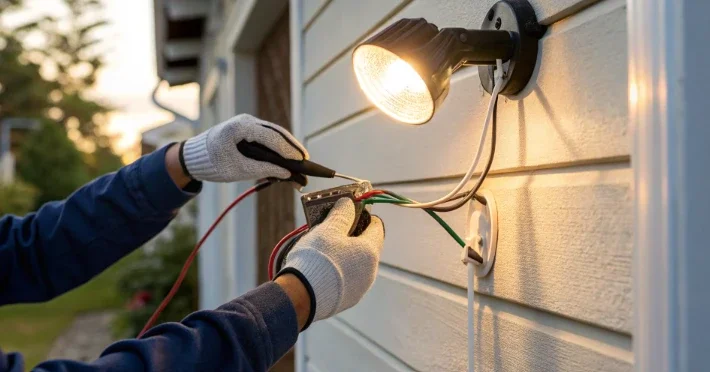
Think about accessibility too. If you're storing a riding mower, you'll need wide doors and a ramp. Planning to use it as a potting shed? Windows for natural light become essential. Want a man cave or she-shed? Insulation and electrical considerations enter the picture. Taking time to nail down these details now saves headaches and money later.
Size and Location Considerations
Boy, oh boy, this is where many folks stumble right out of the gate! Bigger isn't always better when it comes to sheds. Sure, that 20x20 shed looks amazing in your mind, but does your yard have the space? More importantly, does your local building code allow it?
Speaking of codes, here's something that'll save you from a world of trouble: check with your local building department before you buy a single nail. Many areas require permits for sheds over a certain size (usually 120 square feet), and setback requirements dictate how far from property lines you can build. Nobody wants to tear down a newly built shed because it's six inches too close to the fence!
Location-wise, you've got to think like a chess player, several moves ahead. Consider:
Drainage (nobody wants a shed sitting in a puddle)
Sun exposure (full sun can make a metal shed unbearably hot)
Access from your house
Views from your home and neighbors' properties
Proximity to trees (falling branches are shed killers)
Underground utilities (call 811 before you dig!)
Creating a Budget
Let's talk money, because pretending cost doesn't matter is like ignoring a elephant in the room. A basic 8x10 shed might run you $500-$1500 in materials if you're doing the work yourself. Want something fancier or bigger? You could easily hit $3000 or more.
Here's a rough breakdown to get you started:
Foundation materials: 15-20% of budget
Framing lumber: 25-30%
Siding and roofing: 25-30%
Doors and windows: 10-15%
Hardware and miscellaneous: 10-15%
Tools (if you don't have them): Additional 20-30%

Essential Tools for How to Build a Shed: Tools, Materials, and Tips
Hand Tools You Can't Live Without
Alright, let's get down to brass tacks with the tools you'll absolutely need. Some of these might already be hanging in your garage, which is great because your wallet will thank you!
The magnificent seven of shed-building hand tools:
Hammer (16-20 oz framing hammer is perfect)
Tape measure (25-foot minimum)
Level (4-foot is ideal, 2-foot works in a pinch)
Speed square (this triangular wonder is your best friend)
Chalk line (for marking straight lines across large surfaces)
Utility knife (sharp blades make clean cuts)
Hand saw (for when power tools can't reach)
Don't forget safety gear! Safety glasses, work gloves, and hearing protection aren't optional; they're essential. Your future self with all fingers and toes intact will thank you.
Power Tools That Make Life Easier
Now, could you build a shed with just hand tools? Sure, if you've got the patience of a saint and arms like a lumberjack! For the rest of us mere mortals, power tools are where it's at.
Circular saw: This is your workhorse for cutting lumber, plywood, and siding. A good 7¼-inch saw will handle everything your shed throws at it. Pro tip: invest in a quality blade; it makes a world of difference in cut quality and ease.
Power drill/driver: Get yourself a cordless drill with at least 18 volts of power. Better yet, grab a combo kit with both a drill and impact driver. You'll use these constantly for everything from pilot holes to driving screws.
Miter saw: While not absolutely essential, boy does it make accurate cuts a breeze! If you're planning to build more projects after your shed, this investment pays dividends.
Specialized Tools Worth Considering
Walking through the tool aisle can feel like being a kid in a candy store, but hold your horses before maxing out that credit card! Some specialized tools, while nice to have, might be better rented than bought.
A nail gun can turn a two-day framing job into a morning's work. Rent one for $40-50 a day instead of dropping $200+ on a tool you might use once. Same goes for a post hole digger if you're doing a post-and-beam foundation.
Materials Needed for Your Shed
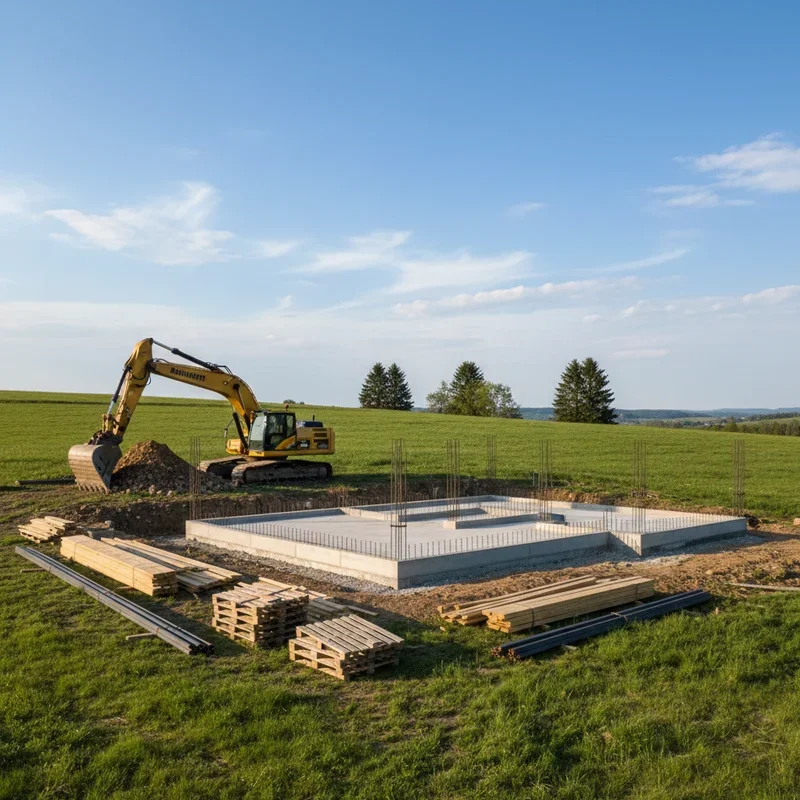
Foundation Materials
The foundation is literally where your shed project begins, and cutting corners here is like building a house of cards in a windstorm. You've got several options, each with pros and cons.
Concrete blocks: These are perfect for smaller sheds and relatively level ground. You'll need blocks, gravel for drainage, and landscape fabric to prevent weeds. Figure on about $100-200 for a small shed foundation.
Gravel pad: Simple, effective, and great for drainage. You'll need about 3-4 inches of compacted gravel, which means ordering more than you think because compaction reduces volume by about 20%.
Concrete slab: The Cadillac of shed foundations but also the priciest. Perfect for heavy equipment storage or workshop use. Unless you're experienced with concrete work, this might be worth hiring out.
Framing Lumber and Specifications
Choosing lumber is where things get interesting! You'll mainly work with 2x4s and 2x6s for framing, with treated lumber for any ground contact areas.
Here's what you'll typically need:
Floor joists: 2x6 or 2x8 pressure-treated lumber
Wall studs: 2x4s spaced 16 inches on center
Roof rafters: 2x4 or 2x6 depending on span
Headers: Double 2x6 or 2x8 above doors and windows
Plywood: ½-inch for walls, ⅝-inch or ¾-inch for floors
When selecting lumber, avoid pieces that look like they're auditioning for a pretzel commercial. Twisted, bowed, or cupped boards will fight you every step of the way.
Roofing and Siding Options
The skin of your shed not only protects everything inside but also determines how it looks in your backyard. Let's break down your options.
Siding choices:
T1-11 plywood siding: Economical and quick to install
Vinyl siding: Low maintenance but requires more framing precision
Cedar or pine boards: Beautiful but pricey
Metal siding: Durable and modern-looking
Roofing materials:
Asphalt shingles: Affordable and widely available
Metal roofing: Longer-lasting but more expensive
Roll roofing: Budget-friendly for small sheds
Cedar shingles: Gorgeous but high-maintenance
Step-by-Step Construction Process
Preparing the Site
Rolling up your sleeves yet? Hold on there, partner! Before any building happens, you've got site prep work that'll make or break your project.
Start by marking out your shed's footprint with stakes and string. Add an extra foot on each side for working space. Now comes the fun part: making it level. Use a long level or string level to check for high and low spots. You're aiming for less than 2 inches of variation across the entire pad.
Remove all grass and topsoil within your marked area. Yeah, it's tedious, but grass decomposing under your shed creates a sinking, unstable mess. Trust me, I learned this the hard way!
Building the Foundation and Floor
With your site prepped, it's time to lay the foundation. If you're using concrete blocks, start at the highest corner and work your way around, checking level constantly. Space blocks according to your floor joist span (typically every 4-6 feet).
Installing rim joists comes next. These form the perimeter of your floor frame and need to be perfectly square. Here's a trick: measure diagonally from corner to corner. If both measurements match, you're square. If not, adjust until they do.
Floor joists go in next, spaced 16 inches on center. Use joist hangers for a stronger connection, especially if you'll be storing heavy equipment. Once your joists are in, nail down your plywood floor, staggering the seams for strength.
Framing Walls and Roof
Here's where your shed really starts taking shape! Build your walls flat on the ground; it's way easier than trying to nail studs in place vertically.
Mark your top and bottom plates for stud placement, ensuring doors and windows are framed correctly. Remember, measure twice, cut once! When your wall frames are ready, you'll need help standing them up. This isn't a solo job unless you've got arms like tree trunks and the balance of a tightrope walker.
The roof comes next, and honestly, this is where many DIYers feel overwhelmed. Take it one step at a time. If you're doing a simple gable roof, cut your rafters using one as a template for the rest. Ridge boards, collar ties, and proper bird's mouth cuts might sound like construction jargon now, but they'll make sense when you're doing it.
Professional Tips for How to Build a Shed: Tools, Materials, and Tips
Weather Considerations
Mother Nature doesn't care about your building schedule, so you've got to work with her, not against her. Avoid framing in high winds (anything over 20 mph makes wall-raising dangerous), and never, ever work on the roof when it's wet.
Foundation work needs dry conditions and temperatures above 40°F if you're using concrete. Too hot isn't great either; concrete can cure too quickly in extreme heat, leading to cracks. Early morning or evening work sessions are your friend during summer months.
Common Mistakes to Avoid
Having helped buddies with their shed projects (and made plenty of mistakes on my own), here are the biggies to avoid:
Skipping the permit: Yeah, it's tempting, but that $50 permit is way cheaper than fines or having to tear down your shed.
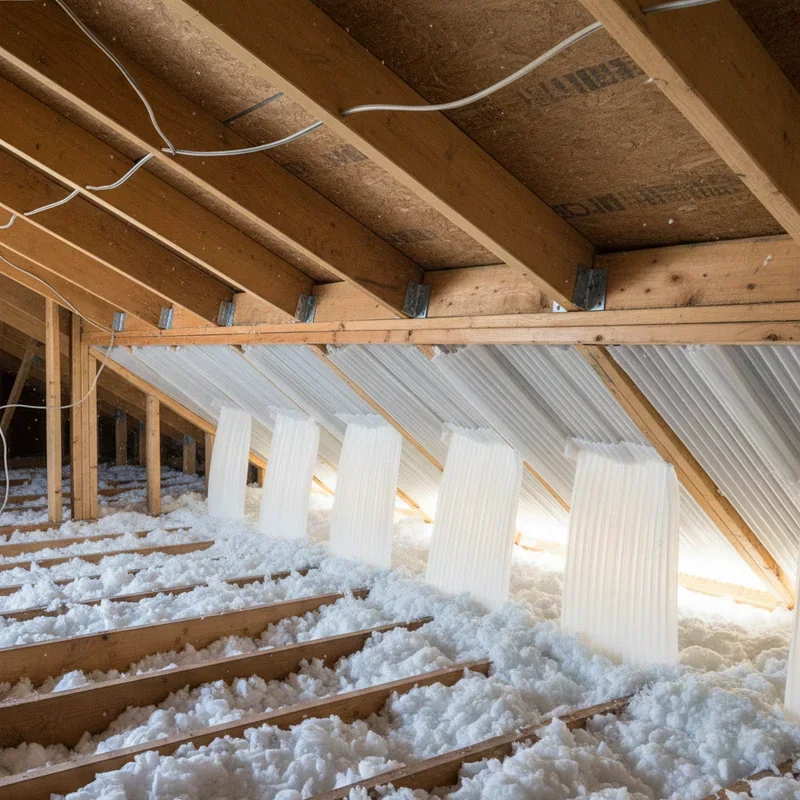
Inadequate ventilation: Sheds need to breathe! Include soffit and ridge vents, or at minimum, gable vents. Otherwise, you'll have moisture problems that'll rot your shed from the inside out.
Forgetting about doors until the end: Plan your door opening carefully. Standard doors are 32-36 inches wide, but if you're storing large equipment, go bigger. There's nothing worse than building a beautiful shed that your riding mower won't fit through!
Time-Saving Techniques
Want to shave hours off your build time? Here are tricks I've learned over the years:
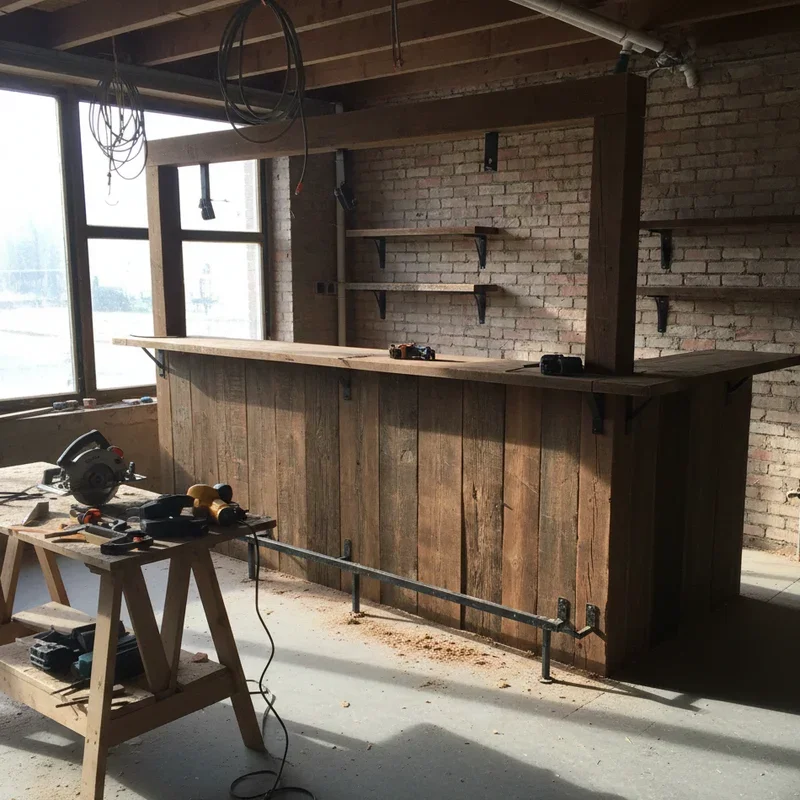
Pre-cut all your pieces for each phase before assembly. Setting up a cut station with sawhorses and a stop block ensures consistent cuts and saves tons of time. Plus, you can knock out all the sawdust-making work at once.
Use construction adhesive along with nails or screws. It adds strength and reduces the number of fasteners needed. Just don't go crazy; a little goes a long way.
Mark your tape measure with common measurements using tape. Mark 16-inch centers, standard stud height, whatever you're using repeatedly. It's faster than reading numbers every time.
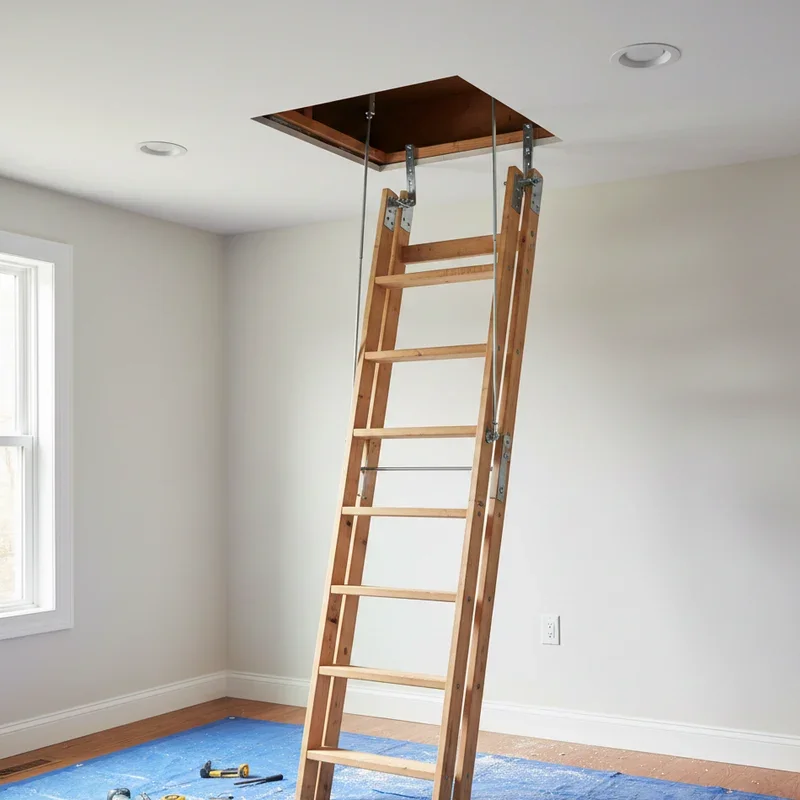
Finishing Touches and Customization
Doors and Windows Installation
Installing doors and windows is like adding eyes and a mouth to your shed's face. It's where function meets aesthetics, and getting it right makes all the difference.
Pre-hung doors are your friend here. Sure, you could build your own door, but for the time and frustration saved, buying pre-hung is worth every penny. Make sure your rough opening is ½ inch wider and taller than your door unit. Use shims to get everything plumb and level before securing.
Windows add natural light and ventilation but also complexity. Small barn-style windows are easiest for beginners. Simply frame the opening, install the window, and trim it out. Boom, instant upgrade!
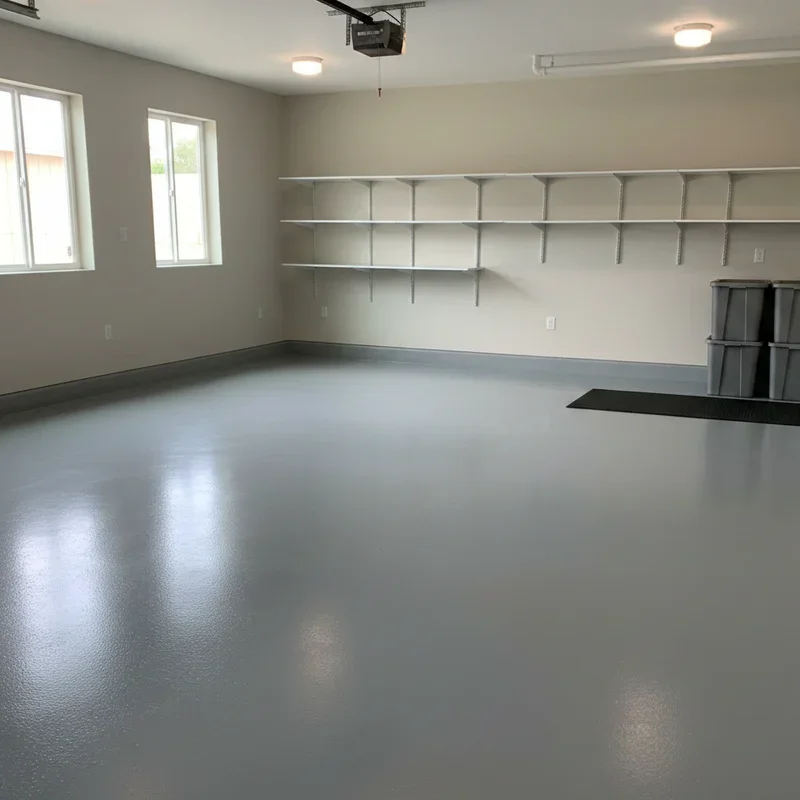
Interior Organization Ideas
The inside of your shed doesn't have to be a dark cave where tools go to hide. With some planning, it can be as organized as a Swiss watch.
Pegboard is the shed organizer's best friend. Cover one wall with it, and you've got flexible storage that grows with your tool collection. Add shelving between studs for free storage space. Just nail in some 2x4 cleats and drop in plywood shelves.
Consider your workflow too. Keep frequently used items near the door, seasonal stuff up high, and create zones for different activities. A small workbench, even just a piece of plywood on sawhorses, transforms a storage shed into a functional workspace.
Painting and Weatherproofing
You're in the home stretch now! Painting isn't just about making your shed pretty (though that's important too); it's about protection from the elements.
Prime all exposed wood, especially cut ends where moisture loves to penetrate. Use quality exterior paint; this isn't the place to penny-pinch. Two thin coats beat one thick coat every time. It might seem like more work, but the finish will be more durable and look better.
Don't forget to caulk! Every gap, seam, and joint where water might enter needs attention. Around windows, doors, where siding meets trim, anywhere two materials meet. A few tubes of quality exterior caulk now prevents rot and repairs later.

Maintenance and Longevity
Your shed's built, but the story doesn't end there. Like a car or any other investment, regular maintenance keeps it serving you for decades instead of years.
Check your roof annually, especially after winter. Look for lifted shingles, damaged flashing, or any signs of water infiltration. Clean gutters if you installed them, and keep vegetation from growing against the siding.
Every few years, inspect the foundation for settling or shifting. Small adjustments now prevent big problems later. Repaint or restain as needed; when water no longer beads on the surface, it's time for a new coat.
Conclusion
Building your own shed is one of those projects that teaches you way more than just construction skills. It's about problem-solving, patience, and the satisfaction of creating something useful with your own hands. With the right approach to how to build a shed: tools, materials, and tips, you're not just adding storage space; you're adding value to your property and skills to your repertoire. Remember, every expert builder started with their first project, so embrace the learning process and enjoy the journey!
Read next: How to Build a Garage: Step-by-Step Guide
Frequently Asked Questions
Q1: How long does it take to build a basic shed?
A: Most DIYers complete a basic 8x10 shed in two to three weekends.
Q2: Do I need a permit for a small shed?
A: Usually not under 120 square feet, but always check local building codes.
Q3: What's the cheapest foundation option for a shed?
A: Concrete blocks on gravel provide an economical yet effective foundation solution today.
Q4: Can I build a shed directly on the ground?
A: Not recommended; ground contact causes rot and structural problems over time inevitably.
Q5: What size shed doesn't require a permit?
A: Most areas allow 120 square feet or less without permits, but verify locally.
Stay up to date with our latest ideas!