How to Unclog a Kitchen Sink: Step-by-Step
Don’t let a stubborn clog rain on your parade! Discover how to unclog a kitchen sink—step-by-step—and keep your kitchen drain running like a dream with these foolproof tips, smart techniques, and easy-to-follow methods.
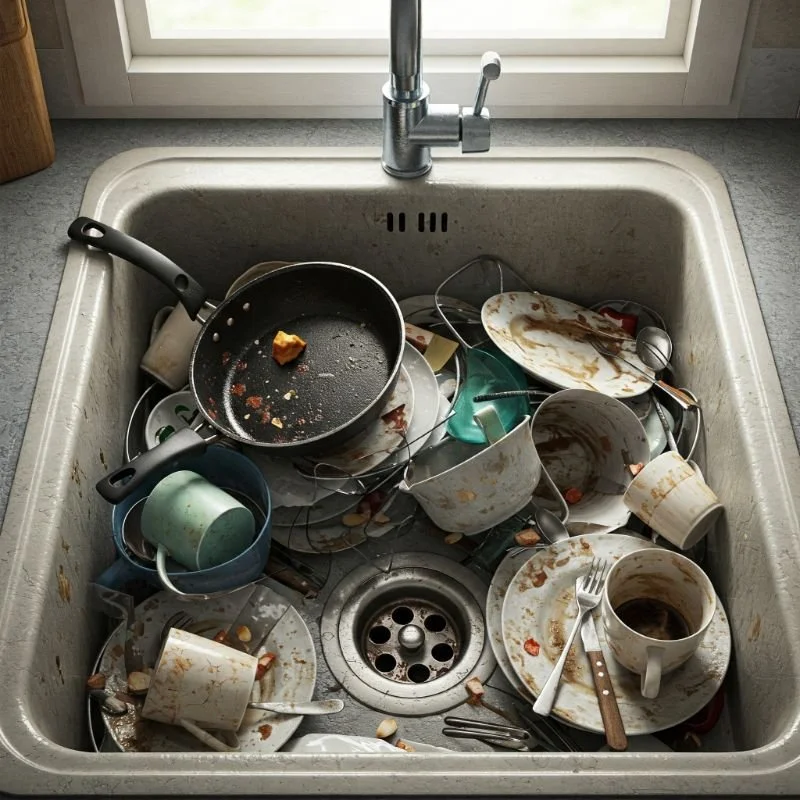
Has your kitchen sink turned into a miniature lake that just won’t drain? Don’t worry—this predicament happens to the best of us, and it usually strikes at the most inconvenient moments. Perhaps you’re halfway through washing dishes after a big family dinner, or you’re cooking a weekend feast and suddenly, the water in your sink refuses to go down. Well, pull up a chair, friend, because you’re about to learn how to unclog a kitchen sink: step-by-step!
Kitchen sink clogs are more than just an annoying quirk—they can lead to unpleasant odors, unsightly buildup, and even damage to your plumbing system if ignored for too long. But hey, no need to lose your cool over it! You’ll soon discover that unclogging a kitchen sink is easier than you might think, especially when you know the correct tools, time-tested techniques, and a few insider hacks. By the time you’re through reading this, you’ll be well on your way to reclaiming that free-flowing drain.
Throughout this comprehensive guide, we’ll explore a variety of tactics to conquer any clog that’s come your way. We’ll discuss everyday tips and highlight specific tools designed to help clear your kitchen sink without damaging your pipes. Whether you’re dealing with a minor blockage or a severe clog that’s got you scratching your head, we’ve got the goods to guide you through every step of the process. So, roll up your sleeves, get ready to sling some elbow grease, and say adios to that stubborn clog!
Why Does Your Kitchen Sink Get Clogged?
Before diving into the actual methods, let’s have a quick look at the usual suspects behind those pesky blockages:
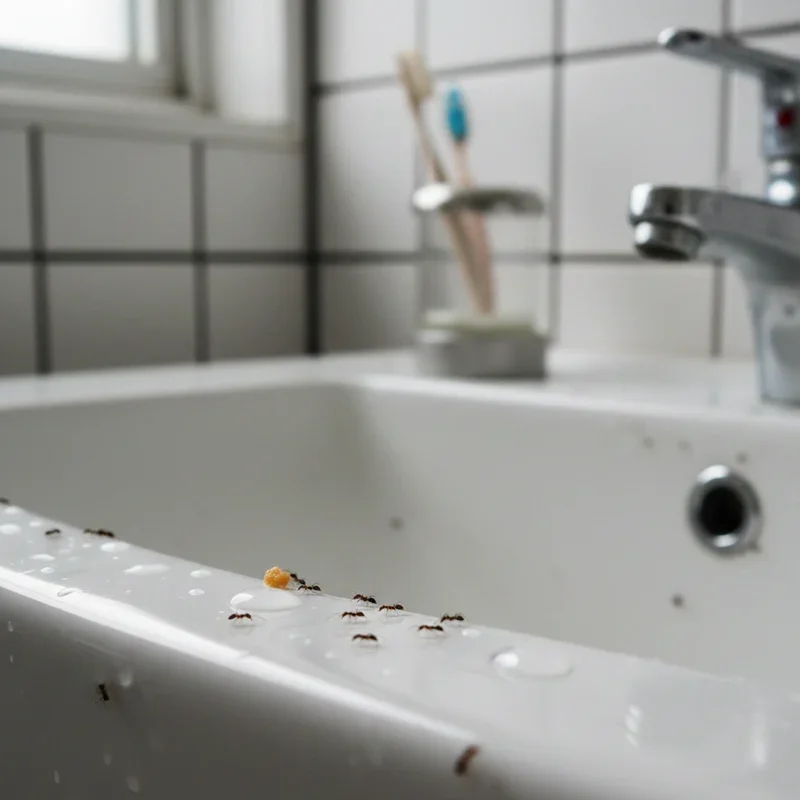
Food scraps: Bits of leftover food often sneak their way into the drain, forming clumps that obstruct water flow. Over time, these scraps accumulate and create a tough clog.
Grease and oil: Pouring hot grease or oil down the drain is a recipe for trouble. Once they cool, they solidify and stick to the inner walls of the pipes.
Soap scum: You’d think soap would keep your sink clean, but it can leave behind a filmy residue that narrows the drainpipe.
Mineral buildup: Hard water leaves mineral deposits that can form stubborn blockages when combined with other substances.
Foreign objects: Small utensils, bits of plastic, or even that stray twist tie from a bread bag can fall into the drain and wreak havoc on your plumbing system.
Understanding why clogs occur gives you a clear idea about preventing them in the future. A little knowledge goes a long way, so when you finally master how to unclog a kitchen sink: step-by-step, you’ll also know how to keep it from getting clogged all over again!
Gather Your Supplies
Nobody wants to start a project only to realize halfway through that they’re missing a crucial tool or chemical. Here’s a handy-dandy list of essentials you’ll need to tackle the average kitchen sink clog:
Rubber gloves: Trust me, you don’t want to stick your bare hands into grimy, stagnant water.
Plunger: A sink plunger with a flat rubber head works best for kitchen drains.
Drain snake or auger: This handy tool helps reach and break up deep, stubborn clogs.
Baking soda and white vinegar: A tried-and-true home remedy for mild blockages and freshening up your drain.
Hot water: Sometimes, all your sink needs is a generous flush of hot water to loosen minor clogs.
Wrench: Useful for taking apart the P-trap if you need to do some deeper exploration.
Bucket or container: To catch any residual water or gunk when removing pipe segments.
Pipe brush or old toothbrush: Helpful for scrubbing away gunk in tight crevices.
Got everything you need? Perfect—time to get down to business.
Basic Techniques to Unclog a Kitchen Sink: Step-by-Step
Here’s the section you’ve been waiting for—the moment you learn how to unclog a kitchen sink: step-by-step. These techniques range from simple home remedies to more advanced methods. Start with the easiest approach, and work your way up if the clog continues to hold its ground.
1. Try the Hot Water Flush
Sometimes, your kitchen sink just needs a good old-fashioned rinse. If the clog is mild, flush the drain with a pot of boiling water:
Boil a large pot or kettle of water.
Carefully pour the boiling water into the drain, aiming to cover the entire opening.
Wait several seconds, then run your tap to see if the water drains normally.
Still no luck? Rinse and repeat a few times; some clogs simply need repeated flushes. If the water remains stubbornly high, it’s time to move on to the next step.
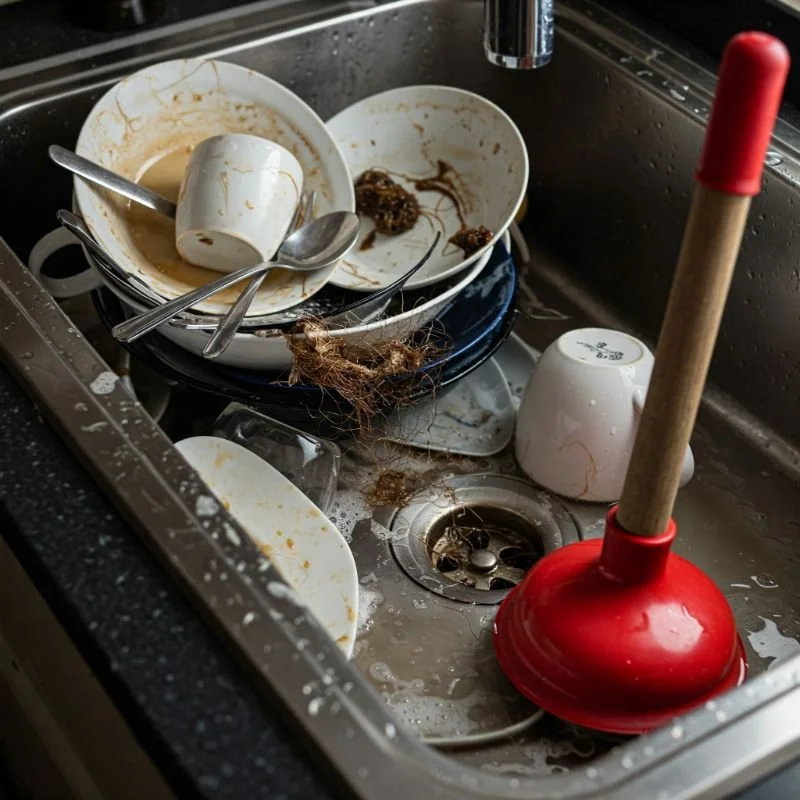
2. Plunge Away
Ah, the plunger—a classic tool that’s saved many a kitchen from turning into a watery disaster zone. Although you might associate plungers with toilets, they work wonders on sinks, too.
Make sure there’s enough water in the sink to cover the head of the plunger.
If you have a double sink, block off the second drain opening using a wet rag or a stopper to create maximum suction in the clogged side.
Position the plunger over the clogged drain and press down firmly.
Pull up and push down vigorously for about 30 seconds, creating a vacuum effect to dislodge the clog.
Remove the plunger and check if the water drains away.
If you see the water swirling down the sink, congratulations—you’ve emerged victorious over that pesky clog! If not, don’t throw in the towel just yet. Keep reading.
3. Baking Soda and Vinegar Fizz
Who says chemistry can’t be fun? Baking soda and vinegar is a time-tested dynamic duo that can dissolve minor clogs while also neutralizing odors. It’s a more natural route if you’d like to avoid harsh chemicals.
Scoop out any standing water in the sink so the drain is as clear as possible.
Pour about a cup of baking soda down the drain. If necessary, use a small spatula or spoon to help it along.
Carefully pour a cup of white vinegar into the drain.
Immediately cover the drain with a plug or rag to contain the fizz.
Wait 10–15 minutes. The chemical reaction should break up smaller clogs.
Flush the drain with a pot of boiling water or run hot tap water.
You might hear some gurgling and bubbling, which is a sign things are moving. If the clog remains, you’ll need to keep at it or try a more intense technique.
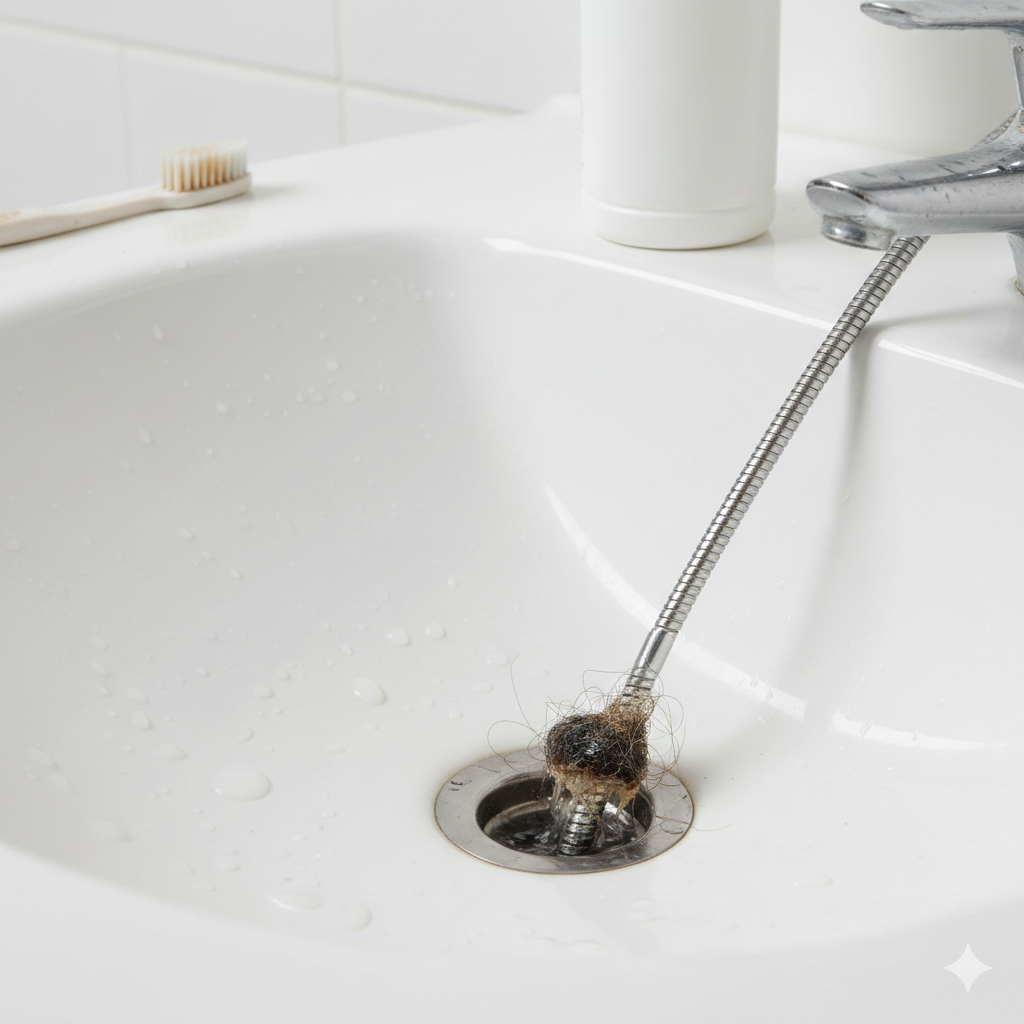
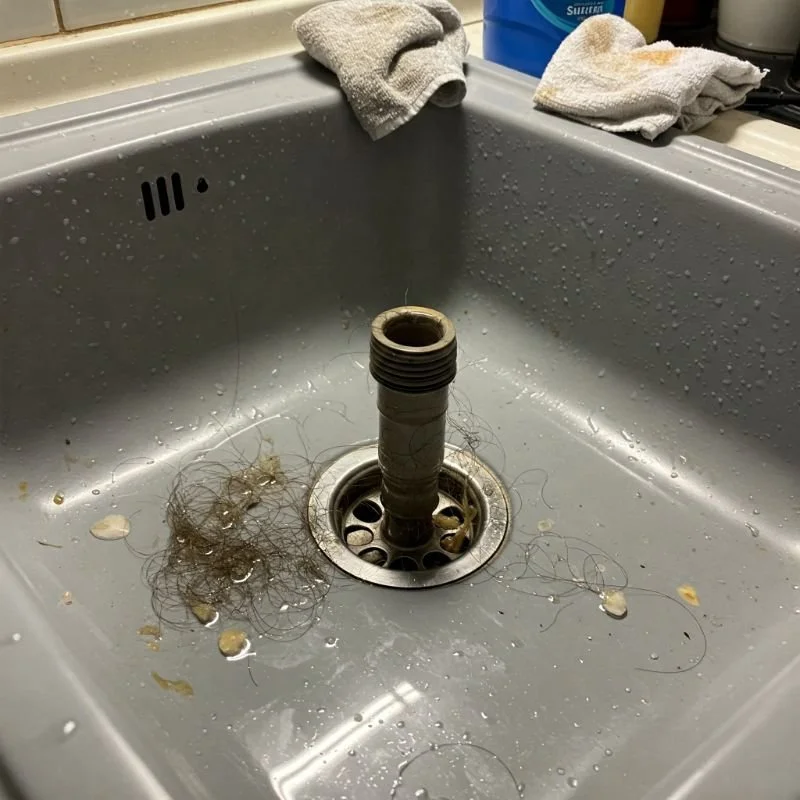
4. Attack It with a Drain Snake
For those times when the clog laughs in the face of boiling water and vinegar fizz, a trusty drain snake (also known as a plumber’s auger) can get the job done. This coiled spiral snake is long enough to reach clogs deeper in the plumbing system, and it can break them apart or fish them out.
Remove the drain cover (if applicable).
Insert the snake into the drain, turning the handle clockwise. This motion helps guide it into the curved parts of your pipes.
When you feel resistance, you’ve likely found the clog—keep turning the handle to push the snake through or pull up the clog.
Slowly retract the snake, wiping it as you go to remove any debris.
Run hot water to ensure the drain is now clear.
Snaking can be a bit messy, but it’s incredibly satisfying when you feel that blockage give way. Just remember to be patient—you might need a few attempts.
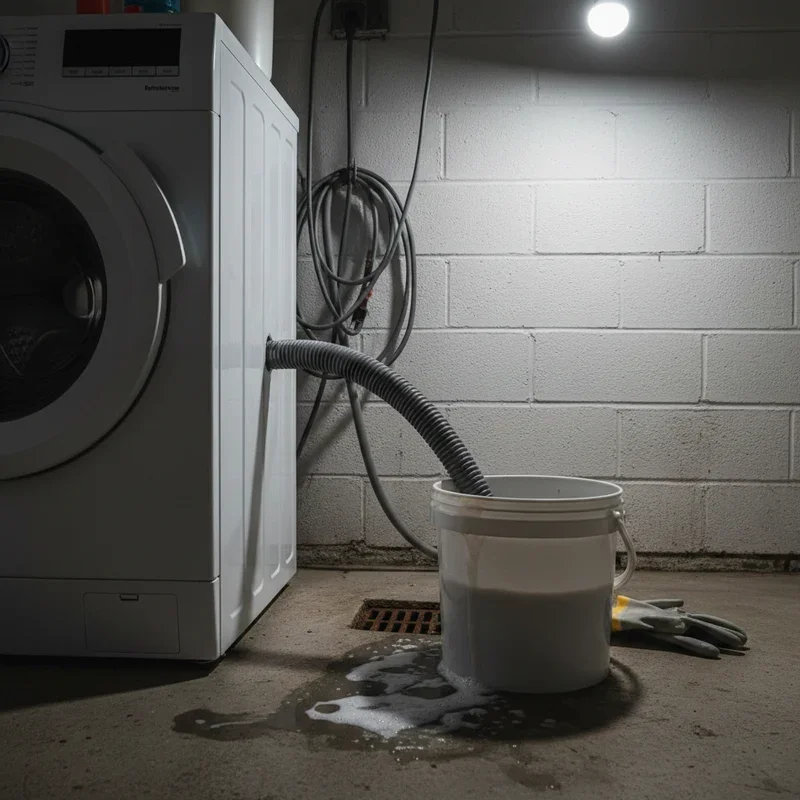
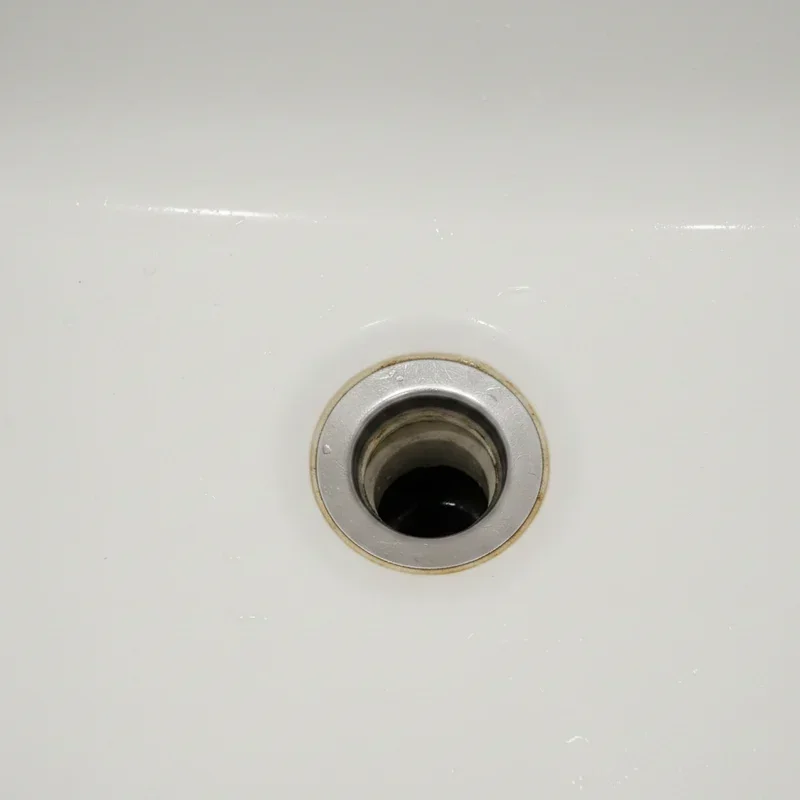
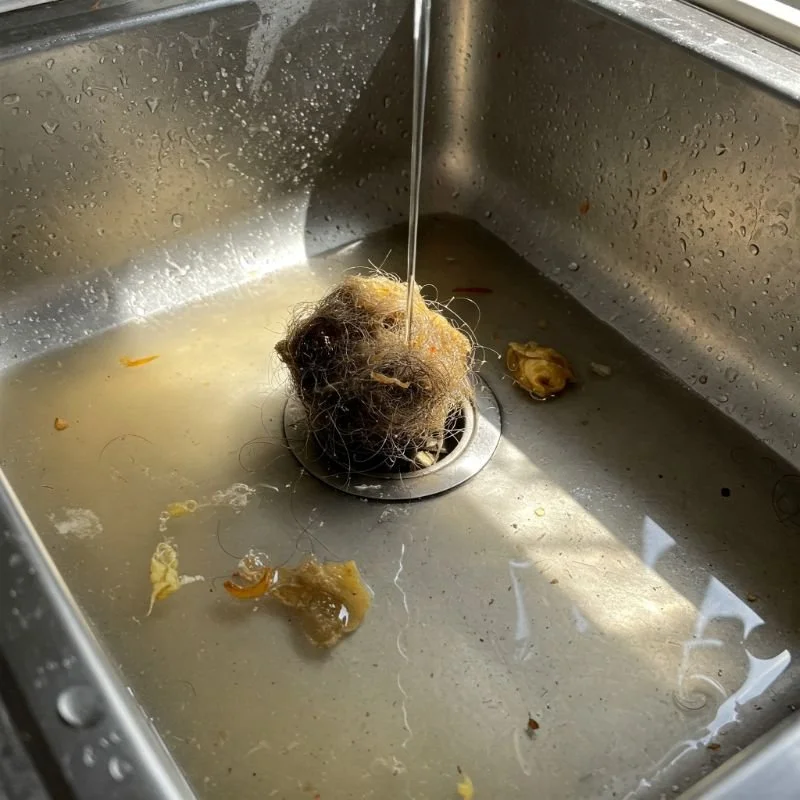
5. Remove and Clean the P-Trap
If you’re still left scratching your head, it might be time to remove the P-trap, the curved section of pipe under your sink. This little bend is notorious for collecting debris, but cleaning it isn’t as scary as it sounds.
Place a bucket or old container under the P-trap to catch any water.
Use a wrench or channel-lock pliers to loosen the slip nuts on both sides of the trap.
Gently remove the trap and empty it into the bucket.
Clean out any debris using a pipe brush or old toothbrush.
Rinse the trap thoroughly with warm water.
Reassemble the trap, ensuring all connections are tight.
Turn on your faucet and see if the water now drains freely. If it does, pat yourself on the back—you’ve basically become a part-time plumber! If the clog persists after all these steps, you may need professional intervention. Some tough clogs hide deeper in your home’s plumbing system and require advanced tools.
Additional Tips and Tricks
Avoid Chemical Overuse: While chemical drain cleaners can offer a quick fix, excessive use can corrode your pipes. Opt for natural methods first, or choose products specifically designed to protect your plumbing.
Regular Maintenance: Flush your kitchen sink drain with hot water once a week. A monthly baking soda and vinegar treatment can also keep potential clogs at bay.
Dispose of Grease Properly: Pour hot grease into a container, let it cool, then throw it in the trash instead of dumping it down the sink. This one habit alone can save you loads of trouble.
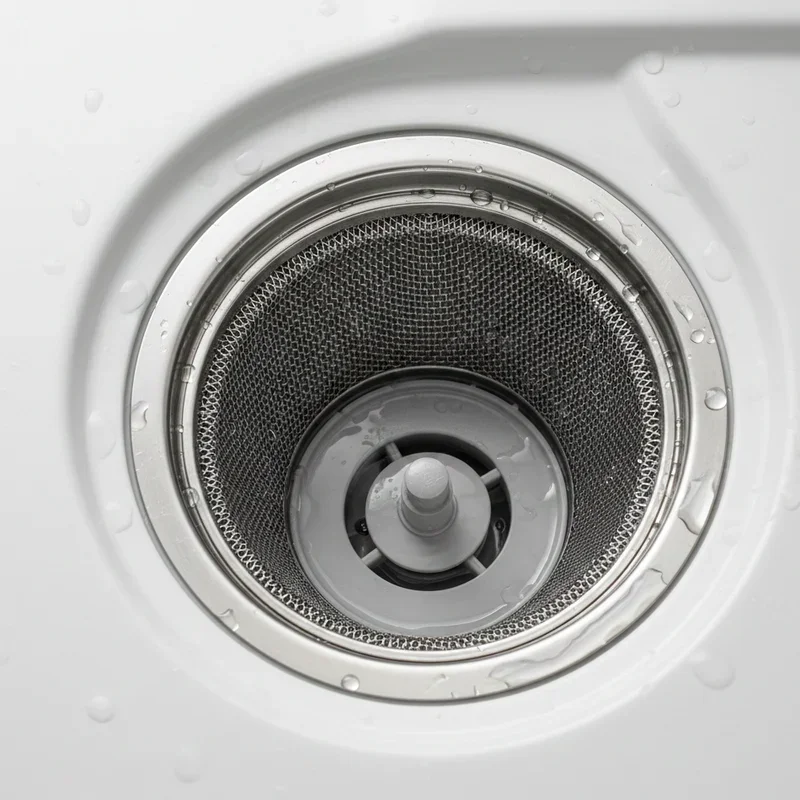
Use a Sink Strainer: Stop food scraps before they even reach the drain. Strainers are inexpensive and can drastically reduce the likelihood of a clog.
Clean Your Garbage Disposal: If you have a disposal unit, run it regularly with cold water and occasional citrus peels to maintain a fresh, functioning system.
Know When to Call a Plumber: If you’ve exhausted every method and still have no success, seeking professional help is nothing to be ashamed of. Better to fix it properly than risk a burst pipe.
Conclusion
And there you have it—everything you need to know about how to unclog a kitchen sink: step-by-step, along with plenty of tips to prevent future drain woes. If you’ve followed these strategies diligently, chances are your sink is now draining smoothly and you’re feeling like a champion! From basic solutions like hot water flushes and baking soda fizz to more involved methods such as snaking the drain and cleaning the P-trap, you’re now well-equipped to tackle clogs of all shapes and sizes.
Keep in mind that not every clog will vanish with the first trick you try—some need a bit of coaxing, and persistence is key. But take heart, because each technique you’ve learned here is a proven way to overcome frustrating blockages. Armed with patience, the right tools, and a dash of elbow grease, you’re set to wave goodbye to that pesky standing water and reclaim your fully functional kitchen sink.
Now, it’s only a matter of putting your new know-how into action. Let’s recap the essential steps: gather your supplies, start with the simplest methods like plunging or a hot water flush, and work your way up to the big guns (baking soda and vinegar, drain snakes, or even removing the P-trap). By following the how to unclog a kitchen sink: step-by-step procedures outlined here, you can save yourself a pile of money and an ocean of stress.
So what are you waiting for? Dive into action, and say hello to a sparkling, clog-free kitchen sink. Once you’re done, kick back and treat yourself to a little victory dance—you’ve earned it!
Frequently Asked Questions
1. Is it safe to use a regular toilet plunger on my kitchen sink?
Sure, you can use a toilet plunger in a pinch, but it’s more hygienic and effective to keep a separate flat-head plunger specifically for sinks. Using a plunger previously employed in your toilet might spread germs around your kitchen workspace—yuck!
2. What if I don’t have a drain snake?
No drain snake? No problem! You can buy an affordable plastic drain tool from most hardware stores. These typically have small barbs that can hook onto clogs. Alternatively, you can fashion a makeshift snake from a sturdy wire hanger, though be careful not to scratch your pipes.
3. Will baking soda and vinegar damage my pipes?
No, baking soda and vinegar are generally safe for pipes. Their reaction is mild compared to commercial chemical cleaners. However, if your pipes are ancient or already compromised, any additional stress might cause issues, so proceed with caution or consult a pro.
4. Can I pour boiling water in a porcelain or ceramic sink?
Yes, but do it carefully. Rapid temperature changes can cause some materials to crack, so pour slowly around the drain area. If your sink is old or has hairline cracks, consider letting the boiling water cool slightly before pouring it in.
5. Why does my sink still smell bad even after unclogging it?
That foul odor could be from leftover gunk or bacteria in your pipes. After unclogging, flush your drain with a cup of baking soda followed by a cup of white vinegar. Let it sit for 15 minutes, and then pour in a pot of hot water to rinse away any residue.
Stay up to date with our latest ideas!