How to Cut Ceiling Tiles Easily and Safely
Master cutting ceiling tiles easily and safely with expert tips, proper tools, and step-by-step instructions for professional results every time.
Ever looked up at your ceiling and thought, "Boy, those tiles need replacing, but I'm not sure I can handle the cutting part?" Well, you're not alone! Whether you're tackling a home renovation project or dealing with water-damaged tiles that need immediate attention, knowing how to cut ceiling tiles easily and safely can save you both time and money. Trust me, it's not rocket science, but there are definitely some tricks of the trade that'll make your life a whole lot easier.
Picture this: you've got all your materials ready, you're pumped to transform that outdated ceiling, but then you realize you've never actually cut a ceiling tile before. Don't worry! By the time you finish reading this guide, you'll be slicing through those tiles like a hot knife through butter. We'll cover everything from choosing the right tools to avoiding those pesky mistakes that even seasoned DIYers sometimes make.
Understanding Different Types of Ceiling Tiles
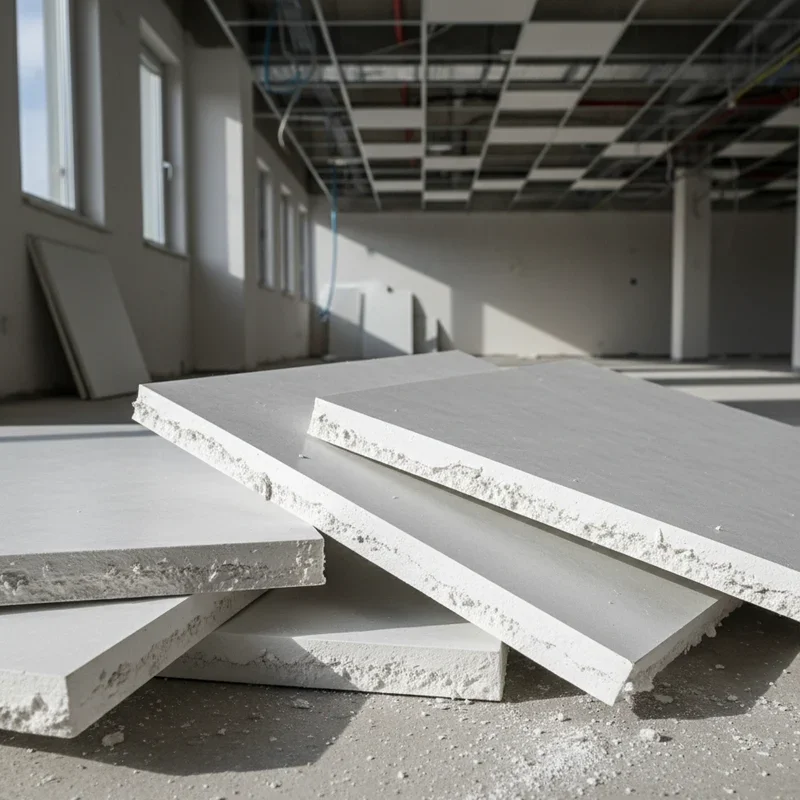
Before diving headfirst into cutting techniques, let's talk about what you're actually working with. Not all ceiling tiles are created equal, and knowing your material makes all the difference.
Acoustic Tiles
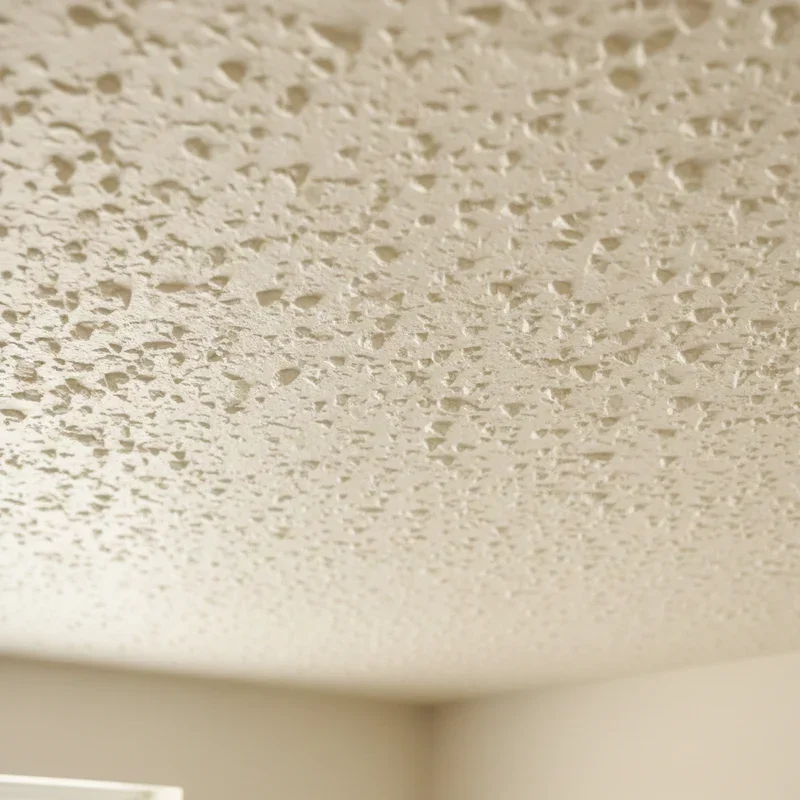
These bad boys are probably what you'll encounter most often. Made from mineral fiber or fiberglass, they're designed to absorb sound and reduce echo. They're usually pretty soft and easy to cut, which is great news for beginners! The texture might look intimidating, but honestly, they're quite forgiving when you're learning the ropes.
Vinyl-Faced Tiles
Now these are a different animal altogether. With a smooth, washable surface, they're perfect for kitchens or bathrooms where moisture might be an issue. The vinyl coating adds a bit of challenge when cutting, but nothing you can't handle with the right approach.
Metal Ceiling Tiles
Okay, these require a bit more elbow grease. Whether they're tin, aluminum, or steel, metal tiles need special tools and techniques. But hey, the end result is absolutely stunning, so it's worth the extra effort!
Foam Tiles
Lightweight and budget-friendly, foam tiles are basically the training wheels of ceiling tile cutting. If you're just starting out, these might be your best friend. They cut like a dream and won't break the bank if you make a mistake or two.

Essential Tools for How to Cut Ceiling Tiles Easily and Safely
Alright, let's talk tools! Having the right equipment isn't just about making the job easier; it's about keeping all your fingers intact while you work.
Must-Have Tools:
Sharp Utility Knife - Your primary weapon of choice for most ceiling tiles
Straightedge or T-Square - Because eyeballing straight lines rarely works out well
Measuring Tape - Measure twice, cut once, as they say!
Pencil or Marker - For marking your cutting lines
Safety Goggles - Your eyes will thank you later
Dust Mask - Especially important with fiberglass tiles
Work Gloves - Protect those hands!
Nice-to-Have Tools:
Rotary Tool - Great for intricate cuts
Circle Cutter - Perfect for those pesky light fixtures
Fine-Tooth Saw - Handy for thicker tiles
Cutting Mat - Saves your work surface from scratches
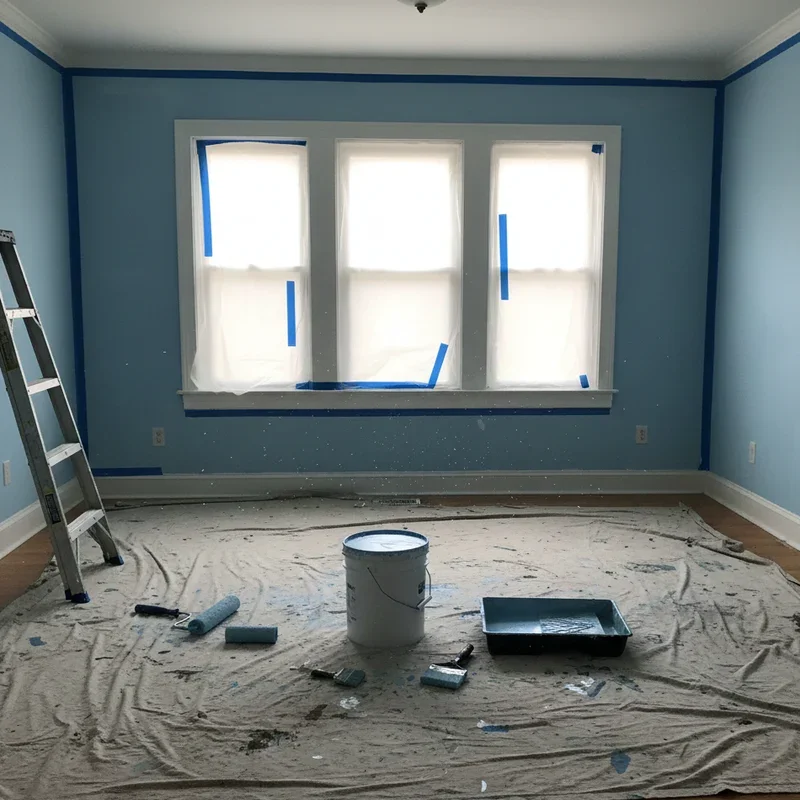
Preparing Your Workspace
You know what they say about failing to prepare? Well, it's especially true when you're dealing with ceiling tiles. Setting up your workspace properly isn't just about convenience; it's a crucial part of learning how to cut ceiling tiles easily and safely.
First things first, find yourself a flat, stable surface to work on. Your kitchen table might seem convenient, but trust me, your spouse won't appreciate the scratches! Instead, set up a workbench or lay down some plywood on sawhorses. If you're working indoors, throw down a drop cloth or old sheet to catch all the debris. Nobody wants to spend hours vacuuming up tiny tile particles!
Lighting is another biggie that folks often overlook. You can't cut what you can't see properly, right? Make sure you've got good overhead lighting or bring in some portable work lights. Natural light is fantastic if you can manage it, but don't strain your eyes trying to work in dim conditions.
Step-by-Step Cutting Techniques
Basic Straight Cuts
Here's where the rubber meets the road! Making straight cuts is the foundation of all ceiling tile work, so let's nail this technique first.
Start by measuring your tile carefully. Remember that old carpenter's wisdom about measuring twice? Well, with ceiling tiles, you might want to measure three times! Mark your cutting line clearly with a pencil, making sure the line is visible but not so heavy that it'll show through on lighter tiles.
Place your straightedge along the marked line and hold it firmly. Here's a pro tip: clamp it down if you can! Nothing's worse than having your straightedge slip halfway through a cut. Using your utility knife, score along the line with moderate pressure. Don't try to cut through in one go; that's a recipe for disaster! Instead, make several passes, gradually deepening the cut with each stroke.
Cutting Around Obstacles
Now here's where things get interesting! Ceiling tiles rarely fit perfectly without some modifications for lights, vents, or sprinkler heads.
For circular cuts, start by tracing your obstacle onto the tile. A compass works great for this, or you can use the actual fixture as a template. If you've got a circle cutter, fantastic! If not, don't sweat it. You can make a series of small, straight cuts around the circle, kind of like you're creating a polygon. It might not be perfect, but remember, the fixture cover will hide minor imperfections.
For rectangular cuts, like for air vents, drill a hole in each corner first. This gives you a starting point and prevents the tile from cracking beyond your cut line. Then use your utility knife or a fine-tooth saw to connect the holes.
Creating Custom Shapes
Sometimes you need to get creative with your cuts. Maybe you're working around an oddly shaped column or dealing with an angled wall. This is where patience really pays off!
Create a cardboard template first. Seriously, this little trick will save you from wasting expensive tiles! Cut and adjust your cardboard until it fits perfectly, then trace it onto your ceiling tile. For complex curves, make relief cuts (small straight cuts perpendicular to your curve) first, then carefully break away the excess material.
Safety Precautions and Best Practices
Let's get real for a second. Working with ceiling tiles might seem harmless, but there are definitely some safety concerns you need to keep in mind.
Personal Protective Equipment
I can't stress this enough: wear your safety gear! Those safety goggles might fog up and annoy you, but they're a lot less annoying than getting fiberglass particles in your eyes. Trust me on this one; I learned the hard way!
When working with fiberglass or mineral fiber tiles, a good dust mask is absolutely essential. These materials can release tiny particles that you really don't want to breathe in. If you're cutting a lot of tiles, consider upgrading to a respirator for better protection.
Gloves are your friends too, especially with metal tiles or when handling broken pieces. Even seemingly smooth tiles can have sharp edges that'll slice through skin faster than you can say "ouch!"
Proper Handling Techniques
Always cut away from your body. Sounds obvious, right? But when you're focused on getting that perfect line, it's easy to forget basic safety. Keep your free hand well clear of the cutting path, and never try to catch a falling tile. They're replaceable; your fingers aren't!
When lifting tiles, especially larger ones, bend your knees and lift with your legs. Ceiling tiles might not weigh much individually, but if you're doing a whole room, that repetitive lifting can really do a number on your back.
Common Mistakes and How to Avoid Them
We all make mistakes, but learning from others' goofs can save you time, money, and frustration. Here are the biggies I've seen (and okay, committed myself).
Measuring Incorrectly
This one's a classic! Remember that ceiling grids aren't always perfectly square, especially in older buildings. Always measure each tile space individually rather than assuming they're all the same size. And here's something that trips people up: account for the lip that sits on the grid. If you cut your tile the exact size of the opening, it'll fall right through!
Using Dull Blades
A dull blade isn't just inefficient; it's dangerous. When you have to apply extra pressure to cut, you're more likely to slip and either hurt yourself or damage the tile. Change your utility knife blade frequently. If you feel like you're sawing rather than slicing, it's time for a fresh blade.
Rushing the Process
Look, I get it. You want to get this project done and enjoy your beautiful new ceiling. But rushing leads to crooked cuts, broken tiles, and sometimes injuries. Take your time, especially when you're learning. Speed comes with practice, and even then, steady and careful beats fast and sloppy every time.
Tips for Different Room Applications
Bathrooms and Kitchens
These rooms need special consideration because of moisture. When cutting tiles for these spaces, seal the cut edges with a clear sealant or paint. This prevents moisture from wicking into the tile and causing problems down the road. Also, leave a tiny gap (about 1/8 inch) around the perimeter for expansion. Humidity can cause tiles to swell slightly, and without that gap, they might buckle.
Basements
Basements often have lower ceilings with more obstacles like pipes and ductwork. Take extra time mapping out your cuts before you start. It's worth creating templates for tiles that need multiple cutouts. And hey, if you mess up a cut in the basement, it's usually less noticeable than in your living room!
Commercial Spaces
If you're tackling a commercial project, consistency is key. Set up a cutting station with stops and guides to ensure every tile is cut identically. Consider investing in better tools if you're doing a large area. That cheap utility knife might work for your home office, but for a 5,000-square-foot space? Spring for quality tools.

Maintaining Your Tools
Taking care of your tools isn't just about being thrifty; it makes the whole cutting process easier and safer.
Keep your utility knife clean and free from adhesive buildup. A quick wipe with acetone or rubbing alcohol does the trick. Store blades in a dry place to prevent rust, and always retract or cover the blade when not in use.
Your straightedge needs love too! Check it periodically to make sure it's still, well, straight. A warped straightedge is worse than no straightedge at all. Clean off any adhesive or debris that might cause your knife to skip or wander.
Troubleshooting Common Issues
Tiles Cracking During Cuts
If your tiles keep cracking, you might be applying too much pressure or trying to cut too quickly. Remember, patience is a virtue! Also, check the age of your tiles. Older tiles can become brittle and might need extra gentle handling. Sometimes, scoring both sides of the tile before breaking can help prevent unwanted cracks.
Uneven or Rough Edges
Rough edges usually mean you need a sharper blade or better cutting technique. After cutting, you can smooth rough edges with fine-grit sandpaper. For a really professional look, angle your knife slightly outward when cutting so the visible edge is cleanest.
Tiles Not Fitting Properly
If your carefully cut tiles still won't fit, check if your ceiling grid is level and square. Buildings settle over time, and what looks square might be slightly off. Also, remember that temperature and humidity can affect tile size, especially with certain materials.
Conclusion
Mastering how to cut ceiling tiles easily and safely isn't just about having the right tools or knowing the proper techniques. It's about patience, practice, and paying attention to details. Whether you're replacing a single damaged tile or renovating an entire room, these skills will serve you well. Remember to prioritize safety, take your time with measurements, and don't be afraid to practice on spare tiles first. With these tips in your toolbox, you're ready to tackle any ceiling tile project with confidence!
Read next: Learn How to Cut a Laminate Countertop Easily
Frequently Asked Questions
Q1: What's the best tool for cutting fiberglass ceiling tiles?
A: A sharp utility knife works best for clean, precise cuts on fiberglass.
Q2: Can I use regular scissors to cut foam ceiling tiles?
A: Yes, heavy-duty scissors work well for thin foam ceiling tiles.
Q3: How do I prevent ceiling tiles from chipping when cutting?
A: Score lightly multiple times rather than forcing one deep cut through.
Q4: Should I wet ceiling tiles before cutting them?
A: No, cutting dry tiles prevents damage and ensures cleaner edges overall.
Q5: How often should I replace my utility knife blade?
A: Change blades every 5-10 tiles or when cutting becomes difficult.
Stay up to date with our latest ideas!