How to Clean Baseboard Heaters the Right Way
Discover an easy, foolproof method to refresh your baseboard heaters, boost efficiency, and keep your home warm and welcoming all season long.

Oh boy, it’s that time of year again! Chilly days creep in, and there’s nothing worse than flipping on your heater only to realize it’s not doing its job. Baseboard heaters, often taken for granted, can accumulate dust, dirt, and all sorts of gunk over time—stuff you don’t want floating around your living space. If you’re scratching your head, wondering why your heater’s feeling more lukewarm than toasty, chances are it might just need a good cleaning. But hold your horses—don’t reach for that duster just yet without learning the ropes. Let’s take a deep dive into how to clean baseboard heaters the right way, so you can snuggle up in the warmth you truly deserve.
Keeping baseboard heaters pristine does more than just preserve heat distribution—it can also extend the lifespan of your units, possibly saving you a few bucks in the long run. So, are you ready to learn “How to Clean Baseboard Heaters the Right Way” and keep your home cozy? In the following sections, we’ll talk about why baseboard heaters matter, what tools you’ll need for the job, and how to carry out the process step by step. Let’s get down to business!
Why Clean Baseboard Heaters at All?
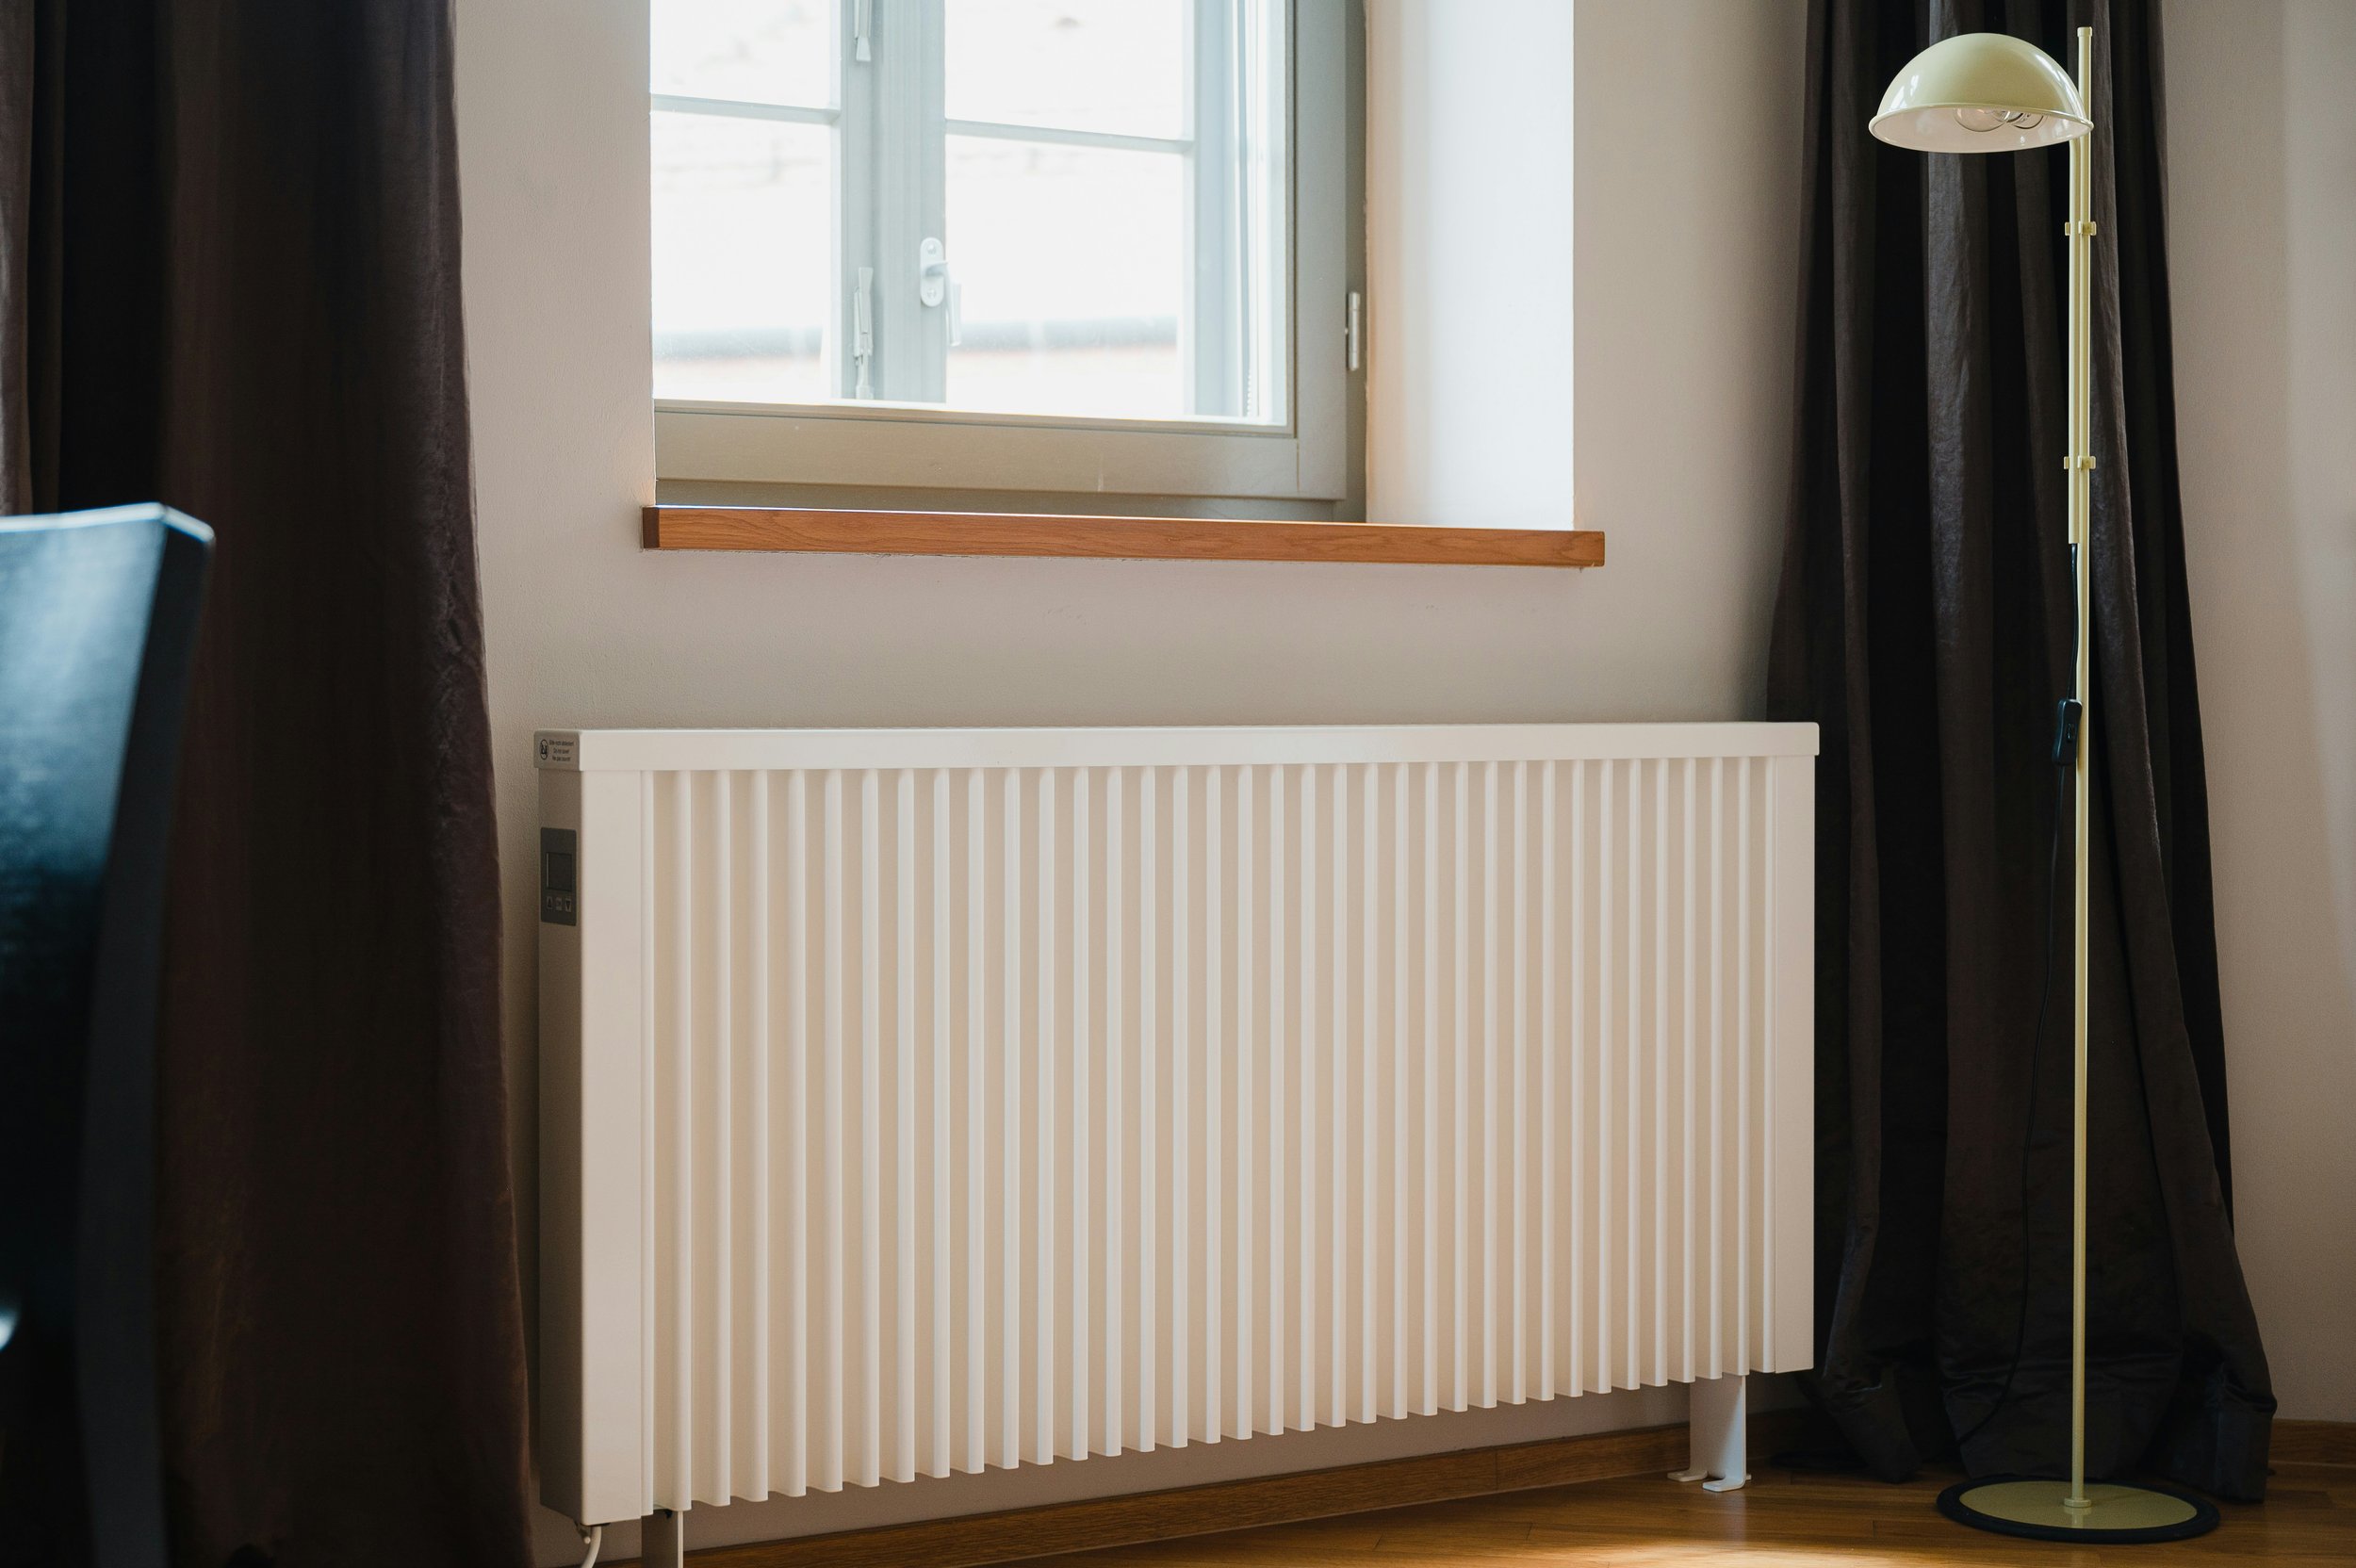
It’s easy to overlook those unassuming metal units hugging the walls. After all, they tend to hang out under windows or along baseboards, quietly warming up your home. But ignoring them can be like leaving a pot simmering on the stove without stirring—sooner or later, something’s gonna burn. Here’s the lowdown on why cleaning your baseboard heaters really matters:
Enhanced Efficiency:
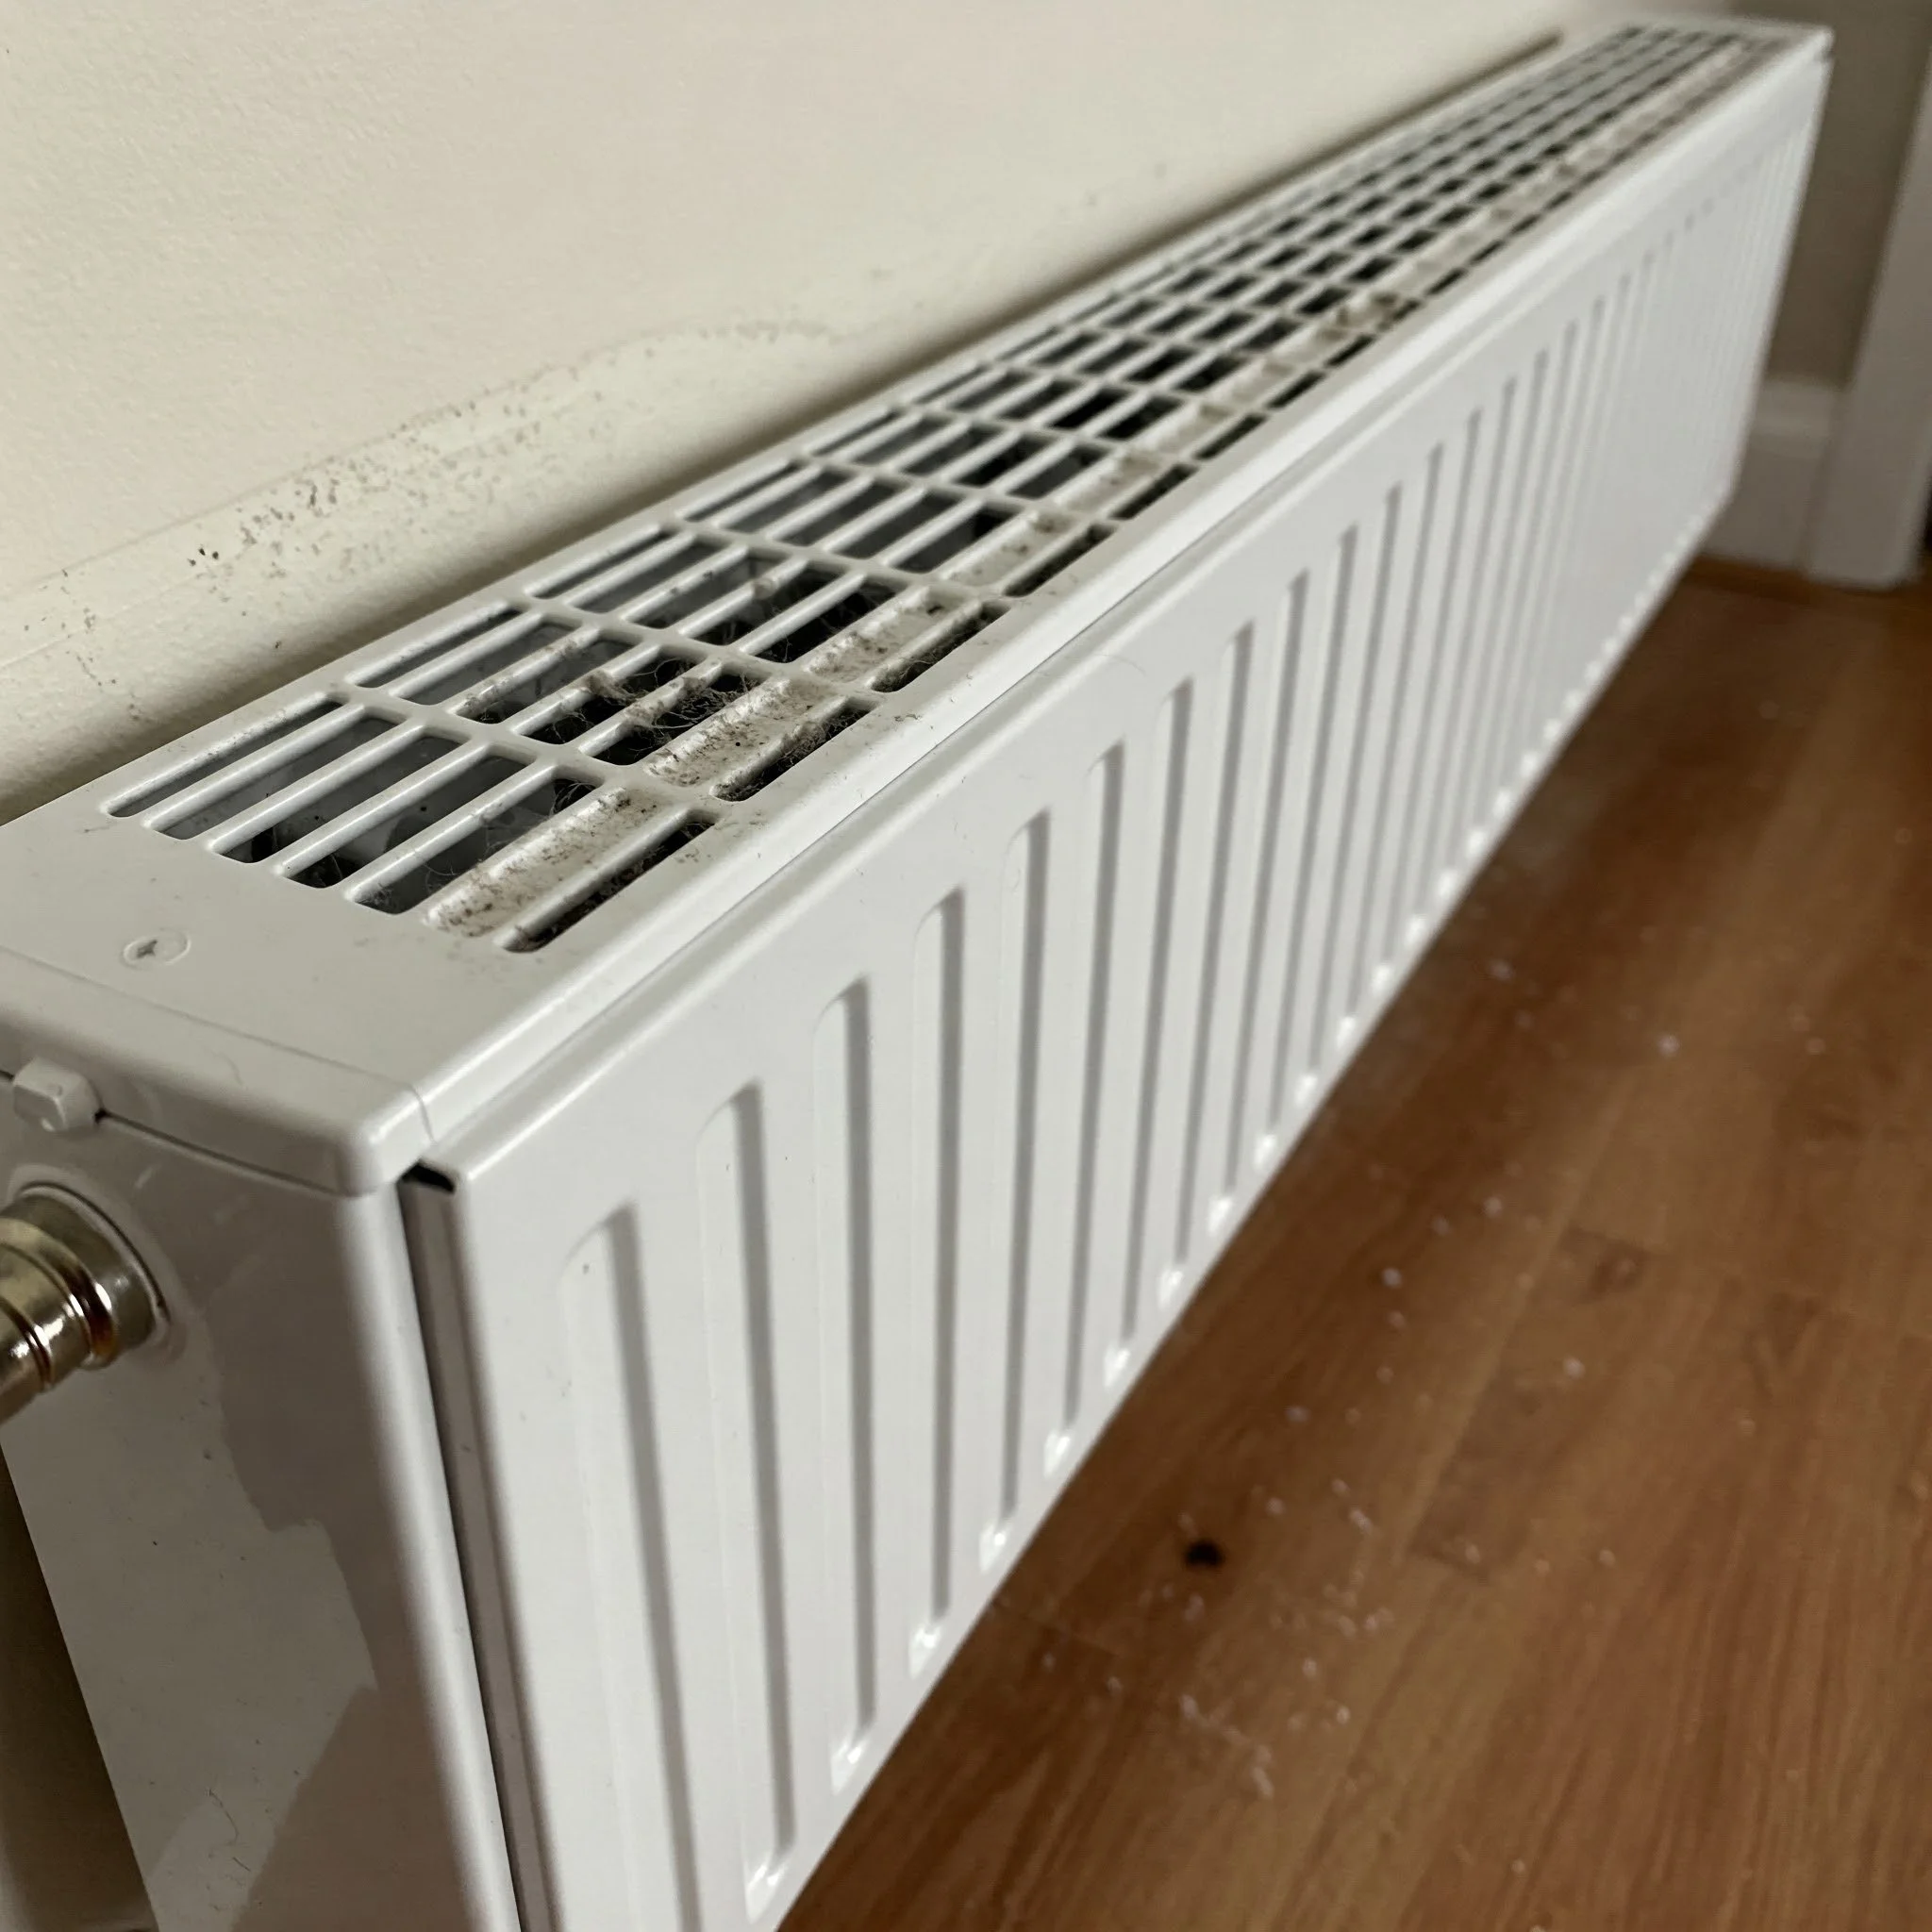
Dust, pet hair, and other grime accumulate on and around your heaters, blocking airflow. Less airflow means reduced heat output and increased energy use. By keeping them clean, you’ll get more bang for your buck in the heating department.Longer Lifespan:
Like any piece of machinery, regular maintenance helps keep your baseboard heaters in tip-top shape. Think of it like a car’s oil change: consistent upkeep can prevent major headaches (and expenses) down the road.Improved Air Quality:
You don’t wanna be breathing in dusty air, do you? Dirty baseboard heaters can spread particles around your home. Keep them squeaky clean to promote healthier indoor air.Reduced Fire Hazards:
Although rare, excessive debris on or around heating elements can pose a fire risk. A little cleaning goes a long way in averting potential problems.Overall Aesthetics:
Nobody wants to see lint or grime clinging to those once-shiny metal fins. A quick cleaning leaves them looking spiffy, contributing to the neatness of your home.
So, yes—there’s a load of benefits when it comes to cleaning baseboard heaters. In short, it’s like giving your home a fresh breath of warm air. Now that you know why it’s important, shall we move on to the nitty-gritty?
Tools and Prep Work
Before you jump in and start cleaning, it’s essential to gather your tools. Think of it as assembling all the puzzle pieces before you make a masterpiece. By having the right gear on hand, you’ll avoid those irritating mid-cleaning scrambles to the garage or store.
What You’ll Need
Vacuum Cleaner (preferably with a brush attachment)
Soft-Bristled Brush (a paintbrush works wonders)
Cloth or Microfiber Rag
Mild Cleaning Solution (warm water and a bit of dish soap will do)
Screwdriver (to remove covers if needed)
Fin Comb (optional, but handy if fins are bent)
Protective Gloves (especially if you’re dealing with a lot of dust)
Face Mask (optional, for those with allergies or dust sensitivities)
Safety First
Turn Off the Power:
Trust me on this one—you do not want to be fiddling around with a heater that’s still connected to power. Locate your home’s breaker panel and flip the switch for the baseboard heaters. Make sure everything’s off before you begin.Cool the Unit:
If your heater’s been running recently, give it some time to cool off. You’ll thank yourself when you don’t accidentally scorch your fingers.Set Up Your Cleaning Zone:
Lay down an old sheet or plastic mat if you’re worried about dust or water dripping onto your floors. This can save you a bigger cleanup job later.
These steps are your foundation for success. Now that you’ve got your gear and have taken the proper safety precautions, you’re ready for the real deal. Next stop—How to Clean Baseboard Heaters the Right Way (yes, we’re about to dig into it)!
How to Clean Baseboard Heaters the Right Way
Ready to roll up your sleeves? Great! We’ll walk through a foolproof, step-by-step process that’ll make your baseboard heaters sparkle like brand-new. Let’s break it down.
Step 1: Power Down Completely
I know, I know—I said it already, but it’s worth emphasizing again. Make sure the heater is off. You’ve switched the breaker, right? A cautious approach might seem like overkill, but it’s really just good sense. Better safe than sorry, as the old saying goes.
Step 2: Remove Any Obstructions
Got furniture blocking your heater? Curtains grazing the fins? Kick those obstructions to the curb, at least while you work. Proper airflow is key for good heat distribution, so keeping the area around the heater clear is essential for both cleaning and everyday operation.
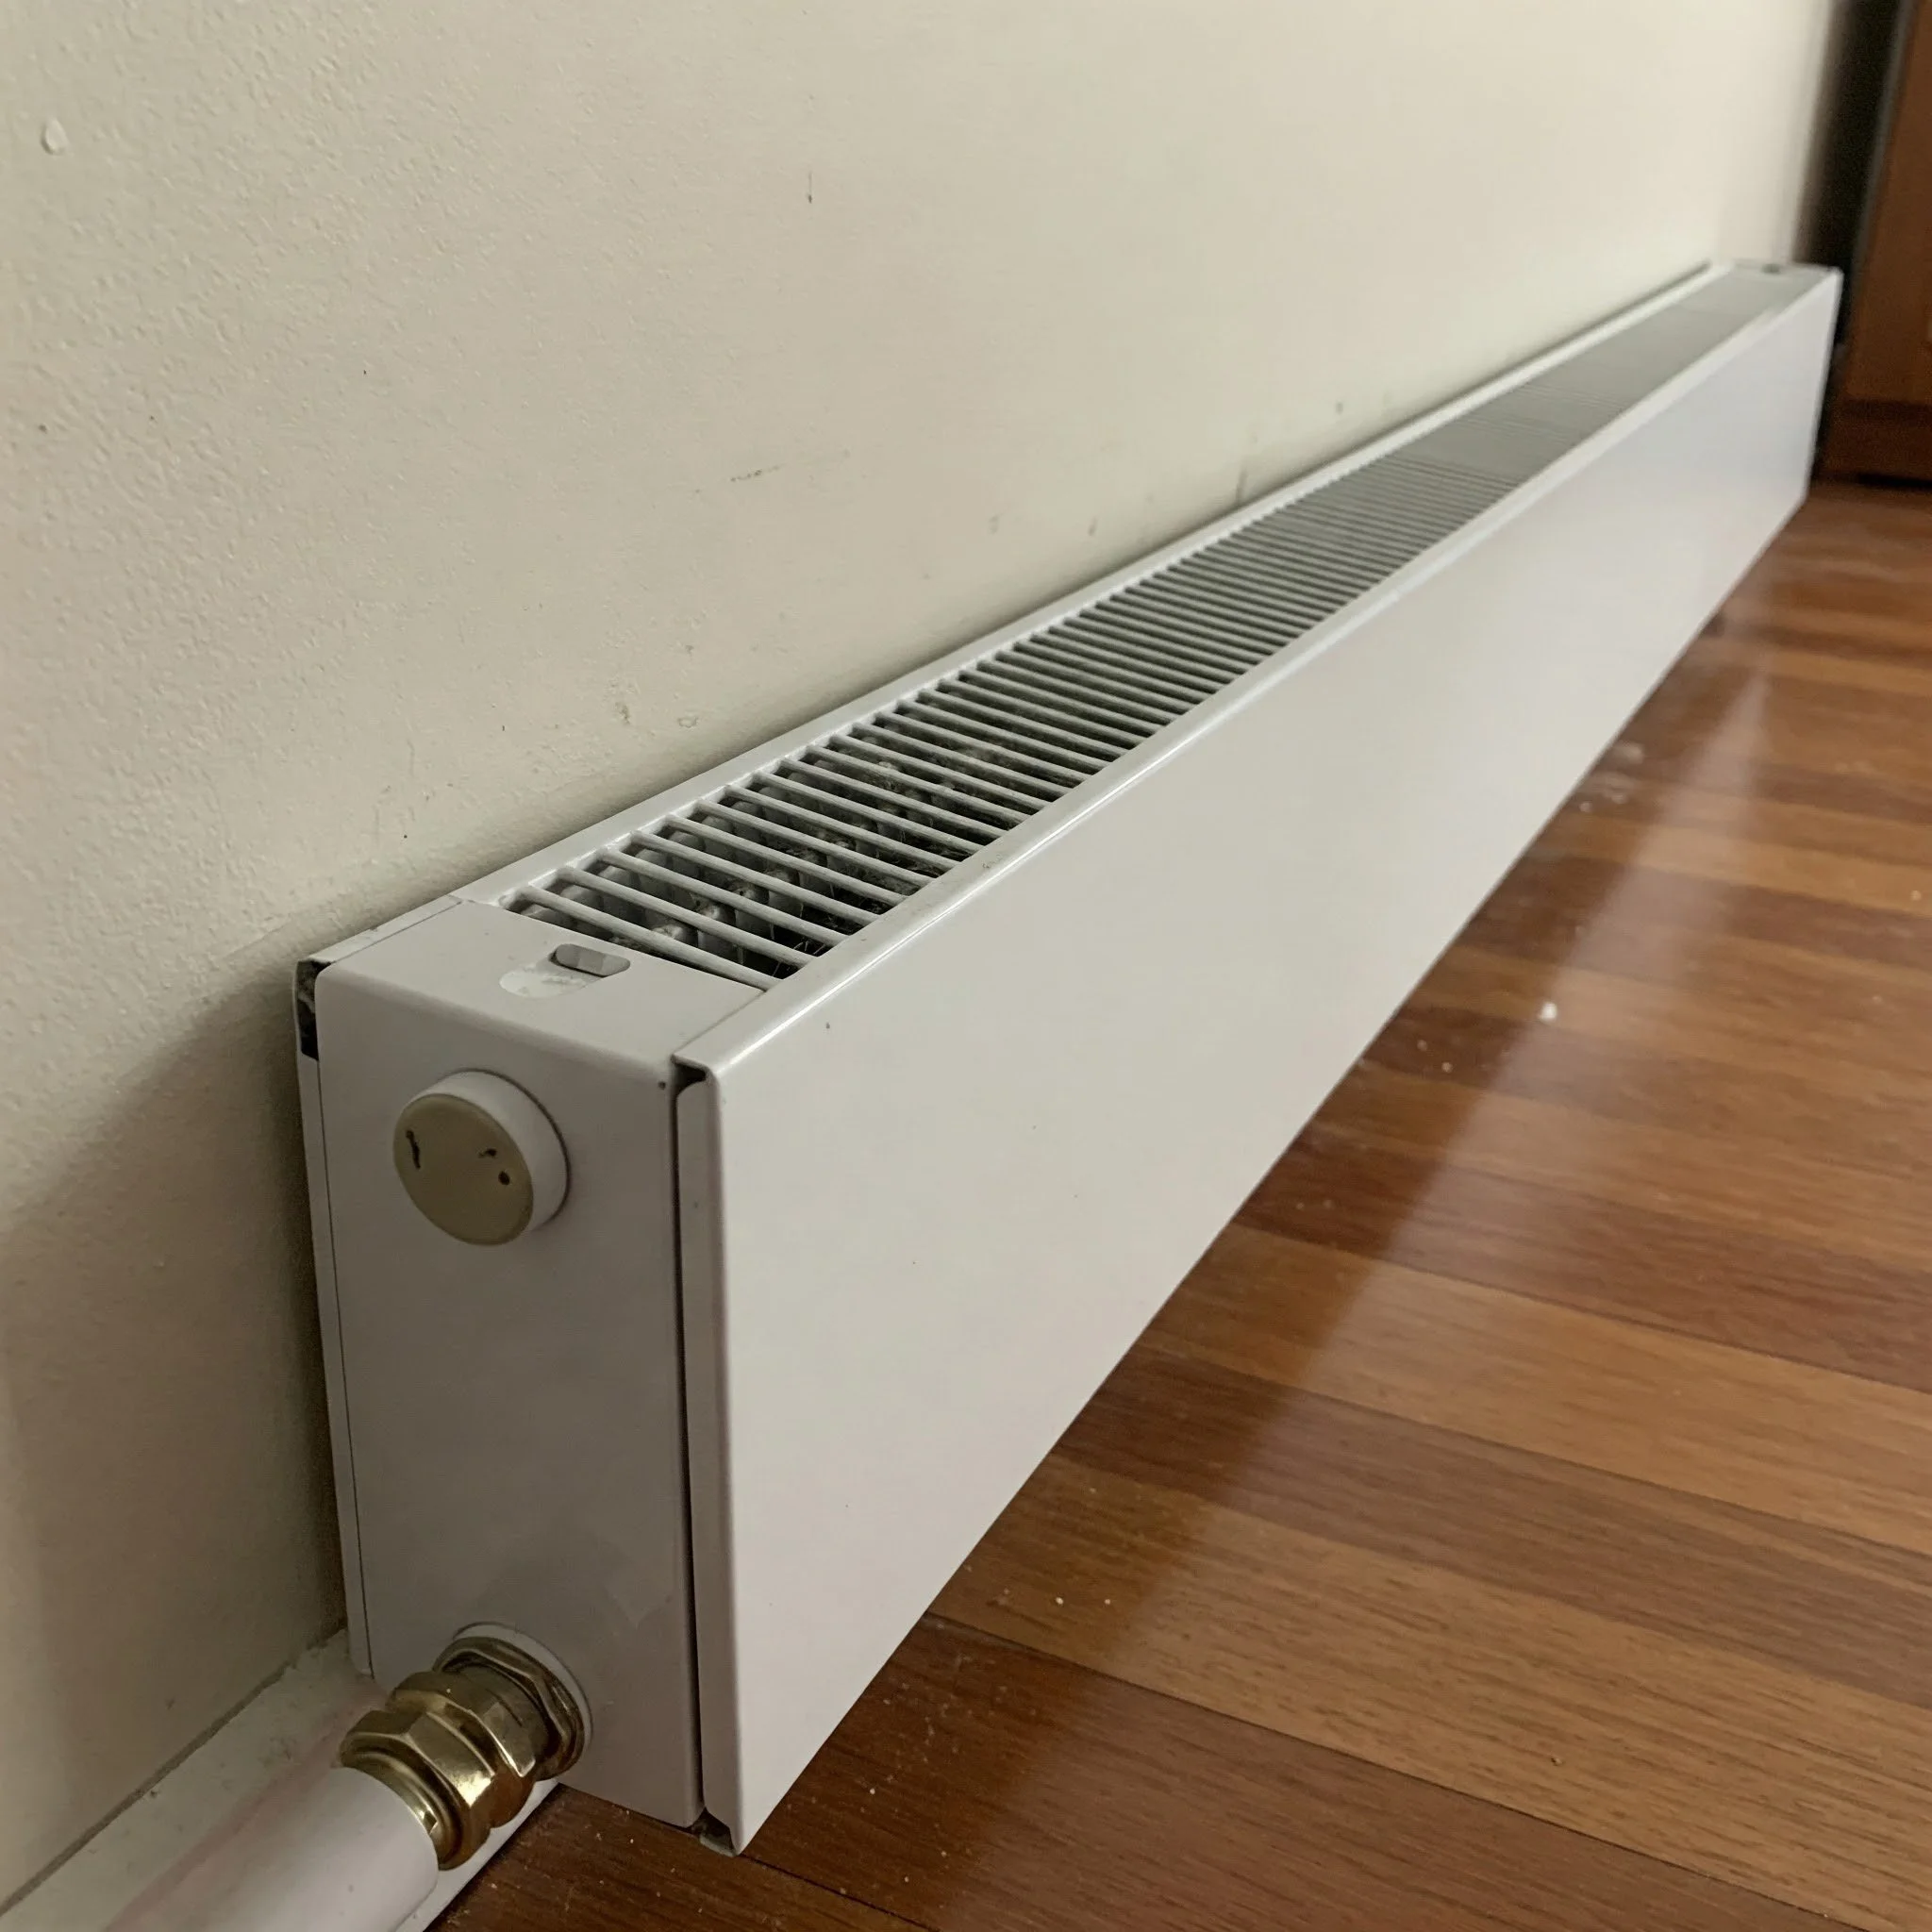
Step 3: Pop Off the Cover
For many baseboard heaters, you can remove the front cover by gently lifting it up and pulling it away. In some cases, you might need a screwdriver if it’s fastened in place. Take your time—no need to yank or pry forcefully. You don’t want to end up with bent fins or a broken cover that’s more trouble than it’s worth.
Step 4: Vacuum the Inside
Using a vacuum cleaner with a brush attachment, carefully go over every nook and cranny. Target dust bunnies, pet hair, and any bits of debris that have made themselves at home inside your heater. Gently vacuum the fins—those narrow metal parts—making sure not to apply too much pressure.
Dangling Modifier Alert: While working carefully, your vacuum’s suction can easily disturb small debris, sending dust flying about. Keep your vacuum close to catch anything that tries to escape!
Step 5: Brush Away Stubborn Dirt
Can’t get everything with the vacuum? Grab a soft-bristled brush or an old paintbrush and use it to dislodge stubborn dirt. Work slowly in the direction of the fins. If you brush against them at a weird angle, you risk bending them. If a fin does bend, don’t panic. That’s what a fin comb is for. Just gently straighten any misplaced fins to ensure optimal airflow.
Step 6: Wipe It Down
Fill a small bucket or bowl with warm, soapy water—just a drop or two of dish soap is enough. Dip your cloth or microfiber rag, wring it out thoroughly, and wipe down the surfaces. This helps remove any lingering grime. If you see any rust spots, try a little white vinegar or a specialized rust remover. But proceed with caution and test on a small area first to avoid damaging the finish.
Step 7: Dry Thoroughly
Water and electricity do not mix well, so make sure everything’s bone-dry before reassembling. You can use a clean, dry cloth or even let it air-dry for a bit. Be patient—it’s worth the wait.
Step 8: Put It All Back Together
Secure the heater cover back in place, ensuring it fits snugly. Check that all fins are straight and the inside is free of moisture. Once you’re confident, turn the power back on at the breaker panel. Ta-da! You’ve just learned How to Clean Baseboard Heaters the Right Way—and your future self will thank you for it.

Additional Tips for Ongoing Maintenance
You’ve tackled the main event, but cleanliness shouldn’t be a one-time deal. Regular upkeep can help your heater run more smoothly and save you from having to do a deep clean as often. Here are a few extra tricks:
Dust Weekly:
A quick pass with a vacuum or duster every week keeps major debris at bay. This is especially helpful if you have pets that shed fur like there’s no tomorrow.Inspect for Damage:
Take a peek now and again to see if the fins are bent or if you spot any rust. Address issues early so they don’t become major hassles later.Keep Surrounding Areas Clear:
Even when you’re not actively cleaning, try to give the heater some breathing room. Avoid pushing furniture or curtains too close—air needs to flow freely!Consider a Professional Check-Up:
If your baseboard heater’s older than dirt or you suspect electrical issues, it might be worth calling in a pro. Regular professional inspections can nip potential problems in the bud.Be Mindful of Paint:
If you plan on giving your walls a fresh coat of paint, remember to cover the heaters first. Paint and heater fins do not play well together—it can affect heat distribution or even cause unpleasant odors when the unit is turned on.
Maintaining your baseboard heaters in tip-top shape doesn’t have to be a huge production. By spending a little time here and there, you’ll keep your home warm, cozy, and efficient. Let’s see—what’s next? Ah yes, a quick little Q&A session to tie up loose ends.
Conclusion
Well, there you have it—a comprehensive guide on “How to Clean Baseboard Heaters the Right Way.” From prepping your tools and turning off the power to reassembling everything like a pro, each step is crucial for keeping your home warm and comfortable. Remember, these heaters may be silent superheroes of winter comfort, but they still need a little TLC from time to time.
Don’t let dust bunnies crash your cozy party. With some simple, routine maintenance, you’ll keep the heat flowing and possibly save yourself from nasty surprises down the road. By following the tips outlined here, you’re already leaps and bounds ahead in prolonging the life of your baseboard heaters, improving their efficiency, and maintaining a welcoming atmosphere.
So go on—give yourself a pat on the back for a job well done! And if you ever catch yourself or a friend wondering how to get those heaters spic and span, just remember this article and spread the word on How to Clean Baseboard Heaters the Right Way. Stay warm, stay safe, and stay dust-free!
Read next: What Is a Baseboard Heater? Everything You Need to Know
Frequently Asked Questions
1. How often should I clean my baseboard heaters?
That depends on your home environment. Got pets or live in a particularly dusty area? You might wanna tackle this job every couple of months. If you keep your home spick and span, twice a year could be enough to maintain optimal efficiency.
2. Can I use harsh chemicals or abrasive scrubbers on my heaters?
I wouldn’t recommend it. Most baseboard heater covers have a paint or finish that can be damaged by strong chemicals or rough scrubbing. Stick to mild soaps and soft cloths to be on the safe side.
3. Should I remove the heater entirely to clean it?
In most cases, you won’t have to. Removing the cover and giving it a thorough vacuuming plus wipe-down is usually enough. If you do feel you need a deeper clean or suspect an internal issue, consult a professional.
4. What if the fins are heavily bent?
Slightly bent fins can be adjusted with a fin comb (available at most hardware stores). If they’re severely damaged, you may need to replace the heating element or consult a technician. Don’t just yank on them—you could cause more harm than good.
5. Is it safe to vacuum electrical components?
Yes, as long as the power is turned off and you’re using a dry vacuum. You don’t want a watery or steam-based method near any electrical parts. Just be gentle—no need to go gung-ho with the vacuum nozzle.
Stay up to date with our latest ideas!