How to Install Baseboard Like a Pro: Step-by-Step Guide
Learn how to install baseboard like a pro with our step-by-step guide. Discover practical tips, essential materials, and effective techniques to achieve a professional finish that’ll make your walls pop.
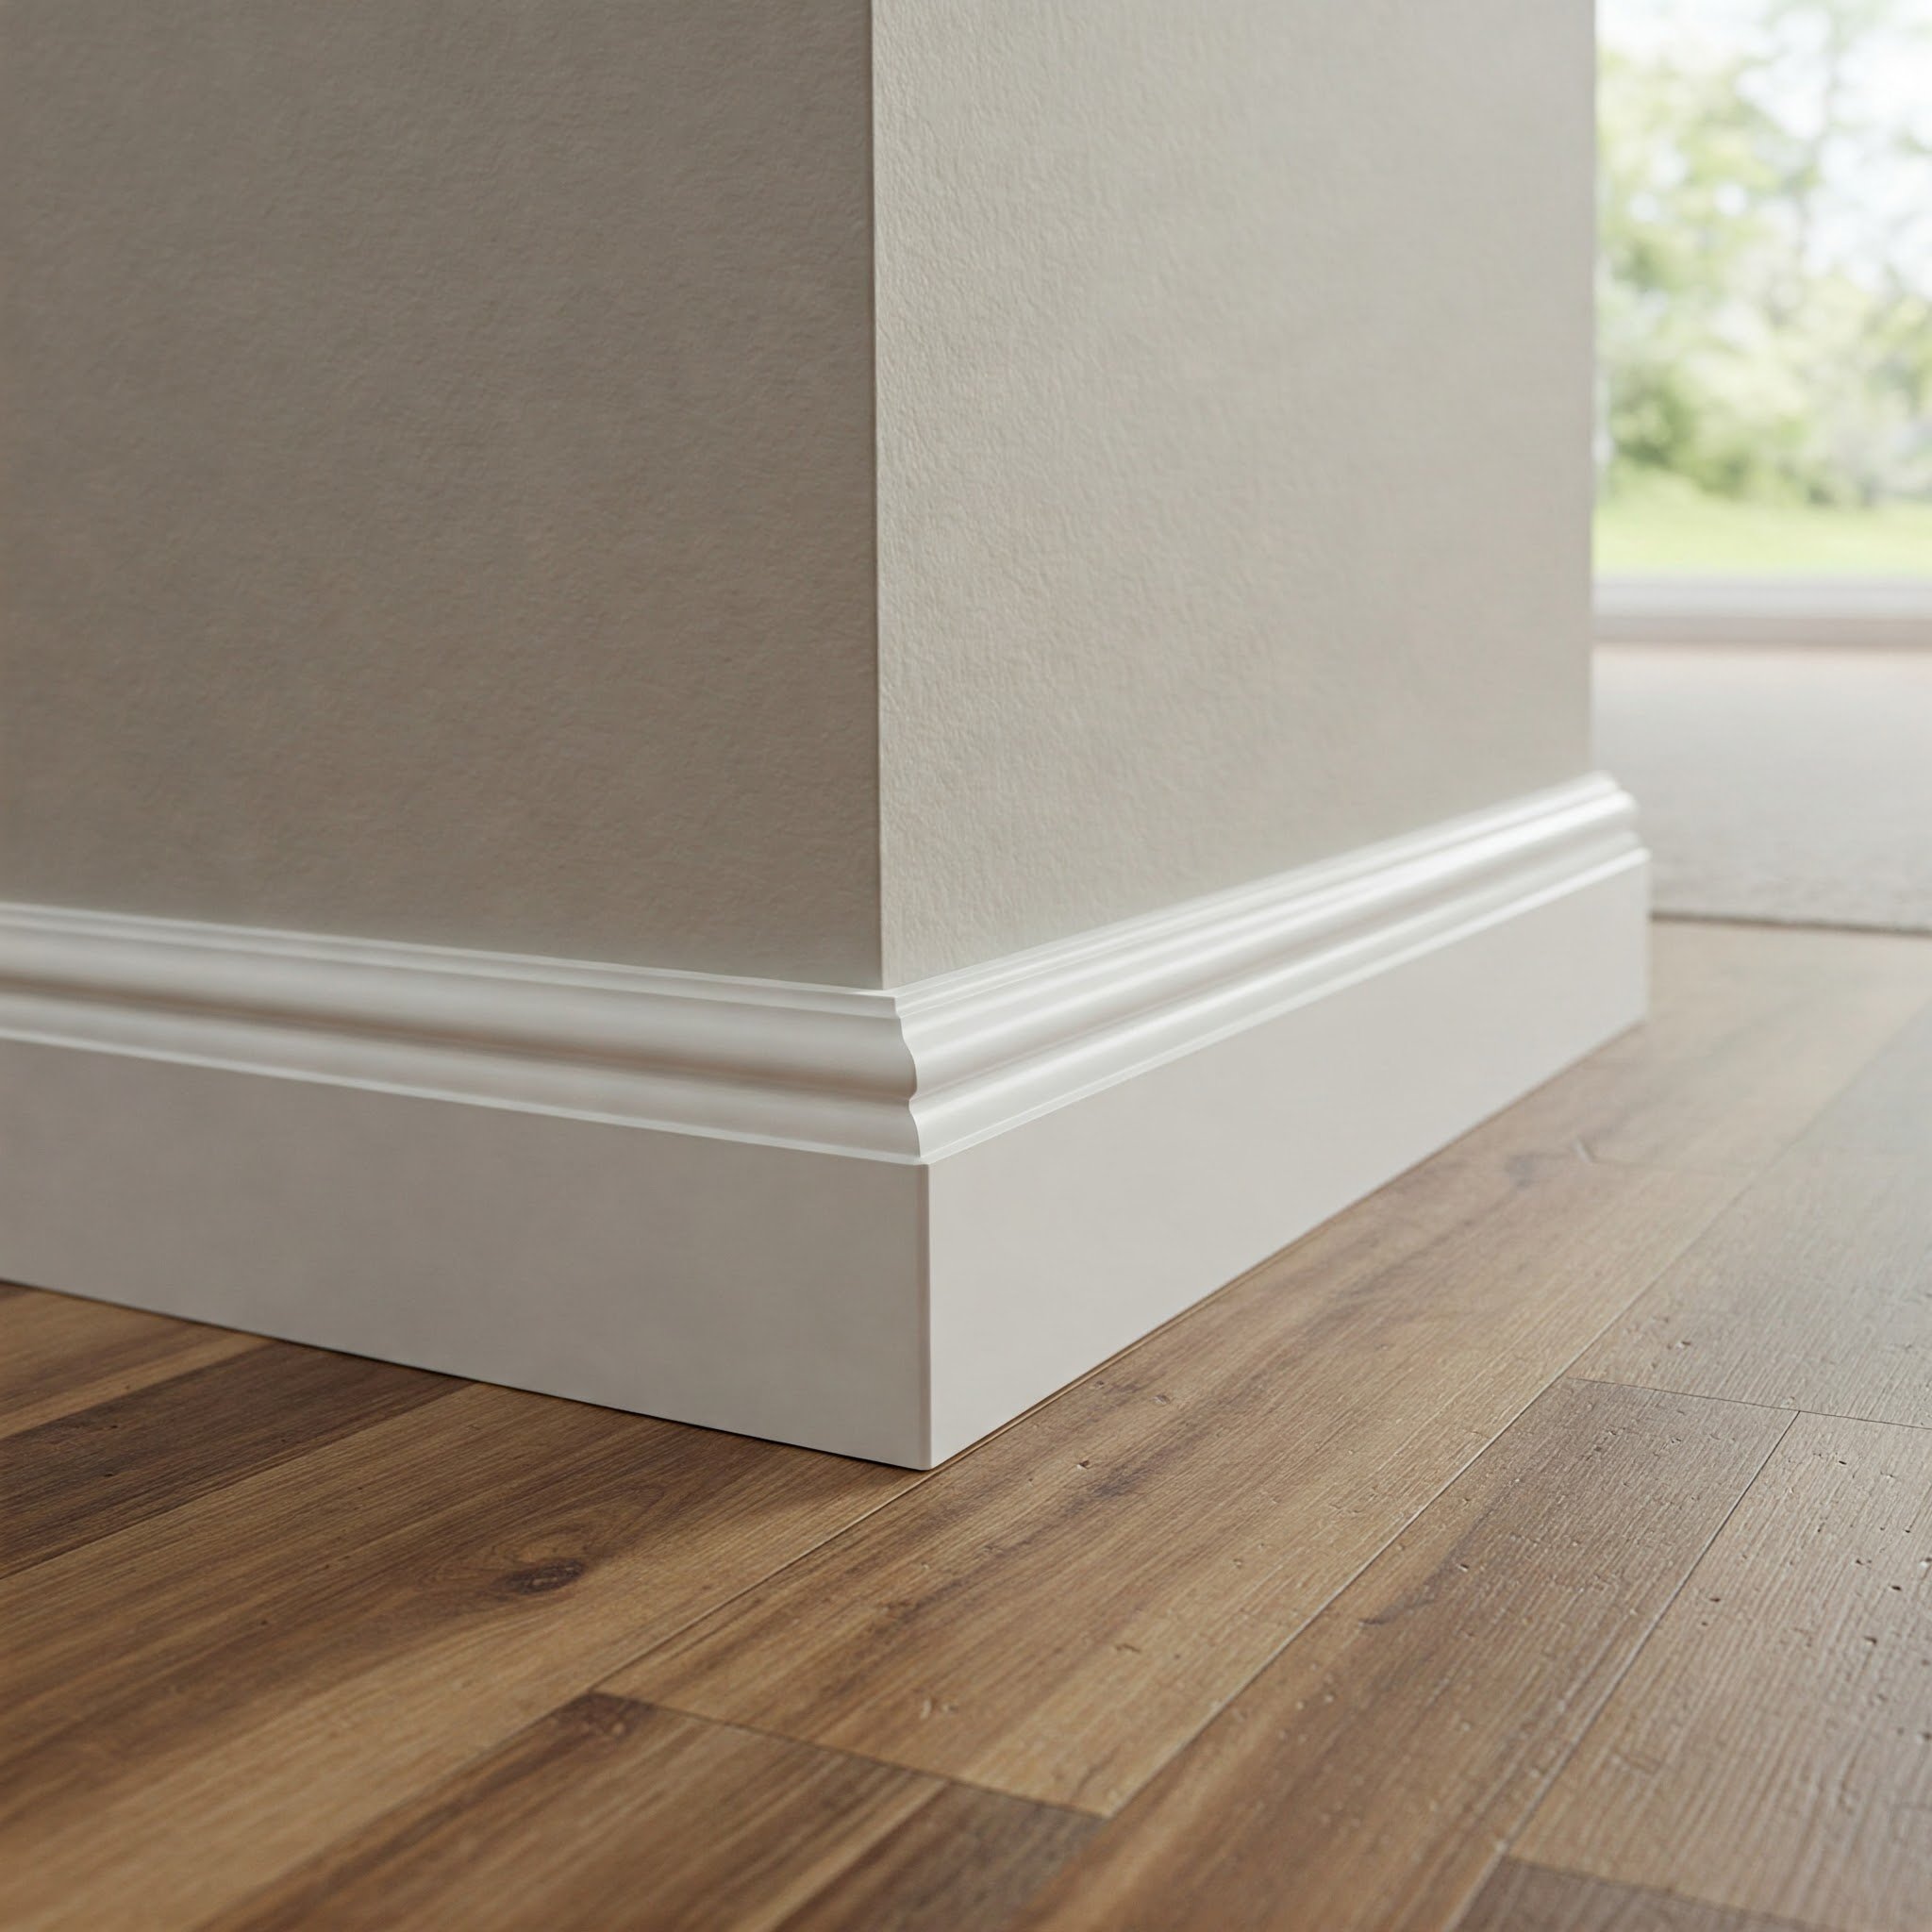
Ever looked at your walls and thought, “Gosh, something’s missing?” Often, it’s the baseboard—those unassuming strips of wood or composite that bridge the gap between your wall and floor. You might wonder if they’re really necessary. Well, if you're after that polished, cohesive interior look, the short answer is a resounding “Yes!” A sleek baseboard doesn’t just protect the wall from bumps and dings; it also adds architectural interest that can elevate the ambiance of your entire space.
But installing baseboard can feel like diving headfirst into the deep end—until you have the right know-how at your fingertips. In this article, we’ll reveal the nitty-gritty of how to install baseboard like a pro: step-by-step guide and all. By the time you’re done reading, you’ll be itching to tackle this project yourself, confident that the end result will dazzle visitors and make you feel right at home. So, shall we get rolling?
Tools and Materials
Before you even think about cutting wood or picking out paint, gather your materials. It’s easy to skip this step and dive in, but trust me, that’s a recipe for frustration. Nothing grinds a project to a halt faster than rummaging through your workshop looking for that missing tool. So, let’s start off on the right foot and make a quick list.
Essential Tools:
Measuring tape: You’ll need this for precise measurements. Inaccurate measurements can lead to wasted materials—no one wants to buy twice.
Miter saw or miter box and handsaw: Baseboards typically require angled cuts, especially around corners. A miter saw makes life easier, but a miter box with a handsaw works too.
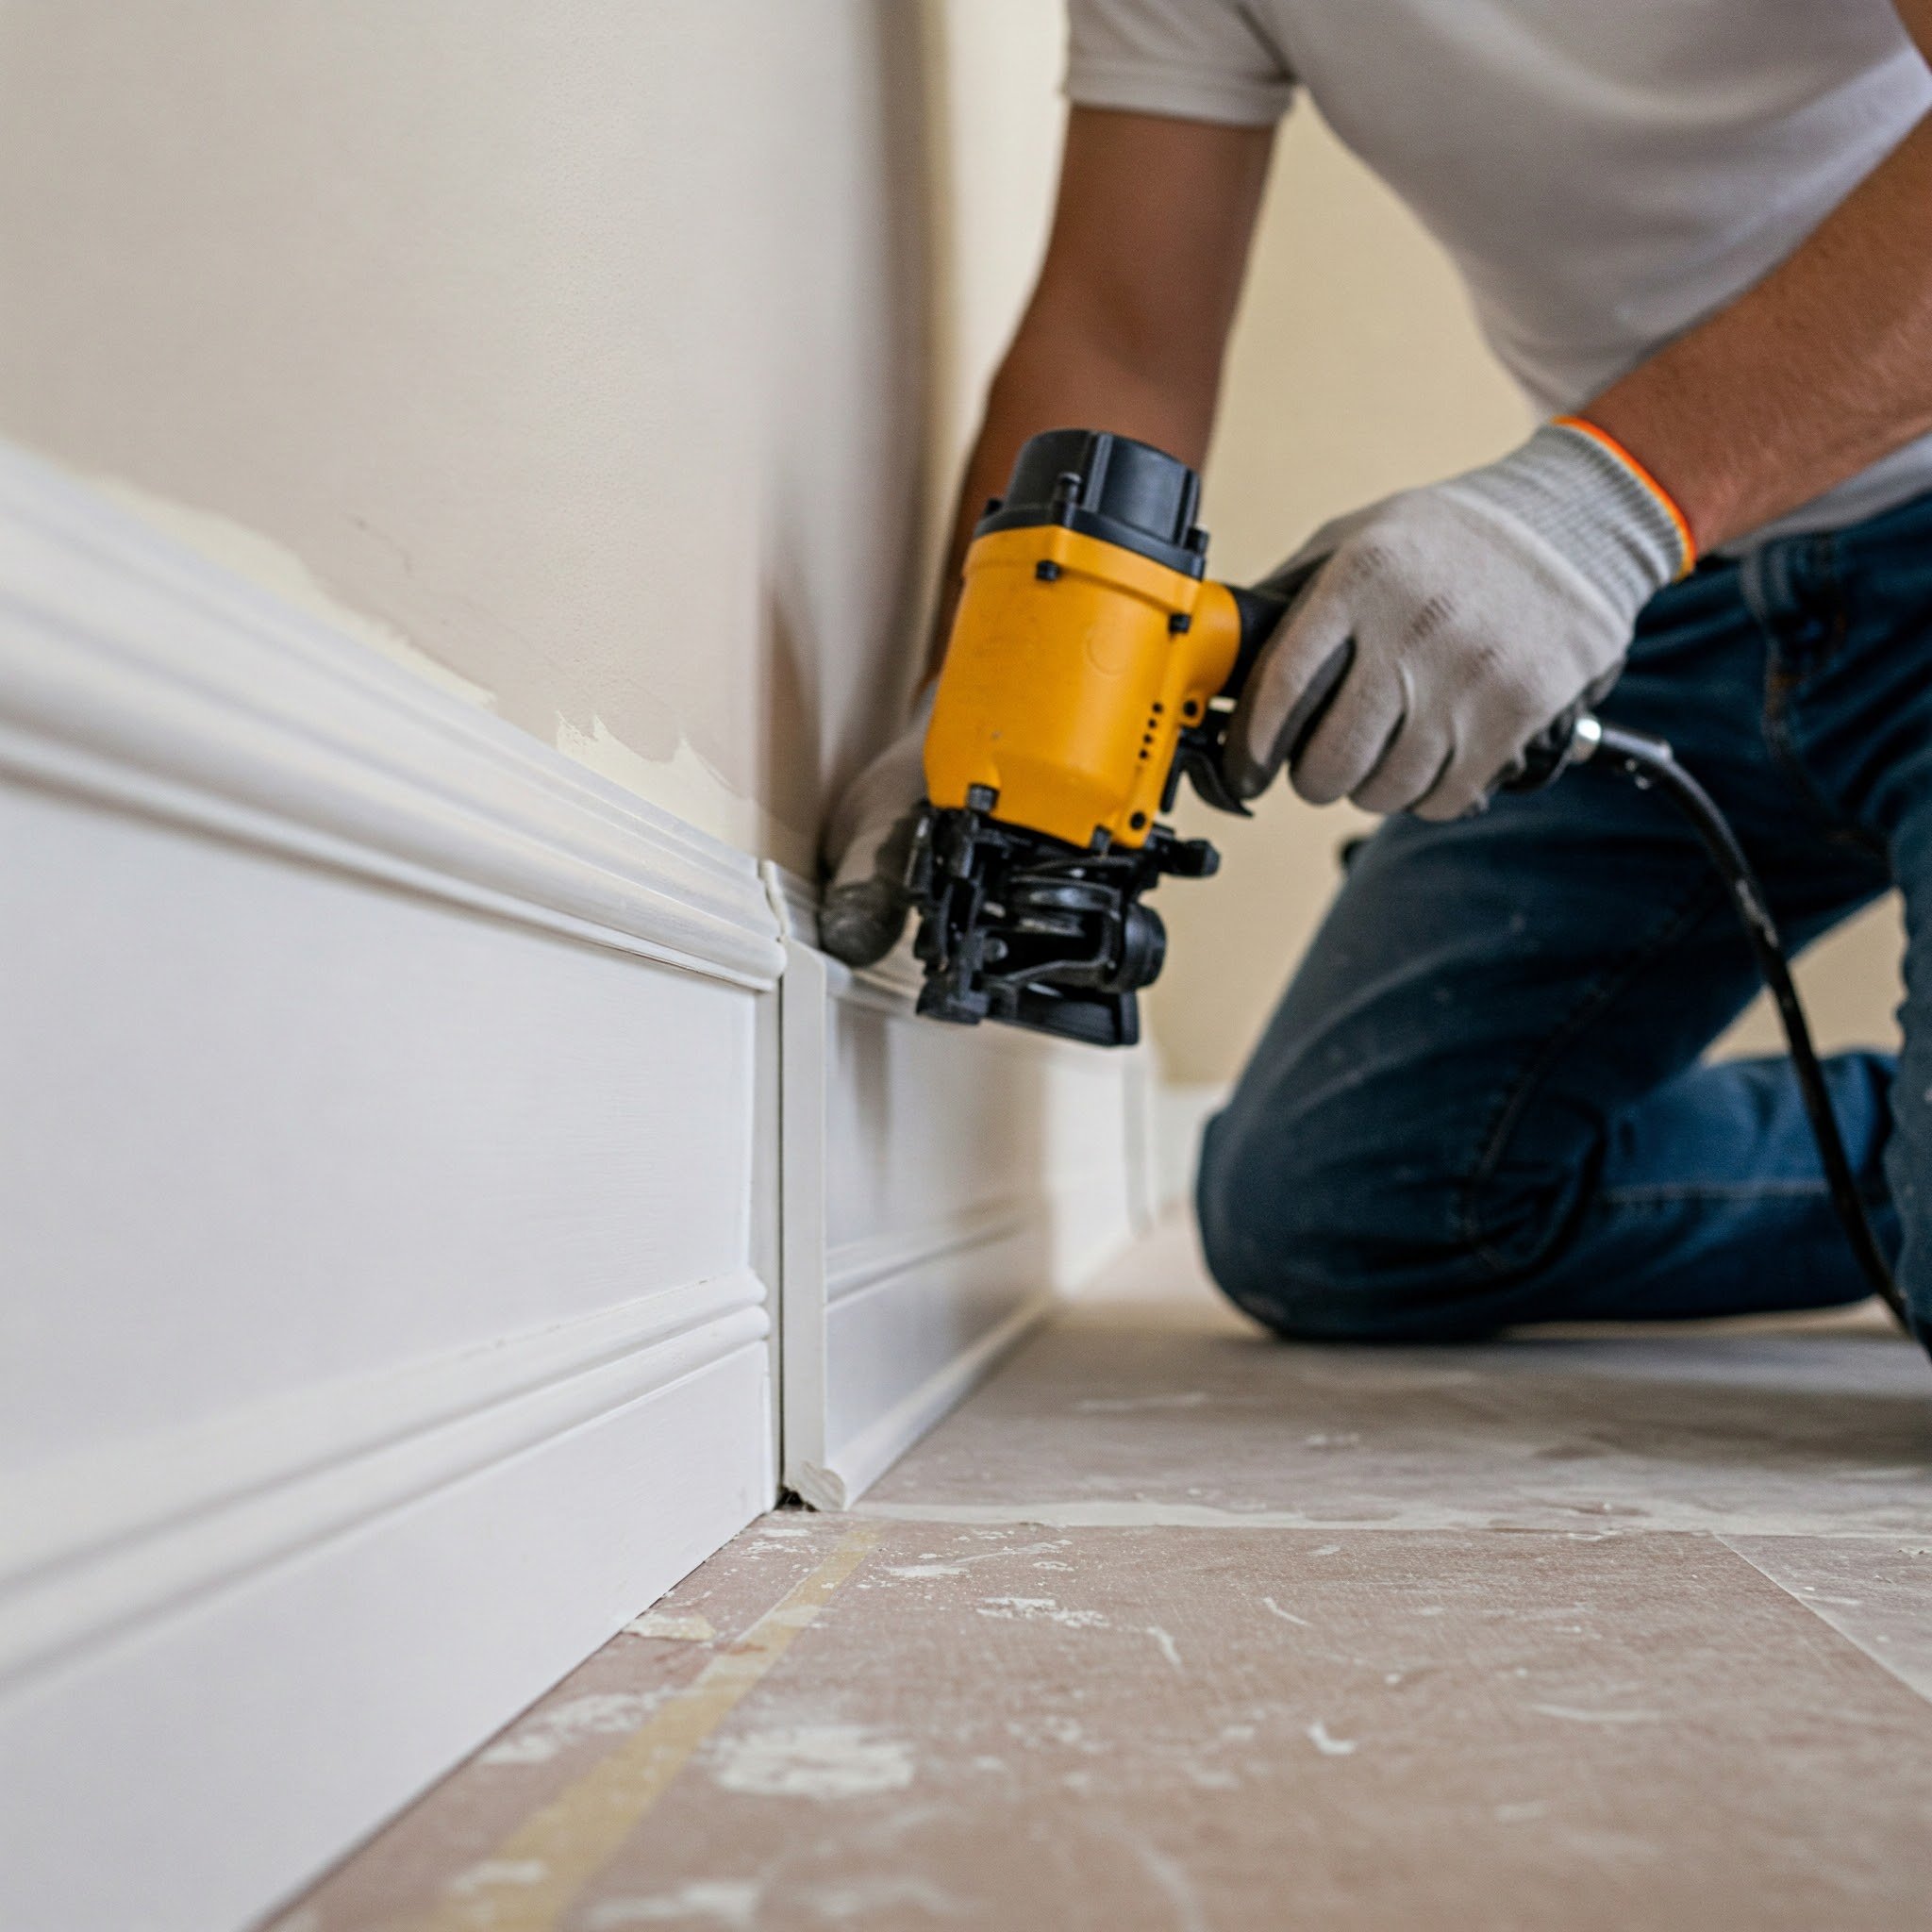
Nail gun or hammer and finishing nails: If you’re not comfortable with a pneumatic or battery-powered nail gun, don’t fret. The old-fashioned hammer still gets the job done, though it might take a little longer.
Level: Keep your baseboard straight and neat. A lopsided baseboard is an eyesore.
Caulk gun: Helps fill any pesky gaps between the baseboard and the wall.
Stud finder (optional but helpful): Ensures you secure nails in the studs for extra stability.
Putty knife: For applying wood filler or spackle over nail holes.
Sandpaper (medium to fine grit): Smooths out rough edges and prepares your baseboard for painting.
Paintbrush or roller: For that finishing touch of paint or stain.
Key Materials:
Baseboard: Choose what suits your style—MDF (Medium-Density Fiberboard), wood, or polystyrene. Each has its benefits, so pick what best matches your décor and budget.
Wood filler or spackle: For covering nail holes and tiny imperfections.
Paint or stain: If you prefer the natural look, go for stain. If you want to match your walls or add contrast, opt for paint.
Caulk: Usually acrylic latex caulk for interior trim projects; it helps close gaps and prevents dust from settling in the crevices.
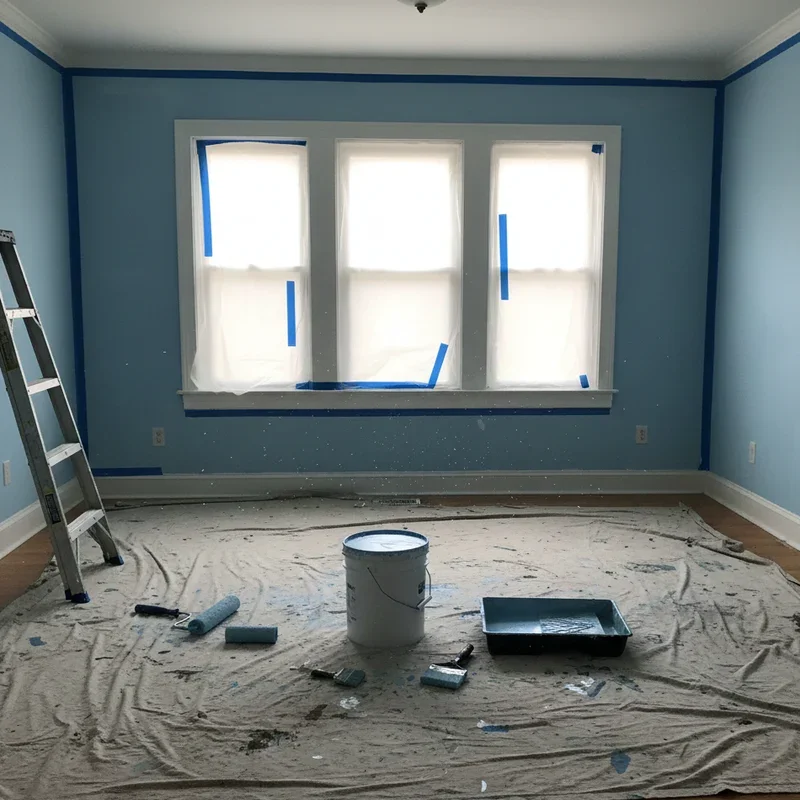
Pre-Installation Prep
You wouldn’t try baking a cake without prepping the ingredients first, right? The same logic applies here. Preparing your space before you install baseboard like a pro (that phrase never gets old, does it?) sets you up for a much smoother job.
Clear the Room
Move furniture aside or into another room if possible. Clear away any clutter along the walls—mop boards, rugs, or décor. You’ll need enough space to maneuver baseboards, measure corners, and position your saw safely.Remove Old Trim (if necessary)
If there’s an existing baseboard, gently pry it off with a crowbar or putty knife to avoid damaging the drywall. Be patient: a hasty yank can tear huge chunks out of your wall.Clean the Walls and Floor
A quick vacuum and a wipe-down can save you grief later. Removing dust ensures better adhesion for your caulk and paint.Mark and Measure
While the walls are bare, mark where each piece of baseboard will go. Take careful measurements. Trust me, there’s nothing more maddening than discovering you’re an inch short after you’ve cut your final piece.

How to Install Baseboard Like a Pro: Step-by-Step Guide
Now that the preliminaries are out of the way, let’s jump to the heart of the matter: how to install baseboard like a pro: step-by-step guide. This is where the rubber meets the road. Or, in our case, the trim meets the wall.
Step 1: Measure and Mark
Accuracy is key. It’s easy to overlook a fraction of an inch, but that fraction can turn into a glaring gap later on. So measure the wall length precisely and note it down. Mark any outside or inside corners. Keep your pencil handy—you’ll be making quick reference marks right on the baseboard to guide your cuts.
Tip: Use a long measuring tape and measure twice. The extra minute spent checking can save you from re-cutting an entire length of trim.
Step 2: Cut Your Baseboards
Armed with your miter saw (or miter box), it’s time to get cutting. This step can feel intimidating, but hey, practice makes perfect. Start with small sections if you’re nervous, then move to longer pieces.
Inside corners typically require a coping cut if you’re looking for a near-perfect fit. A coping saw can help undercut one piece so it nestles snugly against the other.
Outside corners usually involve a 45-degree miter cut on each adjoining piece.
Straight cuts at 90 degrees are used where baseboards meet door casings or where the run ends abruptly.
Pro tip: Remember, if your angles aren’t perfect, you can patch minor gaps with caulk or wood filler. Just don’t rely on that for every single corner—it’s better to get it as close as you can from the start.
Step 3: Test Fit and Adjust
Once you cut the first piece, do a quick test fit on the wall. Does it align well with the corner? Does the top edge line up flush with the wall? Any weird gaps along the floor?
If you spot a gap: Adjust the angle of your cut slightly. Most floors and walls aren’t perfectly level, so minor tweaks are totally normal.
If it fits perfectly: Do a victory dance—just don’t get too carried away. You’ve still got other pieces to cut.
Step 4: Nail It Down
With the baseboards cut and fitted, it’s time to make them permanent—unless you enjoy re-cutting all those pieces later, which I doubt.
Position the baseboard so it’s snug against the wall and floor.
Drive nails into the wall studs if possible. This prevents the baseboard from warping or popping loose over time. Use a stud finder to locate the studs. Space nails every 16 inches or so, or follow your local building codes.
Sink the nail heads slightly below the surface with a nail set if you’re using a hammer. For a nail gun, adjust the depth setting so the nail head is just below the surface of the trim.
Heads-up: Ensure you keep the baseboard pressed firmly to the floor when you’re nailing. Gaps along the bottom edge can be really obvious once you finish painting.
Step 5: Fill Gaps and Sand
Even pros end up with some nail holes and minor gaps. It’s the finishing touches that hide these tiny flaws.
Fill nail holes with wood filler or spackle. Use a putty knife and be sure to remove any excess.
Caulk the edges where the top of the baseboard meets the wall, as well as any corner gaps. Smooth the caulk with a moistened finger or a caulk finishing tool.
Sand any rough spots once the filler has dried. This step keeps your baseboards looking seamless and oh-so-professional.
Step 6: Paint or Stain
Now for the pièce de résistance: the finishing coat. Depending on your style, you might go for a crisp white paint, a bold accent color, or a transparent stain that showcases the wood grain. Whichever you choose, be sure to prepare your work area properly.
Wipe down the baseboards to remove dust from sanding.
Apply a primer first if you’re using paint. This helps the paint adhere better and look smoother.
Paint or stain using long, even strokes. Don’t skimp on paint quality—a cheap paint can ruin all your hard work.
Let it dry. Resist the urge to press your fingers against the trim to test dryness—give it adequate time as per the paint or stain instructions.
Voila! By now, your baseboards are installed, and your room looks more polished than ever. Not too shabby, huh?

Maintenance Tips
If you thought the journey ended at installation, think again. Proper care ensures your baseboards stay in tip-top shape for years to come.
Regular cleaning: A quick wipe with a damp cloth can remove dust and scuff marks. Don’t let grime build up—over time, it can discolor your trim.
Tackle chips and scuffs: If paint chips or the board gets scuffed, sand lightly and reapply paint or stain. The sooner, the better.
Re-caulk if necessary: Houses shift and settle, causing cracks to appear where the baseboard meets the wall. A new bead of caulk every few years can keep things looking fresh.
Conclusion
Installing a baseboard might feel like a puzzle at first, but if you break it down into manageable steps, the process is a cinch. By following this guide, you’ll not only know how to install baseboard like a pro: step-by-step guide, but you’ll also gain the confidence to tackle other trim projects in your home. So go on, roll up those sleeves, and get ready to elevate your living space! Once you finish, you’ll find yourself admiring the crisp lines and final polish, reveling in the feeling that you’ve truly made the space your own.
After all, isn’t that what DIY is all about—putting a personal touch on your home that reflects who you are? Now that you’ve got the know-how, you can install baseboard like a pro in any room of your house, turning bland walls into something that’ll make your guests say, “Wow, did you do this yourself?”
Enjoy your newly trimmed space. Here’s to turning your home-improvement dreams into reality—one perfectly measured and nailed piece of baseboard at a time!
Read next: Baseboard Installation Price Guide for Homeowners
Frequently Asked Questions
Do I really need to remove old baseboard before installing new ones?
Absolutely. It might be tempting to simply plop the new trim over the old, but that can cause alignment issues and gaps you can’t hide. Plus, it’ll never look quite right. Removing the old trim first ensures a proper fit.What’s the best baseboard material for a humid environment?
MDF and polystyrene are generally more tolerant of humidity than solid wood. If you’re installing in a bathroom or basement, opt for moisture-resistant materials to avoid warping or swelling.Is it okay to reuse old baseboards?
If they’re in great shape and you like the style, sure! Just make sure to remove them carefully, sand off any old paint, and fill in nail holes before reinstalling. It might be a little time-consuming, but it can save you some cash.Why are my corners not lining up?
Walls and floors are rarely perfect. Even if your saw is set to a perfect 45-degree angle, irregular corners can throw everything off. Use a coping saw for inside corners, or carefully adjust your miter angle by a degree or two to get a tighter fit.How often should I repaint or refinish my baseboards?
It depends on your household’s wear and tear. In busy hallways or areas with pets and kids, you might touch them up every couple of years. In quieter areas, you might only repaint or restain every five to ten years, if that.
Stay up to date with our latest ideas!