How to Install a Ceiling Fan Like a Pro: Step-by-Step Guide
Looking for “How to Install a Ceiling Fan Like a Pro: Step-by-Step Guide”? Discover foolproof tips, must-have tools, and simple wiring instructions to stay cool and stylish all year long.
Summer’s sizzling sun giving you second thoughts about leaving the comfort of your air-conditioned car? Is that old box fan in the corner rattling enough to keep you awake at night? Maybe it’s time to take the plunge and give your room a breath of fresh air with a brand-new ceiling fan. While this might sound like a tall order—especially if your idea of home improvement starts and ends with a hammer—installing a ceiling fan can be a breeze if you follow the right steps.
Yes, you read that correctly! You can transform your stale, stuffy living space into a cool, inviting oasis with just a handful of tools, a dash of patience, and a bit of self-confidence. In this article, we’ll walk you through How to Install a Ceiling Fan Like a Pro: Step-by-Step Guide so you can tackle the project without frazzling your nerves or draining your wallet. Whether you’re dealing with an existing fixture or starting from scratch, we’ve got the know-how to make the process as smooth as a summer breeze.
Ready to roll up your sleeves? Let’s dive into the essentials—from gathering tools and turning off power (like your life depends on it, because it does) to testing your shiny new fan for the first time. By the end, you’ll be so proud of your handiwork that you might just invite the neighbors over for a “fan launch” celebration. Grab your ladder and let’s get started!
Why Install a Ceiling Fan?
Before you jump in with both feet, let’s chat about why installing a ceiling fan is a top-notch home improvement move. Besides the fact that it looks snazzy dangling from your ceiling, there are a few practical perks worth noting.
1. Energy Efficiency
Ceiling fans circulate air throughout a room, helping you feel cooler in the summer without cranking the air conditioner to the max. In cooler months, reversing the fan’s direction can push warm air down from the ceiling. Translation? Lower energy bills throughout the year.
2. Comfort and Ambiance
You can wave goodbye to clammy, stagnant air and hello to a gentle, pleasing breeze that’ll make your living space feel roomier—both literally and figuratively. Plus, a well-chosen fan can elevate your décor, acting as a subtle (or not-so-subtle) focal point.
3. Easy Installation
Compared to installing central air or shelling out for pricey cooling systems, a ceiling fan can be installed in an afternoon—especially if you follow our How to Install a Ceiling Fan Like a Pro: Step-by-Step Guide.
4. Versatile Placement
Let’s not forget that ceiling fans aren’t just for living rooms. You can add them to bedrooms, kitchens, home offices, or even outdoor patios (just make sure they’re rated for damp or wet conditions). Basically, anywhere you want a refreshing breeze and improved air circulation.

Tool Time: Gather Your Essentials
Installing a ceiling fan doesn’t require a toolbox the size of a small country, but you will need a few trusty companions by your side. Don’t even think about starting until you have these goodies at hand:
Ladder or Step Stool: Opt for one that’s sturdy enough to support you comfortably while you’re fiddling with wires overhead.
Screwdrivers: Both flat-head and Phillips.
Wire Strippers: Essential for prepping electrical connections.
Voltage Tester: A must-have to confirm that the power is off (seriously, do not skip this).
Pliers: Handy for twisting wires and adjusting brackets.
Circuit Tracer or Tester: If you’re not certain which breaker controls your fixture.
Drill (optional): Might be useful for installing support braces or mounting hardware.
And, of course, your brand-new ceiling fan. Be sure to open the box and check you’ve got all the included hardware—blades, motor housing, mounting bracket, decorative trims, and so on.
Safety First: Cutting the Power
Before you so much as grab that screwdriver, do yourself a favor and turn off the juice. You’re dealing with electricity here, and we’d all like you to get through this in one piece.
Locate the Breaker: Head to your home’s main electrical panel and find the switch or breaker feeding power to the room where you’re installing the fan. When in doubt, label or note it.
Flip It Off: Once you’ve shut down the breaker, try flipping the light switch in the room to ensure it’s really dead—no sense trusting that you got the correct breaker blindly.
Double-Check with Voltage Tester: Use the tester on the fixture’s wires to confirm there’s no electricity surging through them. Feel free to do a mini victory dance once you’ve confirmed the coast is clear.

Onward and Upward: How to Install a Ceiling Fan Like a Pro: Step-by-Step Guide
Now that you’ve got your tools lined up, the power safely off, and an itchy sense of excitement about your soon-to-be breezy abode, it’s time for the meat and potatoes. Let’s break down How to Install a Ceiling Fan Like a Pro: Step-by-Step Guide into digestible chunks.
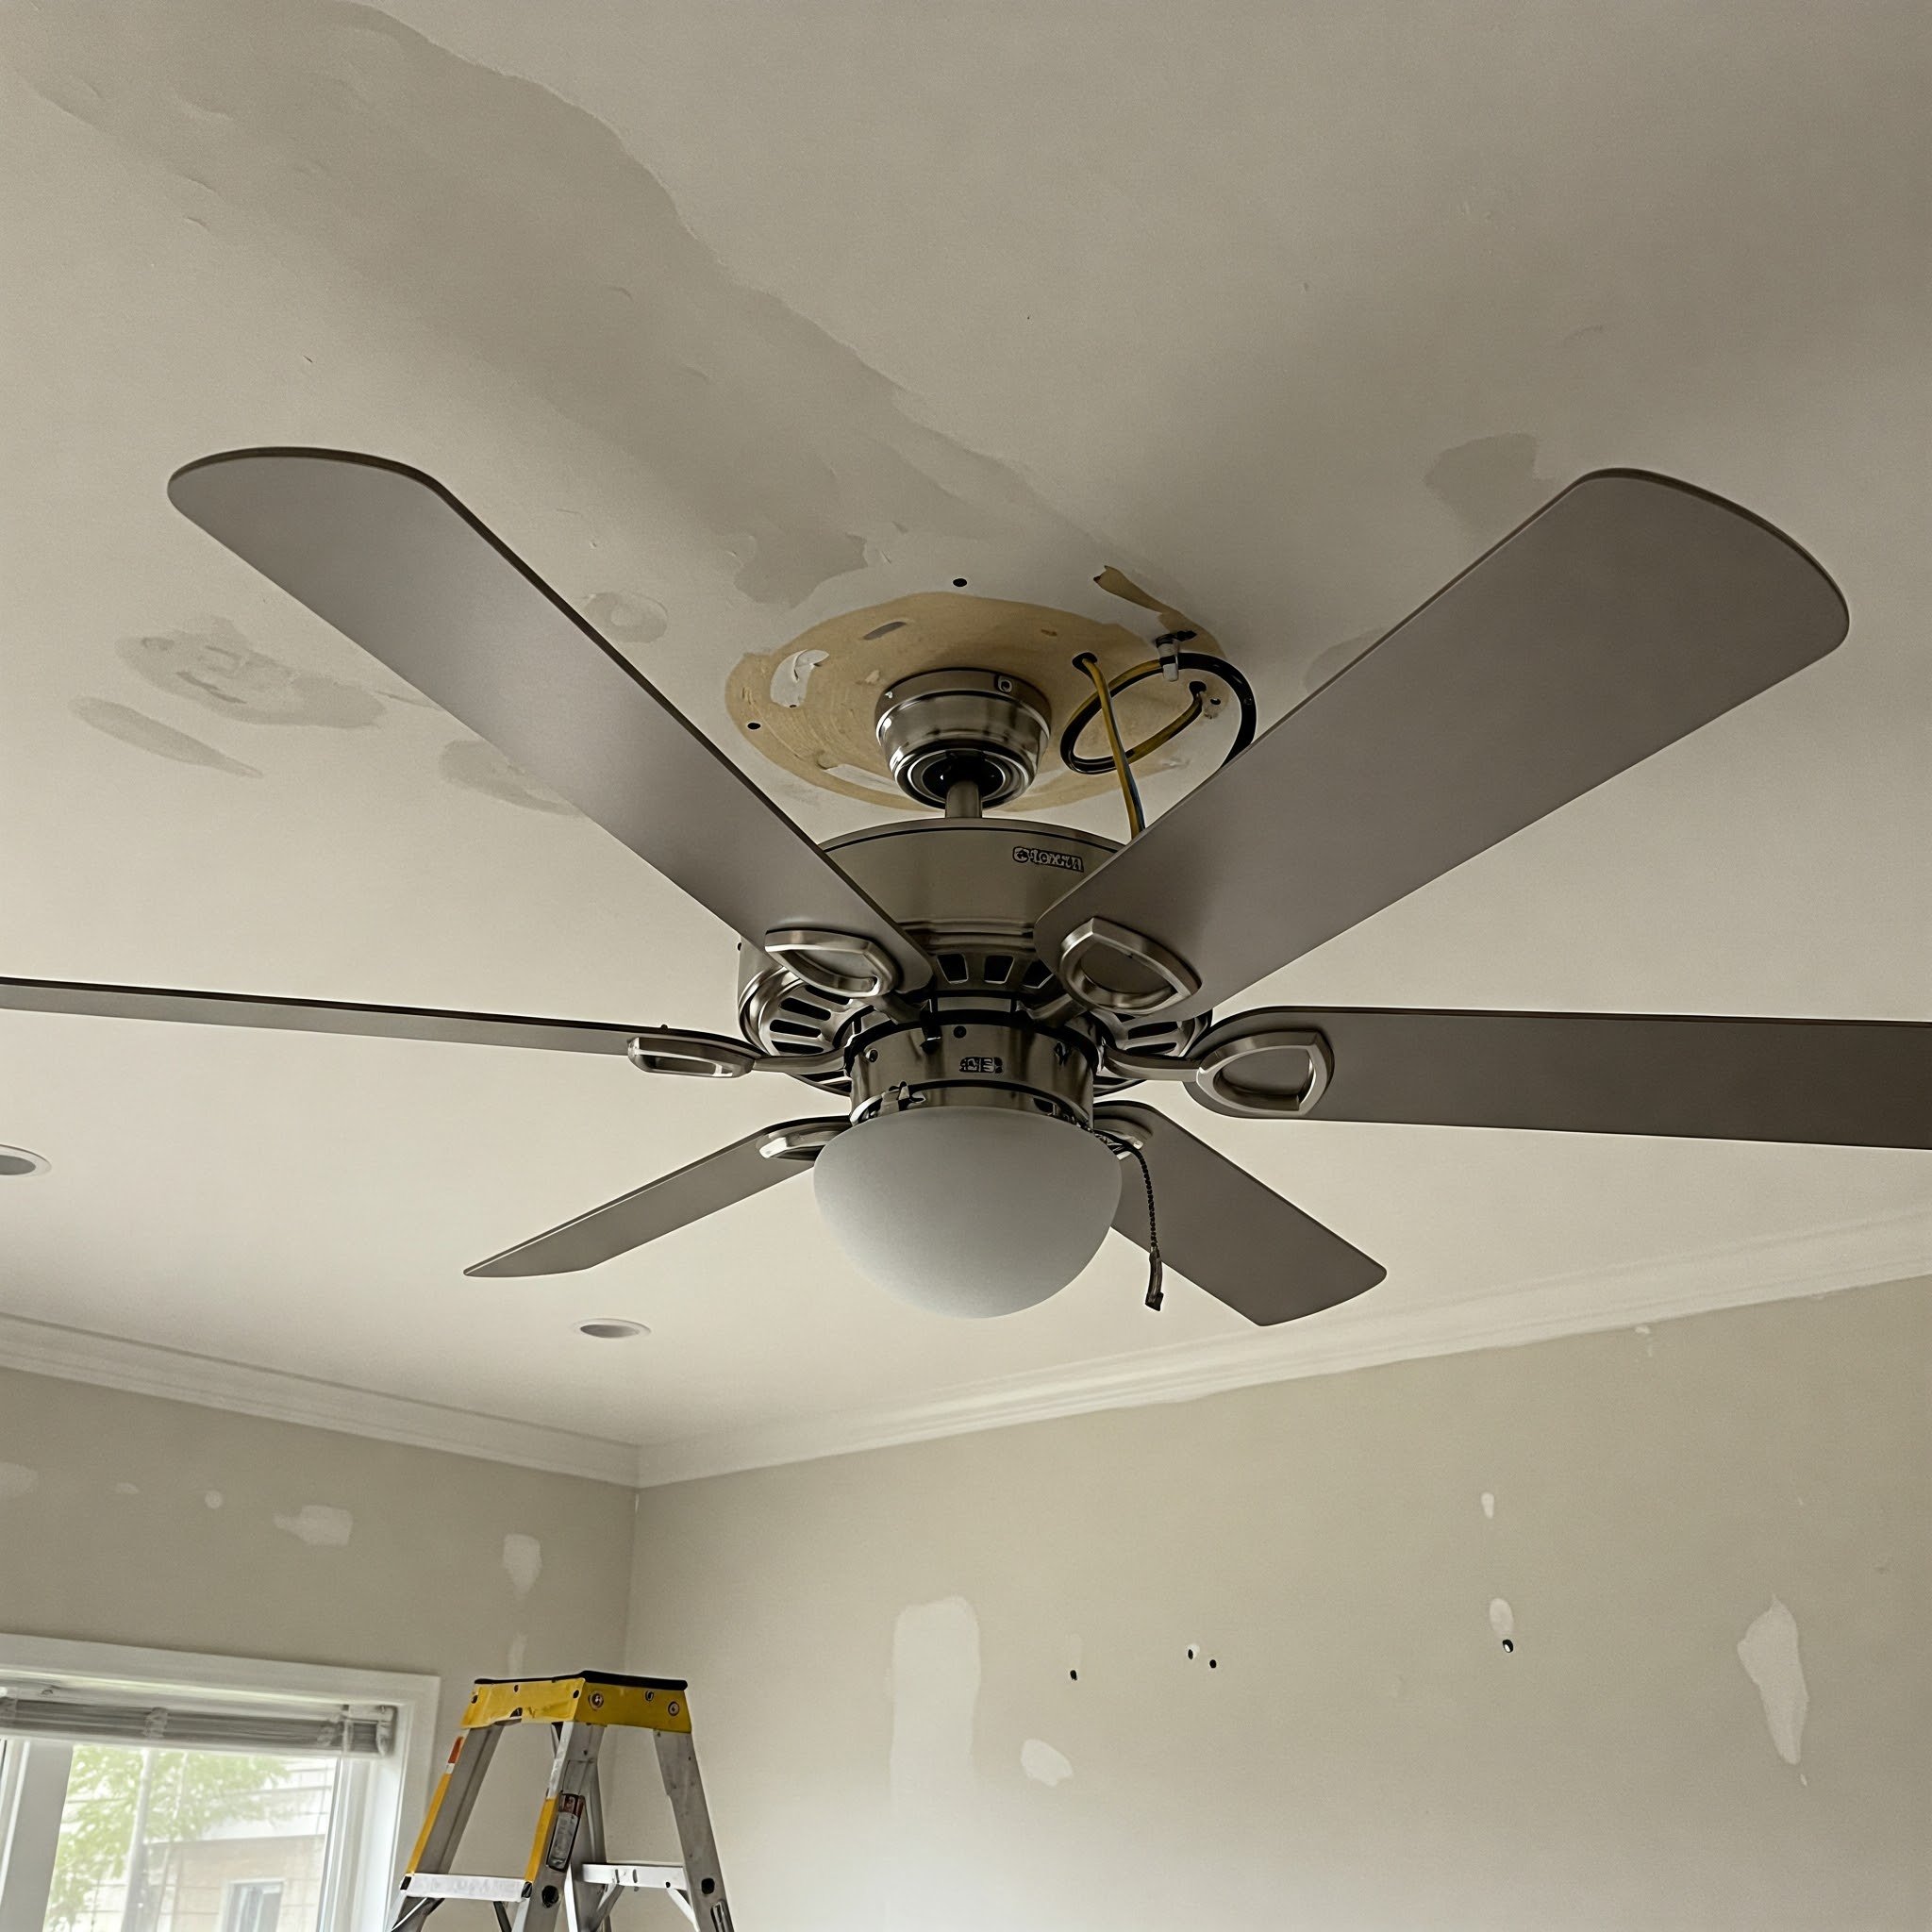
Step 1: Remove Old Fixture (If Needed)
Take Off the Shade or Bulbs: If there’s a light fixture in place, remove any lampshades or bulbs first to minimize the risk of breakage.
Unscrew and Disconnect: Carefully unscrew the old fixture from the ceiling box, supporting it with one hand as you go. Then, disconnect the wires by loosening the wire connectors (also known as wire nuts).
Check the Electrical Box: Look for a UL-listed fan support box or brace; a standard light fixture box might not support the weight of a fan. If your box isn’t rated for a fan, you’ll need to install a stronger support system.
Step 2: Prep the Fan and the Ceiling
Assemble Fan Components: Follow the manufacturer’s instructions to put together parts like the downrod, canopy, or motor housing. Don’t attach the blades just yet—that step usually comes later.
Secure Mounting Bracket: Attach the included bracket to the electrical box or support brace. Ensure it’s snug as a bug; a wobbly bracket is the gateway to a wobbly fan.
Step 3: Hang the Fan Motor
Hook and Hang: If your fan kit has a hook on the bracket, use it to suspend the motor housing temporarily while you make the wire connections. If not, you may need an extra pair of hands or carefully hold it in place.
Align the Downrod: Slide the motor’s downrod (the metal pipe that extends from the fan’s base to the mounting bracket) into the bracket’s opening. Make sure it’s seated properly, but keep a bit of wiggle room for wiring.
Step 4: Wire It Up
Now for the step that tends to make people sweat—the wiring. Fear not! It’s usually straightforward if you go slowly and methodically.
Match Wire Colors: Typically, you’ll see these wires in the fan assembly:
Black (or Blue): Fan’s power supply (and sometimes light kit).
White: Neutral wire.
Green or Bare Copper: Ground wire.
Light Kit Wire (if separate): Might be blue or black with a white stripe.
Connect to Ceiling Wires: In your ceiling box, you’ll see something similar: black (hot), white (neutral), green or bare (ground). Some setups also have a red wire if there’s a separate switch for the light.
Use Wire Nuts: Twist matching wires together and cap them with wire nuts, giving a gentle tug to ensure they’re snug.
Tidy Up: Tuck the wires carefully into the ceiling box or fan canopy. You don’t want them pinched or dangling.
Step 5: Secure the Fan Canopy
Slide and Screw: Push the fan’s canopy (the decorative covering) up over the bracket and secure it with the provided screws. Make sure everything is flush and stable.
Step 6: Attach the Fan Blades
Snap or Screw Blades Onto Arms: Depending on the design, you’ll either screw the blades onto brackets or snap them in place.
Secure Blade Arms to Motor: Most fan kits include multiple screws for each blade bracket. Tighten them well, but be mindful not to over-torque and strip the threads.
Double-Check Clearance: Ensure the blades have enough room to spin freely without hitting anything. If they’re too close to walls or angled ceilings, consider a shorter downrod or different fan size.
Step 7: Add Light Kit or Accessories
If Applicable: Some ceiling fans come with a built-in light kit or the option to add one. Follow the manufacturer’s instructions to wire and mount it, then attach any shades or bulbs.
Remote Control Setup: If your fan has a remote, install any receivers inside the canopy and program the remote as directed.
Step 8: Turn On the Power and Test
Flip the Breaker: March right back to that electrical panel and switch the breaker on.
Give It a Whirl: Test your fan speeds, direction (many fans have a reverse switch), and any attached light kit to confirm everything’s shipshape.
Check for Wobble: Some slight movement is normal, but if it looks like your fan’s about to shake itself off the ceiling, use the included balancing kit to fine-tune the blade weights.
Congratulations—you’ve made it to the finish line of How to Install a Ceiling Fan Like a Pro: Step-by-Step Guide! With any luck, you’re now basking in a gentle breeze, grinning from ear to ear.

Troubleshooting Tips
Life isn’t always a box of chocolates—sometimes, even the best-laid plans go off the rails. If your new fan isn’t behaving:
Fan Won’t Turn On: Check your circuit breaker, wire connections, and wall switch. Did you accidentally mix up the wires?
Lights Work but Fan Doesn’t: Make sure the fan’s wiring is secure and separate from the light kit wires. Could be you forgot to connect the fan’s hot wire (often black) to the ceiling’s hot.
Excessive Wobble: Ensure all screws are tight, and try re-balancing the blades with the included kit (usually small weights you attach to the blades).
Odd Noises: Could be a loose screw, unbalanced blades, or wires rubbing against the motor housing.
Pro Tips for a Polished Finish
Measure Twice, Downrod Once: Know your ceiling height so you choose the correct downrod length. Standard 8-foot ceilings often need a flush mount or a short downrod, while vaulted ceilings might demand something longer.
Fan Location Matters: Avoid placing the fan too close to walls, cabinets, or corners. About 18-24 inches of clearance from the blade tip to the nearest wall is ideal.
Use Quality Parts: Cheaper fans may skimp on motor quality, leading to noise and reduced longevity. Shell out a little extra for a reputable brand if you want a quiet, durable unit.
Fan Direction: Most ceiling fans have a small switch to change the blade rotation—clockwise in winter to push warm air down, and counterclockwise in summer for that cooling effect.
Conclusion
And there you have it—a thorough rundown on How to Install a Ceiling Fan Like a Pro: Step-by-Step Guide. From ensuring you’re not messing around with live wires (seriously, turn that breaker off) to polishing your final result with balanced blades and a gentle hum, installing a new ceiling fan can be a DIY project that truly elevates your home’s comfort and style.
Best of all, you don’t need an engineering degree or a six-figure budget. Just gather your tools, follow each step methodically, and take the time to ensure everything’s secure. If at any point you find yourself lost in the wiring wilderness or dealing with an unruly bracket, don’t be shy about calling in a professional. Your safety and the integrity of your home’s electrical system are worth a second opinion.
Once your fan is spinning merrily overhead, you’ll wonder how you ever survived without it. Whether it’s a sweltering summer afternoon or a crisp winter evening, a ceiling fan can help maintain that Goldilocks temperature all year long—keeping you cozy in the winter and cool in the summer. Now, go bask in the newfound breeze, pat yourself on the back, and celebrate your handiwork. You’re officially the proud owner of a perfectly installed ceiling fan!
Read next: How Much Does It Cost to Install a Ceiling Fan?
Frequently Asked Questions
1. Can I install a ceiling fan where no fixture currently exists?
Absolutely—though you’ll likely need to run electrical wiring to that spot, as well as install a proper support brace rated for fan use. If you’re not comfortable working with electrical systems behind walls or in attics, hiring an electrician might be your best bet.
2. How do I choose the right size fan for my room?
A general rule of thumb:
Rooms up to 100 sq. ft. = 36-inch fan or smaller
100-150 sq. ft. = 36-42 inches
150-300 sq. ft. = 44-52 inches
300+ sq. ft. = 52-inch or larger
A fan that’s too small won’t circulate air effectively, while one that’s too large may overpower the space.
3. Is it safe to install a ceiling fan on a sloped ceiling?
You bet—provided you use an angled mounting kit or an extended downrod designed for sloped ceilings. Just ensure the blade clearance is sufficient and the mounting bracket is angled correctly.
4. What if I only have a two-wire setup (no separate ground wire)?
A ground wire is strongly recommended for safety. In older homes, you might see only black (hot) and white (neutral). It’s best to upgrade to a proper grounded circuit if possible. At minimum, consult an electrician for safe alternatives.
5. Can I attach a remote control to any ceiling fan?
Not all fans are remote-compatible, but many can be retrofitted with a universal remote kit. Check the manufacturer’s specifications or consult with a home improvement store to see if your fan’s wiring and canopy have enough space for a receiver.
Stay up to date with our latest ideas!