How to Start a Fire in a Fireplace Safely
Discover the foolproof method of lighting a fireplace with minimal risk. Learn how to start a fire in a fireplace safely and enjoy a warm, comforting ambiance all winter long.
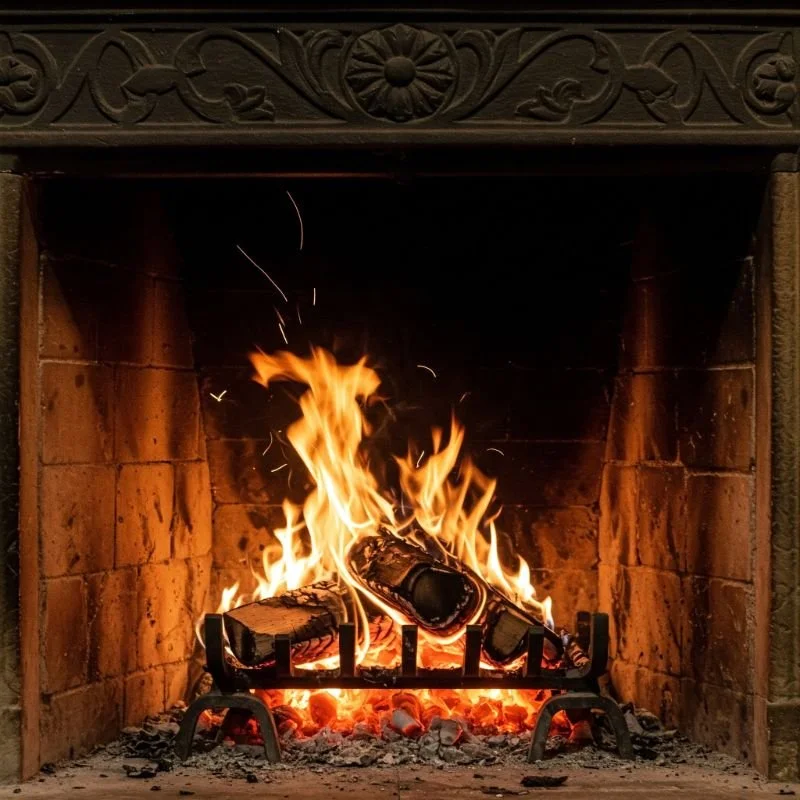
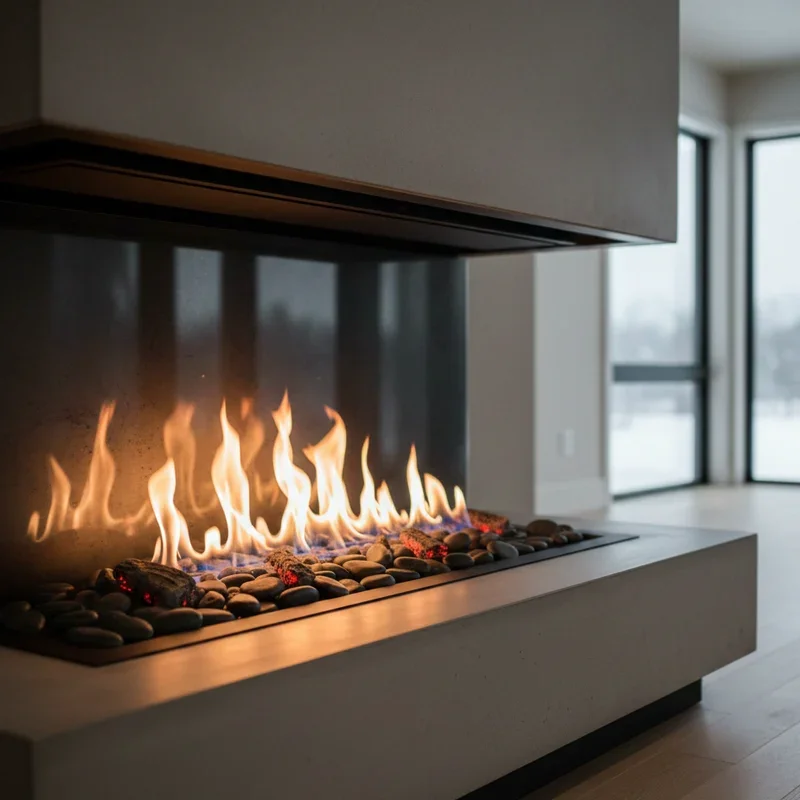
There’s nothing quite like the rustic appeal of a crackling fireplace on a chilly evening, is there? Maybe you’ve got your favorite blanket, a mug of steaming cocoa, and you’re ready to hunker down for a cozy night in—except you suddenly realize you’ve never started a fire yourself. Sound familiar? Don’t worry: igniting a healthy, controlled burn isn’t some arcane wizardry known only to your grandparents. In fact, with the right prep work and a dash of know-how, you can confidently start a blaze that keeps you warm, safe, and thoroughly relaxed.
But hey, let’s not sugarcoat it—fire can be dangerous. The phrase “playing with fire” didn’t come out of thin air. If you’re not careful, your romantic night in could become an unwanted disaster. But fear not: in this guide, we’ll explore How to Start a Fire in a Fireplace Safely so you don’t have to rely on luck or guesswork. We’ll run through the gear you need, the steps to follow, and the best ways to ward off mishaps. Ready to channel your inner fire-starter (the responsible kind)? Let’s dig in and get those embers glowing!
Why Is a Proper Fireplace Fire So Important?
You might wonder: a flame is a flame, right? Well, not exactly. There’s a world of difference between a roaring, well-structured fire and a smoky, trouble-prone inferno. When you know How to Start a Fire in a Fireplace Safely, you’ll reap a few major benefits:
Energy Efficiency:
A properly built fire maximizes heat output. In other words, you’ll get the most warmth with the least amount of wood burned. Mother Nature, your wallet, and your comfort all appreciate that!Reduced Smoke and Odors:
Ever been around a fireplace that fills the room with an eye-watering haze? Likely, it wasn’t set up correctly. Good technique ensures your home won’t smell like a bonfire long after the embers have cooled.Minimized Creosote Buildup:
Creosote is that sticky black goo that accumulates inside chimneys. The slower the fire’s combustion, the more creosote can form. This nasty residue can lead to blockages—or even chimney fires if not managed. A well-ventilated, properly built fire helps reduce those problems.Overall Safety:
Let’s face it: an out-of-control blaze can set your heart racing for all the wrong reasons. Proper methodology keeps flames where they belong—inside the firebox—and everyone in your home better protected.
Think of it this way: lighting a fireplace is both an art and a science, especially if you want that perfect, mesmerizing glow without a side of calamity. Keep reading, and soon you’ll be lighting fires like a seasoned pro.
Pre-Fire Checklist: The 101 on Preparation
Before you can throw a match in and call it a day, there’s some crucial groundwork. In fact, you might say that the difference between a calm, inviting fire and a smoky fiasco comes down to a few simple steps. Let’s look at what needs checking:
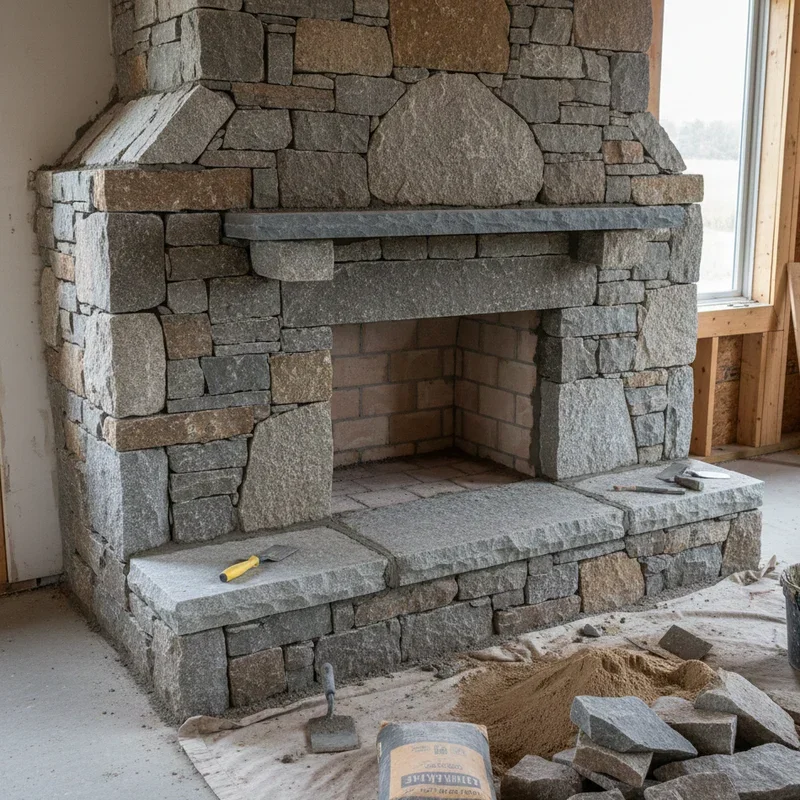
Inspect Your Chimney
Make sure you’ve had your chimney cleaned and inspected within the past year. Creosote buildup, animal nests, or structural damage are major fire hazards. A quick professional inspection can spare you a world of trouble down the line.
Check for Obstacles
Is your flue or damper (the small door that seals off the chimney when not in use) free from debris? Open it fully to ensure smoke goes up instead of billowing into the room.
Gather Your Materials
You’ll need three main things: tinder, kindling, and firewood. Tinder is your easily ignitable material—think crumpled newspaper or pine cones. Kindling refers to small sticks or thin splits of wood, and the firewood is your big logs. Keep these items close to the fireplace for an efficient setup.
Ensure Proper Ventilation
If you have a fireplace in a tightly sealed home, crack open a window or door slightly. Fire needs oxygen, and if the room’s air supply is too limited, your flames may sputter, or smoke might funnel backward.
Fireplace Tools
Have a poker, tongs, and a sturdy set of gloves on standby. You’ll want to adjust the logs without burning your fingers. Safety first, always.
You can think of it like prepping a stage before a play—the performance (a successful fire) depends heavily on everything being set up properly behind the scenes. Now that you’ve got your ducks in a row, let’s move on to the main act.
How to Start a Fire in a Fireplace Safely
Alright, folks, here we are: the moment you’ve been waiting for. Here’s a step-by-step rundown on How to Start a Fire in a Fireplace Safely to keep your home toasty and your nerves calm:
1. Warm Up the Flue
Ever notice how warm air rises, while cold air sinks? If your chimney is cold, that can cause a downdraft, sending smoke indoors rather than up and out. Remedy this by lighting a small piece of rolled-up newspaper and holding it under the damper. This quick trick warms the air in the flue so your new fire doesn’t fight against a cold column of air.
2. Lay the Tinder and Kindling
Place a couple of sheets of crumpled newspaper or other tinder on the grate. Then stack small pieces of kindling (thin sticks or wood splits) in a crisscross pattern above the newspaper. The idea is to create a structure that allows air to circulate freely. It’s a bit like building a house of cards, but with wood.
3. Add the Firewood
Now it’s time to bring in the big guns—your main logs. Lay one or two moderately sized pieces of seasoned firewood on top of the kindling. Try not to overstuff the area; you want to leave space for oxygen flow. If your logs are too large to catch quickly, you can always add them once the fire is established.
4. Light It Up
Grab a long match or lighter (because who needs singed knuckles?) and ignite the tinder at several spots. The flame should spread to the kindling and then to the larger logs. If all goes well, you’ll hear a gentle crackling sound as the fire takes hold.
5. Monitor the Progress
This is when you get to sit back—well, sort of. You’ll want to keep an eye on the growing flames to make sure they’re stable. If things look good, let the fire burn for a bit. Just remember that fresh logs can produce more smoke or cause the flame to dip momentarily, so don’t panic. Use your fireplace tools to reposition logs as needed to maintain a steady burn.
6. Maintain Good Airflow
If your fire looks starved for oxygen, open up the damper more (or move your window slightly more ajar). On the flip side, if the flames are raging too furiously, carefully adjust the logs to avoid a scorching inferno. Achieving that sweet spot is more art than science, so don’t be afraid to poke and prod gently.
7. Keep Safety in Check
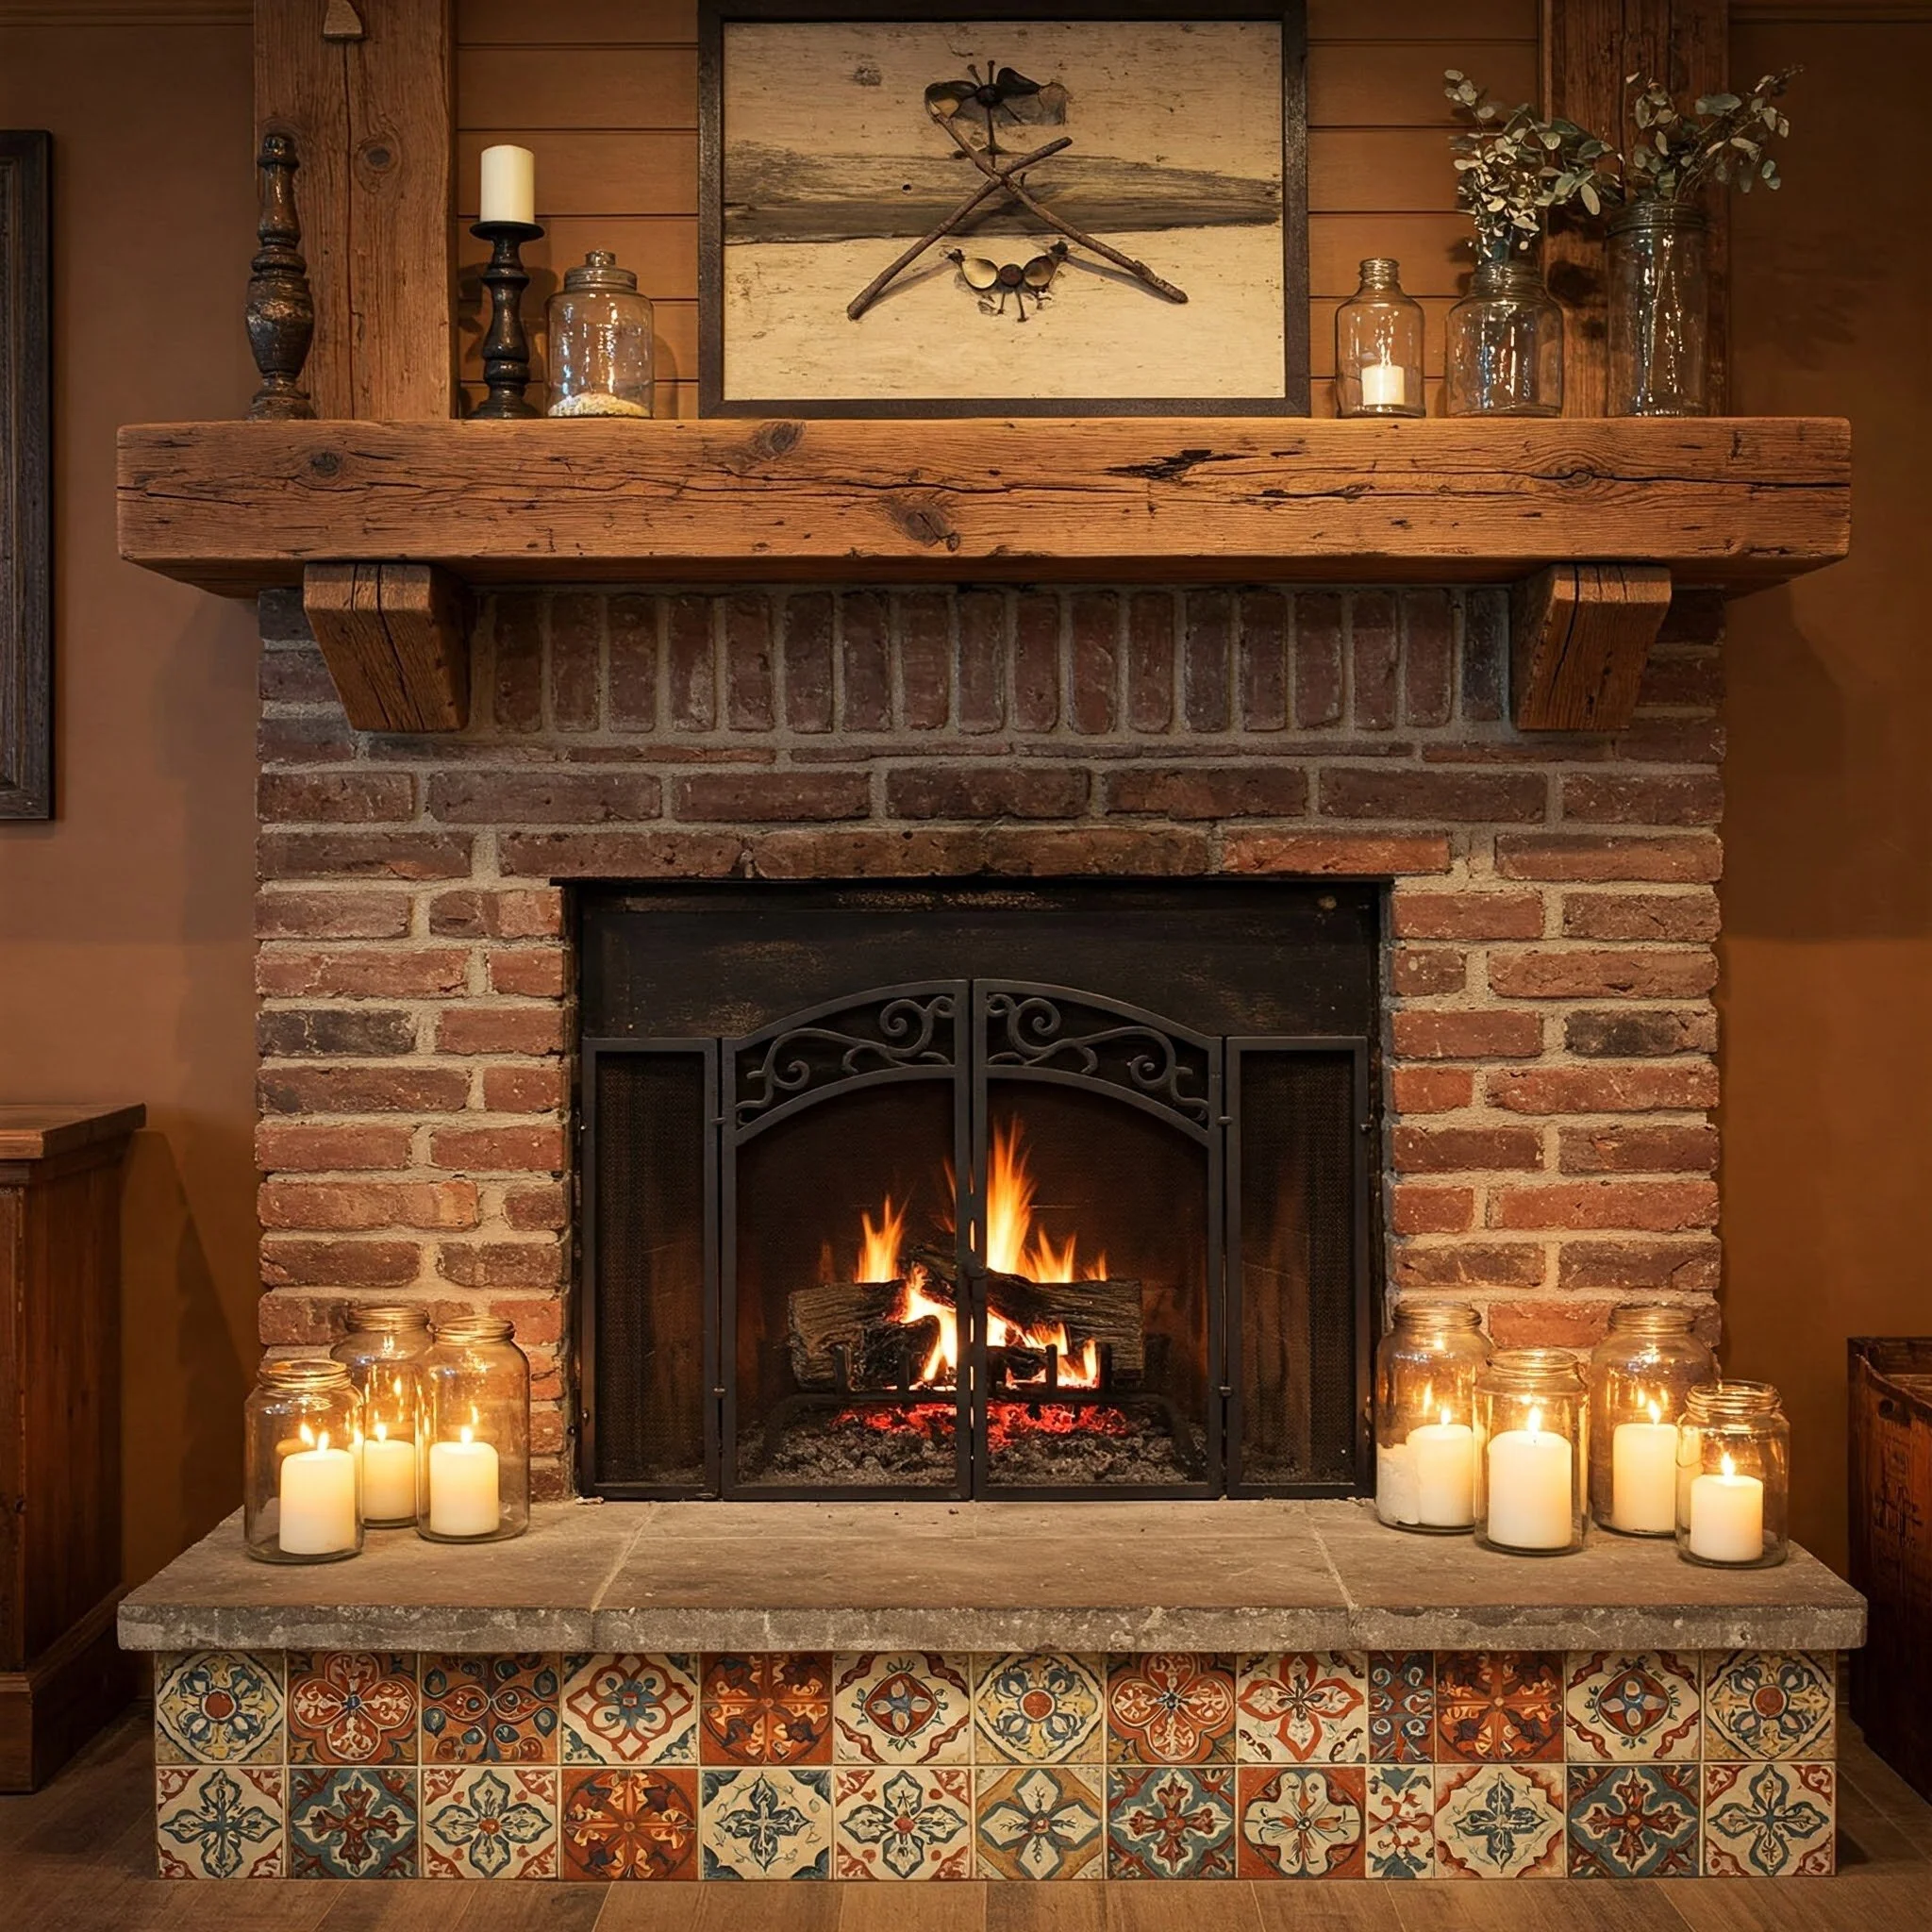
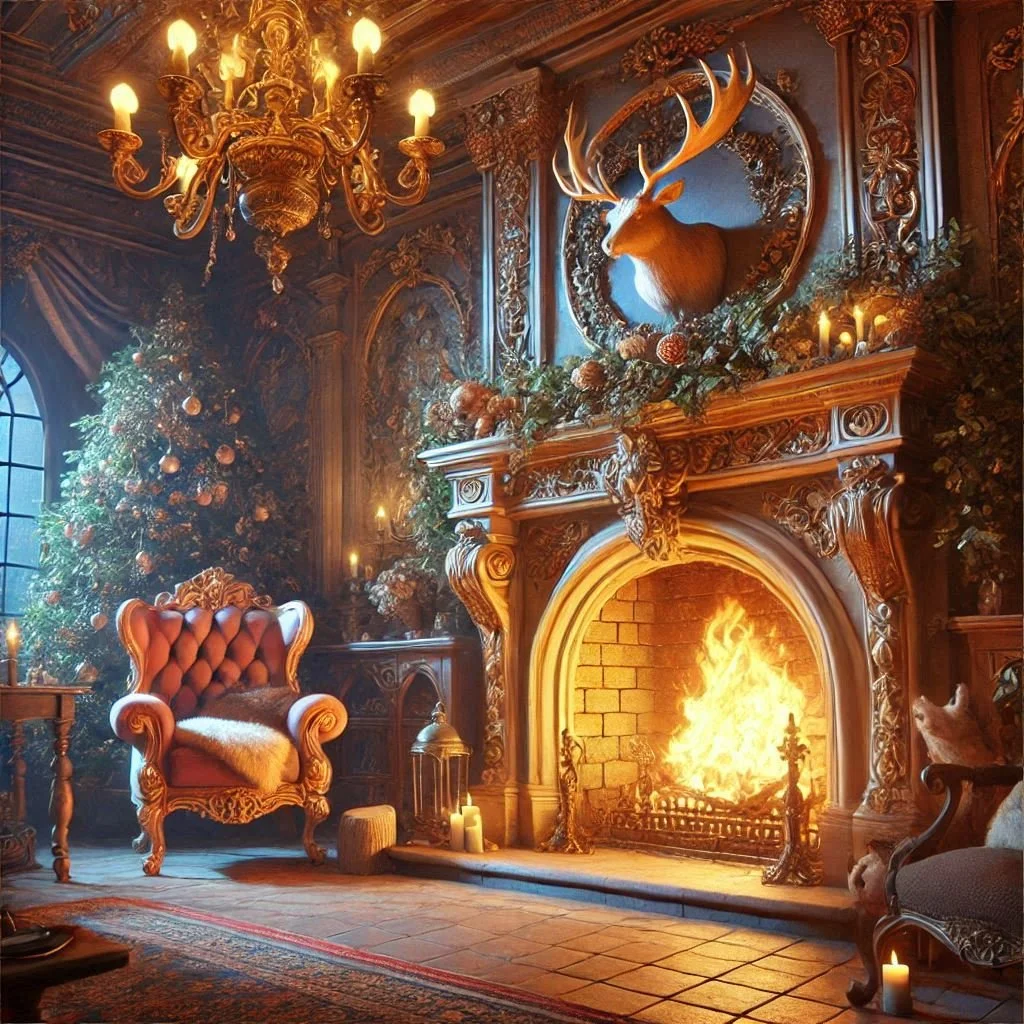
Make sure nothing flammable is sitting within striking distance of the hearth—move that throw rug, shift the Christmas tree, and keep the drapes away. A fireplace screen is a fantastic barrier against popping embers that might land on your floor.
8. Let It Die Down Slowly
When you’re finally done relishing the warm glow, let the fire die out on its own. Dousing logs with water can fill your home with steam and a yucky damp smell. Once the embers are fully cooled (this can take hours), you can safely dispose of ashes and leftover residue. Pro tip: keep a metal container for ashes outside, away from your home or deck, to prevent accidental fires.
Voila! You’ve just learned How to Start a Fire in a Fireplace Safely. Wave goodbye to that old notion that lighting a wood fire is complicated or nerve-wracking. Armed with this knowledge (and a bit of caution), you can enjoy a hypnotic blaze anytime winter chills threaten your comfort
Best Types of Wood to Use
Sure, you can pretty much burn any hunk of dried wood, but not all logs are created equal. Some produce more heat, others yield heavier smoke, and a few even fill the room with a delightful aroma. Here’s a quick rundown:
Oak: Dense, slow-burning, and a classic choice for winter. It’s not easy to ignite if it’s damp, but well-seasoned oak can burn for hours, offering a steady warmth.
Maple: Burns hot and provides good coals, but it can pop or spark if not fully dried.
Birch: Fairly easy to light and generates bright flames, though it does burn faster than oak or maple. Great for kindling or for adding lively flair to your fire.
Hickory: Known for its robust heat output and the mouthwatering fragrance (ever tried hickory-smoked meats?). It’s a top-tier option if you can find it.
Pine: Burns rapidly and tends to spark a lot. Its resin also generates creosote in the chimney more quickly than hardwoods. Good for starting a fire, but not the best choice for long burns.
When it comes to “seasoned” wood, it refers to logs that have been allowed to dry out (usually 6-12 months) after cutting. Green or freshly cut wood contains too much moisture, leading to excess smoke, poor combustion, and—yep—more creosote buildup.
A Word on Safety Precautions
Let’s be honest—any open flame demands respect. Fireplaces might be cozy, but they also present real risks if treated carelessly. Here are a few guidelines that bear repeating:
Never Leave a Fire Unattended
Even if you’re just stepping away for a quick snack, make sure you have someone keeping an eye on the fire. If you need to leave the house or go to bed, let the fire burn out first.
Install Smoke and Carbon Monoxide Detectors
Keep these units in good working order. Test them monthly and replace batteries as needed. A blocked flue or improper ventilation can lead to carbon monoxide buildup, which is odorless and lethal.
Use a Fireplace Screen or Door
Flying sparks are no joke. A screen or glass door is a simple barrier that can prevent a random ember from landing on your sofa or rug.
Check Your Chimney Annually
Make it a ritual to hire a certified chimney sweep before the first big cold snap. They’ll ensure everything is clear, safe, and up to code.
Avoid Accelerants
Yep, it might sound obvious, but never use gasoline, lighter fluid, or any flammable liquid to start or boost your fire. You could risk an explosion or flames that spiral out of control.
No sense letting negligence transform a snug evening into an unplanned trip to the ER. As long as you respect the flames, you’re golden.
Additional Tips for a Perfect, Smokeless Fire
If you’re still worried about smoke filling your living room or irritating your eyes, keep these tips on your radar:
Check the Weather
Low pressure systems or extremely windy conditions can meddle with chimney drafts. Wait for calmer, more predictable weather if you can.
Open Windows Strategically
A little fresh air can help create an upward draft through your chimney, especially in modern, air-tight homes.
Ash Bed Depth
Leaving a thin layer of ash on the grate can help insulate new coals and reflect heat back onto the fresh wood. But don’t go overboard—too thick a layer can stifle airflow.
Use Seasoned, Dry Wood
Mentioned before but worth reiterating: the drier the wood, the cleaner the burn. Wet logs create smoke, hiss, and degrade the overall experience.
Don’t Slam the Damper Shut
After the fire seems out, those embers can smolder for hours. Closing off the flue too soon can trap carbon monoxide indoors. Wait until everything is thoroughly cooled.
Remember, a little smoke is normal as the fire begins to catch. The key is to keep that smoke minimal and swiftly moving up the chimney. If you notice thick plumes lingering in your room, it’s time to troubleshoot: check the flue, your wood’s dryness, or your room’s ventilation.
Conclusion
Well, there you have it: the ins and outs of How to Start a Fire in a Fireplace Safely. Whether you’re a newcomer to the fireplace scene or you’ve just had a string of smoky mishaps, you can rest easy knowing you’ve got a rock-solid strategy for igniting those cozy flames. By carefully prepping your fireplace, using the right types of wood, and following fundamental safety guidelines, you’ll transform what could be a nerve-racking chore into an absolute delight.
Remember, skillful fire-building is all about balance—balancing airflow, heat, and fuel to create the perfect burn. Keep in mind the basics: always warm that flue, lay a solid foundation of tinder and kindling, and add your logs with ample breathing space. That’s the trifecta that yields mesmerizing flames minus the drama.
So the next time the weather outside is frightful (or you just want a romantic indoor setting), go ahead and bust out your newfound fireplace prowess. Pour yourself a mug of cocoa or mulled wine, gather around the crackle and glow, and enjoy an evening of comfort—without the worry of smoke alarms blaring or your living room turning into a chimney sweeper’s nightmare. After all, learning How to Start a Fire in a Fireplace Safely means you’re on your way to countless warm, memorable moments huddled around that dancing blaze. Stay safe, stay toasty, and let the good fires roll!
Read next: 15 Stunning Fireplace Remodel Ideas to Inspire You
Frequently Asked Questions
1. Can I use charcoal or BBQ briquettes in my fireplace?
Technically, you shouldn’t. Charcoal and briquettes are meant for outdoor grills and can produce excessive carbon monoxide if burned indoors. Stick to firewood specifically designed for fireplaces.
2. How often should I clean out ash from the firebox?
Letting about an inch of ash remain can help reflect heat upward and keep your new logs warm. That said, if ash accumulates too much, it can impede airflow. Cleaning out the firebox every week or so during frequent use is usually fine.
3. My fireplace is still smoky. Could the chimney height be a problem?
If your chimney’s too short or overshadowed by taller structures or trees, you might struggle with poor draft. A chimney professional can advise on whether an extension or modification is needed.
4. Is it safe to burn painted or treated wood?
Big no-no. Painted, varnished, or pressure-treated wood can release toxic fumes. Stick to well-seasoned, untreated hardwood for a safer fire and a healthier indoor environment.
5. Should I keep the glass doors closed while the fire is burning?
Glass doors can help manage airflow, but they must be left partly open for the fire to get oxygen. Once the fire is established, you can close them slightly to limit heat loss—but keep a gap so the fire still “breathes.”
Stay up to date with our latest ideas!