How to Fix a Leaky Faucet in Easy Steps
Struggling with a pesky faucet drip? Discover how to fix a leaky faucet in easy steps using our hands-on guide. Save money, stop wasting water, and bring back that peaceful silence.

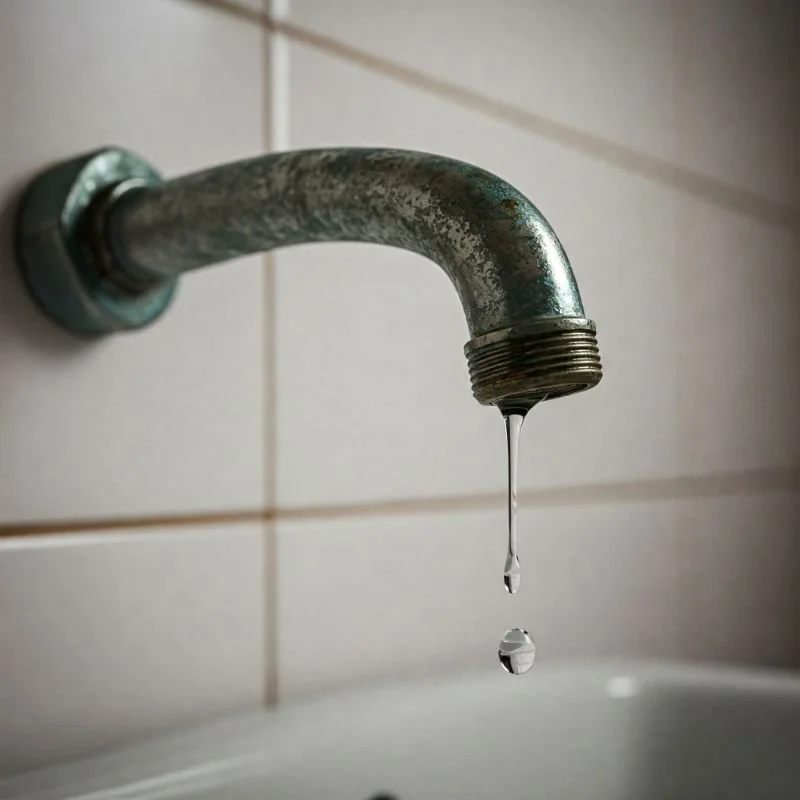
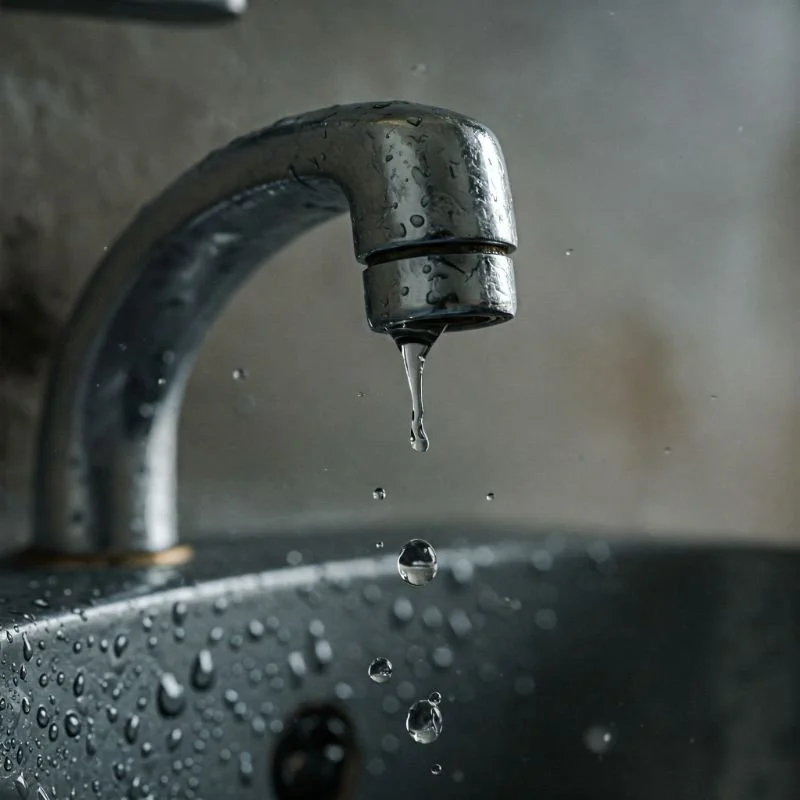
Drip, drip, drip... It’s enough to drive a person insane—especially at 2 a.m. when you’re trying to catch some Z’s. A leaky faucet may seem like a minor annoyance on the surface, but over time, that constant dripping can balloon into a serious water bill. Not to mention, a leak can be a sign of deeper plumbing hiccups if left unattended. So, are you ready to roll up your sleeves and learn How to Fix a Leaky Faucet in Easy Steps?
Guess what? You don’t need to be a bona fide plumber to tackle this little challenge. With a bit of moxie, some basic household tools, and the willingness to get your hands a tad wet, you can banish that pesky leak once and for all. No more late-night drip symphonies, no more elevated water usage, and definitely no more calling in pricey professionals for a quick fix that you could easily do yourself.
We’re about to break down everything from the tools you’ll need, to the common culprits behind a leaky faucet, to a step-by-step method that anyone can follow—even if your previous DIY escapades have ended in, well, comedic disaster. Ready? Let’s get to it and show that faucet who’s boss!
Why Do Faucets Leak?
Have you ever wondered why faucets tend to drip at the most inconvenient times? It’s almost like they have a mischievous mind of their own. But behind every leaky faucet, there’s usually a very real, mechanical reason—one that a diligent DIY enthusiast can sort out without much drama. Let’s dive into a few likely culprits:
Worn-Out Washer or O-Ring
Over time, the rubber washers and O-rings inside your faucet wear down from friction and constant water pressure. Once they lose their shape or integrity, they can no longer create a perfect seal.
Corroded Valve Seat
The valve seat is the connective tissue between the spout and the faucet. Corrosion and mineral buildup can degrade the valve seat, making it impossible for water to stay put.
Loose or Damaged Parts
A single loose screw or a cracked component can pave the way for tiny leaks that quickly evolve into persistent drips.
High Water Pressure
If your water pressure is through the roof, your faucet might fight back. Excessive pressure can cause water to sneak past seals and gaskets, resulting in that relentless drip.
General Wear and Tear
The older the faucet, the higher the chance it has faced its fair share of abuse. Metals corrode, seals harden, and parts degrade over time. Aging fixtures are more prone to leaks—end of story.
Understanding the “why” is crucial. It helps you zero in on the problem area and decide which approach or replacement part will remedy your leaky woes. After all, there’s no point in trying to fix a corroded valve seat if the real issue is a disintegrated O-ring, right?

Tools and Supplies for the Job
You don’t need a towering stack of fancy tools to handle How to Fix a Leaky Faucet in Easy Steps. Most of these items are standard in any basic household toolbox. Round ’em up, and you’ll be good to go:
Adjustable Wrench or Slip-Joint Pliers
Perfect for loosening nuts without stripping them.
Screwdrivers (Flathead and Phillips)
You’ll need these to remove faucet handles or to pry off decorative caps.
Replacement Parts
This might be washers, O-rings, or a new cartridge, depending on your faucet’s design and leak cause.
Needle-Nose Pliers
Great for fishing out worn washers or retrieving small bits if they fall into tight spaces.
Plumber’s Tape (Teflon Tape)
Handy for resealing threads to prevent water escape.
Rags or Old Towels
You can’t avoid a little water spillage. Keep these around to mop up or cushion surfaces.
Vinegar or a Commercial Cleaner
Minerals and corrosion? A mild acid or store-bought cleaner can help dissolve deposits on faucet parts.
Flashlight (Optional)
If your sink area is dark or cramped, a flashlight can save you from fumbling in the shadows.
Got everything? Perfect! Let’s roll up our sleeves and dig into the actual “step-by-step” portion of this fix-it adventure.
Step-by-Step: How to Fix a Leaky Faucet in Easy Steps
Let’s cut to the chase. Whether you’re dealing with a classic compression faucet or a swanky ceramic-disc fixture, the general approach for conquering a leak tends to be pretty similar. Here’s a breakdown that will let you fix the drip in a jiffy.
1. Kill the Water Supply
First things first: turn off the water valves under your sink. Usually, there are two small handles—one for hot and one for cold. Give them a clockwise twist until they’re firmly shut. If you can’t find these, you might have to turn off your home’s main water supply. Don’t forget to drain any excess water by turning on the faucet until the flow halts completely.
2. Plug Your Drain
Accidentally losing a screw down the drain is a scenario you don’t want to star in. Stuff a rag or use a stopper to block the drain hole. This might seem like an unnecessary step until you drop a vital nut or washer. Trust me, you’ll thank yourself for the forethought.
3. Remove the Faucet Handle(s)
Most faucet handles are secured by a small screw, sometimes hidden under a decorative cap or near the handle’s base. Use the appropriate screwdriver to gently remove the screw and lift off the handle. Keep your hardware in a safe spot so nothing goes missing—because rummaging around the kitchen for a dropped screw is nobody’s idea of fun.
4. Peek Under the Hood (Faucet Body or Cartridge)
Depending on your faucet type, you might see:
A cartridge, which you can pull out with pliers.
A compression stem, which unscrews from the faucet body.
If you’re not sure which faucet style you have, take a quick glance at the manufacturer’s site or a reference manual. Once you remove the cartridge or stem, set it aside gently.
5. Inspect Washers, O-Rings, and Seals
Check the condition of the rubber washers and O-rings:
Are they hardened, cracked, or warped? That’s likely your culprit.
Also, give the valve seat a once-over for any corrosion. If you spot gunky mineral buildup, treat it with vinegar or a commercial cleaner. A little soaking or scrubbing with an old toothbrush usually does the trick.
Dangling Modifier Alert: While soaking away the gunk, your faucet parts might become squeaky-clean in no time!
6. Replace Any Damaged Parts
Out with the old, in with the new. Grab a matching replacement washer or O-ring. (Pro tip: If you’re unsure which size, bring the old one to your local hardware store for an apples-to-apples comparison.) Carefully slide the new part into place, ensuring a snug fit so water doesn’t slip through any gaps.
7. Reassemble Like a Pro
Time to put it all back together—cartridge, stem, handle, screws, the whole nine yards. Reverse the disassembly process, making sure everything is aligned and tightened properly. Don’t overdo it with brute force; sometimes, “firm but not forceful” is best, especially when dealing with delicate faucets.
8. Turn the Water Back On and Test
Drumroll, please! Switch the valves back to the “on” position. Then, turn the faucet handle to see if your labor has paid off. If you notice any drips, double-check your connections. Sometimes a loose nut or misaligned seal is all it takes to re-summon the dreaded drip.
Pat Yourself on the Back: You just learned How to Fix a Leaky Faucet in Easy Steps—no fuss, no heartbreak, no monstrous plumbing bill!
Different Faucet Types: The Quick Lowdown
Not all faucets are created equal. If you’re feeling a little fuzzy about which category your faucet falls into, fret not. Let’s do a quick refresher:
Compression Faucet
Old-school style, featuring separate hot and cold handles. They use washers to seal water flow. Leaks often originate from worn washers.
Cartridge Faucet
A bit more modern, typically with a single handle controlling hot and cold. The internal cartridge regulates flow. If the cartridge is compromised, you’ll notice a drip or inconsistent water flow.
Ball Faucet
Common in kitchens, these faucets use a rotating metal or plastic ball to control flow and temperature. They contain multiple small parts—O-rings, springs, and seals—making them a bit trickier to fix.
Ceramic Disc Faucet
Featuring two ceramic discs that slide against each other, these faucets are durable and less prone to leaks. When they do leak, it’s often due to worn seals or a cracked disc.
No matter which style you have, the fundamental approach to How to Fix a Leaky Faucet in Easy Steps still involves cutting the water, disassembling carefully, identifying worn parts, and putting it all back together with fresh replacements.

Maintenance Tips to Keep the Leaks Away
Let’s be real: nobody wants to repeat the leak fiasco. To keep your faucet in tip-top shape, incorporate a few easy-peasy maintenance routines:
Clean Aerators and Screens
Unscrew the faucet’s aerator (the small component at the spout tip) periodically and rinse off any debris or mineral deposits.
Watch for Early Signs
If the handle feels stiff or you notice a slight trickle even after turning the faucet off, that’s your cue to investigate before the drip gets worse.
Avoid Excessive Force
Slamming the faucet handle into the “off” position might seem like an obvious way to stop leaks, but it actually damages washers and O-rings faster. Gentle is the name of the game.
Look Out for High Water Pressure
If your pressure is abnormally high, invest in a pressure regulator or call a plumber to check your lines. High pressure spells doom for faucet fixtures over time.
Use Quality Parts
Don’t skimp on washers or cartridges. Cheap knockoffs may fail sooner, sending you back to square one.
Routine Vinegar Soak
Minzral buildup is inevitable in areas with hard water. Soaking faucet parts in vinegar every few months can help keep them squeaky clean and free-flowing.
Following these tips will significantly extend the life of your faucet. No more last-minute panics or soggy kitchens because you ignored that slow drip for too long.
Conclusion
So there you have it—your comprehensive crash course in How to Fix a Leaky Faucet in Easy Steps. No need to let a tiny drip become a major cause of sleepless nights and skyrocketing water bills. Armed with a few basic tools, a dash of patience, and some elbow grease, you’ve got all it takes to banish that leak for good.
By identifying the root cause—whether it’s a worn washer, a damaged O-ring, or a corroded valve seat—you can save time, money, and a truckload of frustration. And if your faucet does decide to stage a comeback performance a few months down the road, well, you’ll be perfectly prepared to handle it. After all, practice makes perfect, right?
So go ahead, turn off that water supply, unscrew those handles, and conquer this mini DIY project once and for all. Before you know it, you’ll be savoring the sweet sound of silence—no more drip-drip echoes to haunt your nights. Welcome to the world of easy faucet fixes, friend. Your kitchen (and your wallet) will thank you for it!
Read next: Types of Faucets: Choosing the Right Fit
Frequently Asked Questions
1. Why is my faucet still dripping after I replaced the washer?
There might be damage to the valve seat, or your washer may not be the correct size. Double-check all parts or consider replacing the seat if it’s corroded.
2. Can a small leak really waste that much water?
Absolutely! Even a slow drip can fill a cup in under an hour. Over weeks and months, that wasted water (and your money) adds up quickly.
3. Is it safe to over-tighten faucet parts?
Over-tightening can warp washers and cause leaks to worsen. Tighten just until snug, and avoid using brute force.
4. Should I replace the entire faucet if it’s old and leaky?
It depends on the faucet’s overall condition and your budget. Sometimes replacing a few parts breathes new life into an old fixture. If it’s riddled with corrosion, a replacement might be more cost-effective in the long run.
5. What if my faucet handle is stuck and won’t come off?
Mineral deposits can fuse parts together. Try applying a penetrating lubricant or carefully heating the area with a hairdryer. If all else fails, consult a professional—better that than snapping your handle off.
Stay up to date with our latest ideas!