How to Clean a Rug: Step-by-Step Guide
Discover the ultimate guide on how to clean a rug with our detailed step-by-step instructions. From everyday maintenance to deep cleaning techniques for all rug types and stubborn stains, restore your rugs to their former glory safely and effectively.

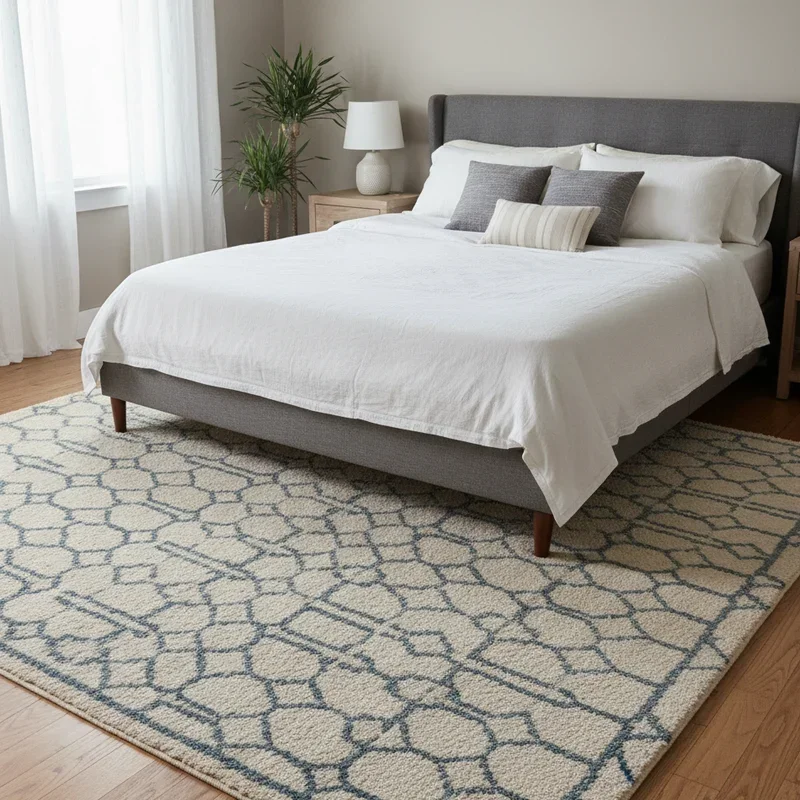
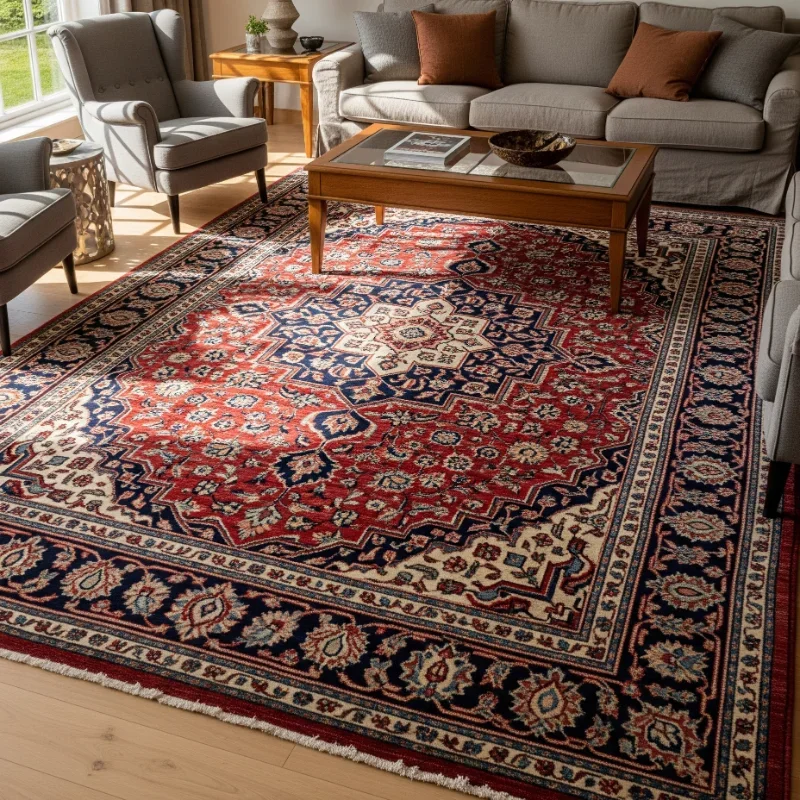
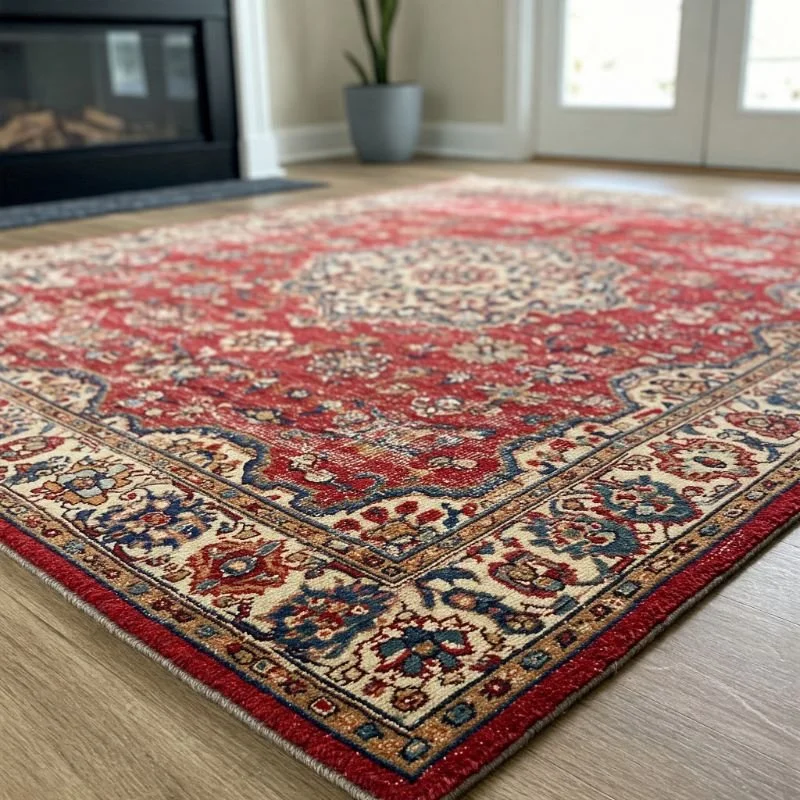
Boy oh boy, don't we all have that one gorgeous rug that somehow transforms into a magnet for every possible mess? That beautiful Persian beauty you splurged on or the cozy shag that perfectly ties your living room together—suddenly sporting mysterious stains from who-knows-what or collecting enough pet hair to create a whole new pet. Been there, done that!
I'll never forget the time my niece decided my cream-colored wool rug was the perfect canvas for her artistic exploration with red fruit punch. My heart nearly stopped! But after a minor panic attack and some frantic research, I managed to rescue it. That traumatic experience sent me down a rabbit hole of rug-cleaning wisdom that I'm now passing on to you.
The truth is, rugs aren't just decorative pieces—they're investments that deserve proper care. And let's face it, professional cleaning services can cost an arm and a leg. Learning how to clean a rug properly at home isn't just economical; it extends the life of your beloved floor coverings and keeps them looking fab for years to come.
Whether you're dealing with a coffee catastrophe, mysterious odors that make you wrinkle your nose, or just the gradual dulling that comes with regular foot traffic, this comprehensive guide has got you covered. We'll walk through everything from routine maintenance to deep-cleaning techniques, specialized approaches for different rug materials, and even some emergency stain interventions that might just save your sanity (and your rug).
So roll up your sleeves—it's time to show those rugs some serious TLC!
Understanding Your Rug: Materials Matter
Before diving into the cleaning process, you've gotta know what you're working with. Different materials demand different treatment—what works wonders for a synthetic rug might spell disaster for a delicate silk one.
Common Rug Materials and Their Characteristics
Wool Rugs: The classic choice, known for durability and natural stain resistance. However, wool absorbs water like nobody's business and can shrink or felt if cleaned improperly. Wool rugs hate excessive moisture and harsh chemicals.
Synthetic Rugs (Nylon, Polyester, Olefin): These tough cookies can handle more aggressive cleaning. They're typically less expensive, more stain-resistant, and dry faster than natural fibers. The downside? They can melt if exposed to high heat.
Cotton Rugs: Casual, often washable, and perfect for high-traffic areas. The good news: many cotton rugs can go right in the washing machine. The bad news: they're stain magnets and can shrink.
Silk Rugs: The divas of the rug world—gorgeous but high-maintenance. Silk rugs are incredibly delicate, showing wear patterns easily and requiring professional cleaning in most cases. DIY cleaning is risky business here.
Plant-Based Rugs (Jute, Sisal, Seagrass): These natural fibers bring wonderful texture but are super sensitive to water. Even small amounts of moisture can cause discoloration or mildew. These typically require dry-cleaning methods only.
Identifying Your Rug Construction
It's not just the material—how your rug is made also impacts how you'll clean it:
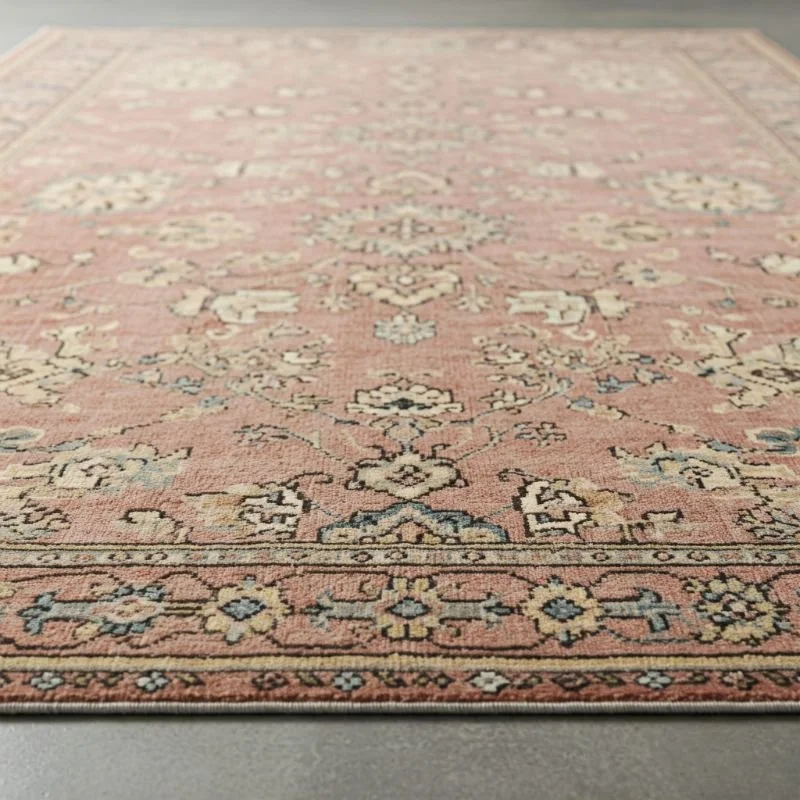
Hand-Knotted Rugs: These investment pieces are made by tying individual knots onto the foundation. They're durable but require gentle cleaning to preserve the knots.
Tufted Rugs: Created by punching fibers through a backing material and securing them with latex and a protective backing cloth. Watch out—excessive moisture can damage the adhesive.
Flat-Woven Rugs: No pile here—these rugs have the same pattern on both sides. Generally more durable for cleaning but can stretch or distort if not handled carefully.
Machine-Made Rugs: Typically synthetic and more cleaning-friendly, these rugs can often withstand more aggressive methods without damage.
Quick tip: Check your rug's label or flip it over and look at the backing for cleaning information. When in doubt, always test cleaning solutions on an inconspicuous corner first!
Essential Cleaning Tools for Successful Rug Care
Having the right equipment on hand makes all the difference between a frustrating struggle and a satisfying clean.
Basic Tools Every Rug Owner Needs
Vacuum cleaner with adjustable height settings: The MVP of rug maintenance
Soft-bristled brush: For gentle agitation of fibers
Microfiber cloths: For blotting spills without leaving lint behind
Clean white towels: To check if colors are transferring during cleaning
Spray bottles: For applying cleaning solutions evenly
Plastic scraper or old credit card: For removing solid debris without damaging fibers
Bucket: For mixing cleaning solutions
Rubber gloves: To protect your hands from cleaning agents
Specialized Equipment Worth Considering
Carpet/rug beater: Old-school but effective for removing embedded dirt
Carpet rake: Revives flattened pile and helps lift embedded hair
Dry foam carpet shampooer: Less moisture than wet methods
Wet-dry vacuum: Excellent for extracting moisture after wet cleaning
Fans: Essential for speeding up drying time
Cleaning Solutions: Store-Bought vs. Homemade
Commercial Options:
Enzyme cleaners: Perfect for pet messes and organic stains
Carpet shampoo: Available for different rug types
Dry cleaning compounds: Good for moisture-sensitive rugs
Specialized stain removers: For specific problems like red wine or grease
DIY Cleaning Mixtures:
All-purpose gentle cleaner: Mix 1/4 cup white vinegar, 1 tablespoon dish soap, and 1 cup warm water
Deep cleaning solution: Combine 1/2 cup hydrogen peroxide with 1/4 cup mild dish soap
Deodorizing powder: Baking soda with a few drops of essential oil
Spot cleaning paste: Baking soda mixed with just enough water to form a paste
Remember: Always test any cleaning solution on an inconspicuous area first, and never use hot water on rugs—it can set stains and damage fibers.
Regular Maintenance: Preventing Major Cleaning Sessions
An ounce of prevention is worth a pound of cure—especially when it comes to rug care.
Weekly Routine to Keep Rugs Looking Fresh
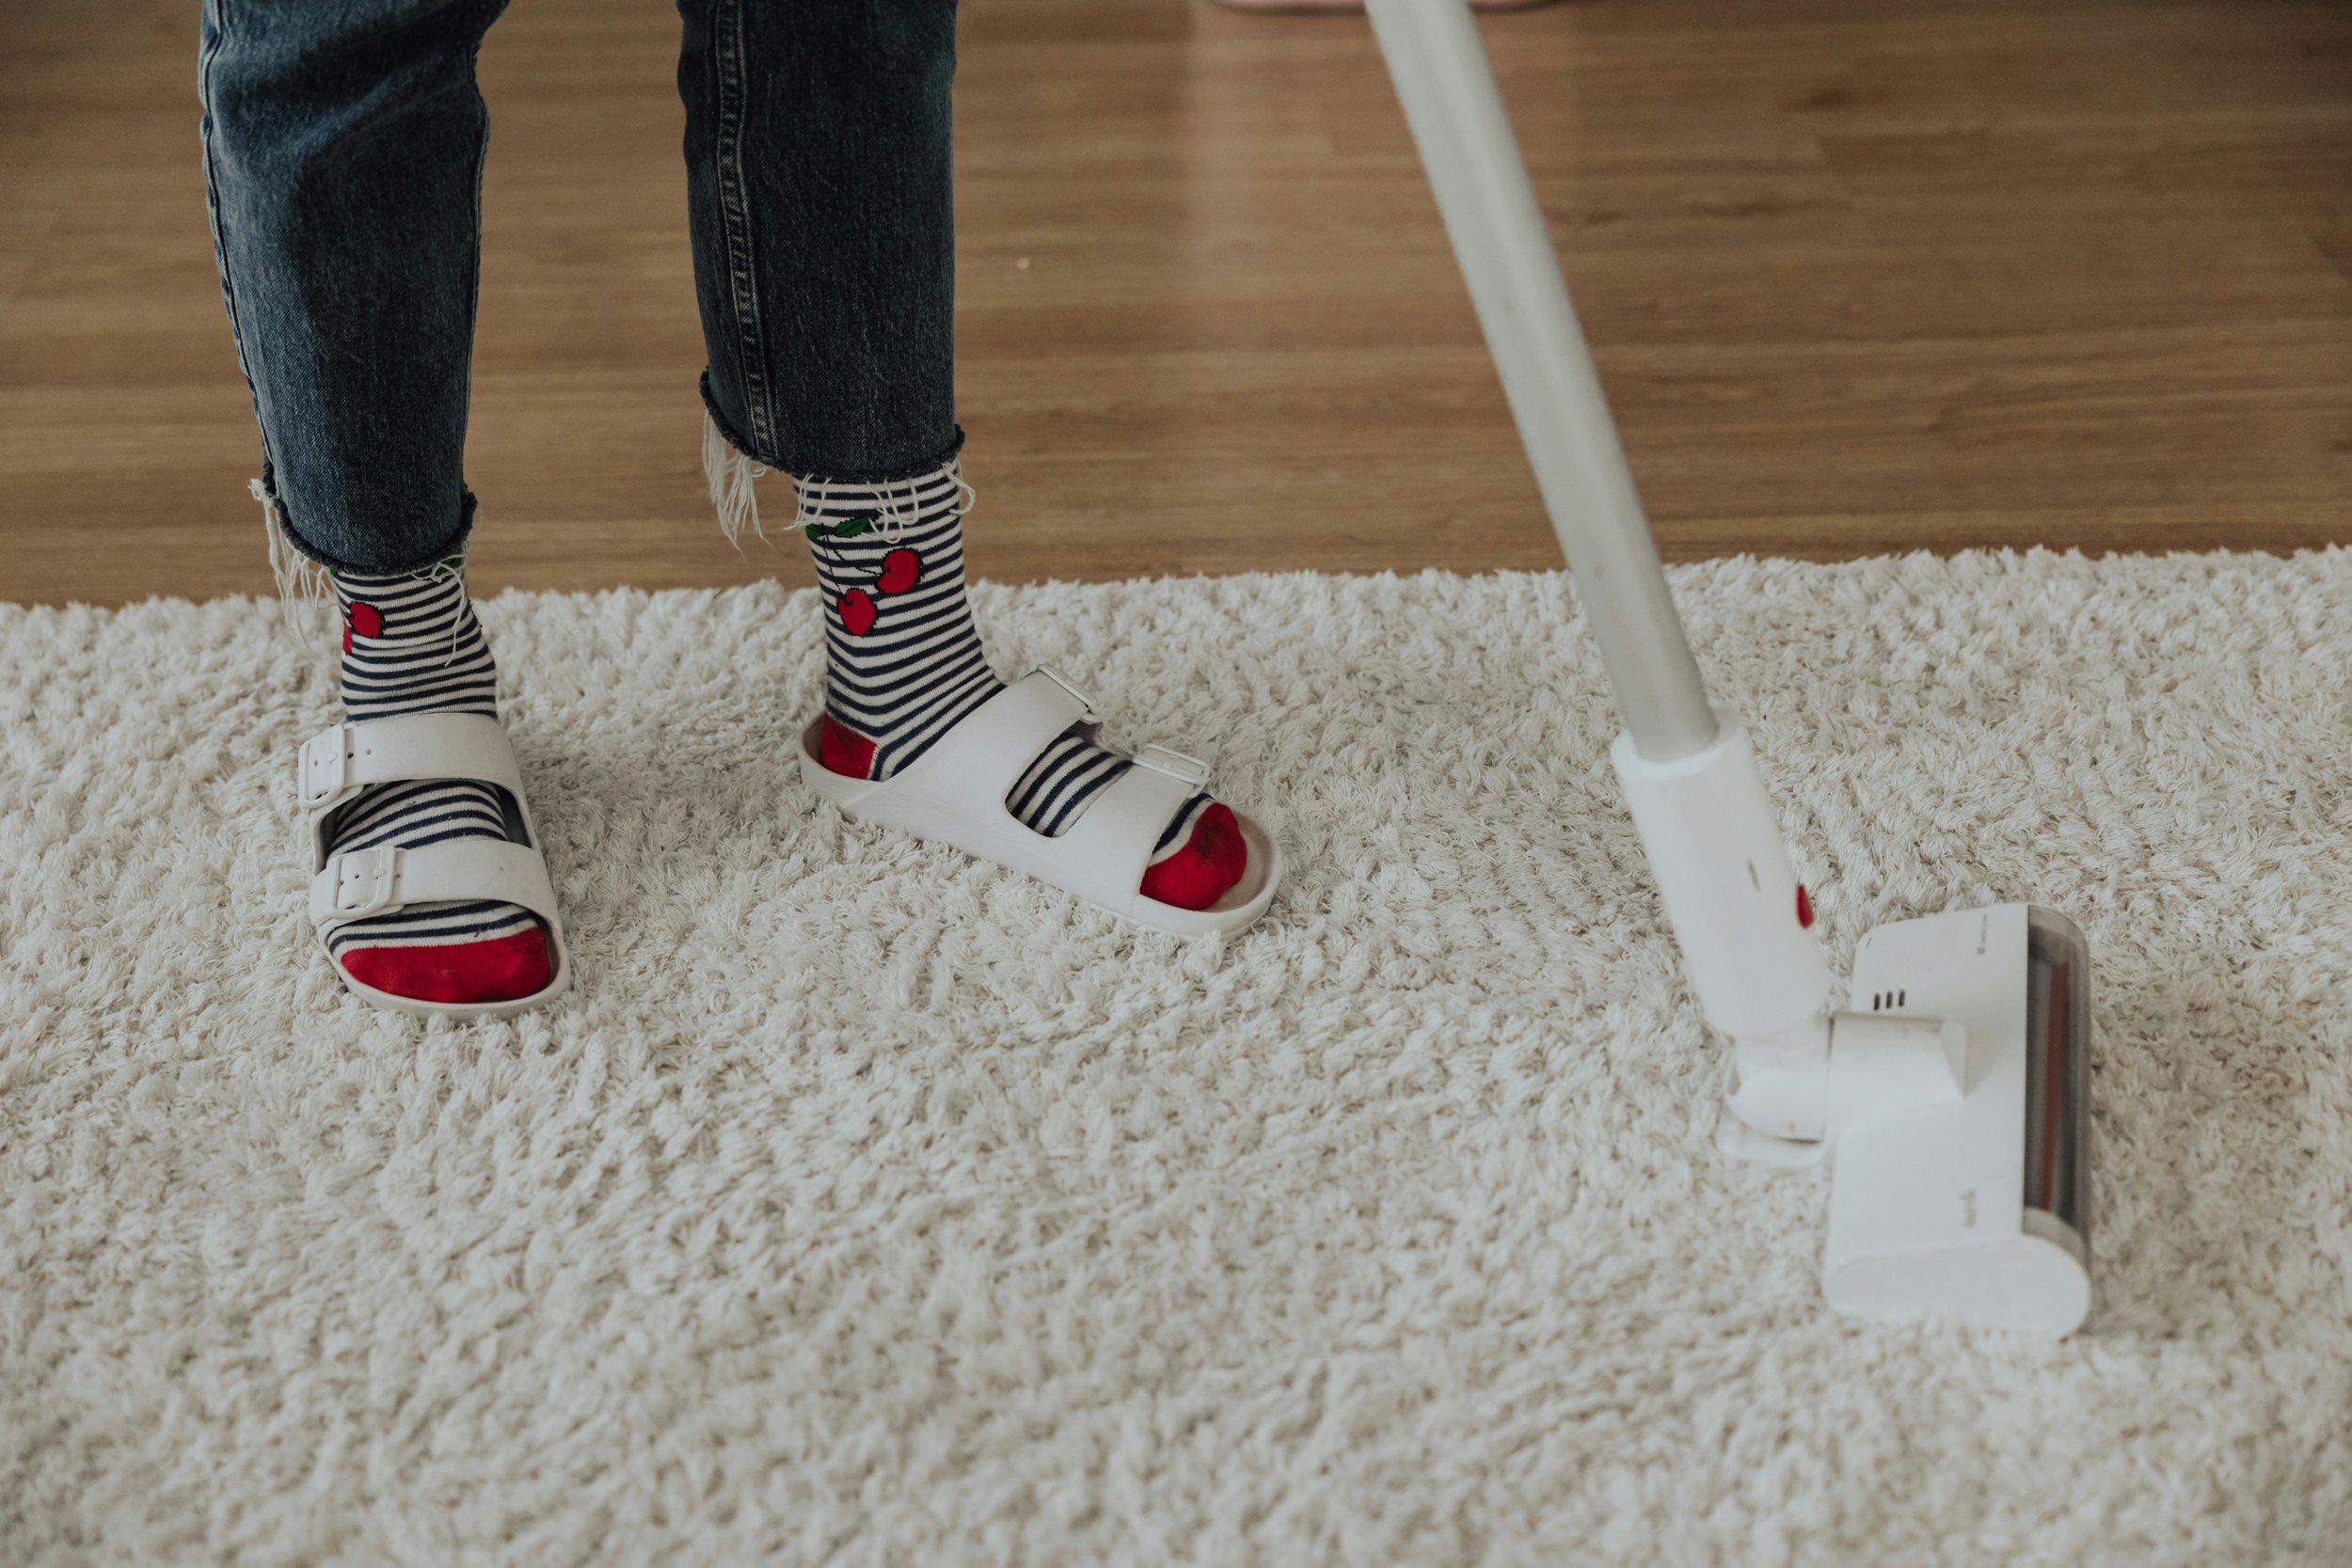
Vacuum regularly: The single most important maintenance task. For most rugs, once a week is minimum; high-traffic areas might need twice weekly attention.
Proper vacuuming technique:
Adjust height according to pile length
Vacuum in multiple directions to lift all dirt
Use the lowest suction setting for delicate rugs
Avoid vacuuming fringe with a beater bar
Rotate rugs: Every 6 months to ensure even wear, especially in sunny spots where fading can occur.
Address spills immediately: Blot (never rub!) spills right away with clean, white absorbent cloths or paper towels.
Use entryway rugs: Place small rugs at entrances to catch dirt before it reaches your main rugs.
Smart Rug Protection Strategies
Use rug pads: They're not just for preventing slips—they also provide cushioning that reduces wear and makes vacuuming more effective.
Implement a no-shoes policy: Keep outside dirt from getting ground into fibers.
Consider professional guards: Scotchgard or similar products can provide a protective barrier against stains.
Rearrange furniture occasionally: This prevents permanent crushing of fibers in the same spots.
Keep rugs out of direct sunlight: UV rays fade colors over time. Use curtains or blinds during peak sun hours.
How to Clean a Rug: Step-by-Step Guide for Basic Cleaning
Now let's get down to business with a systematic approach to regular cleaning that works for most rugs.
Step 1: Prepare Your Rug and Space
Take the rug outside if possible: Cleaning rugs outdoors minimizes indoor mess and allows better dirt removal.
Test for colorfastness: Dampen a white cloth with your cleaning solution and gently rub an inconspicuous area. If color transfers to the cloth, stop and consider professional cleaning.
Remove loose dirt: Shake smaller rugs, or beat larger ones against an outdoor railing. For very large rugs, a thorough vacuum on both sides is the way to go.
Clear and clean your workspace: If working indoors, move furniture and create a clean, open area.
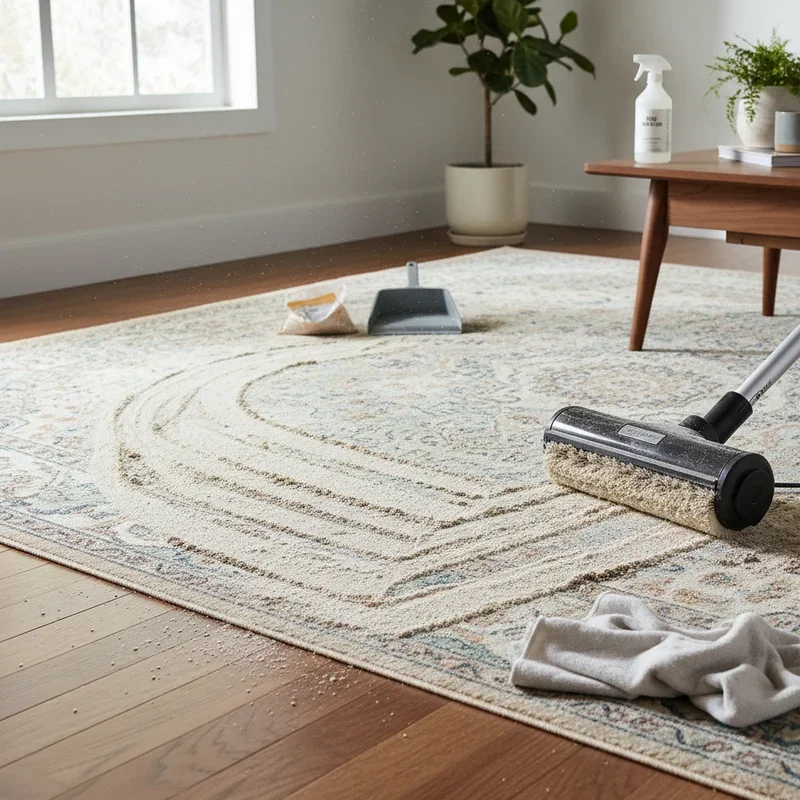
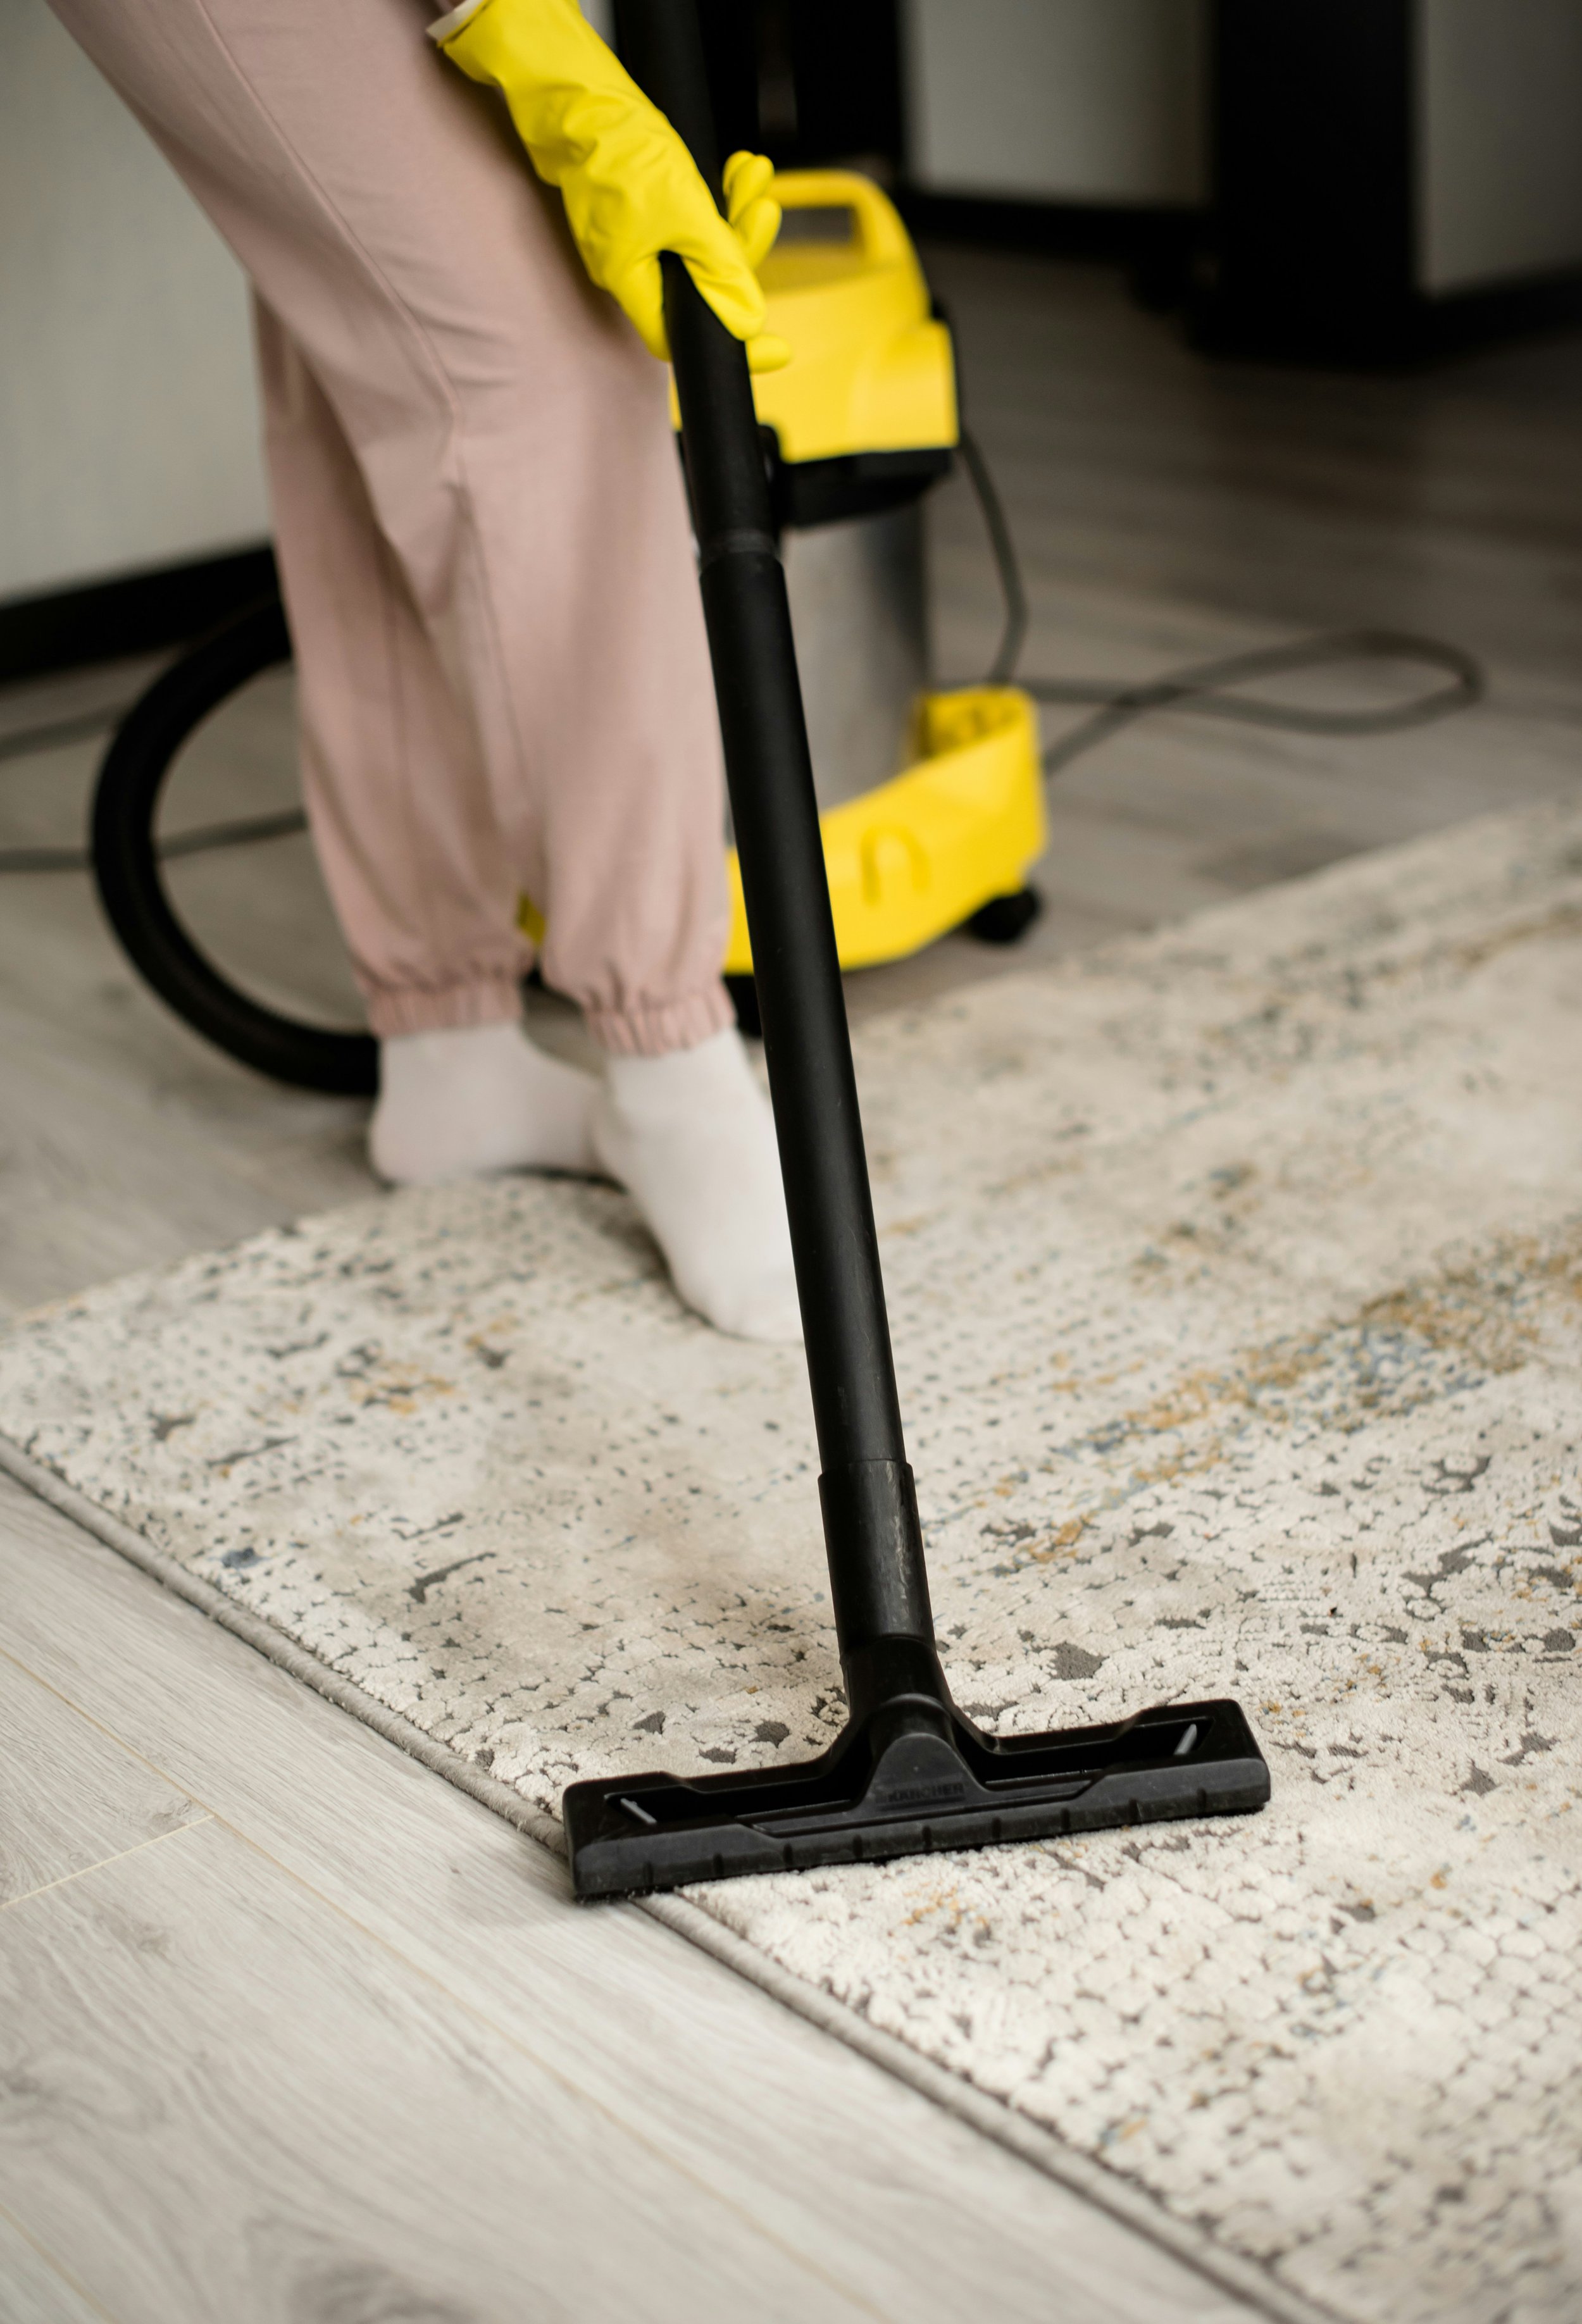
Step 2: Tackle Surface Cleaning
Vacuum thoroughly: Remove as much dry soil as possible before introducing any moisture.
Spot-treat stains: Address any visible spots using appropriate cleaners for specific stains (more on this later).
Apply cleaning solution: Depending on your rug type, either:
Use a commercial rug shampoo according to instructions
Apply your DIY solution with a soft brush or sponge
Work in small sections to prevent over-wetting
Agitate gently: Use a soft brush to work the cleaner into the fibers using straight lines rather than circular motions which can distort the pile.
Avoid soaking: The rug should be damp, not wet. Excessive moisture can damage backing and cause shrinkage or mildew.
Step 3: Rinse and Dry Thoroughly
Remove soap residue: Either wipe with clean, damp cloths or use a wet-dry vacuum to extract the cleaning solution. Soap left behind attracts dirt like a magnet.
Extract excess moisture: Press clean, dry towels firmly onto the rug to absorb moisture. For larger rugs, walking on towels placed on the rug works well.
Ensure proper drying:
Lay flat in a well-ventilated area
Use fans to speed air circulation
Flip occasionally to ensure even drying
Make absolutely sure the rug is 100% dry before returning it to its place—dampness leads to mildew and odors
Brush the pile: Once dry, use a soft brush to restore the nap, brushing in the direction of the pile.

Deep Cleaning Techniques for Different Rug Types
Sometimes, regular cleaning just won't cut it, and your rug needs more intensive care. Here's how to approach deep cleaning based on material.
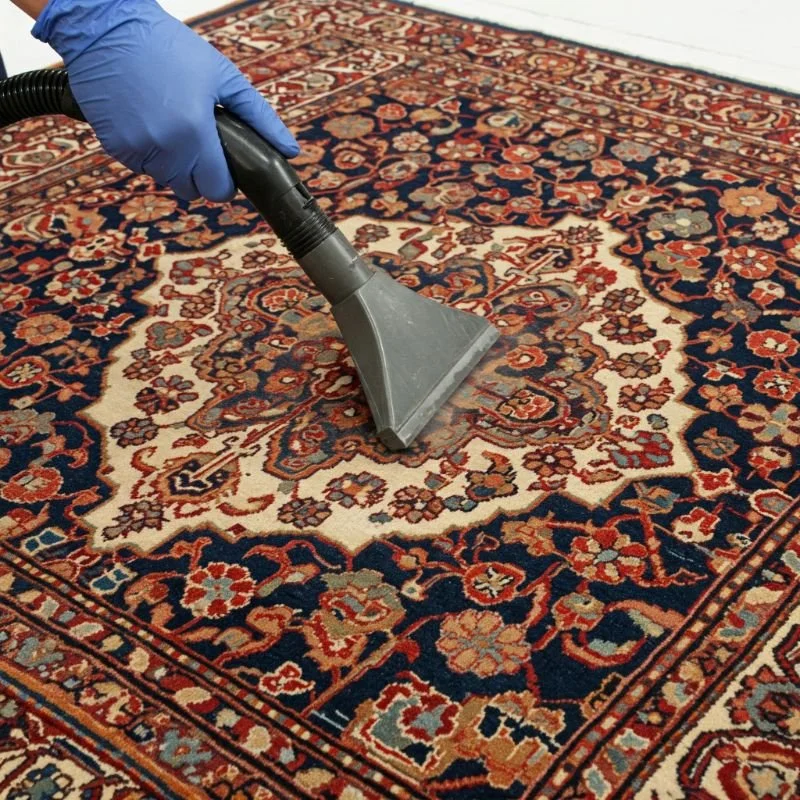
Wool and Synthetic Rug Deep Cleaning
Prep with thorough vacuuming: Remove all surface dirt and debris.
Use appropriate cleaner: For wool, use a mild wool-safe detergent. For synthetics, carpet shampoos work well.
Apply with soft foam: Using too much water can damage wool rugs or synthetic backings.
Work in small sections: Clean methodically to ensure even results.
Extract thoroughly: The key to success is removing all cleaning solution.
Dry completely: Wool particularly needs thorough drying to prevent mildew.
Natural Fiber Rug Cleaning (Jute, Sisal, Seagrass)
Avoid water-based cleaning: These rugs hate moisture.
Vacuum diligently: Regular, thorough vacuuming is your main cleaning method.
Spot clean with caution: Use minimal moisture and dry immediately.
Consider dry extraction methods: Commercial dry cleaning powders can be effective.
For stubborn stains: Diluted white vinegar applied with a barely damp cloth, followed by immediate drying.
Accept some imperfection: Natural fiber rugs develop character over time; perfect cleanliness isn't always possible.
Delicate Rug Care (Silk, Antique, Valuable Rugs)
When in doubt, seek professional help: Some rugs are simply too valuable or delicate for DIY cleaning.
Stick to vacuuming: Use the gentlest setting without beater bars.
For minor spots: Use a mixture of white vinegar and water (1:3 ratio) applied with a cotton swab.
Blot, never rub: Gentle pressure only to avoid fiber damage.
Test everything: Never apply any solution without testing first.
Consider professional cleaning annually: As preventative maintenance.
Tackling Specific Rug Stains and Problems
Spills happen to the best of us. Here's your emergency response plan for common rug disasters.
Food and Drink Stains
Coffee/Tea:
Blot up as much as possible immediately
Apply a solution of 1 part white vinegar, 1 part water, and a drop of dish soap
Blot (don't rub) with clean cloths
Rinse by blotting with clean water
Dry thoroughly
Red Wine:
Blot immediately with paper towels
Apply club soda and continue blotting
If stain persists, apply a mixture of hydrogen peroxide and dish soap (test first on an inconspicuous area, especially for dark rugs)
Rinse and dry
Grease/Oil:
Scrape off excess with a dull knife
Apply cornstarch or baking soda and let sit for 15-20 minutes
Vacuum up the powder
Treat any remaining stain with dish soap solution
Rinse and dry
Pet-Related Challenges
Urine (Fresh):
Blot with absorbent cloths to remove as much as possible
Apply an enzyme cleaner specifically for pet urine
Let the cleaner work according to package instructions
Extract moisture completely
Repeat if necessary
Old Pet Stains/Odors:
Locate the stain (a UV blacklight can help find old urine spots)
Thoroughly soak with enzyme cleaner
Cover with plastic wrap to keep moist longer
Let sit overnight
Extract completely and dry
Pet Hair:
Use a rubber broom or rubber-gloved hand to gather hair
Follow with a vacuum
Consider a carpet rake for stubborn embedded hair
Dealing with Mold and Mildew
Move the rug to a dry, sunny location if possible
Vacuum thoroughly on both sides
Mix equal parts isopropyl alcohol and water
Apply lightly to affected areas
Use fans to dry completely
For persistent problems, consult a professional
Remember that the key to successful stain removal is quick action. The longer a spill sits, the harder it becomes to remove completely.
DIY vs. Professional Cleaning: When to Call the Experts
While DIY cleaning works for routine maintenance, there are times when professional help is worth the investment.
Signs Your Rug Needs Professional Attention
Valuable or antique rugs: The risk of damage isn't worth it
Persistent odors: If DIY methods haven't eliminated smells
Major stains: Some disasters are beyond home remedies
Allergy concerns: Professional cleaning removes more allergens
Heavy soiling: When dirt seems ground into the fibers
Water damage: Flood-damaged rugs need special treatment
Color restoration: When rugs have faded or dulled significantly
What to Expect from Professional Cleaning Services
A quality professional service will:
Inspect the rug and identify its material and construction
Pre-test cleaning methods in an inconspicuous area
Address specific stains with appropriate treatments
Clean using methods suitable for your specific rug
Ensure complete rinsing and proper drying
Apply protectants if requested
Finding a Reputable Rug Cleaner
Look for certification from organizations like the Institute of Inspection, Cleaning and Restoration Certification (IICRC)
Ask about their experience with your specific type of rug
Request references or check online reviews
Inquire about their cleaning process and avoid companies that don't customize treatments
Get a written estimate before proceeding.
Conclusion
Mastering how to clean a rug: step-by-step guide techniques isn't just about maintaining appearances—it's about protecting your investment and creating a healthier home environment. By understanding your rug's specific needs based on its materials and construction, establishing a regular maintenance routine, and knowing when to call in the professionals, you'll extend the life of your rugs by years. Remember that quick action on spills, thorough (but appropriate) cleaning methods, and complete drying are the holy trinity of successful rug care. With these skills in your homemaking arsenal, your rugs will continue to bring warmth, comfort, and beauty to your spaces for years to come.
Frequently Asked Questions
Q1: How often should I have my rugs professionally cleaned?
A: For most residential rugs with normal use, every 12-18 months is sufficient. High-traffic areas or homes with pets or allergies may benefit from cleaning every 6-12 months.
Q2: Can I use a steam cleaner on my rugs?
A: This depends entirely on your rug type. Steam cleaning is generally safe for synthetic rugs but can damage wool, silk, antique rugs, and natural fiber rugs like jute or sisal. The heat and excessive moisture can cause shrinking, color bleeding, or backing damage.
Q3: Why does my rug smell musty after cleaning?
A: This typically indicates the rug wasn't dried thoroughly. If you notice a musty smell, take immediate action: move the rug to a well-ventilated area, use fans to increase airflow, and consider applying a baking soda treatment to absorb odors once the rug is completely dry.
Q4: How can I remove gum or wax from my rug?
A: For both, the freezing method works well. Apply ice in a plastic bag to harden the substance, then gently crack and remove it. Any residue can be treated with appropriate solvents—citrus cleaner for gum or rubbing alcohol for wax.
Q5: Is it safe to use bleach on my white rug?
A: Generally, no. Even on white rugs, bleach can damage fibers and backing materials. Instead, use hydrogen peroxide for organic stains or oxygen-based cleaners like OxiClean for general brightening.
Stay up to date with our latest ideas!