How to Replace a Breaker Safely: Step-by-Step Guide
Curious about “How to Replace a Breaker Safely: Step-by-Step Guide”? In this in-depth article, learn the tools, tips, and must-do safety checks for a smooth breaker replacement—without risking shocks or mishaps.
Picture this: You’re enjoying a lazy Sunday afternoon, flipping channels on the TV, when—poof!—the power in half your house dies. After a bit of detective work, you narrow the culprit down to a fried circuit breaker. Talk about a buzzkill, right? Before you panic (or dial up an electrician), take heart: replacing a faulty breaker in your home’s electrical panel might be less daunting than you think. Of course, you’ll want to cross your T’s and dot your I’s—because messing around with electricity is no joke. But with the correct tools, a careful approach, and a good dollop of common sense, many DIY-savvy homeowners can manage this fix themselves.
In this article, we’ll walk you through How to Replace a Breaker Safely: Step-by-Step Guide so you can restore power without getting zapped or stirring up more trouble. We’ll discuss must-know safety practices, the basic anatomy of your breaker panel, and the precise steps to remove and install a new breaker. Although it’s typically straightforward, we’ll pepper in a few cautionary tales and insider tips to ensure you tackle the job with total confidence. Ready to bring your house back to life?
Why Breakers Matter: A Quick Primer
When it comes to your home’s electrical system, circuit breakers are the unsung heroes. These small yet mighty devices act as guardians, shutting down power to a circuit when they detect an overload or short. By tripping at just the right moment, breakers protect your household gadgets, wiring, and, most importantly, you and your loved ones from catastrophic electrical events.
Circuit Breakers vs. Fuses
Circuit Breakers: They “trip” or switch off when overloaded, and you can reset them once things cool down (or you fix the problem).
Fuses: Once they blow, they’re toast—time to replace them entirely.
Thankfully, if a breaker goes bad, you don’t have to rewire your whole house. Usually, a simple breaker replacement will do the trick. Let’s dig into the various reasons a breaker might fail in the first place.
Common Causes of Breaker Failure
Age and Wear: Nothing lasts forever. Over time, repeated tripping wears down a breaker’s internal components.
Physical Damage: Loose connections, corrosion from moisture, or accidental bumps can crack or warp the breaker housing.
Manufacturing Defects: Occasionally, a brand-new breaker might be a dud right out of the box.
Overloaded Circuits: Plugging too many energy-hungry appliances into one circuit can eventually fry the breaker.
Short Circuits: Damaged wiring or faulty devices can cause short circuits that stress the breaker.
Pro tip? Always confirm that the breaker itself is truly at fault. Sometimes, the issue lies with the wiring or an appliance drawing too much current. If you’re scratching your head, consult a qualified electrician to avoid “fixing” the wrong thing.
Suit Up: Essential Tools and Safety Gear
Don’t roll up your sleeves just yet. Before you pop open your breaker panel, gather the necessary tools to do the job right. After all, rummaging around for a screwdriver in the middle of a live electrical panel is no one’s idea of fun.
Must-Have Tools
Voltage Tester or Multimeter: Used to confirm that circuits are dead before you start fiddling.
Insulated Screwdrivers: Look for a set designed for electrical work to keep you safer from stray currents.
Flashlight or Headlamp: Panels can be dark, especially if the lights in that area are powered by the same breaker you’re about to remove.
New Breaker: Ensure you get one compatible with your panel’s make, model, and amperage requirements.
Safety Gear
Rubber-Soled Shoes: Extra traction and additional insulation from ground currents.
Safety Glasses: In case of sparks or flying debris when removing wires.
Work Gloves: Non-conductive gloves can shield your hands, though many folks prefer bare hands for dexterity—just be extremely cautious.
Long-Sleeve Shirt and Pants: Skip the shorts and flip-flops if you’re messing with electricity. You’ll want coverage in case of accidental arcing or sizzling wires.
Remember, the best safety tool is your own common sense. If you feel uneasy about any step, or you suspect something’s amiss, don’t hesitate to call in a licensed pro. Better safe than sorry, as the saying goes.

Breaking It Down: How to Replace a Breaker Safely: Step-by-Step Guide
This is the heart of our discussion—How to Replace a Breaker Safely: Step-by-Step Guide—so buckle up. If you follow these instructions carefully, you’ll likely be powering your home again in no time flat. Just remember to keep your eyes peeled for signs of damage inside the panel, like scorch marks or suspicious wiring.
Step 1: Disconnect Power
Find the Main Breaker: Typically located at the top of the panel. This big switch controls the juice for the entire house.
Switch It Off: Flip that main breaker to the OFF position. This action should cut power to all circuits downstream.
Step 2: Remove the Panel Cover
Unscrew Cautiously: Using your insulated screwdriver, remove the screws holding the panel’s metal cover in place.
Handle With Care: The cover can be heavier than it looks, so watch your toes. Set it aside in a safe place.
Heads up: The service lines feeding your main breaker may still be hot even with the main breaker switched off. Avoid touching any large lugs or exposed wires at the top of the panel.
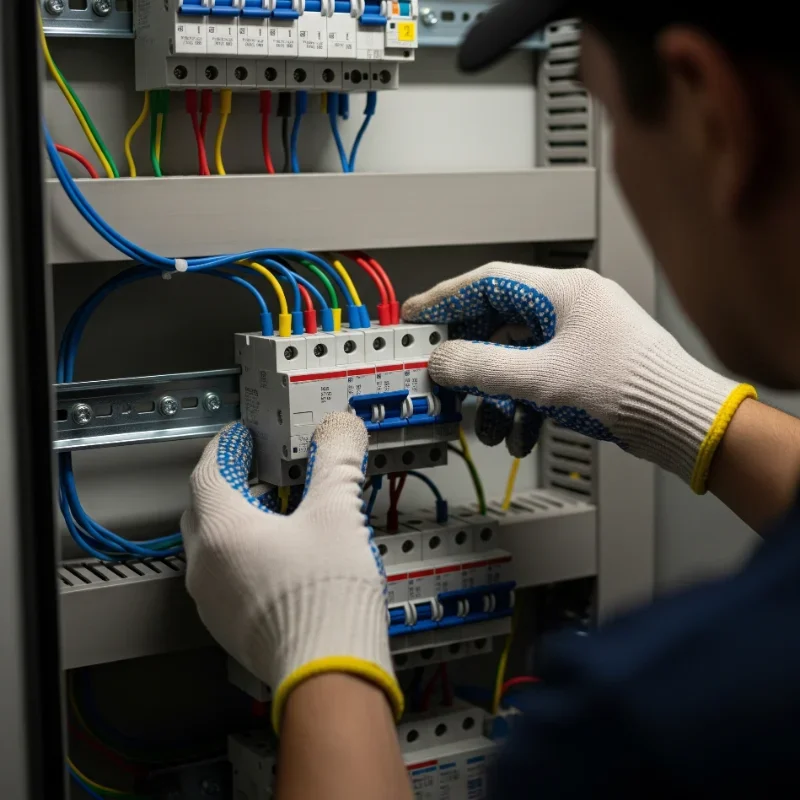
Step 3: Identify the Old Breaker
Locate the Culprit: Pinpoint which breaker’s misbehaving. Usually, it’s the one that’s warmer to the touch or labeled for the problematic circuit.
Confirm the Amp Rating: The number on the switch (like 15, 20, or 30 amps) indicates what you’ll need for your replacement breaker.
Step 4: Gently Pry Out the Breaker
Test for Voltage: Use your tester again on the wire connected to the breaker. If it’s dead, proceed.
Release the Wire: Loosen the screw terminal on the breaker to free the circuit wire.
Pop It Out: Most breakers snap into place on a metal bus bar. Carefully wiggle it away from the bar, then remove it from the panel.
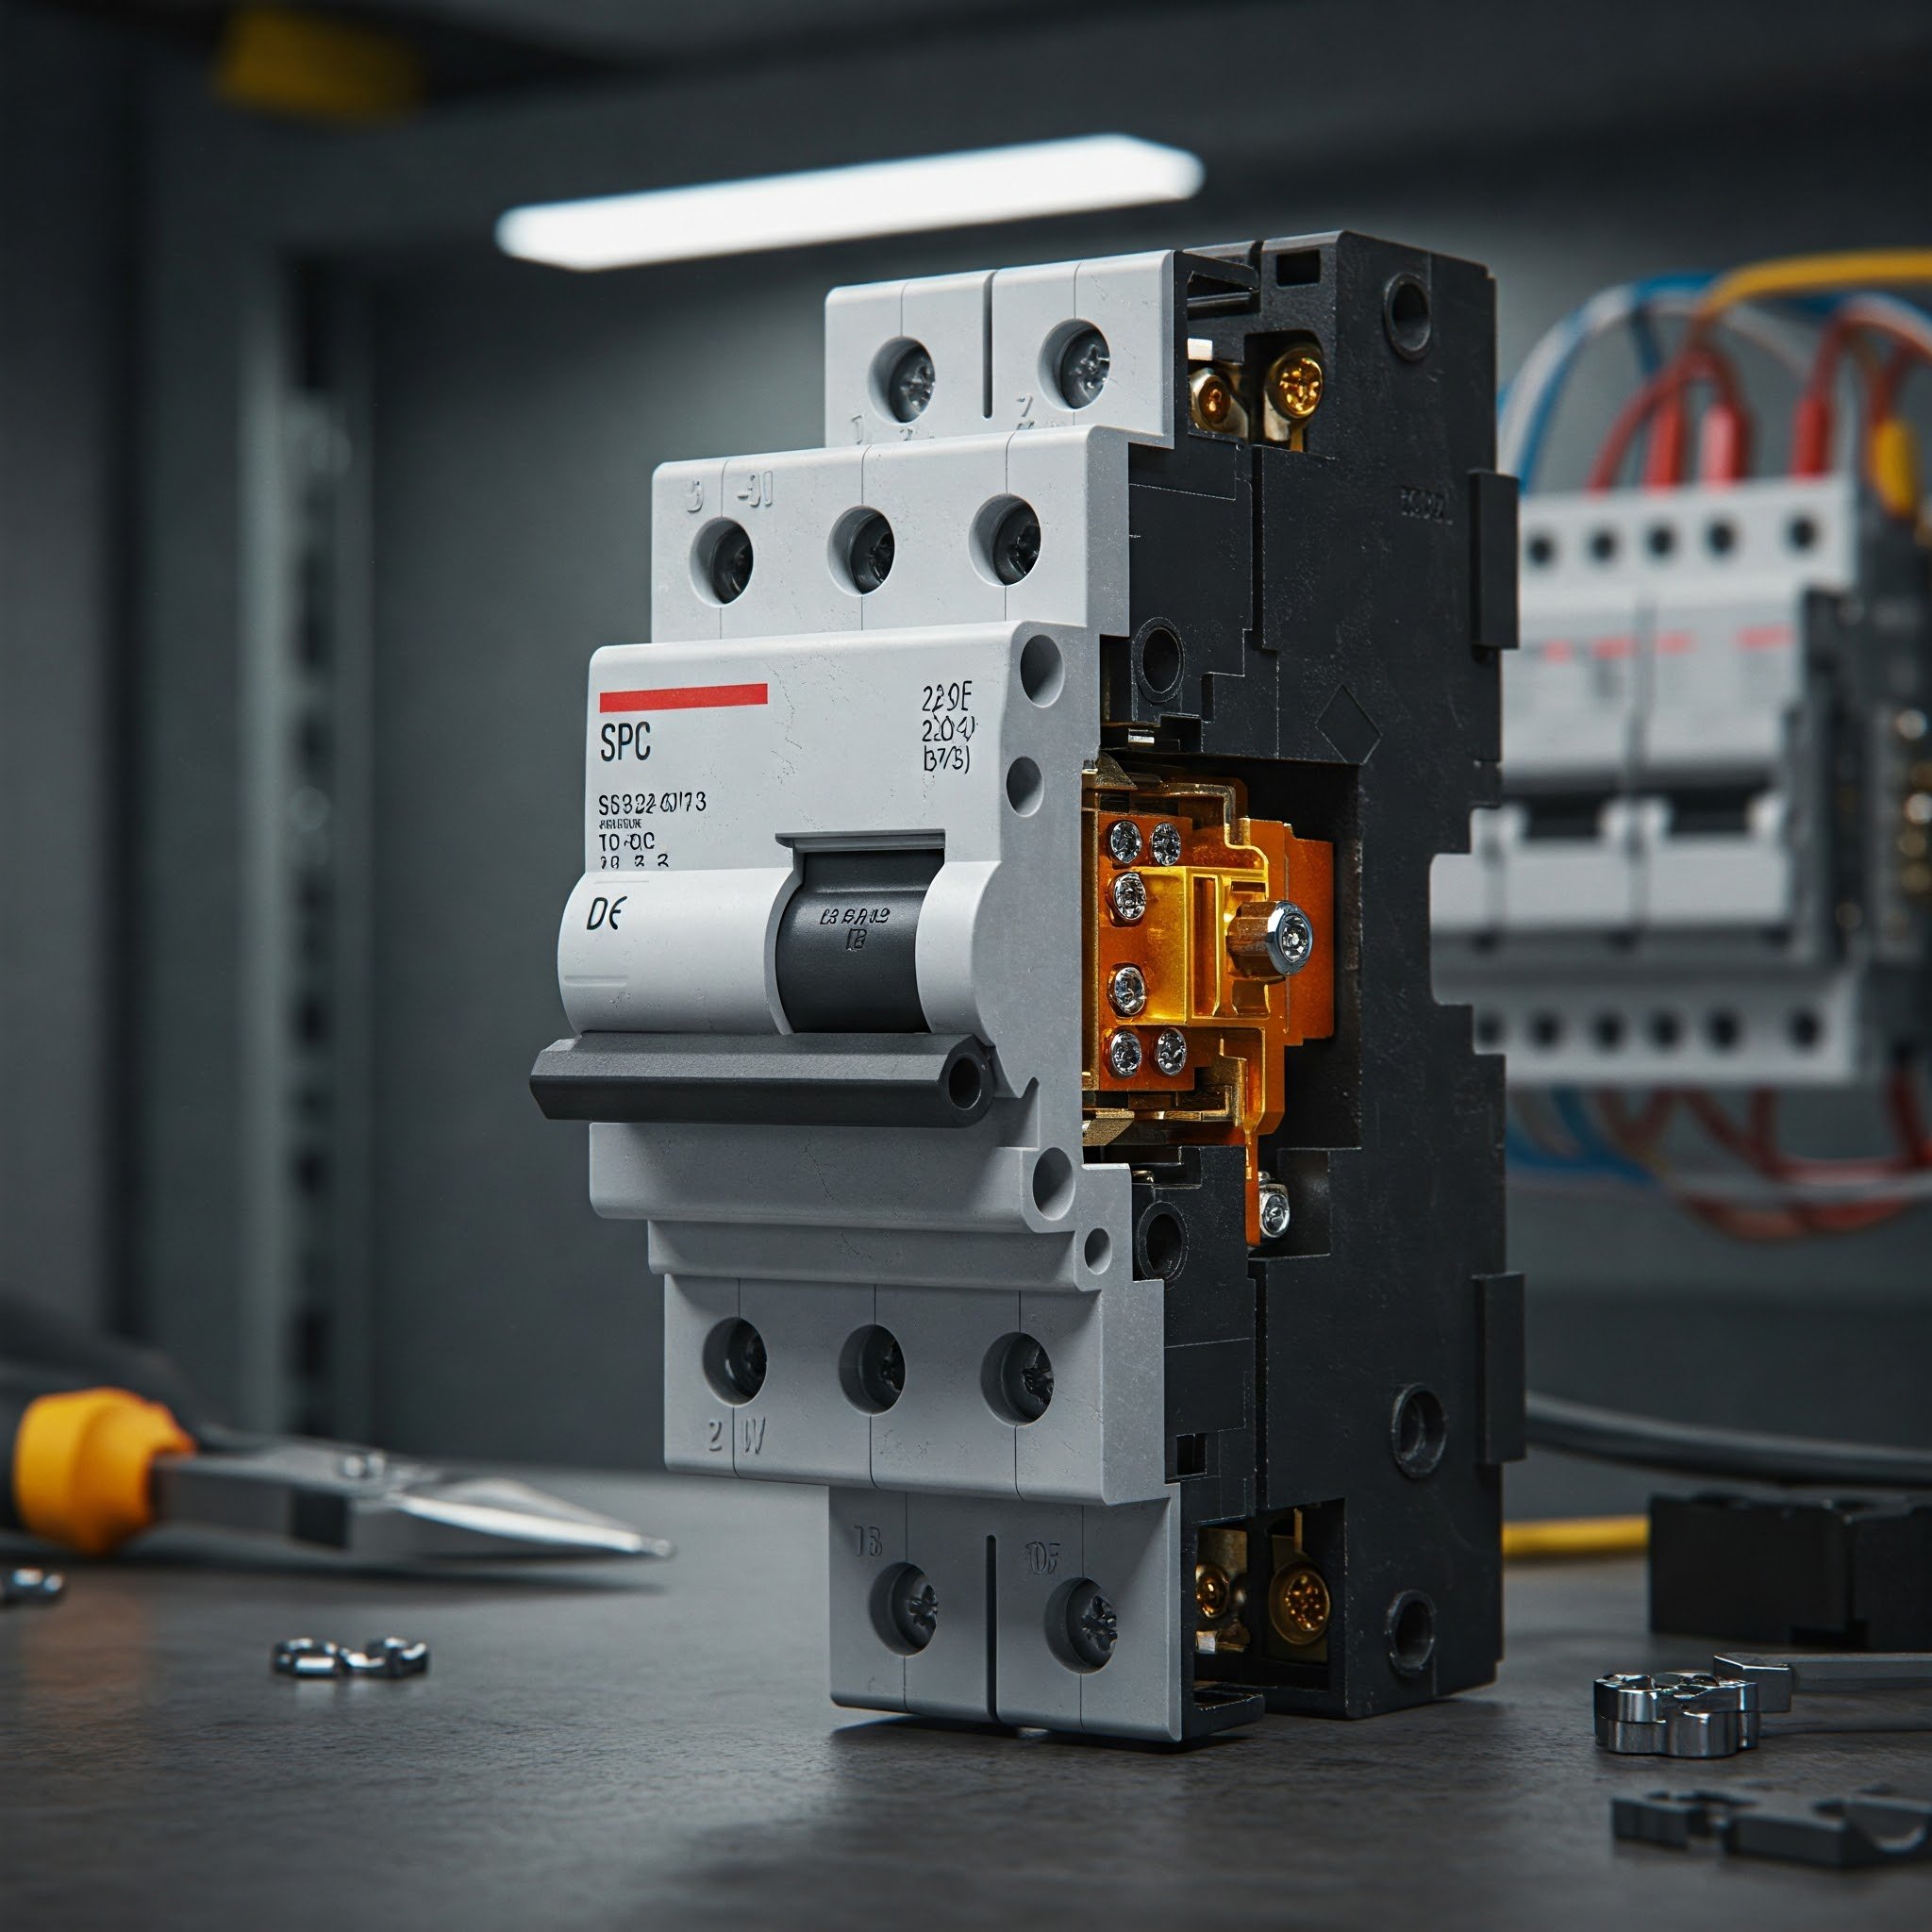
Step 5: Inspect and Prep
Check the Wire: Look for any signs of damage, like frayed insulation or burn marks.
Clean Contact Points: Wipe dust or debris from the bus bar and panel interior using a dry cloth or soft brush.
Ready the New Breaker: Verify the new breaker’s brand and amperage rating matches your panel requirements.
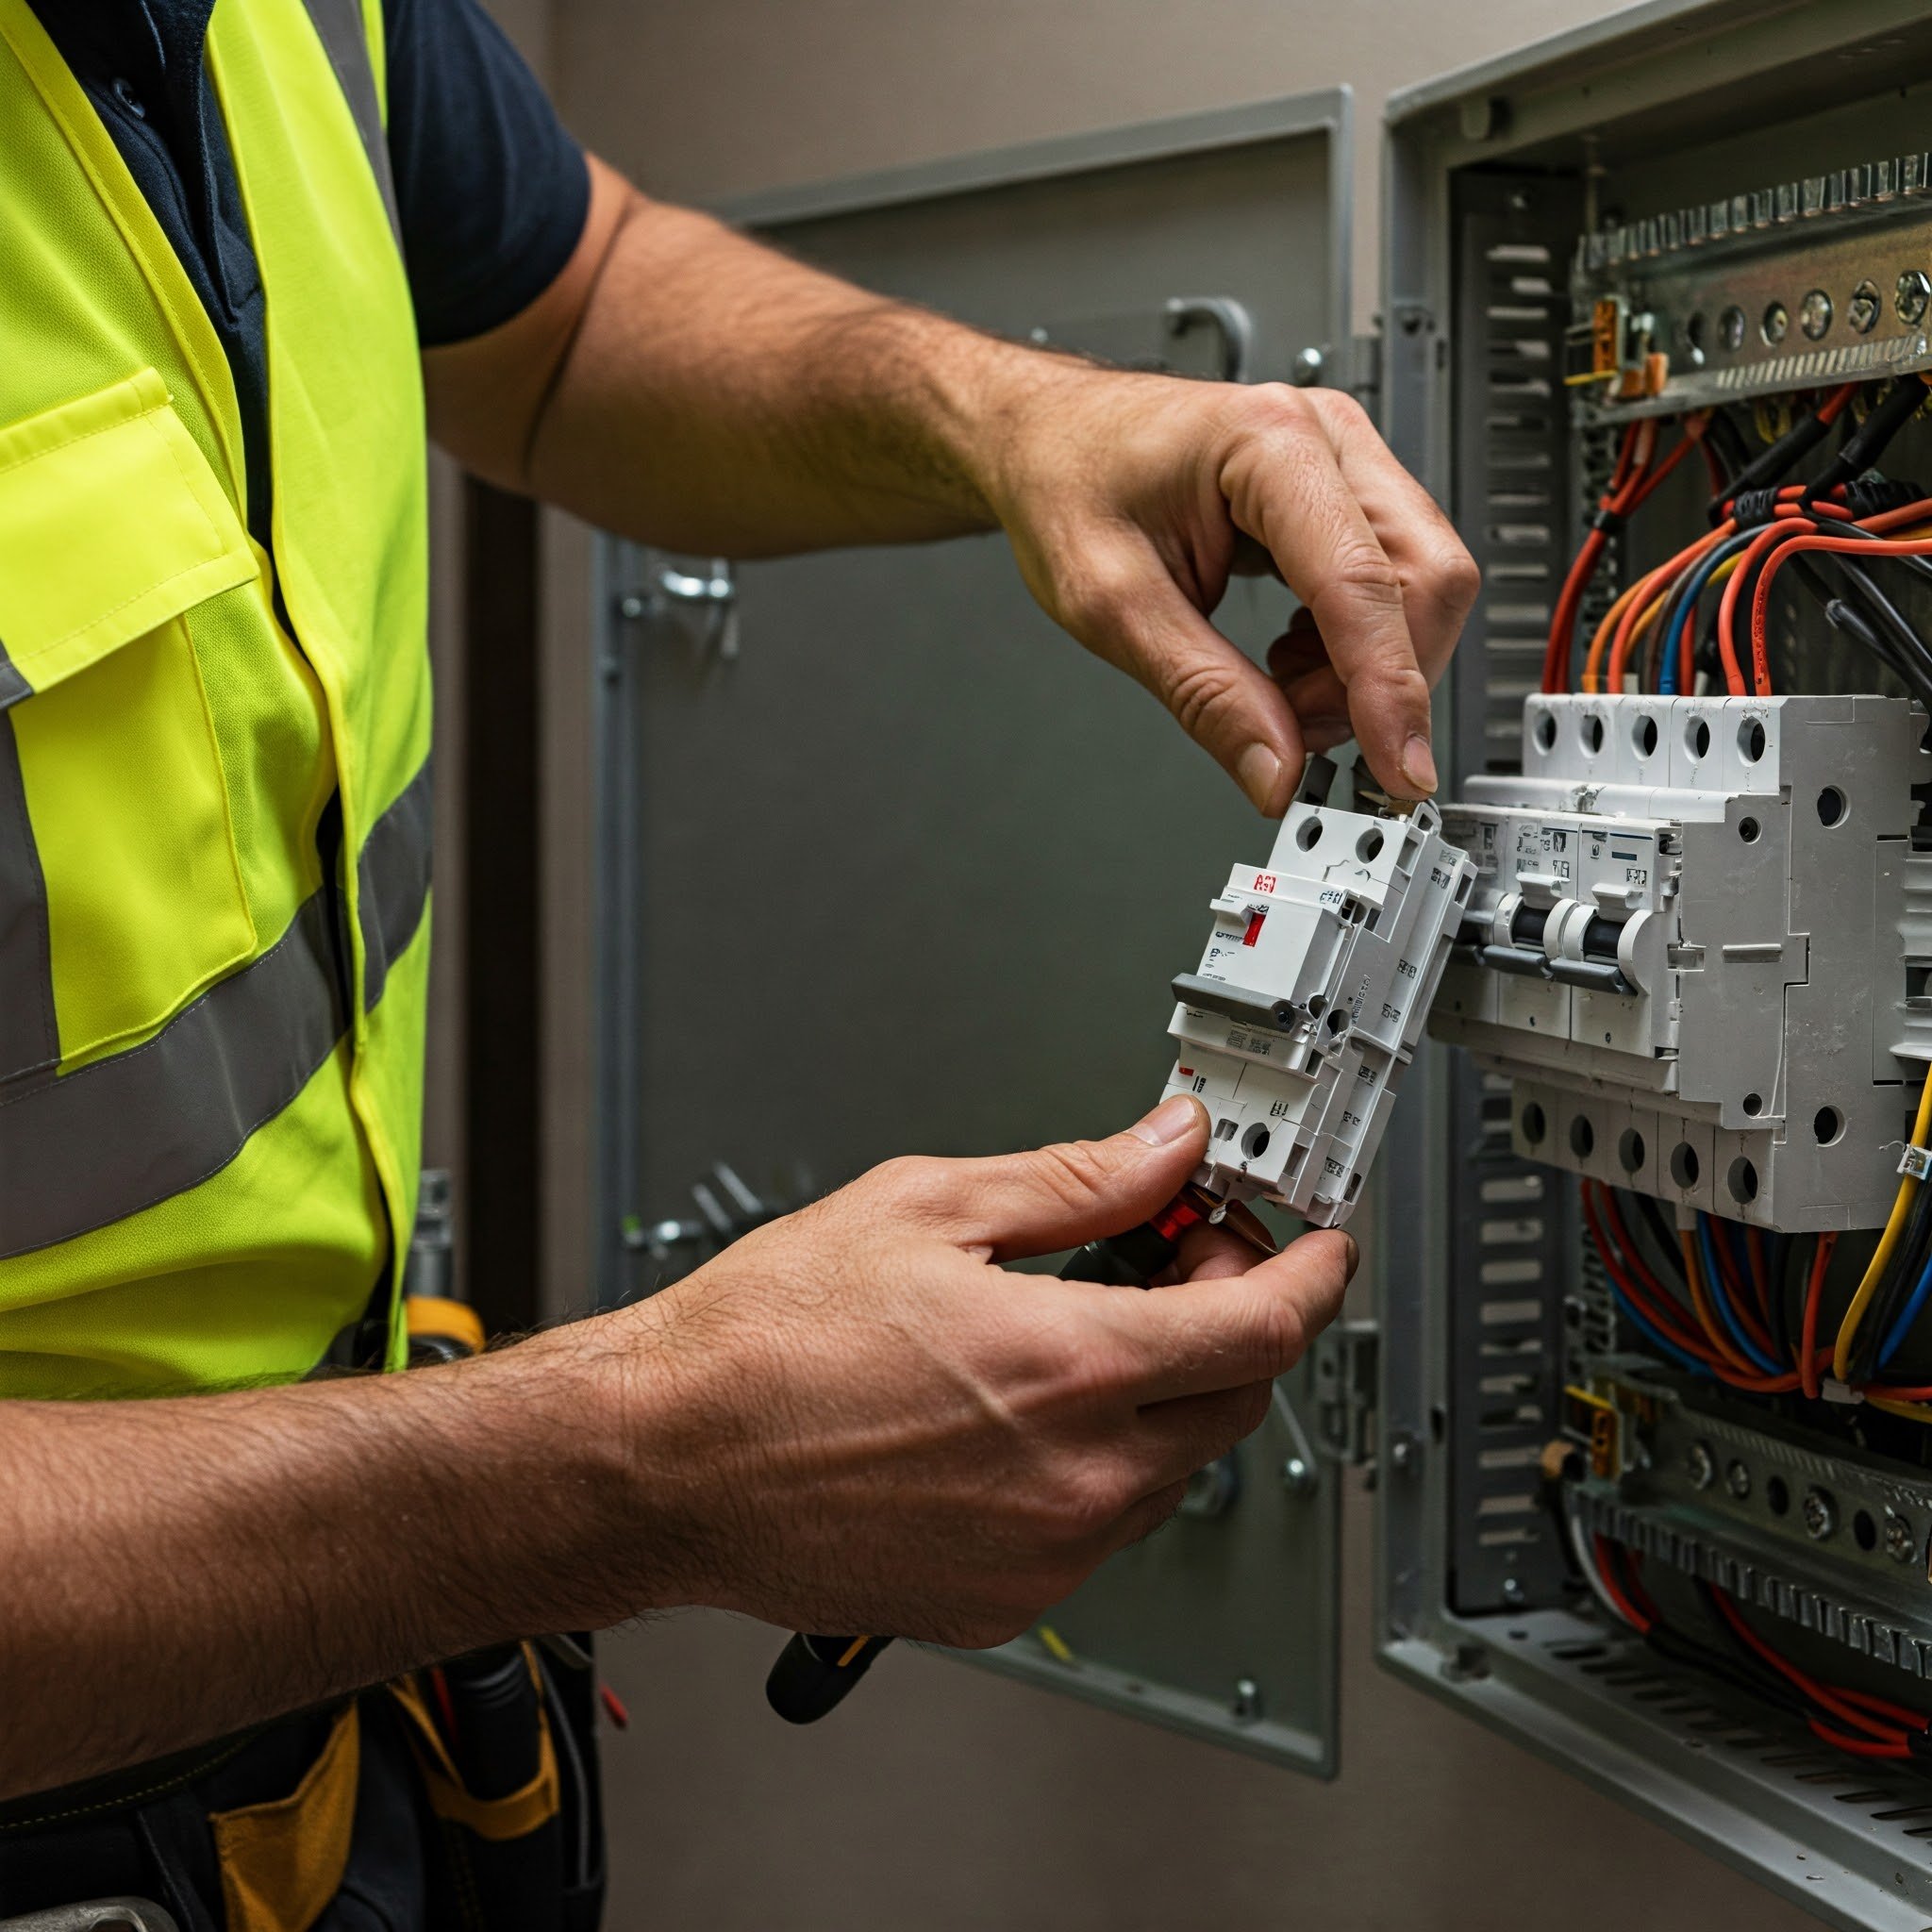
Step 6: Install the New Breaker
Connect the Circuit Wire: Slide the wire under the breaker’s terminal clamp, then tighten the screw. Ensure no copper is exposed beyond the clamp.
Snap It In: Align the breaker with the panel’s notch and press it into place on the bus bar until it clicks.
Double-Check: Gently tug the breaker to confirm it’s locked in position.
Step 7: Final Assembly
Reattach Panel Cover: Carefully replace and secure the metal cover. Don’t overtighten the screws.
Flip the Main Breaker: Turn the main breaker back ON, then switch on the newly installed breaker.
Test Your Circuit: Plug in a device or flip a light switch on that circuit to ensure everything’s humming along nicely.
With any luck, that circuit should be alive and well. Pat yourself on the back—you’ve just tackled the main steps of How to Replace a Breaker Safely: Step-by-Step Guide like a champ.
Troubleshooting and Potential Snags
Of course, real life seldom plays out as smoothly as an infomercial. Here are a few issues you might come across and how to handle them:
Breaker Won’t Snap In
Ensure you have the correct type of breaker for your panel brand. Some panels aren’t compatible with certain manufacturers, so mismatch = no bueno.
Breaker Keeps Tripping
This might indicate you’ve got a deeper problem, like a short circuit or overloaded wiring. If your brand-new breaker repeatedly trips, call an electrician.
Damaged Panel Bus Bar
Sometimes the metal contact points in your panel are corroded or pitted. Replacing or repairing a damaged bus bar is not a simple DIY fix, so trust a qualified pro.
GFCI or AFCI Breakers
If you’re upgrading to ground fault (GFCI) or arc fault (AFCI) breakers—often required by modern codes—follow the specific wiring instructions for neutral and hot leads.

Safety Tips: Keep It Shock-Free
Electricity can be more slippery than a bar of soap in a hot shower. Even if you’re pretty handy, treat it with respect. Here are some safety tidbits to keep in mind:
Never Work Live: Always verify with a voltage tester. Don’t just assume the main breaker is enough—those incoming lines might still be charged.
One Hand Rule: If you must work near live parts, keep one hand in your pocket to minimize the chance of current passing across your chest.
Stay Dry: Moisture and electricity are a match made in meltdown heaven. Keep your workspace dry, and avoid standing on damp ground.
Label Everything: In the flurry of a DIY project, it’s easy to forget which wire goes where. Clear labels can be a lifesaver when you reassemble.
Ask for Help: If at any point you’re over your head—like noticing burned insulation or unusual wiring—stop and call an electrician. Better to pay a pro than to regret a hazard later.
Pro-Level Upgrades: If You’re Feeling Ambitious
Perhaps you’re that person who relishes a challenge. If so, you might contemplate a couple of extras while you’re at the panel:
Label the Panel: A well-labeled panel is pure gold for future repairs. Use clear, legible labels that identify which breaker powers each area or appliance.
Upgrade to AFCI/GFCI: Modern codes often mandate arc-fault or ground-fault breakers in certain locations (bedrooms, kitchens, bathrooms). While you’re swapping a breaker, you might as well make it safer and code-compliant.
Load Balancing: If one side of your panel is heavily loaded compared to the other, you could rearrange circuits to balance usage. This is more advanced, so proceed with caution.
Just keep in mind, any large-scale modifications to your panel can open a can of worms if you’re inexperienced. Know your limits, and call in a licensed professional for complicated tasks.
Conclusion
By now, you should have a firm grasp on How to Replace a Breaker Safely: Step-by-Step Guide—from powering down and removing the panel cover, to popping out the old breaker and snapping in a new one. While it’s not a fix you should rush into on a whim, it’s definitely within reach for many homeowners who respect electricity’s potential dangers and prepare accordingly.
When you’ve done your homework, used the right tools, and practiced every safety measure, you’ll likely find that swapping out a breaker is a piece of cake. The payoff? Restoring power to your kitchen gadgets, your basement workshop, or that squeaky-clean laundry room—without waiting on an electrician’s schedule. So go ahead, flex those DIY muscles (figuratively, of course; keep those literal muscles away from live wiring). Just remember that if anything feels fishy or overly complex, there’s no shame in calling a professional. After all, the most important part of working with electricity is living to flip another breaker, so always keep safety front and center.
Read next: How to Fix a Tripped Breaker: Step-by-Step Guide
Frequently Asked Questions
1. Can I replace any breaker on my own?
In many cases, yes—as long as you’re comfortable with basic DIY electrical work, you have the proper tools, and you follow safety guidelines to the letter. That said, complicated issues like double-tapped breakers, questionable wiring, or installing specialty breakers might require a pro’s expertise.
2. How do I know which replacement breaker to buy?
Match the amperage (e.g., 15A, 20A, 30A) and type (e.g., single-pole, double-pole, GFCI, AFCI) specified for your circuit. You also need to ensure the brand or style is compatible with your panel. An exact match is crucial to avoid potential damage or hazards.
3. What if the new breaker feels loose when I snap it into place?
It might be the wrong style or brand for your panel. Breakers should fit snugly on the bus bar with minimal wiggle. If it’s flopping around, you could risk arcing or poor connection, so check your product info or consult an electrician.
4. Are there any codes I should follow?
Absolutely. Always adhere to the National Electrical Code (NEC) and local regulations. Some localities might require a permit or inspection for breaker replacements, especially if you’re adding circuits or changing breaker types (like installing GFCI or AFCI).
5. My breaker still trips after replacement—now what?
This could point to an underlying wiring flaw, short circuit, or an appliance drawing too much current. Investigate or hire a professional to troubleshoot. Replacing the breaker over and over won’t solve the root cause.
Stay up to date with our latest ideas!