How to Clean Garbage Disposal the Right Way
Looking to banish weird smells and stubborn buildup in your kitchen sink? Discover how to clean garbage disposal the right way with our easy, step-by-step guide—no fuss, no harsh chemicals, and no lingering odors.
Ever get the feeling that something’s lurking under your kitchen sink, channeling those suspicious odors? That “something” might be your garbage disposal—an unsung hero that grinds up food scraps so your sink doesn’t transform into a miniature compost bin. But like any superhero, it has its kryptonite: gunk, grease, and downright nastiness if left unattended. Knowing How to Clean Garbage Disposal the Right Way ensures it not only does its job but also keeps that sour stench at bay.
Let’s face it: a filthy, clogged, or smelly garbage disposal can make even the most steadfast home cook wrinkle their nose in disgust. Lucky for you, giving your garbage disposal a spa day (well, kind of) is easier than you might think. Armed with a few household staples and a pinch of know-how, you’ll have that disposal humming happily—minus the ick factor. So roll up your sleeves, toss on those kitchen gloves, and let’s get cleaning!
Why Your Garbage Disposal Needs TLC
You might wonder, “Doesn’t a garbage disposal basically clean itself as it obliterates food scraps?” In an ideal world, sure. But in reality, small particles cling to the disposal’s blades, nooks, and crannies. Over time, these bits break down and invite bacteria to the party—which eventually stinks to high heaven.
Beyond just the odor, there’s a functionality aspect, too. If your disposal gets choked up with grease or fibrous waste, its performance falters. You might even end up with jams or blockages that’ll have you cursing up a storm when the sink water refuses to drain. Bottom line? A squeaky-clean disposal is less prone to breakdowns, saves you from gross smells, and keeps your kitchen environment fresher overall.
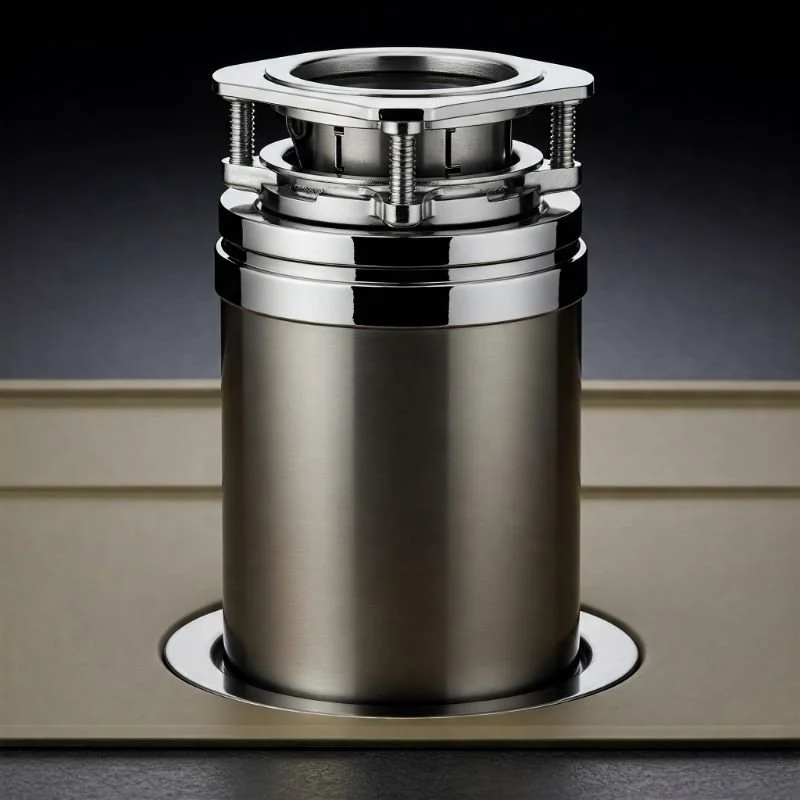
How to Clean Garbage Disposal the Right Way: Essential Tools
Before plunging into the dirty work, gather the items you’ll need. No fancy contraptions or pricey concoctions required—just everyday stuff you’ve likely got stashed in your cabinets:
Rubber Gloves
Optional but recommended. There’s no telling what surprise globs you’ll encounter.
Dish Soap
Opt for a gentle but effective brand. You’ll use it to cut through grease and grime.
Old Toothbrush or Small Scrub Brush
Perfect for those deep, hard-to-reach corners under the rubber splash guard (trust me, you don’t want to skip this part).
Baking Soda and White Vinegar
Nature’s dynamic duo. Baking soda deodorizes while vinegar fizzes away gunk.
Ice Cubes and Salt
Believe it or not, these two help sharpen the disposal’s blades and remove stuck-on debris.
Citrus Peels (Optional)
Lemon, lime, or orange peels add a burst of fresh fragrance after cleaning.
Flashlight (Optional but handy)
Helps you see exactly what lurks down there.
With these supplies in your arsenal, you’ll be fully prepared to show that disposal who’s boss.
Pre-Cleaning Preparations
It might be tempting to dive right into the thick of it, but a little forethought goes a long way. Whether you’re a veteran disposal owner or brand-new to the game, these tips set the stage for a smooth, hassle-free experience.
Kill the Power
First things first: Switch off the disposal at the circuit breaker or unplug it. You do not want those blades suddenly roaring to life while you’re wrist-deep in the chamber. Safety is non-negotiable!
Check for Foreign Objects
Shine a flashlight into the disposal and fish out any non-food items (spoons, bottle caps, maybe that earring you thought you lost?). Use tongs or pliers, not your bare hands—just to be extra cautious.
Give the Sink a Rinse
Run warm water for a few seconds to flush away loose bits. This also helps loosen any residue that might be clinging to the sides.
Once you’ve set these wheels in motion, you’re ready for the main cleaning event.
Step-by-Step: How to Clean Garbage Disposal the Right Way
Alright, let’s roll up our sleeves and break down each stage of cleaning. From surface scrubbing to final deodorizing touches, we’ll cover the entire shebang so you can banish that questionable smell for good.
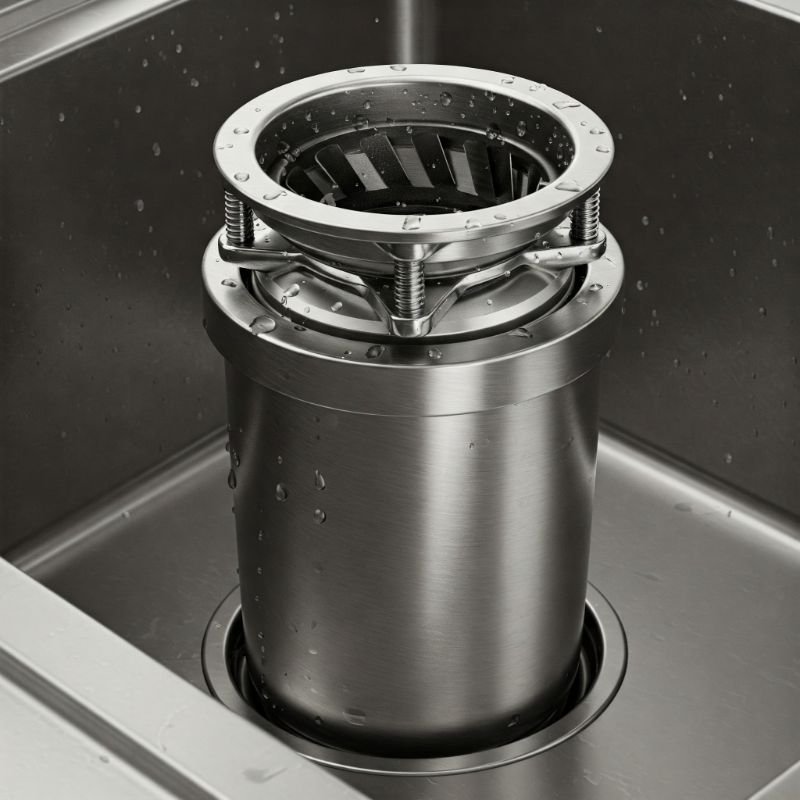
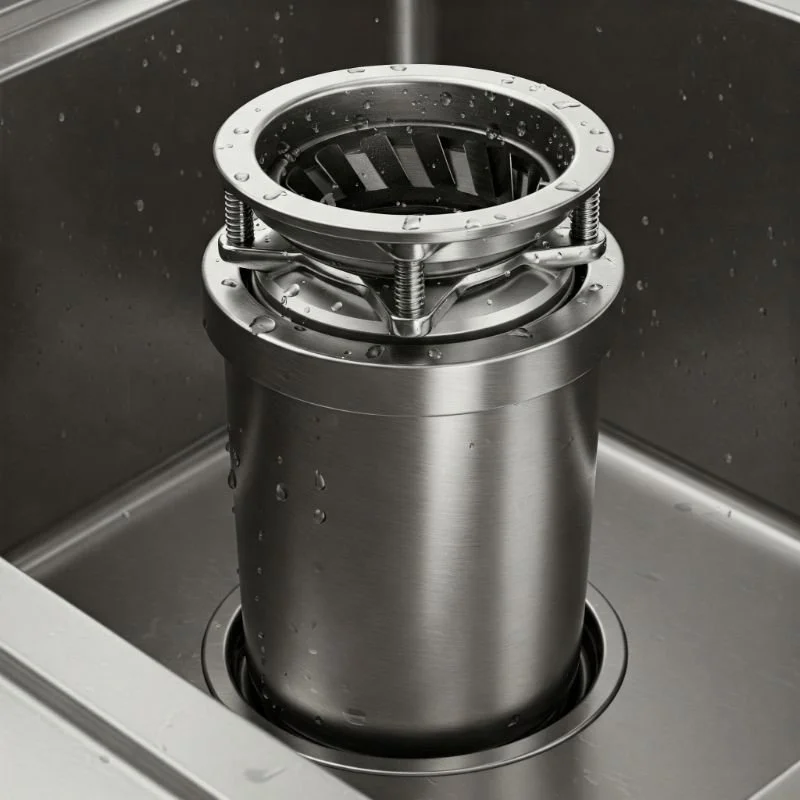
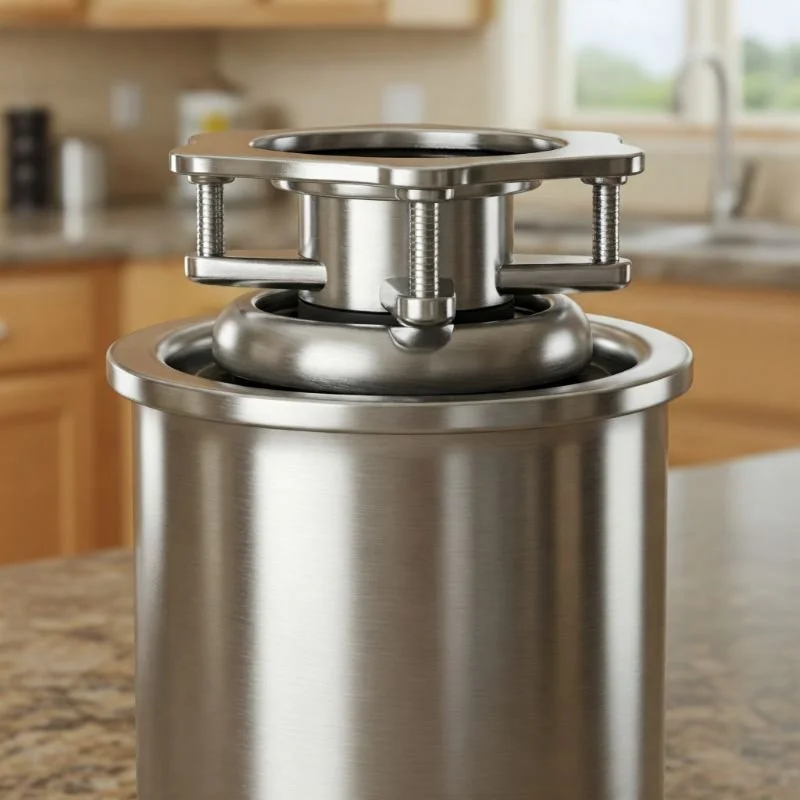
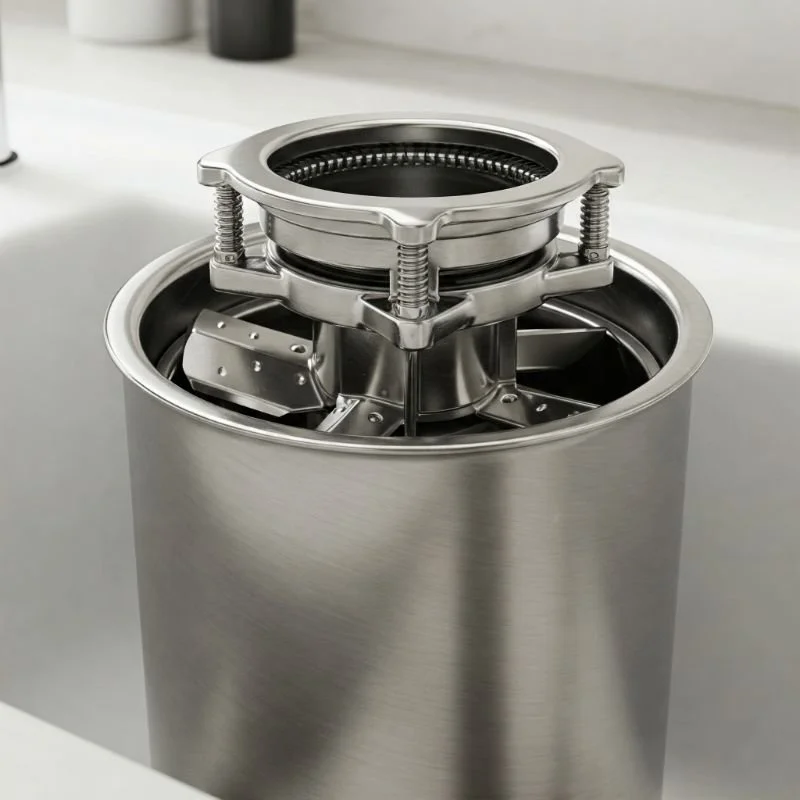
1. Tackle the Rubber Splash Guard
Many folks overlook the underside of the splash guard (a.k.a. the rubber flap at the disposal’s opening), but it’s a major breeding ground for odor-causing bacteria. Here’s how to handle it:
Lift the Flap: Gently pry up each section of the guard to expose the grimy underside.
Scrub-a-Dub-Dub: Dip your old toothbrush or small scrub brush in warm soapy water and thoroughly clean every nook and cranny. This step alone often eliminates a big chunk of the stench.
Rinse: Let warm water wash away loosened debris.
2. The Baking Soda and Vinegar Volcano
This classic combination is an eco-friendly wonder that can break down residue and neutralize odors in one fizzy swoop:
Pour Baking Soda: Sprinkle about half a cup of baking soda into the disposal.
Add Vinegar: Slowly pour in a cup of white vinegar. Be prepared for that satisfying fizz!
Wait: Let the mixture do its bubbly magic for about 5-10 minutes. This waiting period allows the solution to penetrate stuck-on grime.
Rinse Again: Turn on the tap, run warm water, and flip on your disposal for a few seconds (assuming you’ve reconnected power or flipped that breaker back). This helps flush away the loosened particles.
3. The Ice and Salt Shuffle
Ever heard of a disposal “ice cube cleaning?” It might sound a tad unorthodox, but trust me, it’s the real deal:
Fill the Disposal: Toss a handful of ice cubes down the drain.
Sprinkle Salt: Add 1-2 tablespoons of coarse salt (rock salt or kosher salt works best).
Run the Disposal: Switch the disposal on while running a small stream of cold water. The ice cubes and salt scrape away clinging debris and help keep blades sharp.
Don’t be alarmed by the noise—this step is a bit rowdy but super effective.
4. Soap and Water Flush
To round things out, add a bit of dish soap (just a squirt) into the disposal, run it for another minute with warm water flowing. This final rinse ensures the chamber is squeaky clean and free of leftover residue.
5. Citrus for the Win
Now, if you’re all about fresh scents, toss in a few citrus peels—lemon, lime, or orange, your call:
Chop or Tear Peels: Smaller pieces break down more easily.
Run Disposal with Cool Water: Let the disposal pulverize the peels, releasing that cheerful citrus aroma.
Voila: Welcome to a disposal that looks good, works great, and smells downright heavenly.
When you’re done, power down, and rest easy knowing you’ve mastered How to Clean Garbage Disposal the Right Way—the fuss-free, odor-busting approach!
Common Mistakes: What NOT to Do
Even with the best intentions, it’s easy to slip up and accidentally cause more problems than you solve. Steer clear of these common goofs:
Using Boiling Water on Grease
You might think scalding hot water melts grease away—momentarily, sure. But once it cools further down the pipes, that grease can solidify and create stubborn clogs. Lukewarm or gently warm water is safer.
Dumping Harsh Chemicals
Chemical drain cleaners can damage your disposal’s parts (or your pipes), especially if used repeatedly. Stick to more natural methods like vinegar and baking soda.
Forgetting the Splash Guard
Skipping the rubber flap’s underside is practically an open invitation for smelly bacteria to thrive. Trust me, you’ll smell the difference if you don’t scrub it regularly.
Overloading the Disposal
Shoving half a leftover casserole down there in one go can overload the disposal and cause jams. Feed scraps gradually, letting the blades handle small amounts at a time.
Using Coffee Grounds as a “Cleaner”
While coffee grounds might seem to freshen up the smell, they can actually clump together in your disposal, leading to blockages. Compost or toss them in the trash instead.
Neglecting Regular Maintenance
Once a disposal starts showing signs of trouble (foul odor, slow drain, weird noises), get on it. Little issues can morph into big, expensive headaches if ignored.
By avoiding these pitfalls, you’ll ensure your disposal remains a reliable ally rather than a secret saboteur.
Pro Tips to Keep Your Disposal Fresh
You know the basics by now, but if you want a disposal that’s perpetually tip-top, consider adopting a few extra habits:
Cold Water Rules
Always run the disposal with cold water. Hot water melts fats temporarily, but they’ll solidify once cooled. Cold water keeps grease in a more solid state, allowing the disposal to chop it up and push it along.
Feed It Gradually
Dump scraps in small increments rather than all at once. This prevents overexertion on the motor and reduces the risk of clogs.
End with a Flush
After you’ve tossed those last scraps, run cold water (and the disposal) for an extra 20-30 seconds. That final flush helps clear out any lingering bits.
Avoid Fibrous and Starchy Foods
Onion skins, corn husks, celery stalks, potato peels—these can wrap around the blades or form a gummy paste. Better to toss them in compost or the trash when possible.
Schedule a Yearly Check
If your disposal is an older model, or you suspect underlying issues, schedule a routine plumbing check. A professional eye can spot potential disasters before they happen.
It might sound like a lot, but once you get into a rhythm, it becomes second nature. And the payoff? A disposal that stands the test of time (or at least until your next kitchen remodel).
Conclusion
Congratulations—you’ve just tackled the question of How to Clean Garbage Disposal the Right Way like a bona fide kitchen connoisseur! With a dash of elbow grease, some tried-and-true household ingredients, and a few mindful practices, you can keep odors, gunk, and jams at bay. No need to hold your nose every time you approach the sink.
Let’s face it: a stinky disposal has no place in a happy kitchen. By making routine cleaning part of your normal dishwashing chores—like wiping down countertops or scrubbing the sink—you’ll hardly notice the extra effort. Meanwhile, your disposal will stay in top shape, ready to demolish whatever food scraps come its way.
So the next time a suspicious whiff wafts up from your drain, don’t panic. Just remember the tips in this guide, whip out your baking soda and vinegar, and show that disposal who’s boss. Then you can pat yourself on the back, breathe in that fresh citrus aroma, and carry on with more enjoyable kitchen escapades—be it whipping up a dreamy casserole or simply enjoying a squeaky-clean sink. Bon appétit and happy cleaning!
Read next: Learn How to Unclog Garbage Disposal Easily
Frequently Asked Questions
1. How often should I clean my garbage disposal?
Aim for a quick cleaning about once a week, especially if you use it daily. That might be as simple as flushing it with soapy water or a baking soda-vinegar rinse. A more thorough deep clean (with ice, salt, citrus, etc.) can happen once or twice a month.
2. Is it safe to put bleach down the disposal?
It’s generally best to avoid bleach or other harsh chemicals. While a heavily diluted bleach solution might disinfect, frequent use can corrode metal components. Natural alternatives like vinegar and baking soda are gentler and equally effective.
3. Can I grind bones or eggshells?
Small, soft bones (like fish bones) might be okay, but large or hard bones can damage the blades. Eggshells are a bit controversial—some say they help sharpen blades, while others insist the membrane layer can gum things up. If you do dispose of shells, do so in moderation, and rinse thoroughly.
4. My disposal is making a humming sound but not spinning. What’s the deal?
This typically indicates a jam. Turn off the disposal’s power, use a hex key (there’s often a spot under the disposal) to manually rotate the blades, or carefully remove any blockage with pliers. Restart the disposal after clearing the jam.
5. Are lemon or orange peels enough to clean the disposal by themselves?
They help deodorize and can scour some grime, but they won’t fully replace a comprehensive cleaning routine. Think of citrus as a finishing touch for fragrance rather than a standalone solution.
Stay up to date with our latest ideas!