Rolled Roofing Installation: A Simple Guide
Master rolled roofing installation with our comprehensive step-by-step guide. Learn essential preparation tips, application techniques, and maintenance secrets to create a durable, water-tight roof for your shed, garage, or home extension without breaking the bank.
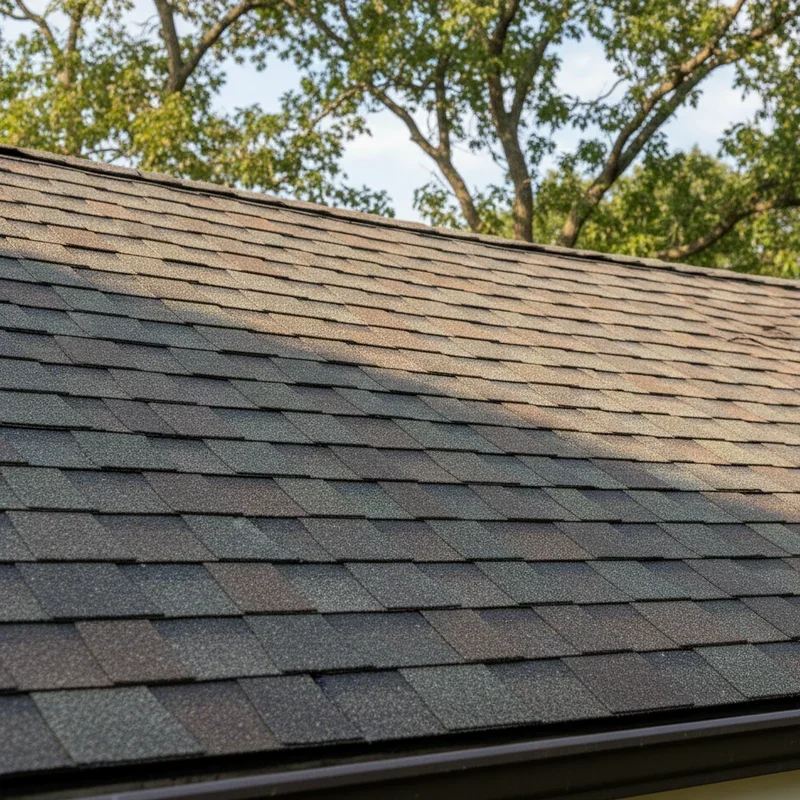
Well, would you look at that old shed roof? Leaking like a sieve during last week's downpour, wasn't it? Or maybe it's your garage or workshop that's sporting more water stains than a coffee shop's napkin dispenser. Whatever the case, you've probably figured out that something's gotta give—and that something is your current roofing. But before you start dialing roofing contractors and preparing to remortgage your house, take a breath! There's a budget-friendly solution you can tackle yourself: rolled roofing.
I remember my first rolled roofing project—a dilapidated garden shed that had more holes than Swiss cheese. Armed with determination (and admittedly, very little knowledge), I stumbled my way through the process. Ten years later, that same shed is still bone-dry inside, though my technique has thankfully improved since those early days of trial and error.
Rolled roofing installation: a simple guide is what I wish I'd had back then. It's not the fanciest roofing material on the block—you won't see it gracing the cover of Architectural Digest anytime soon—but roll roofing is affordable, relatively easy to install, and, when done right, provides years of protection against the elements. Perfect for outbuildings, garages, or even as a quick repair on sloped roofs, this material deserves a spot in any DIY enthusiast's repertoire.
So grab your hammer and roofing nails—we're about to transform that leaky liability into a watertight asset, one roll at a time. And the best part? You'll save a small fortune doing it yourself. Let's dive in!
Understanding Rolled Roofing: The Basics
Before we jump into how to slap this stuff onto your roof, let's make sure we're all on the same page about what exactly rolled roofing is and whether it's right for your project.
What Is Rolled Roofing Anyway?
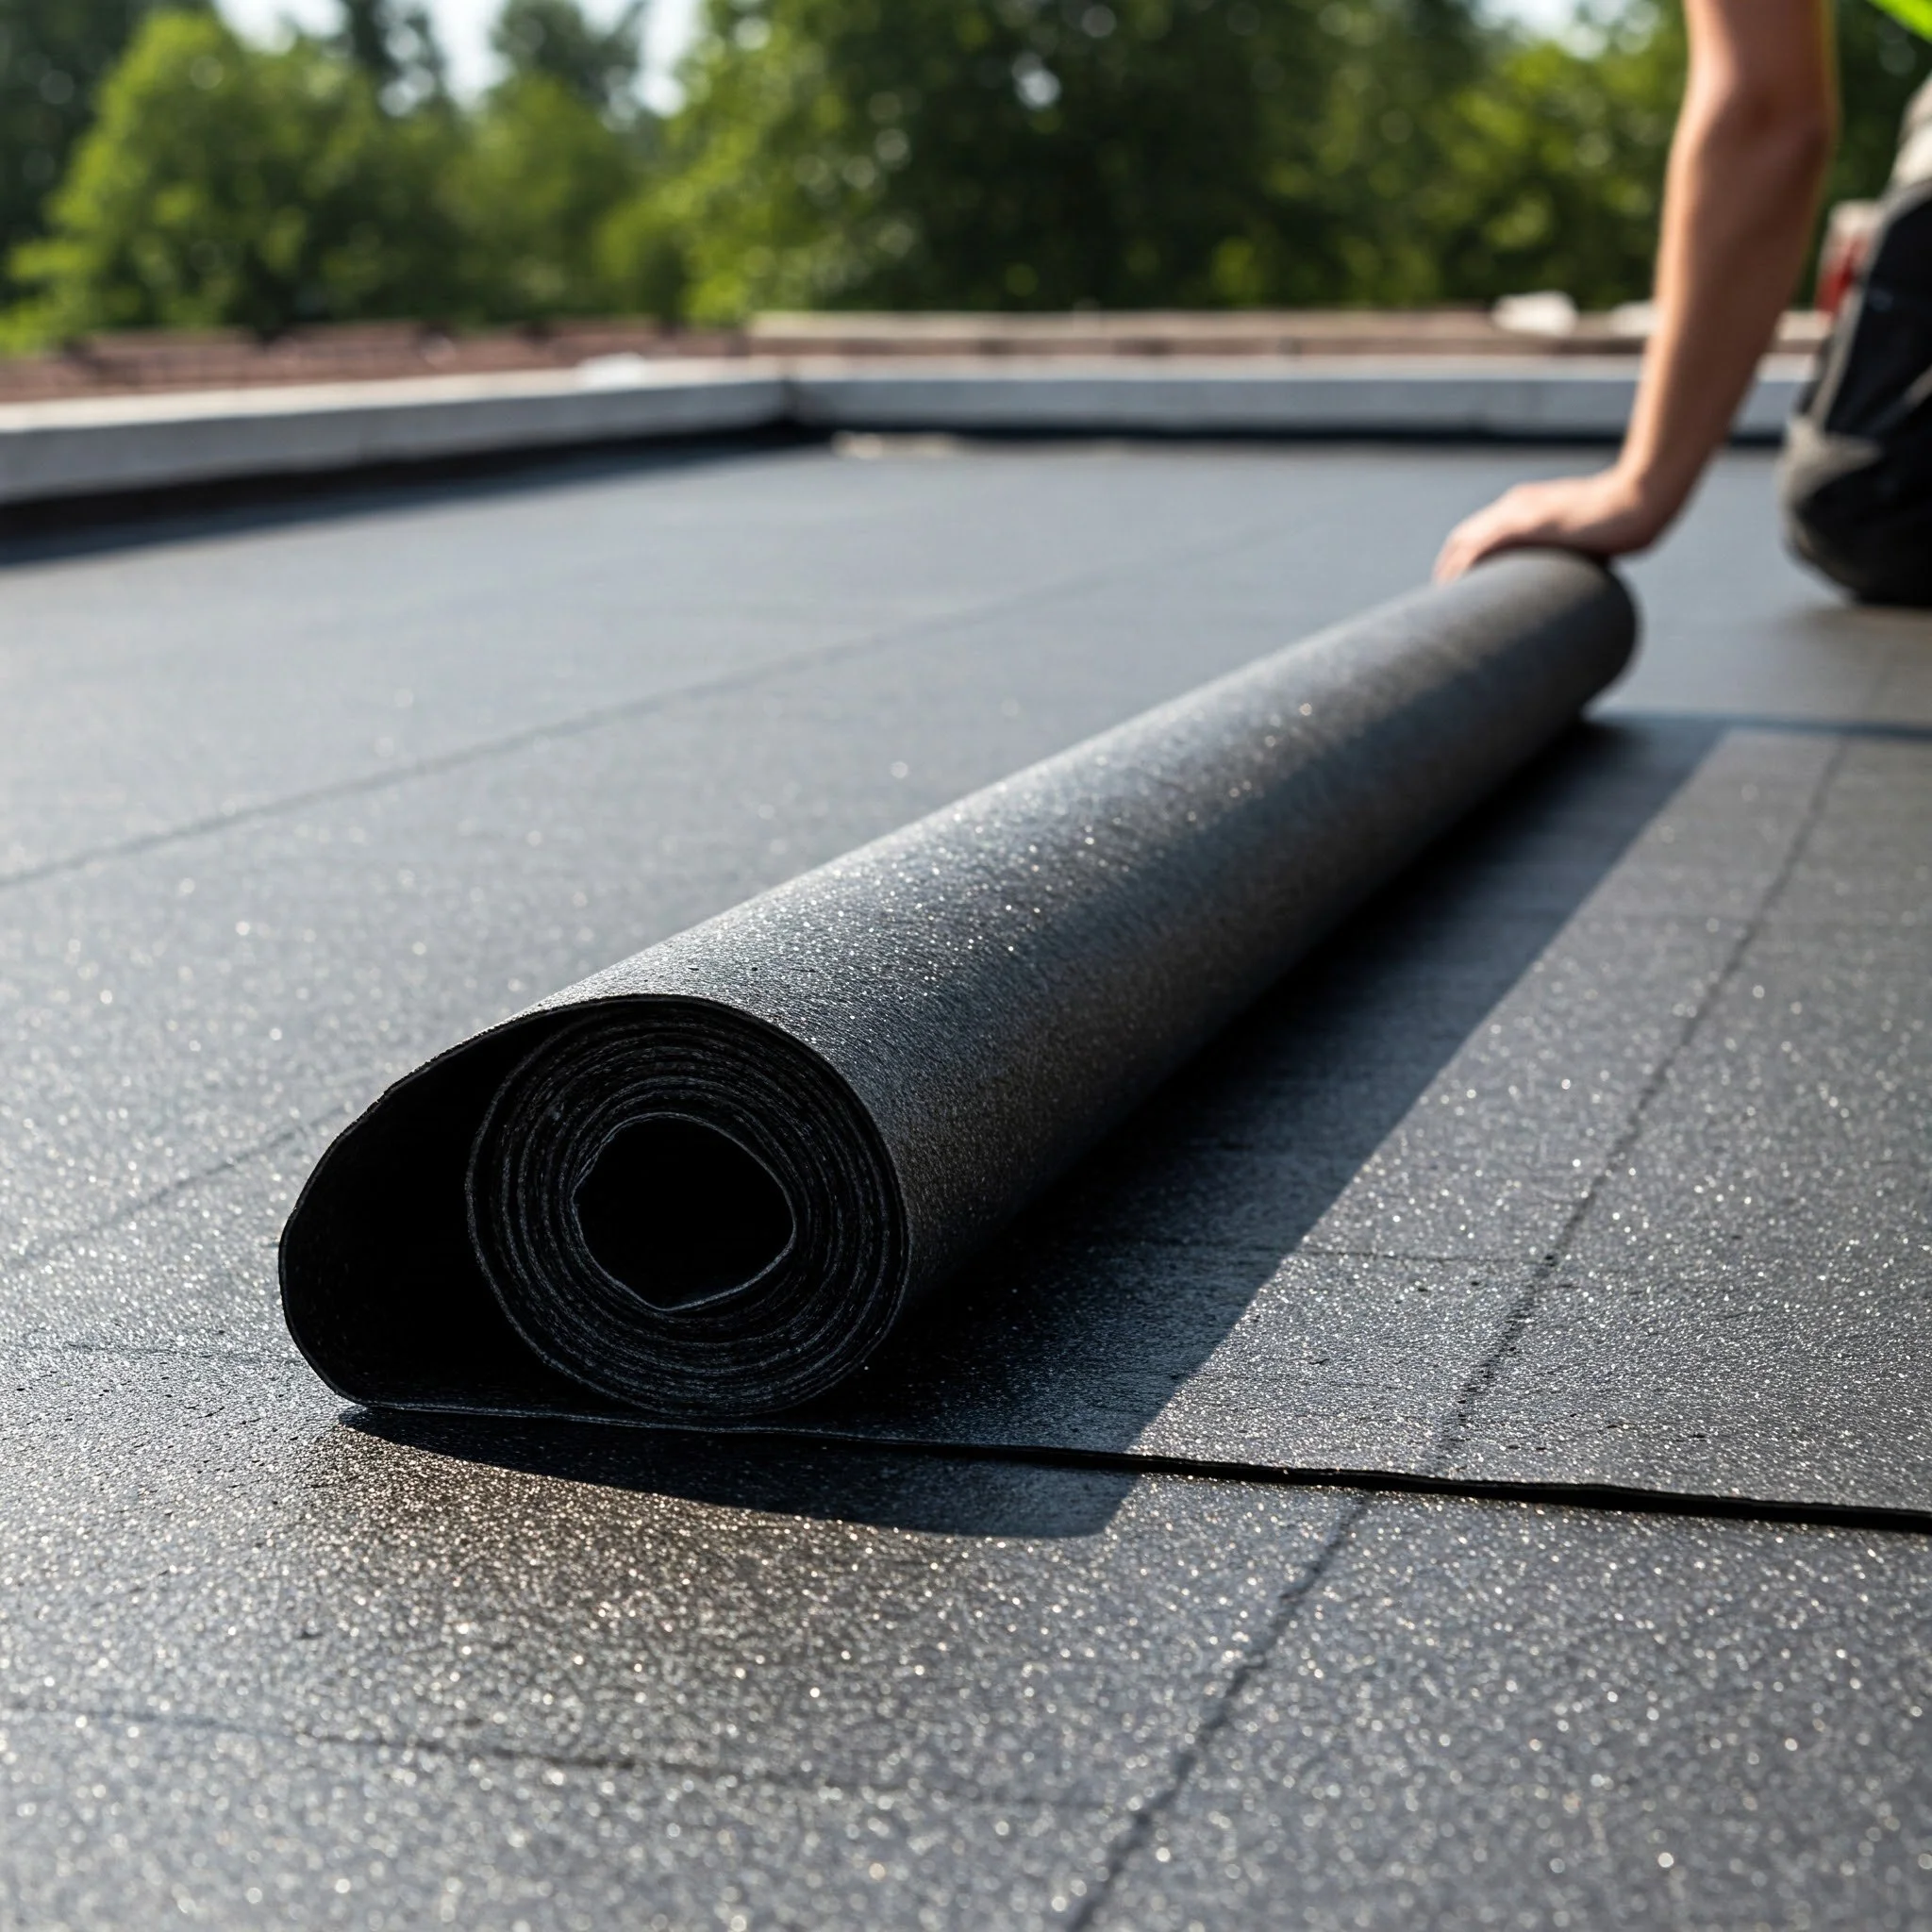
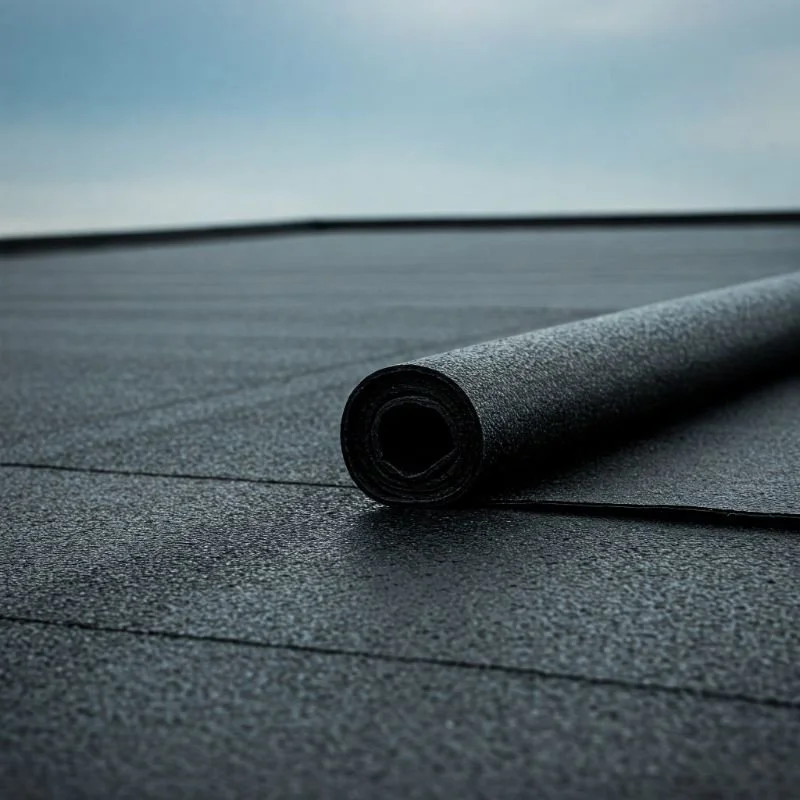
Rolled roofing (sometimes called mineral surface roll roofing or MSR) is exactly what it sounds like—roofing material that comes in a roll. Made of similar materials as asphalt shingles but in a continuous sheet, it typically consists of:
An asphalt-saturated felt or fiberglass base
A layer of protective mineral granules on top
An adhesive backing on certain varieties
Standard rolls typically measure 36 inches wide and 36 feet long, covering about 100 square feet of roof surface. At 1/16 to 1/8 inch thick, it's substantially thinner than traditional shingles, which explains both its lower price point and shorter lifespan.
When Rolled Roofing Makes Sense (And When It Doesn't)
Rolled roofing shines in specific scenarios:
Low-slope roofs: Perfect for roofs with a pitch between 1:12 and 4:12 (that's roofing speak for "not very steep")
Utility buildings: Sheds, workshops, garages, and other structures where aesthetics take a backseat to functionality
Temporary roofing: When you need a quick fix before a more permanent solution
Budget constraints: When keeping costs down is a priority
However, it's not the right choice for every situation:
Primary residence roofing: Generally not recommended for your main home (unless as a temporary measure)
Steep roofs: Difficult to install and less effective on pitches greater than 4:12
Long-term investment properties: With a typical lifespan of 5-8 years, it's not ideal if longevity is your goal
Appearance-focused projects: Let's be honest—it's not winning any beauty contests
Types of Rolled Roofing
There are several varieties to choose from:
Mineral Surface: The most common type, featuring granules embedded in the surface that provide UV protection and fire resistance. Available in black, white, and various shades of gray or brown.
Smooth Surface: Lacks the mineral coating, making it less durable but easier to coat with roofing cement or other finishes.
Self-Adhesive (Peel and Stick): Features a sticky backing protected by release paper—just peel and press into place. More expensive but easier for beginners.
Saturated Felt: Sometimes called "tar paper," this more basic option is typically used as an underlayment rather than an exposed roofing surface.
Essential Tools and Materials for Rolled Roofing Installation: A Simple Guide
Let's talk gear. Having the right tools and materials not only makes the job easier but also significantly improves your results.
Tools You'll Need
Nothing fancy required, but don't skimp on quality:
Roofing hammer: The specialized claw helps remove old roofing, while the hatchet end cuts materials
Utility knife: With plenty of extra blades—roll roofing dulls blades quickly
Chalk line: For marking straight installation lines
Tape measure: At least 25 feet long
Roofing trowel: For spreading adhesive evenly
Push broom: To smooth the material and remove air bubbles
Ladder: Sturdy enough to safely access your roof
Safety gear: Including gloves, kneepads, safety glasses, and slip-resistant footwear
Materials Checklist
Gather these before starting:
Roll roofing material: Calculate square footage plus 15% extra for overlaps and waste
Roofing cement/adhesive: For bonding seams and edges
Roofing nails: 3/4-inch to 1-inch galvanized roofing nails
Drip edge: Metal flashing for roof edges
Roofing underlayment: For an extra layer of protection (recommended even though roll roofing can be installed directly on decking)
Primer: For certain applications, especially in cold weather
Lap sealant: For watertight seams
Calculating How Much Material You'll Need
Nothing worse than running out of materials halfway through! Here's a simple formula:
Measure the length and width of each roof section in feet
Multiply to get the square footage
Add 15% for overlaps and waste
Divide by 100 (the square footage in one standard roll) to determine how many rolls you need
For example:
Shed roof measuring 10' × 12' = 120 square feet
120 + 18 (15% extra) = 138 square feet
138 ÷ 100 = 1.38 rolls (so you'll need 2 rolls)
For roofing cement, figure about one gallon per 100 square feet of roof area.
Preparing Your Roof: The Foundation of Success
Good preparation can make the difference between a roof that lasts eight years and one that starts leaking after the first heavy rainfall.
Assessing and Repairing the Existing Roof Deck
First things first—is your roof deck in good shape?
Remove old roofing material: Strip everything down to the decking, checking for soft spots, rot, or damage as you go.
Inspect thoroughly: Walk the entire roof, looking for:
Soft or spongy areas indicating rot
Warped or damaged boards
Protruding nails or screws
Signs of previous water damage
Make necessary repairs:
Replace damaged decking
Secure any loose boards
Hammer down or remove protruding fasteners
Ensure the structure is sound enough to support you working on it
Cleaning and Preparing the Surface
A clean, smooth surface is essential for proper adhesion:
Sweep thoroughly: Remove all debris, dust, and loose materials
Check for high spots: Sand down any areas that might create bumps under the roofing
Address low spots: Fill significant depressions with roofing cement
Ensure the surface is dry: Moisture trapped under roll roofing leads to premature failure
Installing Drip Edge and Underlayment
These preliminary elements improve water resistance:
Install drip edge along the eaves:
Position metal drip edge along the eave edge
Secure with roofing nails every 12 inches
Overlap sections by 2 inches
Apply underlayment (recommended):
Start at the lowest point of the roof
Roll out horizontally, overlapping seams by 6 inches
Secure with cap nails or staples
Overlap vertical seams by 12 inches
Trim excess at edges with utility knife
Install drip edge on rakes (sides of the roof):
Place on top of the underlayment
Secure every 12 inches with roofing nails
Rolled Roofing Installation: A Simple Guide to the Process
Alright, now for the main event—actually installing that roll roofing!
Method 1: Concealed Nail Method (Most Common)
This approach hides the nails under overlapping layers, creating a cleaner look and better water resistance:
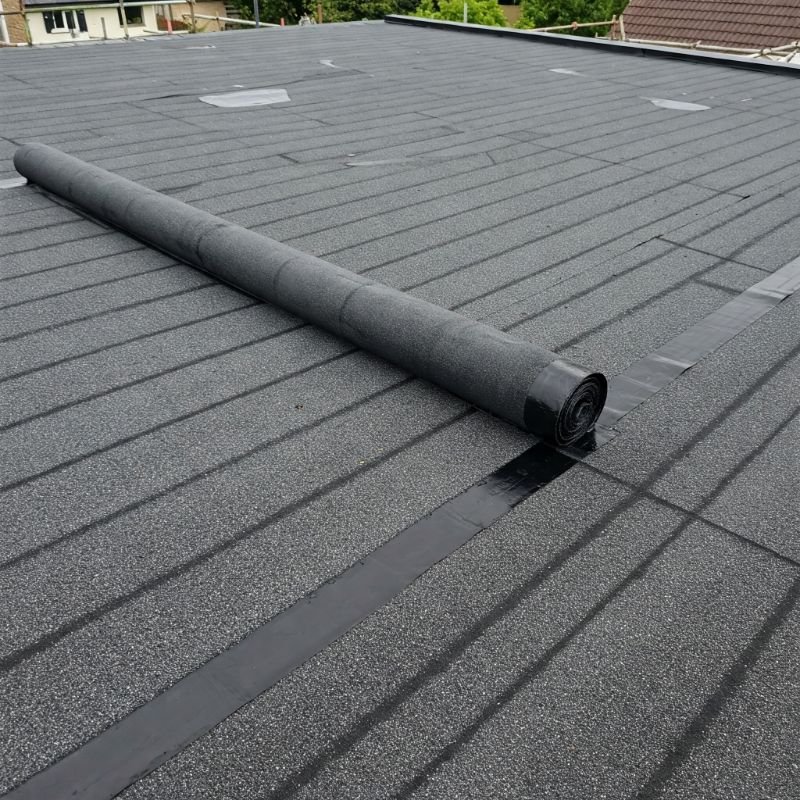
Measure and cut your first sheet:
Measure from the edge of the roof to cover the first 34 inches
Cut the roll to length, allowing 6-inch overhangs at the edges
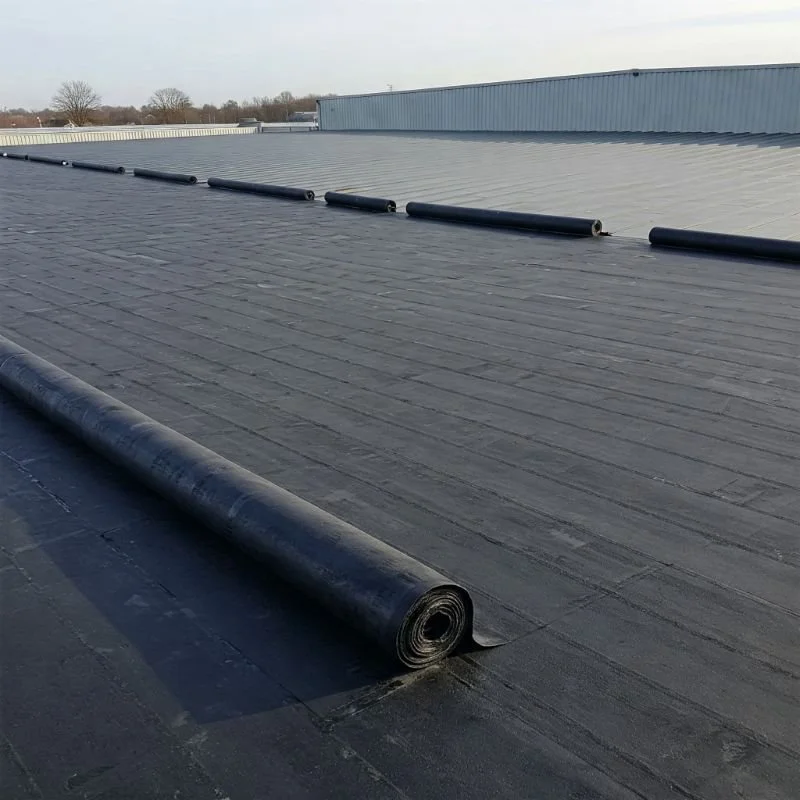
Position the first sheet:
Roll out along the lowest edge of the roof
Align with the edge of the drip edge
Allow material to relax and flatten for 30 minutes in warm weather
Secure the sheet:
Apply a 2-inch wide strip of roofing cement 2 inches from the upper edge
Press the sheet into the cement
Drive roofing nails every 4 inches along this cemented strip
Apply the second sheet:
Position the next sheet to overlap the first by 4 inches
Apply a 4-inch wide strip of cement under the overlap
Press firmly to ensure good adhesion
Nail along the top edge as with the first sheet
Continue the pattern:
Repeat for each successive sheet
Maintain the 4-inch overlap
Always nail through the cemented area for a watertight seal
Method 2: Exposed Nail Method (Quicker But Less Durable)
If speed is your priority:
Prepare the sheets as above
Installation approach:
Position the first sheet along the roof edge
Nail directly through the material every 6 inches along both the top and bottom edges
Cover the top row of nails with roofing cement
Apply subsequent sheets:
Overlap previous sheet by 4 inches
Spread cement under the entire overlap
Nail along both edges as with the first sheet
Handling Vertical Seams
When you need to join rolls side-by-side:
Create a 12-inch overlap: Position the new roll to overlap the existing one by 12 inches
Apply plenty of cement: Spread a thick, even layer of roofing cement under the entire overlap
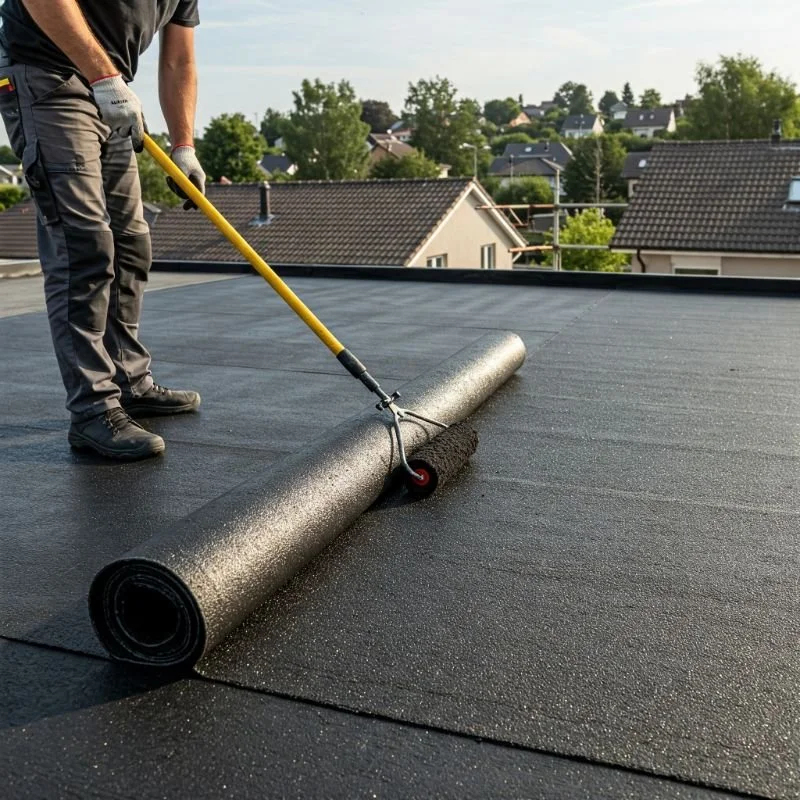
Press firmly: Use a roofing roller or push broom to ensure complete contact and adhesion
Secure the edge: Drive nails every 4 inches along the outer edge of the overlap
Finishing Touches for a Professional Result
Don't skip these final steps—they make a big difference in durability:
Seal all exposed nail heads: Apply a dab of roofing cement over each visible nail
Reinforce peaks and valleys:
For hips and ridges, cut 12-inch wide strips of roofing
Center over the peak and secure with cement and nails
Overlap sections by 6 inches
Address flashings:
Seal around any roof penetrations (vents, chimneys)
Apply roofing cement generously at these critical junctions
Trim excess material:
Trim any overhanging material at edges
Ensure clean, straight lines for a professional appearance
Special Situations and Solutions
Even simple projects can present unique challenges. Here's how to handle some common ones.
Working with Cold Weather Installation
Roll roofing becomes less flexible in cold temperatures, making it harder to work with:
Store materials in a warm place for 24 hours before installation
Work during the warmest part of the day if possible
Use a hot air gun to gently warm the material as you work, making it more pliable
Be extra generous with roofing cement, which also becomes stiffer in cold weather
Consider cold-weather specific adhesives designed to maintain flexibility at lower temperatures
Navigating Roof Obstacles and Penetrations
Vents, pipes, and other protrusions require special attention:
Install roofing up to the obstacle from the lower side
Cut a "collar" for pipes or vents:
Cut a square of roofing large enough to extend 6 inches beyond the obstacle in all directions
Cut a hole in the center slightly smaller than the obstacle
Slip this collar over the obstacle
Seal thoroughly with roofing cement
Continue installing the main roofing to overlap the collar by at least 6 inches
Seal all seams with generous amounts of roofing cement
Steep Slope Adaptations
While roll roofing is best for low-slope applications, sometimes you need to use it on steeper sections:
Work horizontally rather than vertically when possible
Use more fasteners – every 3 inches instead of 4
Apply in shorter sections that are easier to manage
Consider the double coverage method:
Using 18-inch wide strips
Overlapping by 50% for double thickness
Provides extra protection on steeper slopes
Maintaining Your Rolled Roofing for Maximum Lifespan
With proper care, you can extend the life of your rolled roofing significantly.
Regular Inspection and Maintenance Schedule
Set a calendar reminder for these maintenance tasks:
Quarterly visual inspections:
Check for loose sections or separating seams
Look for damaged or missing granules
Inspect around roof penetrations for gaps or cracks
Bi-annual cleaning:
Gently remove debris with a soft broom
Clear any clogged drainage paths
Remove any moss or algae growth
Be careful not to dislodge the mineral surface
Annual thorough inspection:
Look for cracking, blistering, or curling edges
Check all sealed areas and flashings
Examine for signs of water penetration inside
Common Problems and Quick Fixes
Address these issues promptly to prevent bigger problems:
Small Tears or Punctures:
Clean the damaged area thoroughly
Apply roofing cement under the tear
Press the material down firmly
Apply another layer of cement over the repair
Sprinkle matching granules over the wet cement if desired
Lifting Edges or Seams:
Clean both surfaces
Apply fresh roofing cement
Press firmly back into place
Secure with a few roofing nails if necessary
Cover nail heads with cement
Blisters:
Cut the blister with a utility knife
Press out any trapped air or moisture
Apply roofing cement under the flap
Press down firmly
Secure with nails around the perimeter
Cover with cement and matching granules
When to Consider Replacement
Even with meticulous maintenance, rolled roofing eventually needs replacement. Look for these signs:
Widespread cracking or brittleness
Multiple leaks developing despite repairs
Significant granule loss exposing the base material
Curling or shrinking that can't be repaired
Age over 8-10 years in harsh weather regions
Conclusion
Rolled roofing installation: a simple guide can transform a daunting task into a manageable weekend project with significant rewards. While it may not be the most glamorous or long-lasting roofing solution, its affordability and DIY-friendly nature make it perfect for outbuildings, temporary repairs, or budget-conscious homeowners. By following the proper preparation steps, using quality materials, and mastering the installation techniques outlined here, you'll create a watertight roof that provides years of reliable protection. Remember that careful maintenance extends its lifespan considerably, giving you the best possible return on your investment of time and materials.
Read next: How to Install Metal Roofing: Step-And-Step Guide
Frequently Asked Questions
Q1: Can I install rolled roofing over existing shingles or roofing?
A: While technically possible in some cases, it's not recommended. The uneven surface of existing roofing creates pockets where water can collect, leading to premature failure. For best results, always start with a clean, smooth roof deck.
Q2: What's the minimum roof slope for rolled roofing?
A: Roll roofing works best on slopes between 1:12 and 4:12 (meaning 1 to 4 inches of rise per 12 inches of run). For anything flatter than 1:12, consider a built-up roof or modified bitumen system. Steeper than 4:12, and you might want to look at shingles instead.
Q3: How long will my rolled roofing last?
A: With proper installation and maintenance, expect 5-8 years in typical climates. In mild weather areas with limited temperature extremes, you might get 10 years. In harsh conditions with extreme heat or cold, lifespan may be as short as 3-5 years.
Q4: Can I walk on rolled roofing?
A: Yes, but minimally. The material is relatively soft and can be damaged by excessive foot traffic. When maintenance requires roof access, walk carefully and distribute your weight evenly. Avoid walking on seams whenever possible.
Q5: Is rolled roofing fire-resistant?
A: Most rolled roofing products have Class C fire ratings, providing moderate fire resistance. Some specialty products achieve Class A ratings, but these are less common and more expensive. Check product specifications for specific fire ratings.
Stay up to date with our latest ideas!