15 Common Mistakes When Installing Vinyl Plank Flooring
Don't let simple mistakes ruin your vinyl plank flooring project! Discover the 15 most common errors when installing vinyl plank flooring and learn how to steer clear of them for a flawless finish.

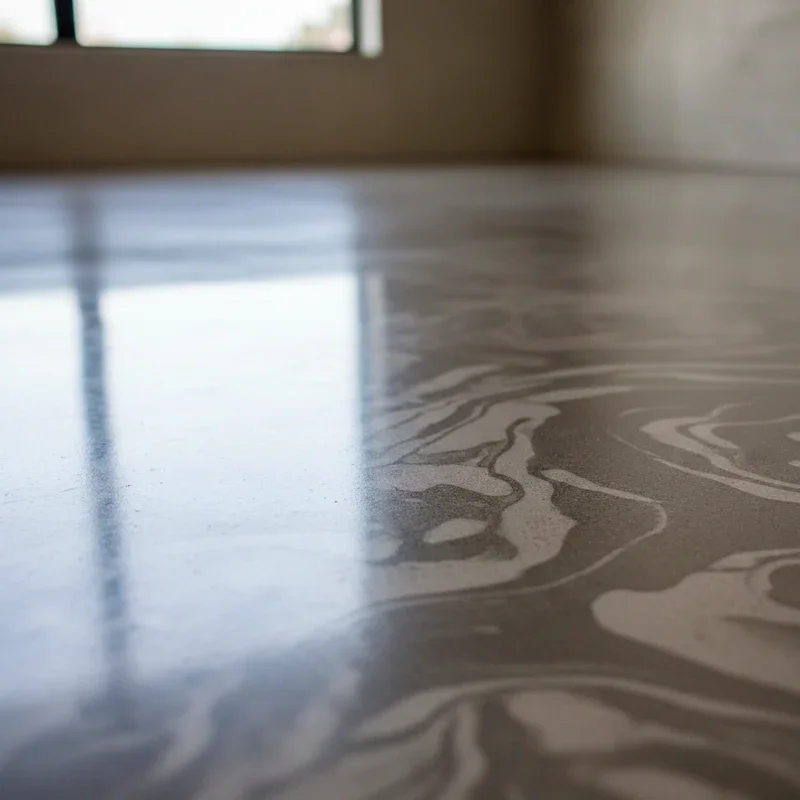
1. Skipping Subfloor Preparation
Proper preparation of the subfloor is essential before installing vinyl plank flooring to guarantee a stable and even surface. Begin by thoroughly cleaning the subfloor to remove any debris, dust, or residue that could affect the adhesion of the flooring. Next, inspect the subfloor for any imperfections such as cracks, bumps, or unevenness, and address them accordingly. Fill in any gaps or depressions with a suitable floor patching compound and ensure that the subfloor is completely dry and level before proceeding. Additionally, consider installing a moisture barrier if necessary to protect the vinyl planks from moisture damage over time. By taking these preparatory steps, you can ensure a successful and long-lasting vinyl plank flooring installation.
2. Poor Planning and Layout
A meticulously planned layout is paramount for a successful vinyl plank flooring installation, yet it's a step often overlooked by many DIYers. Before starting the installation process, take the time to create a detailed layout plan that considers factors such as room dimensions, doorways, obstructions, and the direction of natural light. By carefully plotting the placement of each plank and anticipating any challenges or adjustments needed along the way, you can ensure a smooth and professional-looking result. Additionally, planning the layout in advance helps minimize waste and maximizes the efficiency of the installation process, saving time and effort in the long run.
3. Ignoring Manufacturer Guidelines
Meticulously following the manufacturer's installation instructions is crucial for a successful vinyl plank flooring project. These instructions are tailored to the specific product and include important details such as subfloor preparation, acclimation requirements, adhesive application methods, and installation techniques. Ignoring or deviating from these guidelines can lead to problems such as uneven flooring, gaps between planks, or premature wear and tear. By adhering to the manufacturer's recommendations, you ensure that your vinyl plank flooring is installed correctly, maximizing its durability, longevity, and visual appeal. Always consult the provided instructions before beginning installation and reach out to the manufacturer or a professional if you encounter any uncertainties or challenges along the way.
4. Inadequate Floor Cleaning
Ensuring a meticulously clean subfloor is essential for the successful installation of vinyl plank flooring. Any dirt, debris, or residue left on the subfloor can hinder proper adhesion of the vinyl planks, resulting in an uneven surface and potentially compromising the integrity of the installation. Before laying down the vinyl planks, it's crucial to thoroughly sweep, vacuum, and mop the subfloor to remove any dust, dirt, or grease. Additionally, inspect the subfloor for any imperfections or irregularities that may need to be addressed before installation. Taking the time to properly clean and prepare the subfloor sets the foundation for a smooth and long-lasting vinyl plank flooring installation.
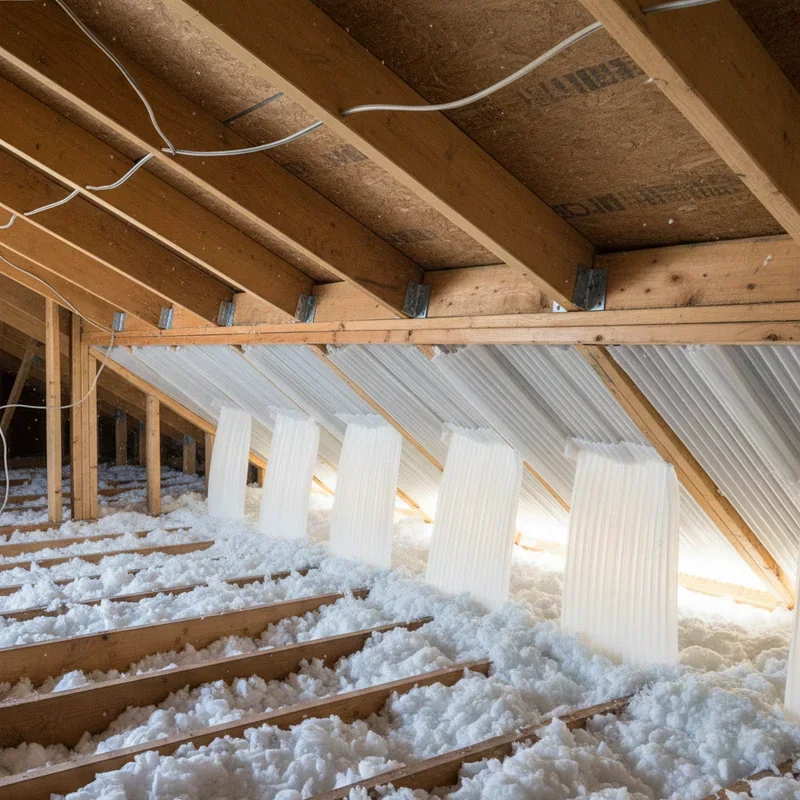
5. Subpar Underlayment Installation
Selecting the appropriate underlayment and ensuring its proper installation are critical steps in maximizing the durability and lifespan of your vinyl plank flooring. The underlayment serves several key functions, including providing cushioning, sound absorption, and moisture resistance. By choosing an underlayment specifically designed for use with vinyl plank flooring and following the manufacturer's instructions for installation, you can minimize the risk of issues such as noise transmission, moisture damage, and premature wear and tear. Properly installed underlayment creates a stable and supportive foundation for your vinyl planks, enhancing their performance and longevity for years to come.

6. Rushing Through Installation
Cutting corners or hurrying through the installation process can lead to unsightly outcomes such as misaligned planks, gaps between pieces, and other visual imperfections. While it may be tempting to rush the installation to save time, doing so can compromise the overall appearance and quality of your vinyl plank flooring. Taking the time to carefully measure, cut, and lay each plank according to the manufacturer's instructions ensures a precise and professional-looking finish. By prioritizing attention to detail and precision during installation, you can achieve a seamless and visually pleasing result that enhances the beauty and functionality of your space.
7. Uneven Subfloor
An uneven subfloor poses various risks to your vinyl plank flooring, including creaking, shifting, and potential damage to the planks over time. When the subfloor isn't level, it can create pressure points that cause the vinyl planks to flex or bend unnaturally, leading to squeaks and instability. Moreover, uneven surfaces may prevent the planks from properly locking together, resulting in gaps or bulges in the flooring. To mitigate these issues, it's crucial to address any unevenness in the subfloor before installation, ensuring a stable and level foundation for your vinyl flooring that promotes durability and longevity.
8. Neglecting Expansion and Contraction
Vinyl plank flooring needs adequate space to expand and contract in response to fluctuations in temperature and humidity levels, a crucial factor in preventing issues like buckling and warping. Without this allowance for movement, the planks may become stressed and distorted, leading to unsightly deformations and compromised structural integrity. To avoid such problems, it's essential to follow manufacturer guidelines regarding expansion gaps and acclimation periods before installation. By providing the necessary room for the flooring to breathe and adjust, you can ensure a stable and long-lasting vinyl plank floor that maintains its appearance and performance over time.
9. Improper Seaming
Improperly aligning or staggering vinyl plank seams during installation can lead to noticeable gaps between the planks, detracting from the overall appearance of the flooring and creating an unpolished finish. These gaps not only compromise the aesthetic appeal but also pose potential issues with dirt and moisture accumulation, undermining the durability and cleanliness of the floor over time. To achieve a professional-looking result, it's crucial to meticulously align and stagger the seams according to the manufacturer's recommendations, ensuring a seamless and visually pleasing installation that enhances the beauty and functionality of the space.
10. Overlooking Floor Transitions
Overlooking the necessity of planning for floor transitions can result in abrupt and awkward changes between different flooring surfaces, posing potential trip hazards and disrupting the flow of your space. Without proper consideration and installation of transition strips or other solutions, the abrupt changes in elevation and material can create inconvenience and safety concerns for occupants. Whether transitioning between rooms with varying flooring types or addressing changes in elevation, thoughtful planning and execution are essential to ensure smooth and seamless transitions that enhance both the aesthetic and safety of your home or commercial space.

11. Using the Wrong Tools
Utilizing improper or low-quality tools during the installation of vinyl plank flooring can significantly hinder the process, leading to frustration and subpar results. Tools specifically designed for flooring installation, such as tapping blocks, pull bars, and knee kickers, are essential for achieving precise cuts, tight seams, and proper alignment. Investing in high-quality tools not only ensures smoother installation but also contributes to the longevity and durability of the finished flooring. Cutting corners with inadequate tools can lead to mistakes, uneven edges, and compromised stability, ultimately detracting from the overall appearance and performance of the flooring installation.
12. Neglecting Acclimation
Neglecting to acclimate vinyl planks to the installation environment prior to installation can have detrimental effects on the finished result. Vinyl planks need time to adjust to the temperature and humidity levels of the space where they will be installed to minimize the risk of expansion or contraction after installation. Failure to acclimate the planks properly may result in issues such as buckling, gaps between planks, and overall instability of the flooring. Acclimation allows the vinyl planks to reach equilibrium with the surrounding environment, ensuring a more stable and long-lasting flooring installation.
13. Improper Cutting Techniques
Employing incorrect cutting techniques or utilizing improper tools during the installation process of vinyl plank flooring can yield undesirable outcomes. Inaccurate cuts may lead to uneven edges, unsightly gaps between planks, and an overall lack of precision in the finished appearance. It's crucial to use appropriate cutting tools such as a vinyl plank cutter or a fine-toothed saw and to follow recommended cutting techniques provided by the manufacturer. This ensures clean, precise cuts that contribute to a professional-looking installation and a seamless, polished final result. Taking care during the cutting phase can significantly enhance the aesthetic appeal and durability of the flooring.
14. Incorrect Trim Installation
Ensuring proper trim installation is fundamental in achieving a polished and professional appearance for edges, corners, and transitions in any flooring project. Trim serves not only as a functional element to cover gaps and protect edges but also as a crucial aesthetic detail that adds finesse to the overall look of the space. Correctly installed trim provides clean lines, seamlessly blending flooring materials with walls, doorways, and other surfaces. Attention to detail during trim installation is key, ensuring precise measurements, secure attachment, and careful finishing for a flawless and cohesive final result that enhances the visual appeal of the entire room.
15. Neglecting Finishing Touches
Skipping essential finishing touches like sealing joints and applying floor finish can leave your vinyl plank flooring vulnerable to damage and premature wear. Sealing joints helps prevent moisture from seeping between planks, reducing the risk of warping, swelling, and mold growth. Additionally, applying a protective floor finish adds an extra layer of durability, enhancing resistance to scratches, stains, and fading caused by sunlight exposure. These finishing touches not only safeguard the longevity of your vinyl plank flooring but also contribute to its aesthetic appeal by maintaining a pristine and well-maintained appearance over time.
Conclusion
Avoiding these 15 common mistakes when installing vinyl plank flooring can save you time, money, and frustration while ensuring a beautiful and long-lasting result. By properly preparing the subfloor, planning the layout, following manufacturer guidelines, and paying attention to detail throughout the installation process, you can achieve a flawless finish that enhances the beauty and functionality of your space for years to come.
Frequently Asked Questions
How do I know if my subfloor is suitable for vinyl plank flooring installation?
Before installing vinyl plank flooring, ensure that your subfloor is clean, dry, level, and free of any debris or imperfections that could affect the installation or performance of the flooring.
Can I install vinyl plank flooring over existing flooring materials?
In many cases, yes, you can install vinyl plank flooring over existing flooring materials such as hardwood, laminate, tile, or concrete, as long as the subfloor is in good condition and properly prepared.
Do I need underlayment for vinyl plank flooring?
While some vinyl plank flooring products come with attached underlayment, others may require separate underlayment to provide additional cushioning, sound insulation, and moisture protection.
How long does it take for vinyl plank flooring to acclimate?
Vinyl plank flooring typically requires 24 to 48 hours to acclimate to the installation environment before installation to prevent issues like expansion, contraction, and buckling.
What should I do if I encounter problems during vinyl plank flooring installation?
If you encounter problems during vinyl plank flooring installation, such as gaps, uneven seams, or adhesive issues, consult the manufacturer's installation instructions or seek advice from a professional installer to troubleshoot and resolve the issue effectively.
Stay up to date with our latest ideas!