How to Install Laminate Flooring on Concrete: Step-by-Step Guide
Got a concrete floor that’s crying out for a facelift? Learn how to install laminate flooring on concrete: step-by-step guide, complete with tips, tricks, FAQs, and more. Revamp your space in style without breaking a sweat!
Ever wonder how those glossy home improvement shows make installing laminate flooring look like a cinch? Well, you’re in luck! We’re about to dive into the nitty-gritty of how to install laminate flooring on concrete: step-by-step guide so straightforward, you might just find yourself whistling while you work. Let’s face it—there’s something downright thrilling about turning a drab, cold concrete slab into a cozy, inviting surface that’ll have family, friends, and even the neighbor’s dog tiptoeing in admiration.
But before you don your DIY cape and proclaim yourself the flooring superhero, it’s worth noting that proper prep, a handy tool kit, and a smidge of patience go a long way. Whether you’re flipping a basement into a movie lounge or simply upgrading that outdated living room floor, laminate is a budget-friendly, stylish option that’s as versatile as it is durable. So, shall we roll up our sleeves and get cracking?
1. The Basics of Laminate Flooring
Before we get all gung-ho, let’s pause for a sec to understand what laminate flooring actually is. Composed of multiple layers pressed together for added strength, laminate typically mimics the appearance of hardwood, stone, or even ceramic tile. You’ll often find:
Wear Layer – A protective topcoat that resists scratches and minor scuffs.
Design Layer – The printed image that gives the laminate its distinctive look—anything from oak planks to rustic barnwood.
Core Layer – Usually high-density fiberboard (HDF) that provides stability and sturdiness.
Backing Layer – Offers balance and protects against moisture from below.
Now, laminate might not be the best fit for areas with extreme moisture—like bathrooms with constant humidity or poolside cabanas. But it sure works wonders in basements, living rooms, and other spaces built on concrete subfloors. With a solid foundation and the right underlayment, you’ll have a floor that can endure foot traffic, spilled drinks, and the occasional dance party!
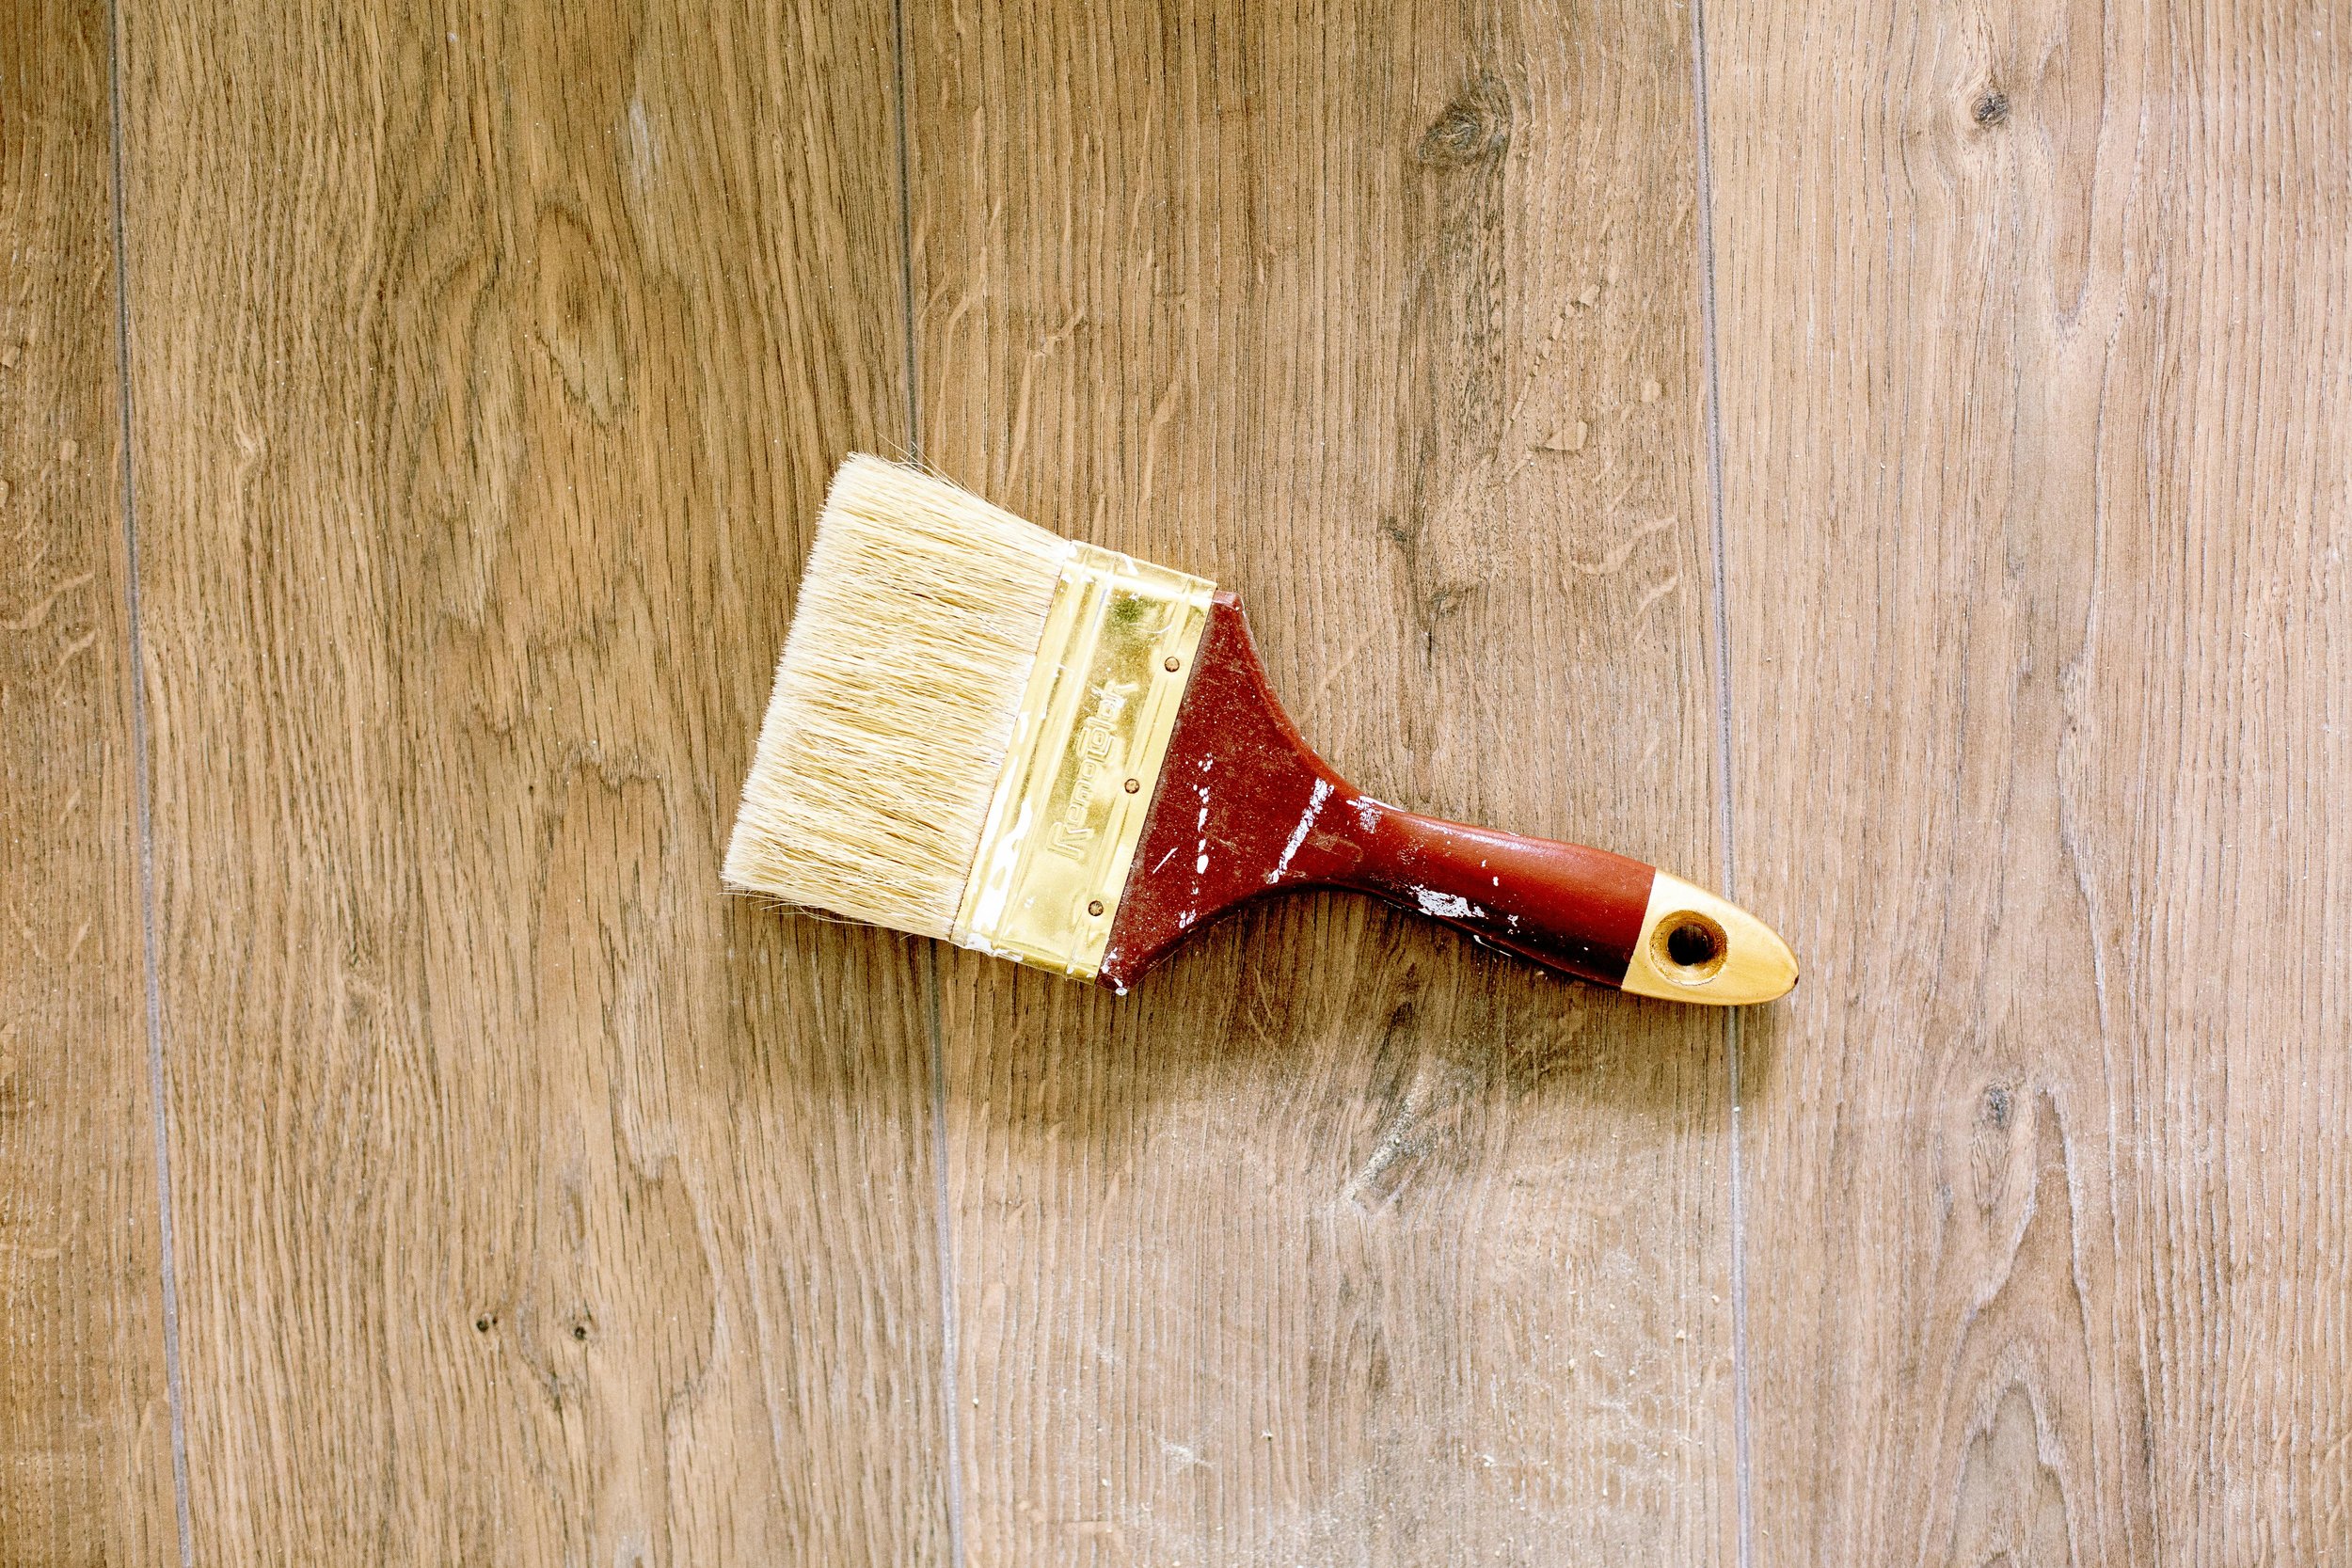
2. Tools and Materials You’ll Need
Ready to dive into the “How to Install Laminate Flooring on Concrete: Step-by-Step Guide”? Better gather your gear first. After all, you don’t want to be halfway through the job and realize you’re missing something crucial. Here’s a handy checklist:
Laminate Flooring Planks (plus about 10% extra for waste)
Underlayment (moisture barrier or foam padding)
Measuring Tape
Utility Knife
Saw (circular saw or miter saw works great)
Tapping Block
Pull Bar
Spacers
Rubber Mallet
Chalk Line
Level
Safety Goggles and Work Gloves
Flooring Installation Kit (often includes spacers, tapping block, and pull bar)
While you can sometimes rent power tools if you’d rather not buy them outright, having the essentials at hand speeds up the process. And hey, you can’t put a price on that sweet moment when your new floor is complete, right?
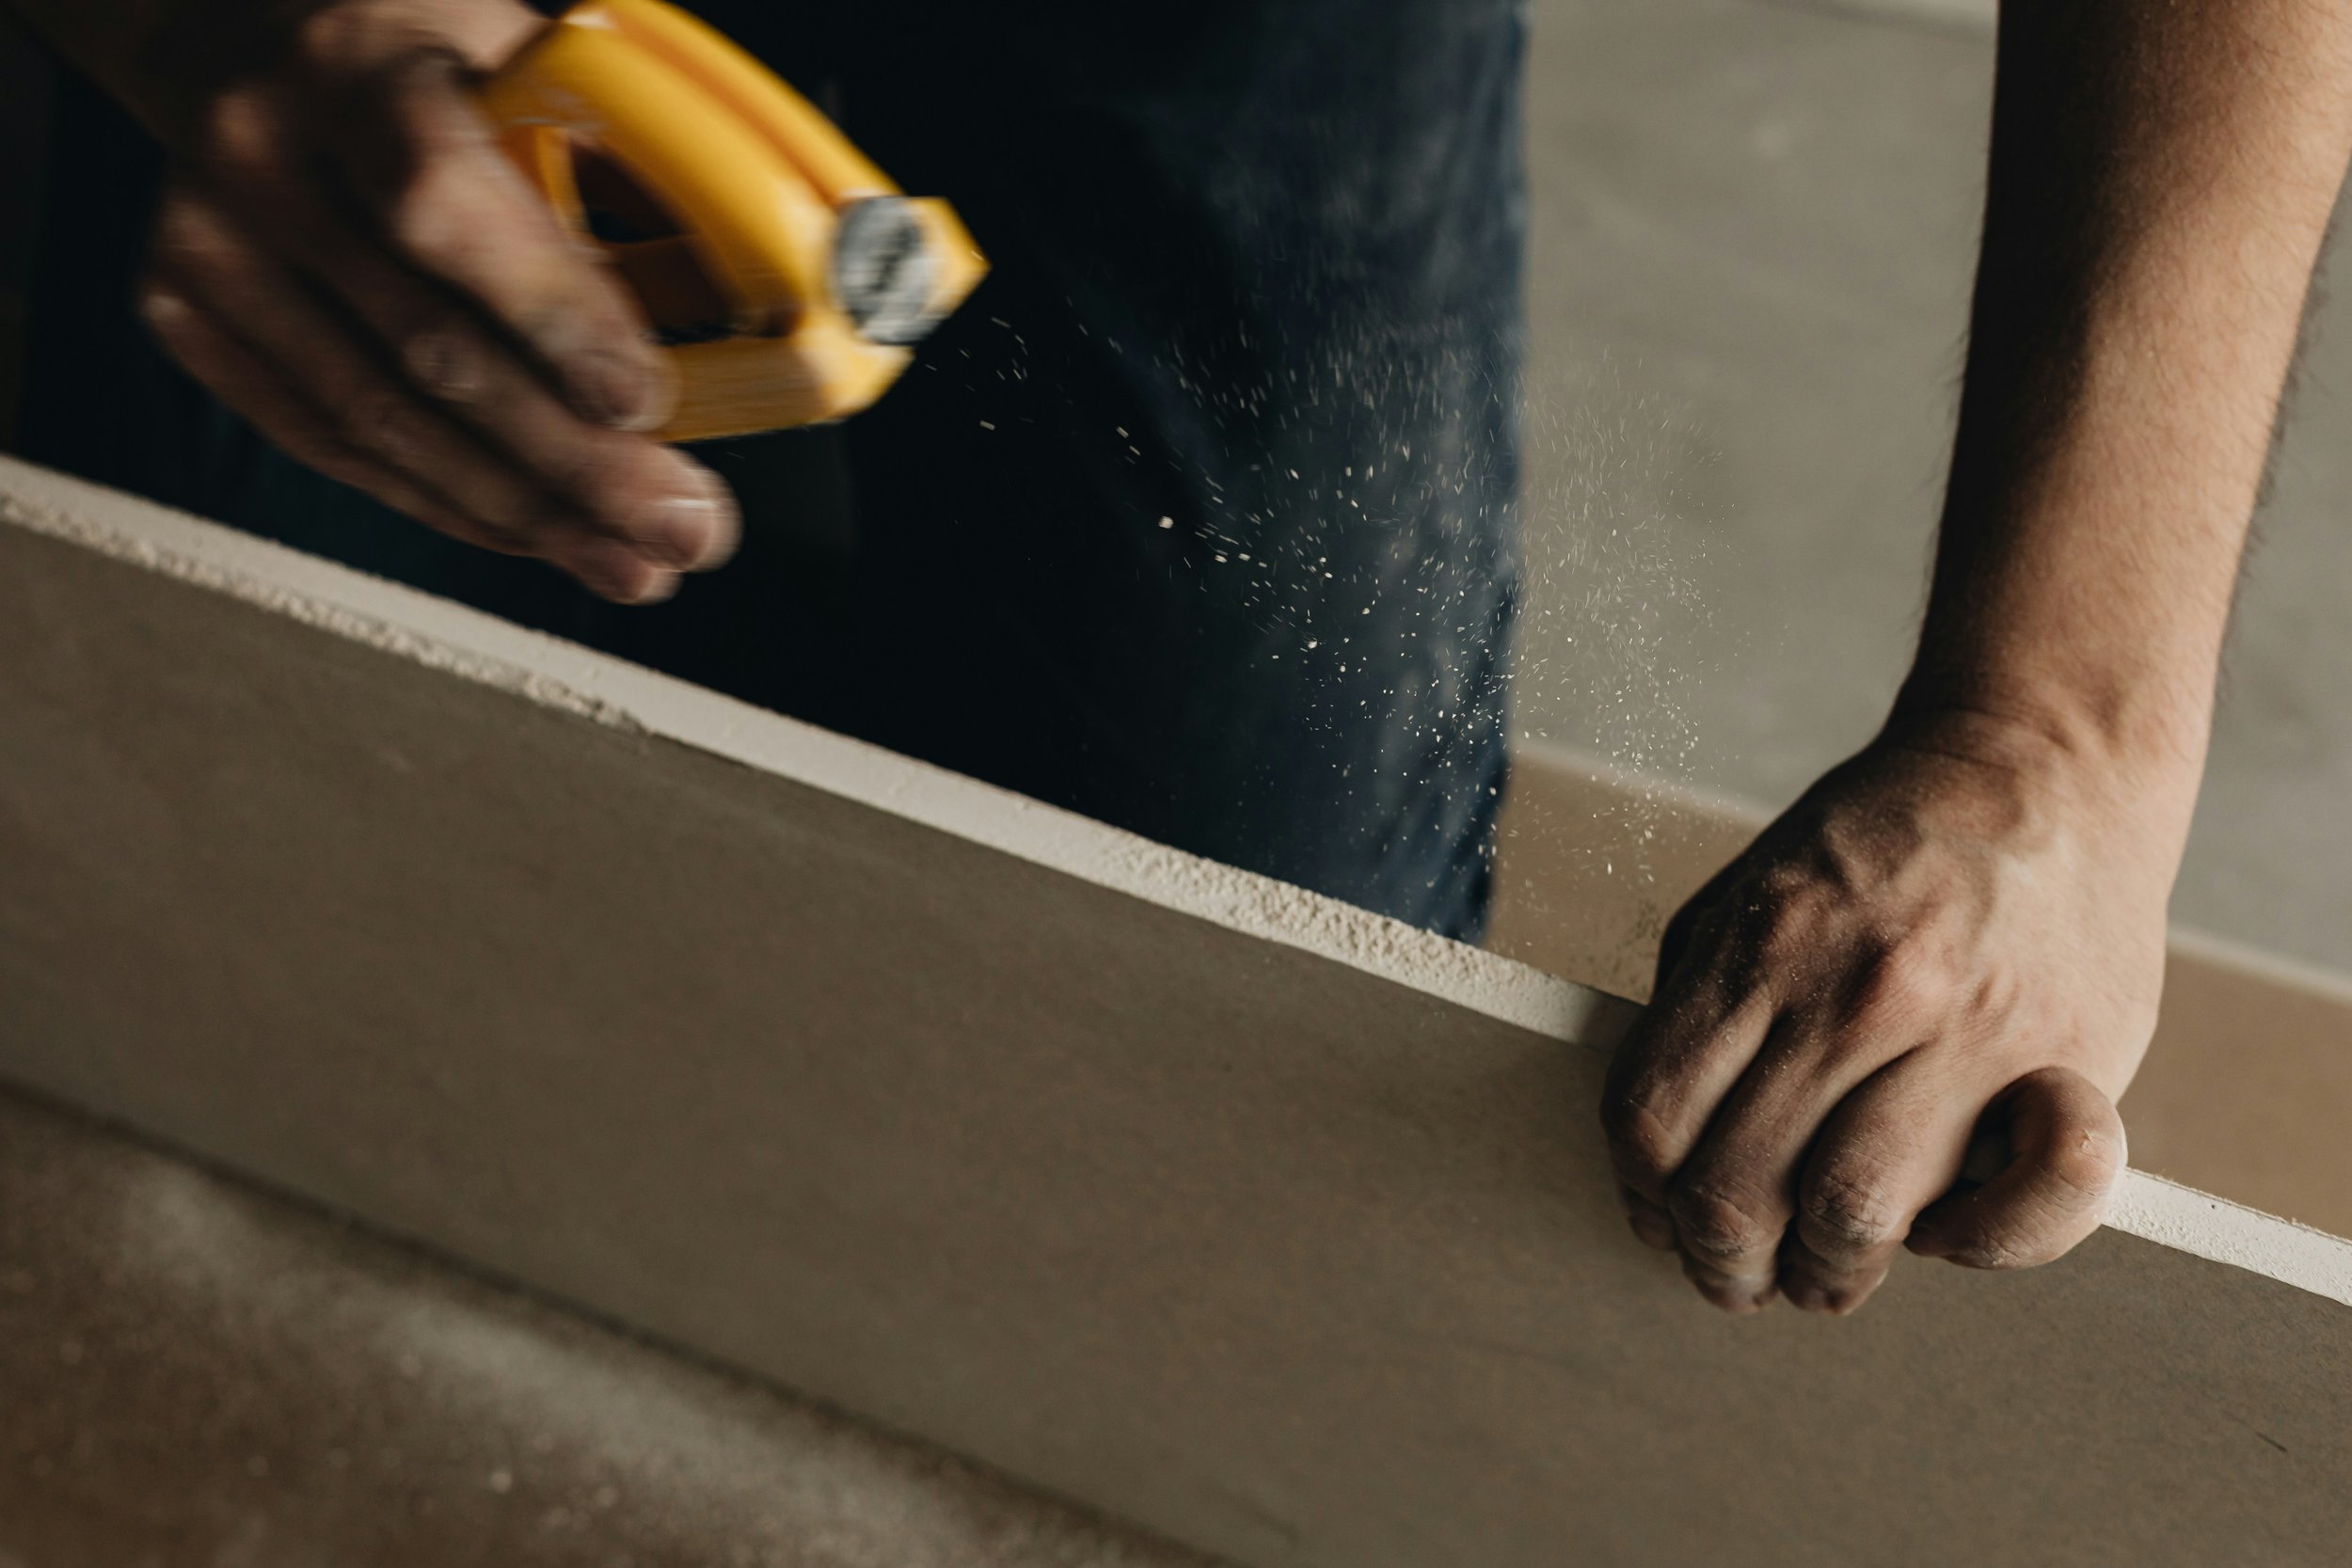
3. Prepping the Concrete Subfloor
You might be itching to lay down those beautiful planks pronto, but trust me, skipping prep work is like baking a cake without letting the oven preheat. Don’t do it! Here’s what you’ve gotta do:
3.1 Clean and Clear
First things first: clear out the room—furniture, rugs, potted plants, pet toys, you name it. Sweep or vacuum the concrete thoroughly, ensuring there’s no dirt or debris left behind. Because laminate flooring rests directly on top of the underlayment, any stray pebble or uneven patch can create an annoying bump beneath your foot. That’s no fun.
3.2 Check for Moisture
Concrete can sometimes hold moisture, which isn’t exactly laminate’s best friend. Perform a moisture test by taping a piece of plastic sheeting (say, 2 ft. x 2 ft.) onto the concrete. After 24 hours, if you notice condensation on the plastic or a dark spot on the concrete, you may need a more robust moisture barrier or professional advice. A consistently damp slab can sabotage your flooring investment faster than you can say “jackhammer.”
3.3 Level the Surface
Got any cracks, dips, or bumps? Fill them with a concrete patch or self-leveling compound and smooth them out. Grab a long level or a straight 2x4 to spot any dips or high spots. If the difference is more than 1/8 inch over a span of 6 feet, you’ll want to even it out. It might sound like a drag, but ensuring the subfloor is flat paves the way (literally!) for a seamless finish.
3.4 Let It Breathe
Concrete floors, especially newly poured ones, need time to fully cure. Experts often suggest waiting at least 30 days before installing any type of flooring. If your concrete’s been around the block a few times, you’re probably good. Still, it doesn’t hurt to double-check if any remodeling has recently taken place or if the slab is brand-spankin’ new.
4. Installing the Underlayment
Underlayment is the unsung hero of “How to Install Laminate Flooring on Concrete: Step-by-Step Guide.” Think of it like the foundation of a house—it supports, cushions, and helps with insulation. Plus, some underlayments come with a built-in moisture barrier. Here’s how to lay it down:
Roll it Out: Start in one corner and roll the underlayment across the floor, ensuring it’s flush against the walls.
Cut to Size: Trim it with a utility knife so it fits perfectly.Tape the Seams: If your underlayment has separate sections, use the manufacturer’s recommended tape to seal the seams. This prevents moisture from sneaking in and keeps everything neat.
Don’t Overlap: Be mindful not to layer pieces on top of each other—aim for edge-to-edge alignment.
Some people install a separate plastic moisture barrier first, followed by a foam underlayment. Others purchase an all-in-one product. Either way, double-check your laminate’s instructions to confirm what’s recommended. Manufacturers often have specific guidelines to protect your warranty.
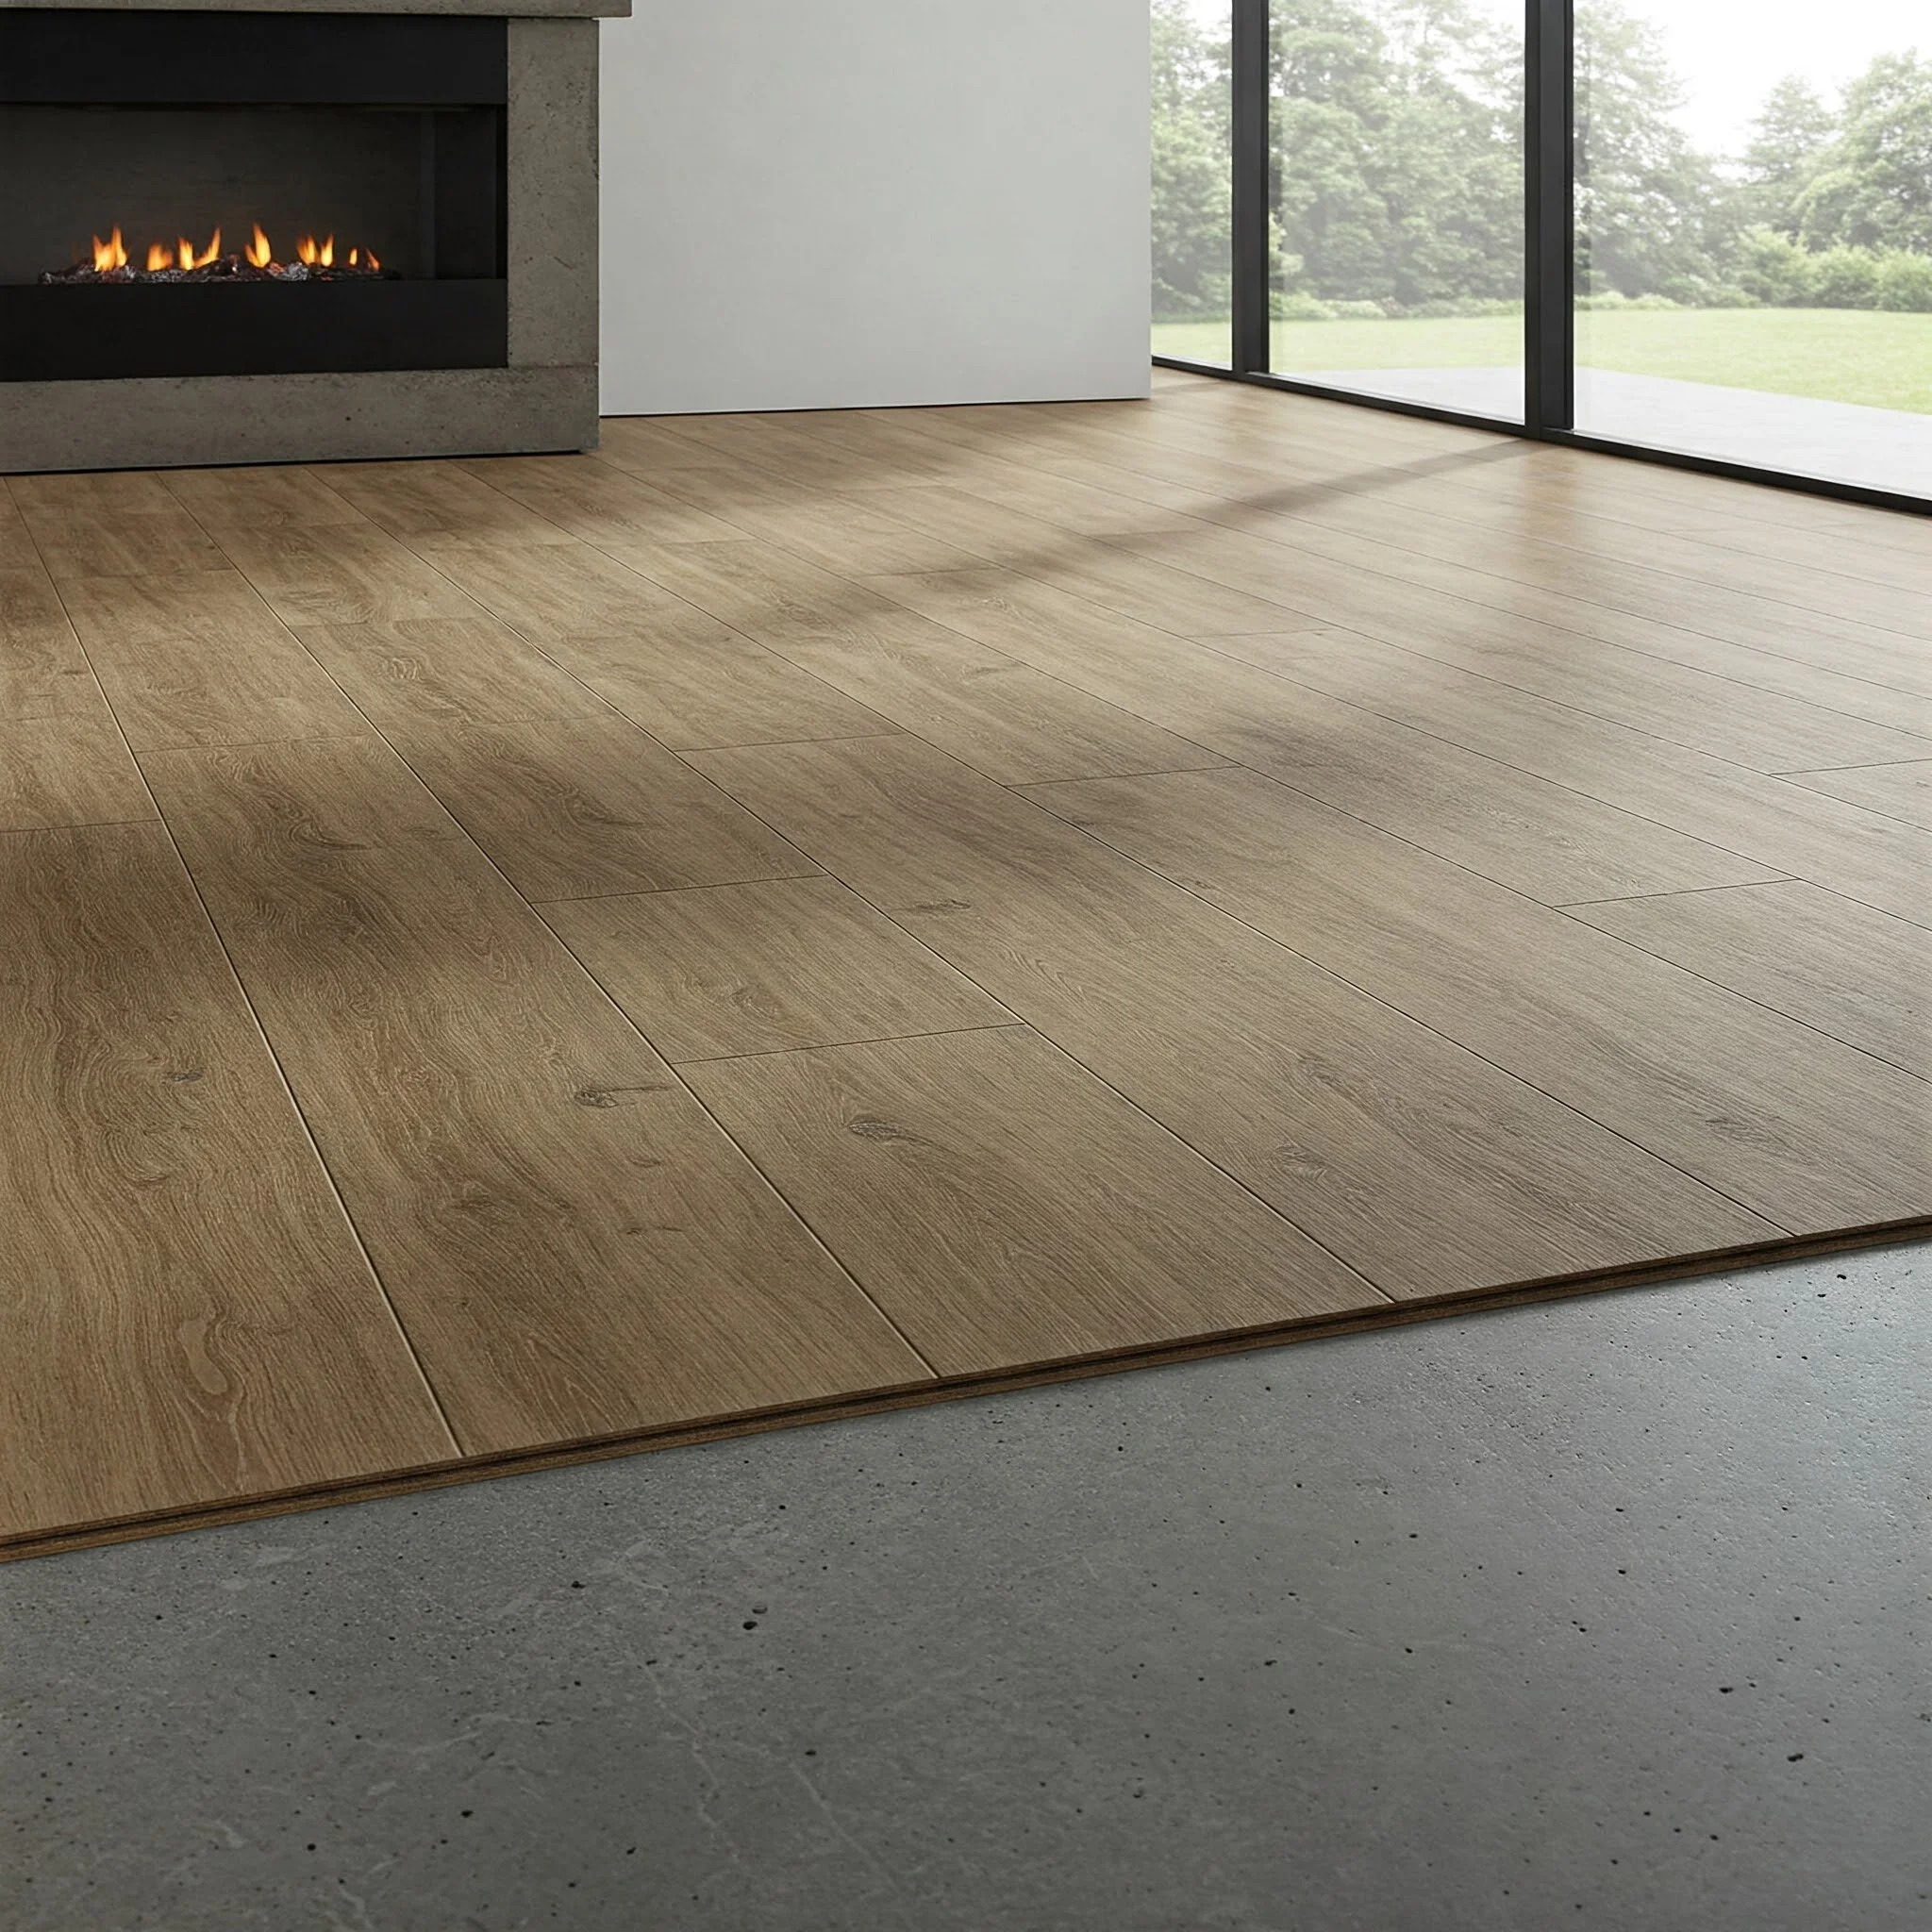
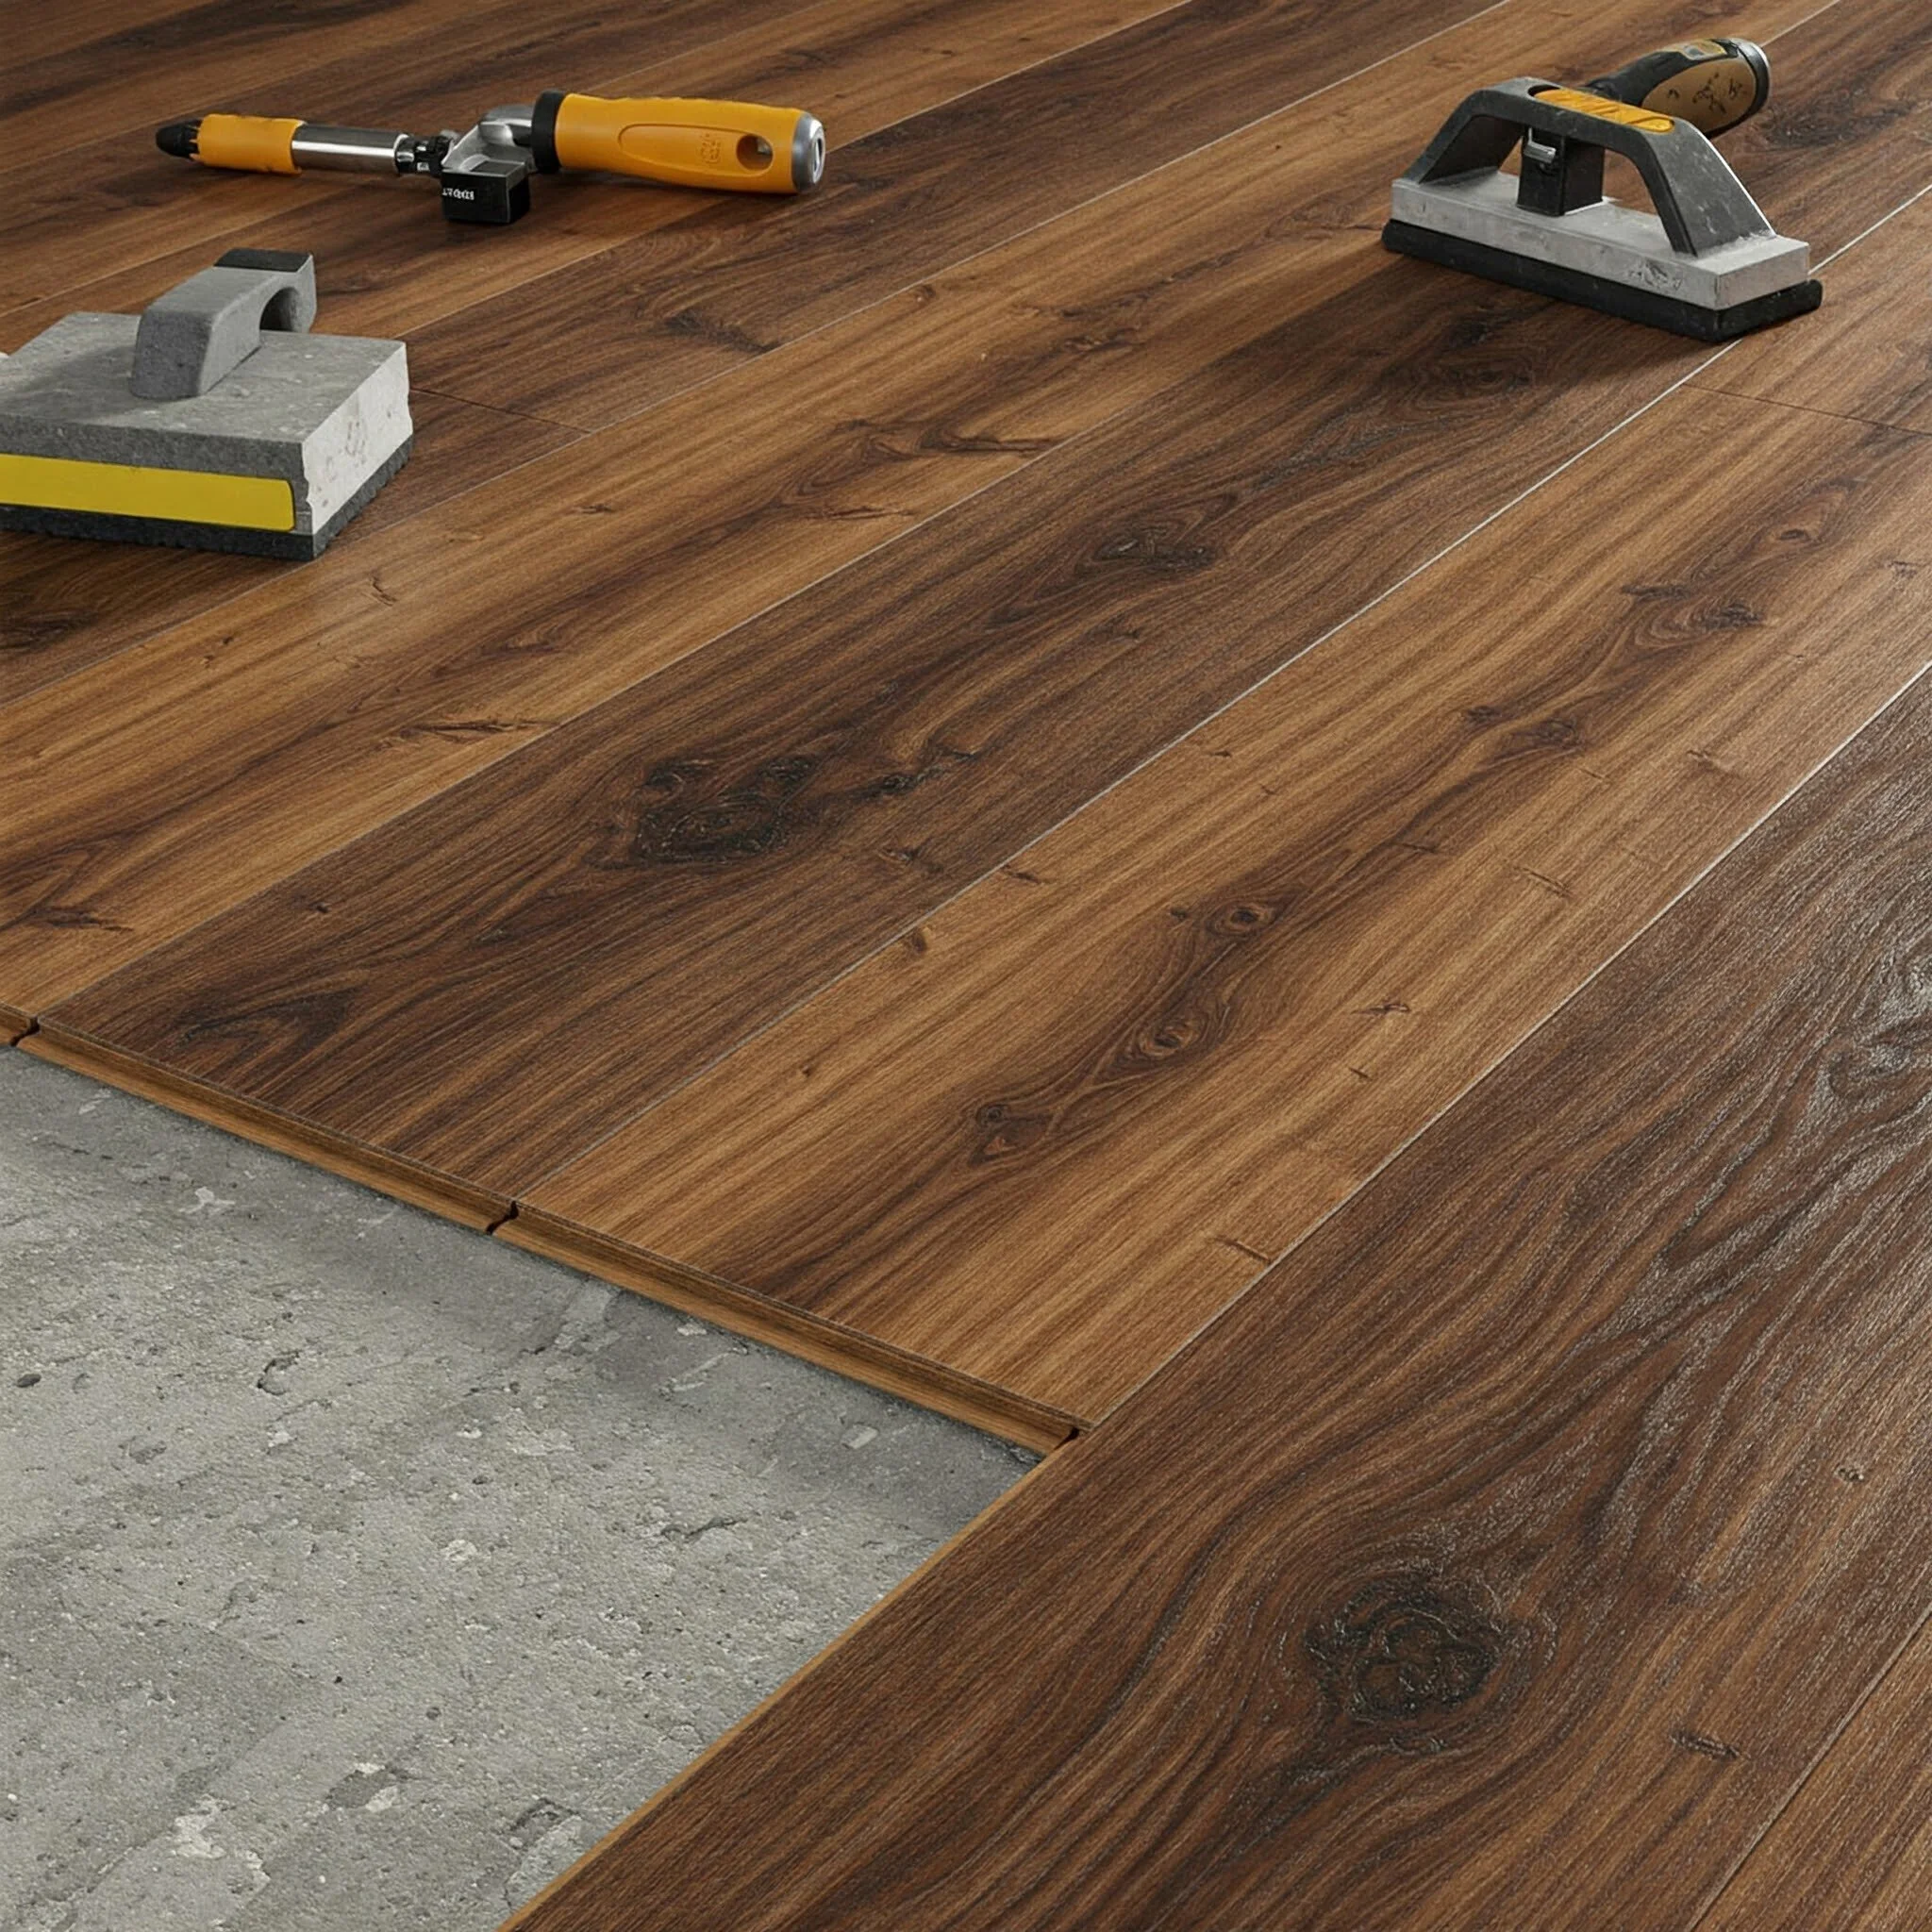
5. How to Install Laminate Flooring on Concrete: Step-by-Step Guide
All right, the moment of truth: it’s time to lay the planks. This is where things get exciting—and maybe a little nerve-racking. But hang in there! With a bit of focus and patience, you’ll have a new floor before you know it.
5.1 Plan Your Layout
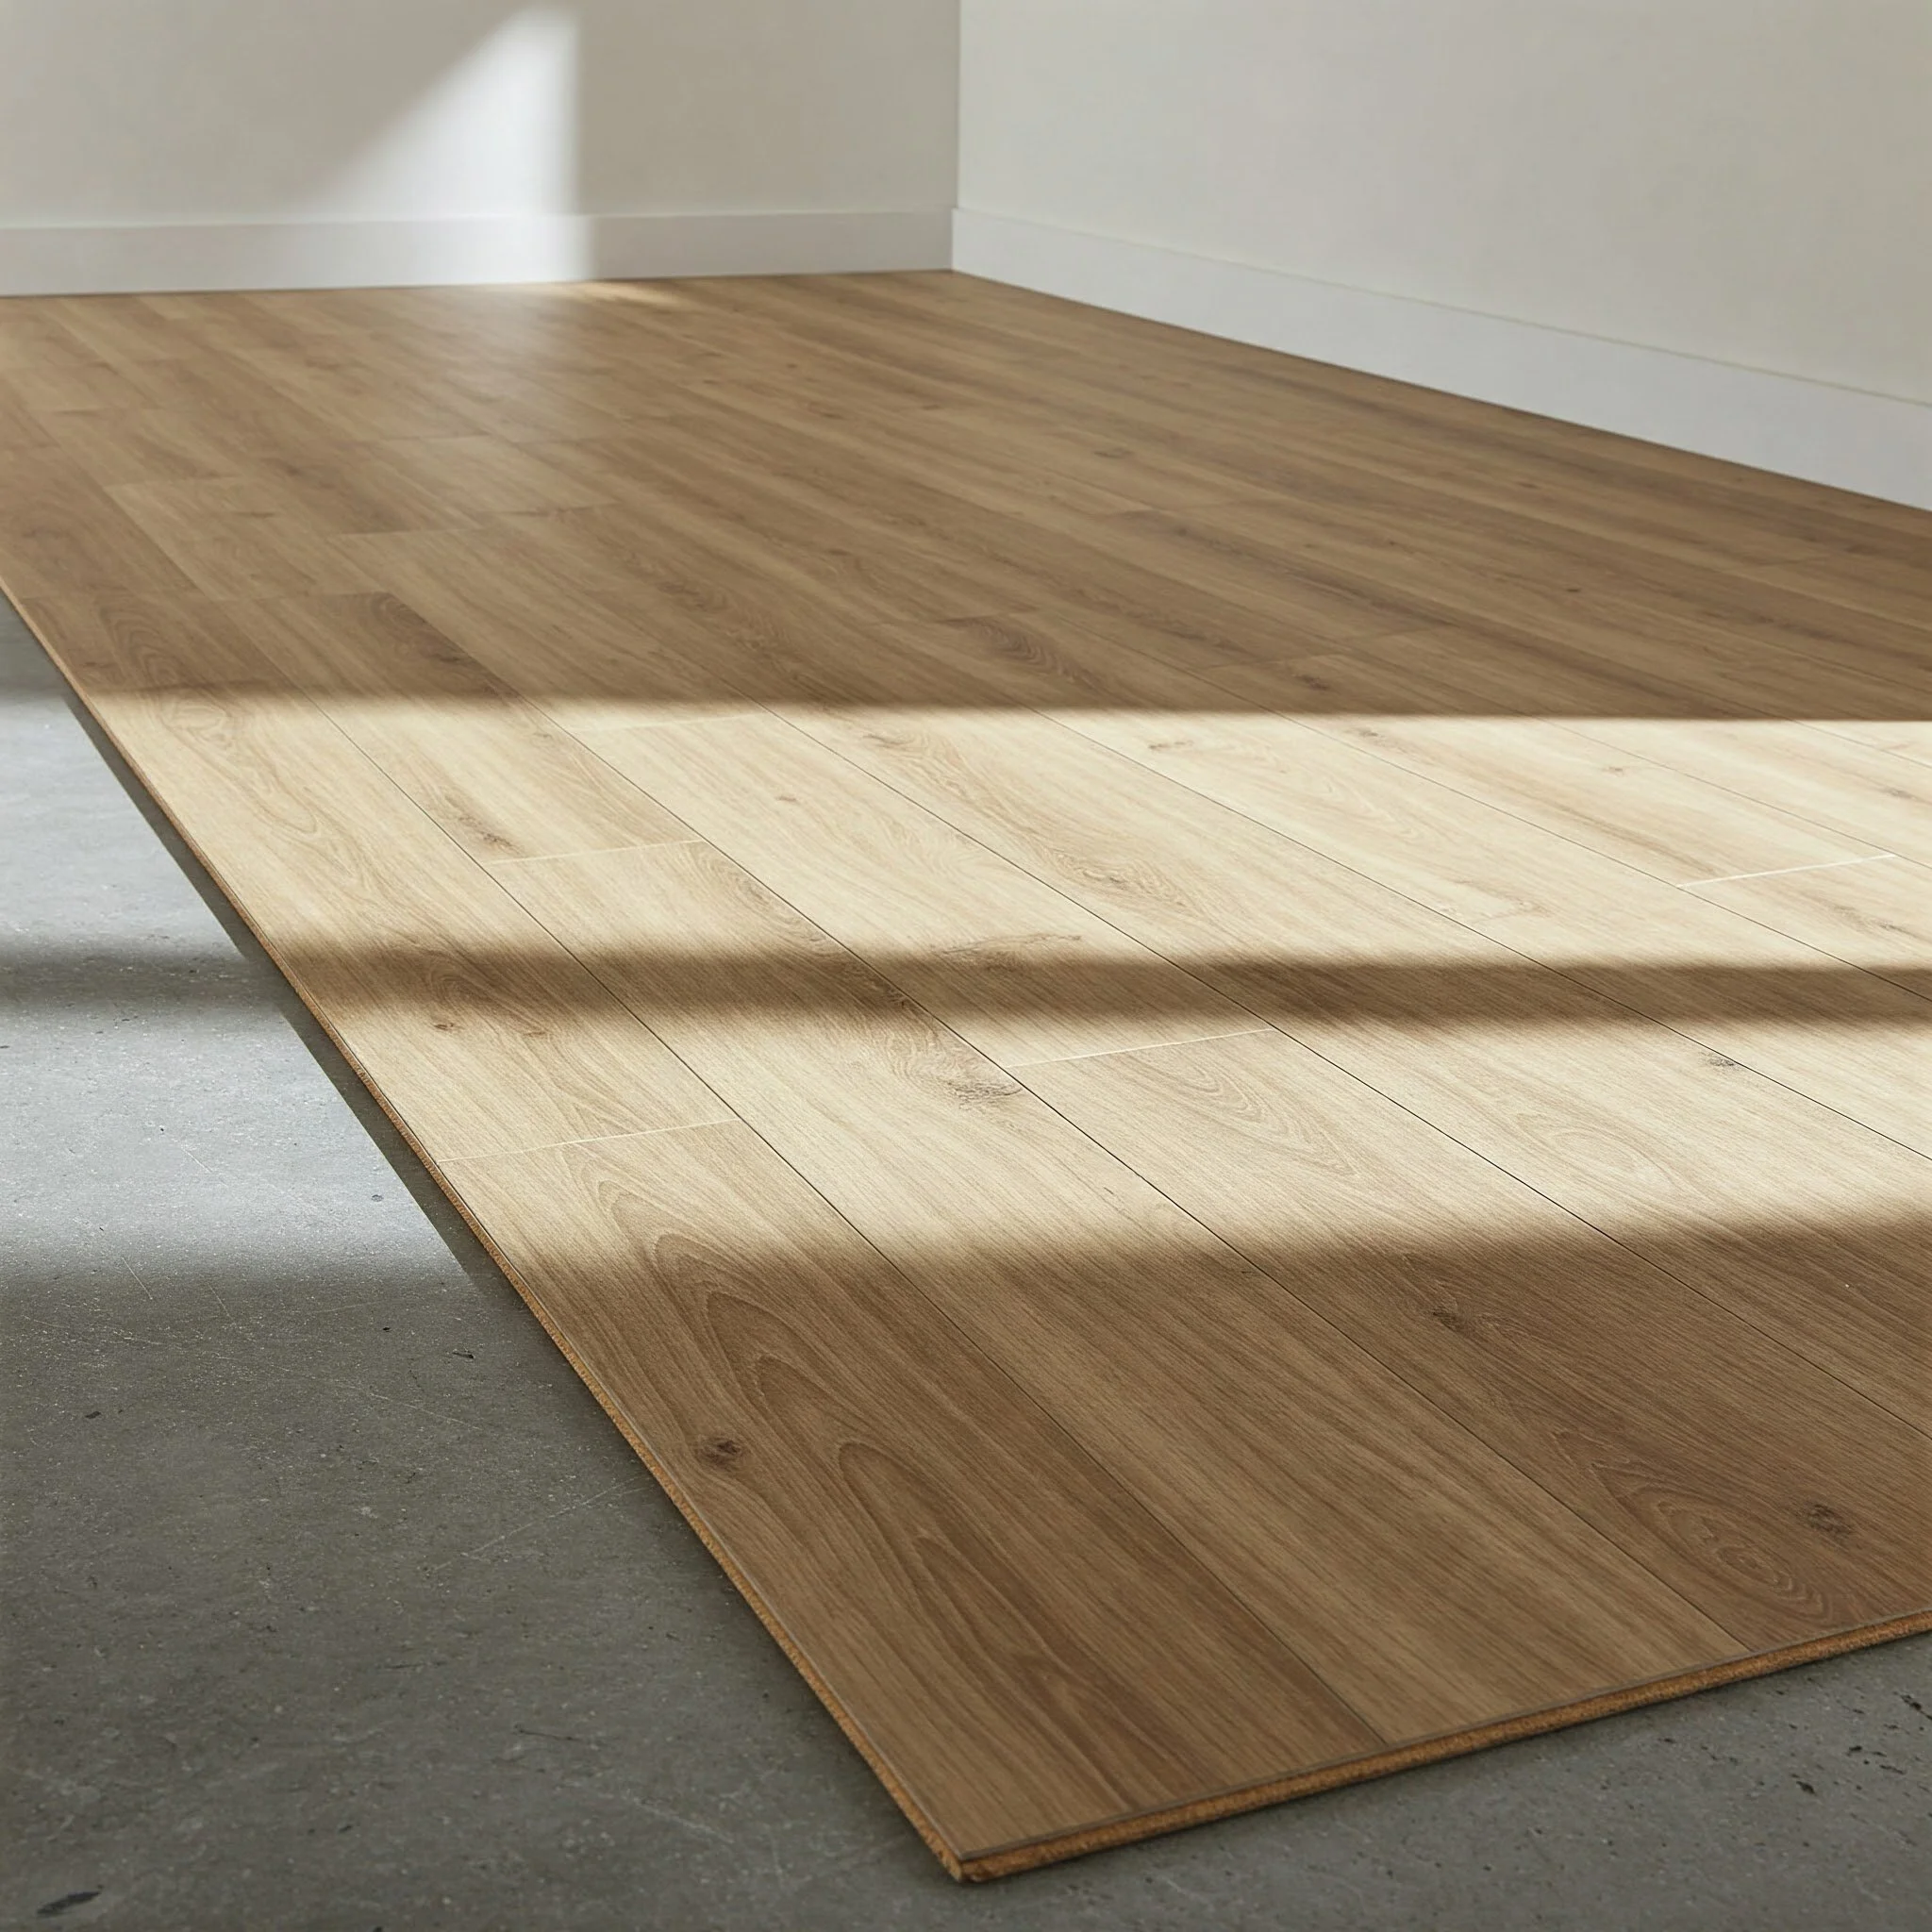
Laminate flooring, by and large, is designed to click or snap together, forming a “floating” floor that isn’t glued or nailed down to the subfloor. That said, you’ll want to plan how the boards will run. Typically, folks lay them parallel to the longest wall or in the direction of incoming light. But hey, it’s your floor—pick whatever orientation floats your boat.
Stagger the Seams: Ensure that the ends of adjacent planks don’t line up to create a repetitive pattern.
Measure Twice, Cut Once: Don’t eyeball it. Trust the tape measure, and leave about a 3/8-inch gap at the walls for expansion.
5.2 Start Laying the First Row
Place Spacers Along the Wall: This keeps the recommended gap for floor expansion.
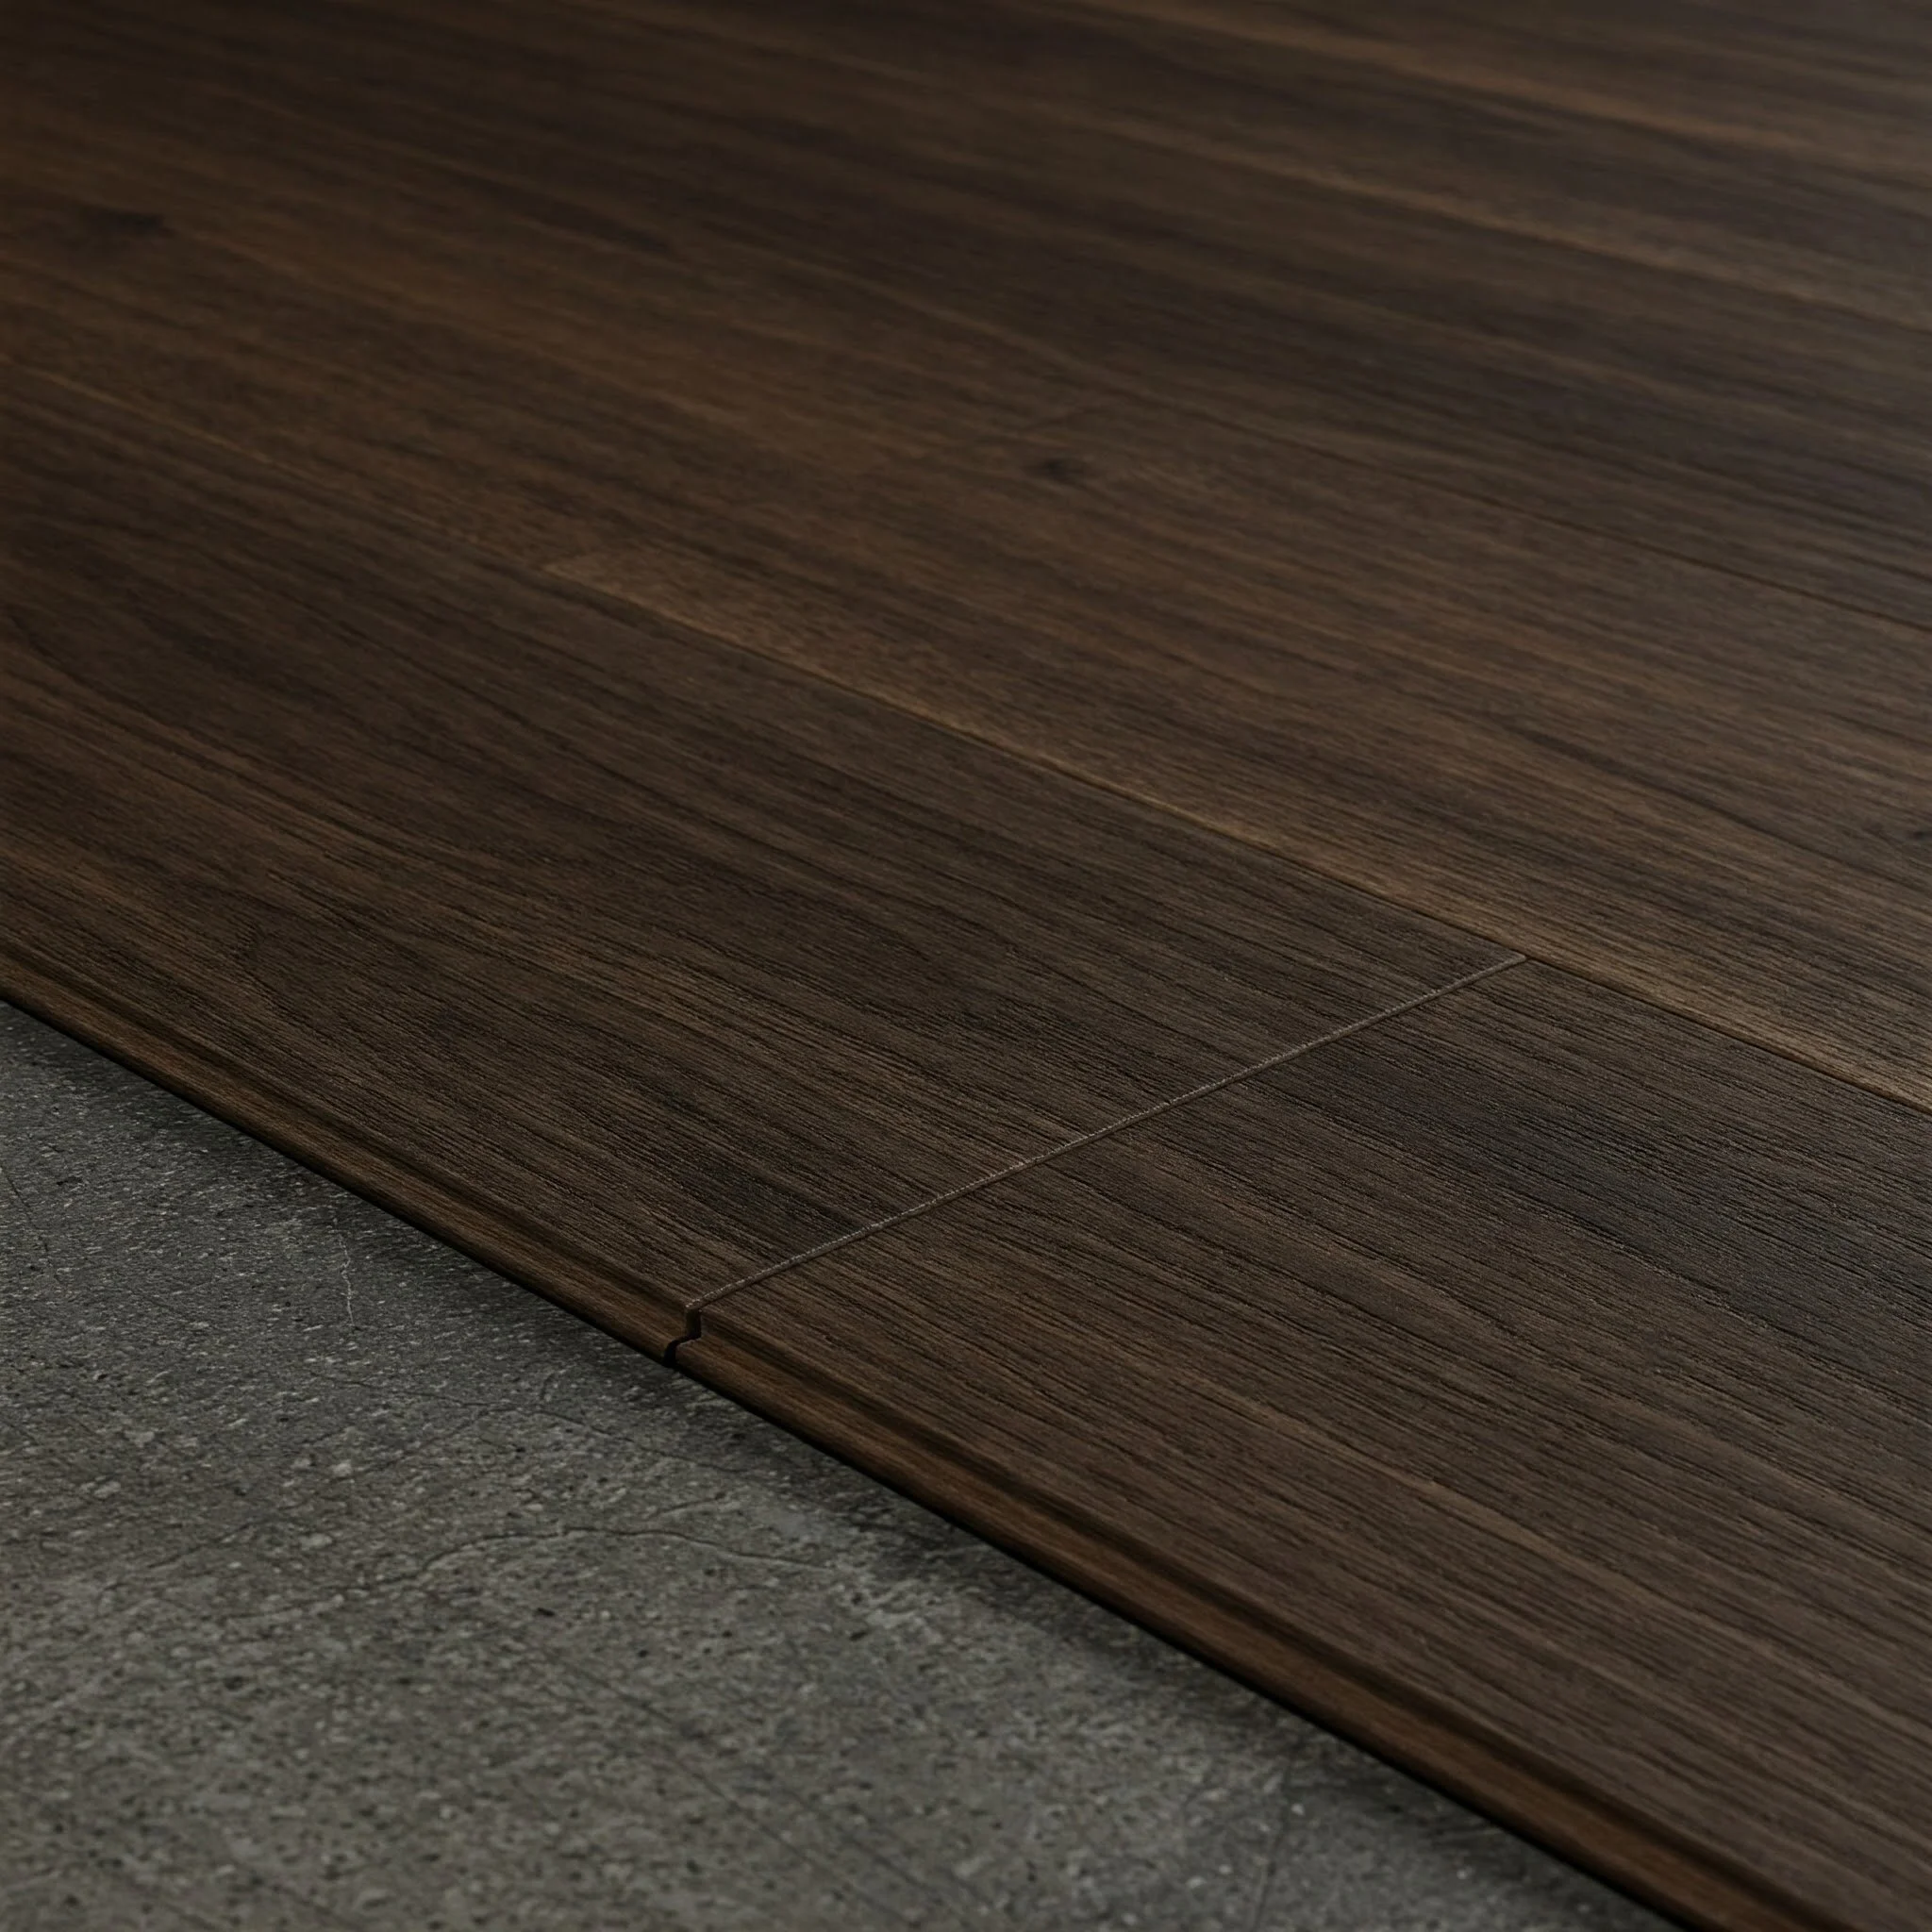
Line Up the First Board: Tongue side toward the wall—check your manufacturer’s instructions, though, as some planks differ.Connect the Next Board: Angle it into the groove of the previous plank, then snap it down. A tapping block and mallet can help secure the fit without damaging the plank edges.
Once you finish the first row, you’ll likely need to cut the last plank to fit. Hang onto the leftover piece—it might just start the next row, helping you stagger those seams.
5.3 Continue the Process
As you move along each row:
Angle and Click: Most laminate planks install at about a 20-30 degree angle into the preceding board. A gentle downward push usually locks it in place.
Mind the Joint Gaps: Make sure they’re tight. Gaps look sloppy and can let moisture seep in.
Use a Pull Bar for Tight Spots: When you reach the final plank in a row near the wall, a pull bar helps snug it up without busting your knuckles.
5.4 Work Around Obstacles
Got a radiator or weird corner angles? Measure carefully, mark the plank, and cut accordingly. Patience is key here. Nobody wants to waste expensive planks due to rushed cuts. Double-check everything before making the final slice.
5.5 The Finishing Touch
Once you’ve covered the entire floor, remove the spacers along the walls. Trim and attach any baseboards or quarter-round molding to conceal the expansion gap. Don’t nail the molding into the laminate itself; it should float freely, so affix it to the wall instead. Step back and bask in the glory of your brand-new floor!
6. Post-Installation Cleanup and Checks
Whew! You did it! But don’t pop the champagne just yet—there are a few more things to check off your list:
Clean the Surface: Sweep up any sawdust, leftover underlayment scraps, or stray bits of plastic.
Inspect for Gaps: Run your hand gently over plank joints to feel for any misalignment. If you find one, see if a tapping block can coax it back into place.Check Expansion Gaps: Ensure there’s the recommended distance between the flooring and the walls or any other fixed objects. This gap allows the laminate to expand and contract with temperature changes.
Apply Transition Strips: If you’re joining up with carpet or tile in a doorway, transition strips create a neat threshold and keep folks from tripping.
7. Troubleshooting Common Hiccups
Let’s be real: not every flooring project unfolds without a hitch. If you run into a snag, don’t let it drive you up the wall. Here are some quick fixes:
Buckling or Lifting: Could be that you didn’t leave enough expansion space. If it’s a localized buckle, remove the nearest baseboard to check for pinch points.
Squeaking: Usually indicates movement between planks or subfloor irregularities. If the subfloor wasn’t level or debris got trapped underneath, it might cause squeaking.
Plank Separation: If the boards aren’t clicking together tightly, you might need to disassemble the floor back to that row, clean it out, and reinstall.
Excessive Noise: Sometimes the underlayment might not be thick enough or well-suited to your laminate. Double-check the manufacturer’s recommendations if you’re hearing a “hollow” sound.
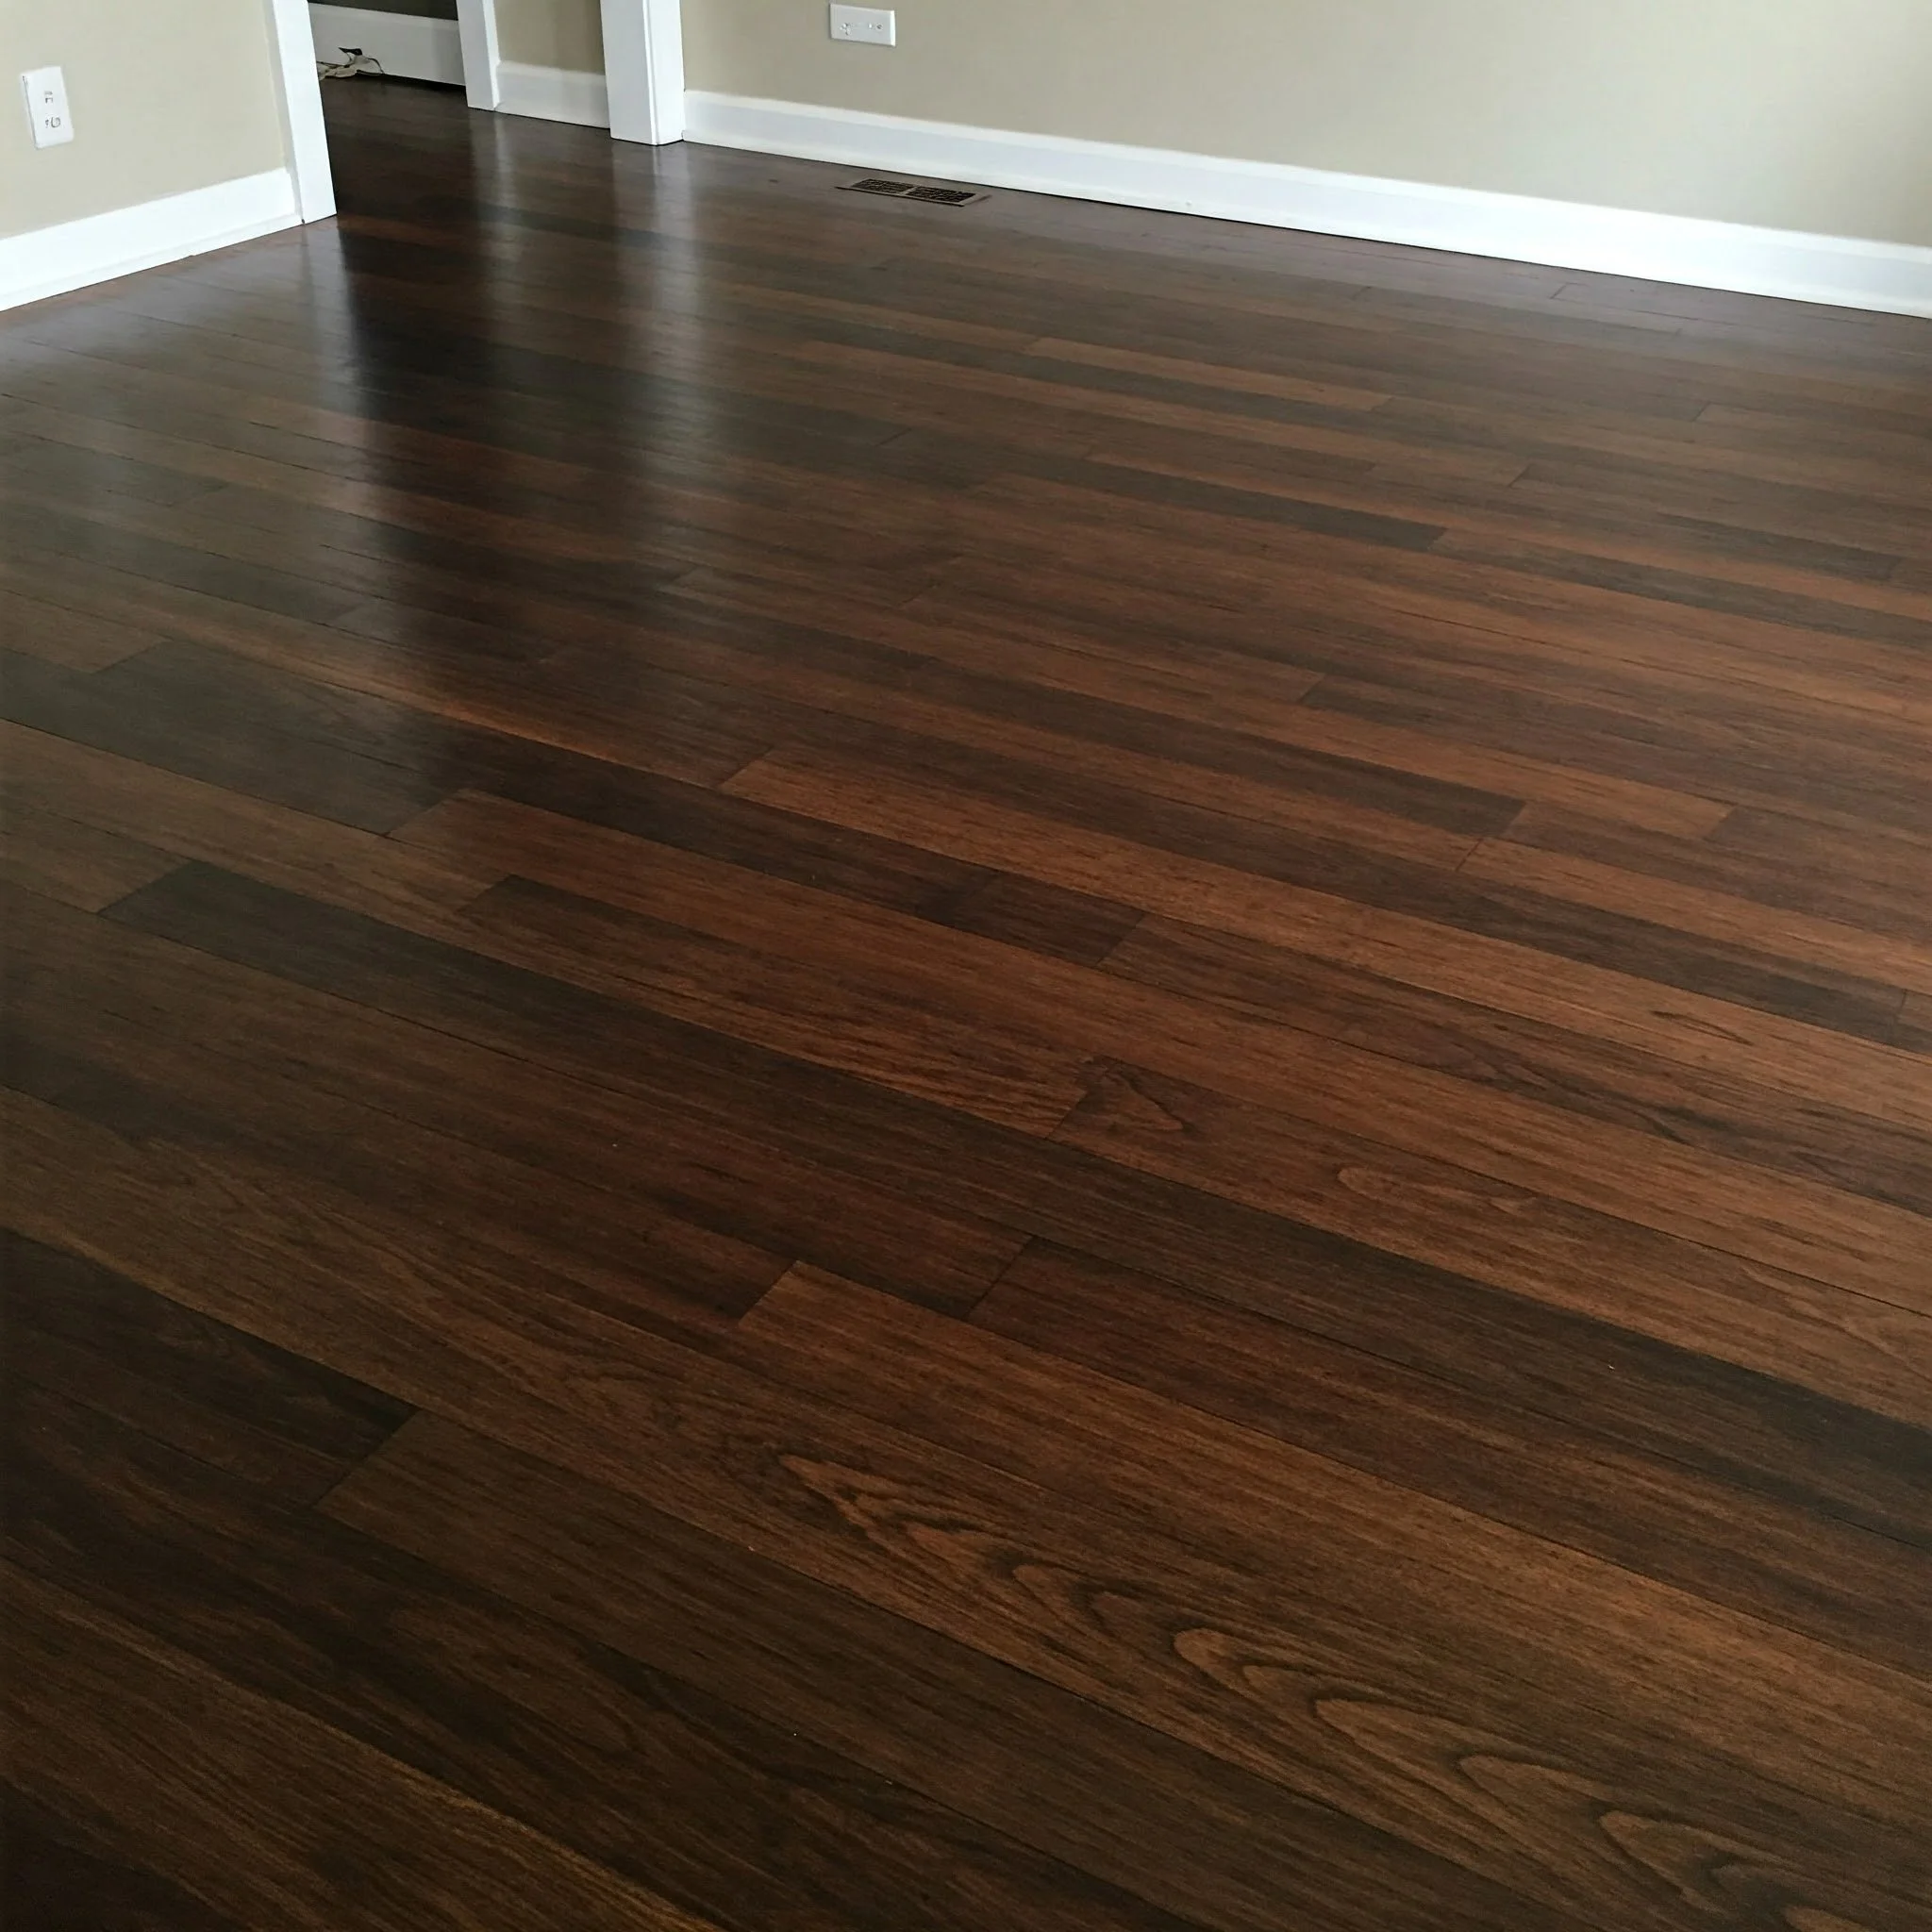
8. Maintaining Your Laminate Floors
You’ve conquered “How to Install Laminate Flooring on Concrete: Step-by-Step Guide,” but the journey doesn’t end with the last plank. Want your laminate to look brand-spankin’ new for years to come? Keep these pointers in mind:
Sweep or Vacuum Regularly: Grit acts like sandpaper on your wear layer. A quick daily or weekly sweep keeps scratches at bay.
Use a Damp (Not Sopping) Mop: Excess water can seep into joints and damage the core. Opt for a laminate-friendly cleaner or warm water mixed with mild dish soap.
Wipe Spills Promptly: Laminate isn’t a fan of standing liquid.
Furniture Pads: Place pads under chair legs and heavy furniture to prevent dents or scuffs.Temperature Control: Extreme humidity shifts can cause expansion or contraction. Keeping your indoor climate fairly consistent helps.
If properly cared for, laminate flooring can keep that fresh, polished look for a decade or more, proving that a little TLC goes a long way.
9. Final Word on “How to Install Laminate Flooring on Concrete: Step-by-Step Guide”
Feeling empowered yet? The entire process might seem daunting at first glance—after all, you’re tackling a fairly permanent home improvement project on a concrete slab. But with the right prep work and a little confidence, you’ll find that “How to Install Laminate Flooring on Concrete: Step-by-Step Guide” is actually a dream come true for anyone craving a fresh look without the extravagant costs of hardwood or the hassle of tile.
Remember, the best floors are laid on a foundation of patience and attention to detail. Whether you’re a first-time DIYer or an old pro ready for the next challenge, this step-by-step approach helps ensure you’ll end up with a floor that’s as robust as it is ravishing. There’s something undeniably satisfying about standing back after the final plank clicks into place and thinking, “Yeah, I did that!”
Conclusion
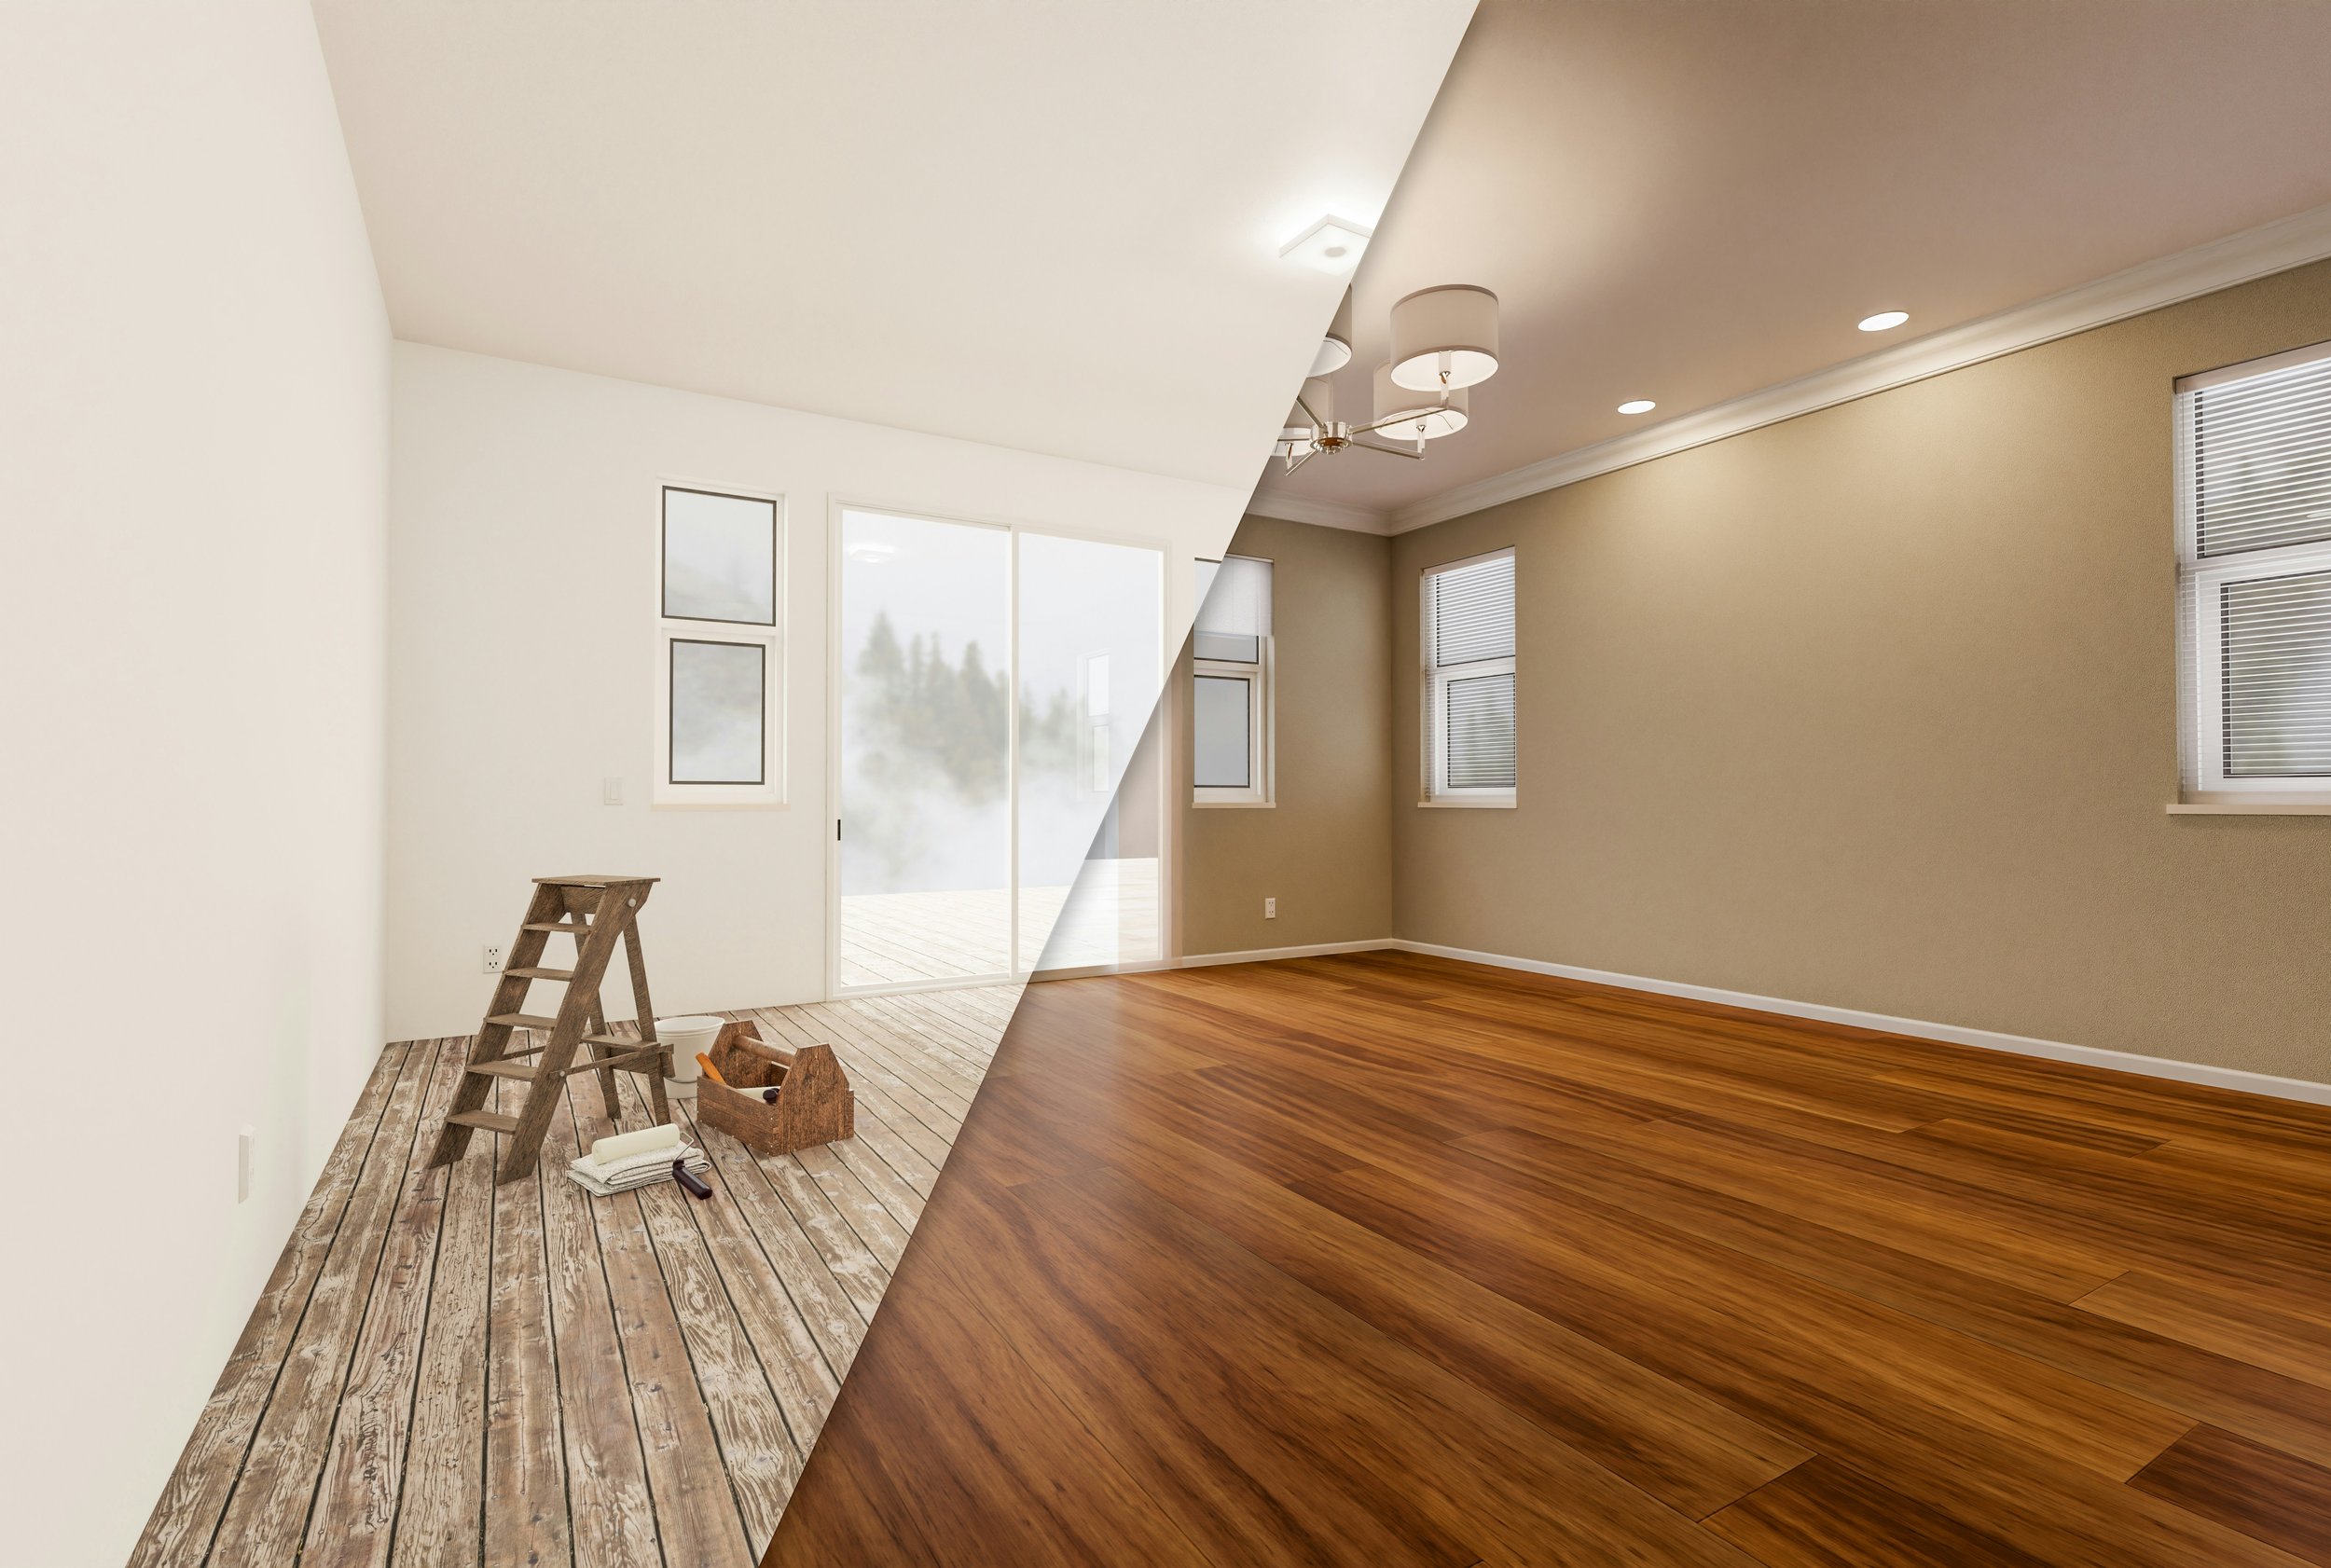
All in all, installing laminate flooring on concrete can be a smooth, drama-free experience—provided you do your homework. By preparing the subfloor, selecting the right underlayment, planning your plank layout, and meticulously following each step, you’re well on your way to a transformation that’ll make your home feel like a stylish showroom.
Whether you’re sprucing up a neglected basement or adding flair to a dated living area, laminate is often the perfect compromise between affordability, durability, and aesthetic appeal. Armed with these pointers on “How to Install Laminate Flooring on Concrete: Step-by-Step Guide,” you’ve got everything you need to roll out those planks with confidence.
So don’t just stand there—get crackin’! With a little elbow grease and the right attitude, you’ll be admiring your brand-new floors in no time. And when friends ask, “How’d you manage such a professional look?” just grin and say, “It was easy-peasy. Wanna see how I did it?”
Read next: How to Fix Laminate Floor: Common Issues Solved
Frequently Asked Questions
Q1. Do I really need underlayment on concrete?
You bet! Underlayment not only acts as a moisture barrier but also adds insulation and sound dampening. Concrete can be cold and a tad unforgiving, so that extra layer is a game-changer.
Q2. Can I install laminate directly on an old concrete floor without removing existing tiles?
It’s possible—if the existing floor is stable, level, and in decent condition. But you’ll still need underlayment, and you must ensure no cracks or lifting tiles are present. When in doubt, removing old flooring is safer for longevity.
Q3. How long does the entire installation take?
It depends on the size of the room, your experience level, and whether you encounter any complications. A medium-sized room could be done in a weekend if you prep properly and work steadily.
Q4. Is laminate flooring pet-friendly?
Generally, yes! Laminate floors resist scratches better than some hardwoods, and they’re easy to clean. Just be mindful of liquids and wipe up accidents quickly.
Q5. Should I acclimate the laminate planks before installation?
Most manufacturers recommend letting the unopened boxes sit in the room where you plan to install them for 48 hours. This helps the planks adjust to temperature and humidity, reducing the chance of warping.
Stay up to date with our latest ideas!