How to Install a Bathroom Fan Step by Step
Dive into our ultimate DIY guide and discover how to install a bathroom fan step by step. With clear instructions, handy tips, and FAQs, you'll enjoy a breezier, fresher bathroom in no time!
Picture this: you're stepping into your bathroom after a long, hectic day, and instead of being greeted by a musty odor or lingering steam, you're met with fresh, cool air. Sounds like a dream, right? Well, buckle up because we're about to turn that dream into reality. Today, we're diving into the nitty-gritty of home improvement with our guide on How to Install a Bathroom Fan Step by Step. Whether you're a seasoned DIY enthusiast or a total newbie, this article is jam-packed with everything you need to know to revamp your bathroom's ventilation system.
In this guide, we'll walk you through the entire process—from gathering your tools and prepping your workspace to the actual installation and those all-important final touches. And don't worry if you're a bit nervous about taking on a new project; we'll sprinkle in plenty of practical tips, safety precautions, and even some troubleshooting advice along the way. So, roll up your sleeves, grab a cup of coffee (or tea, if that's your thing), and let's get started on transforming your bathroom into a haven of fresh air!
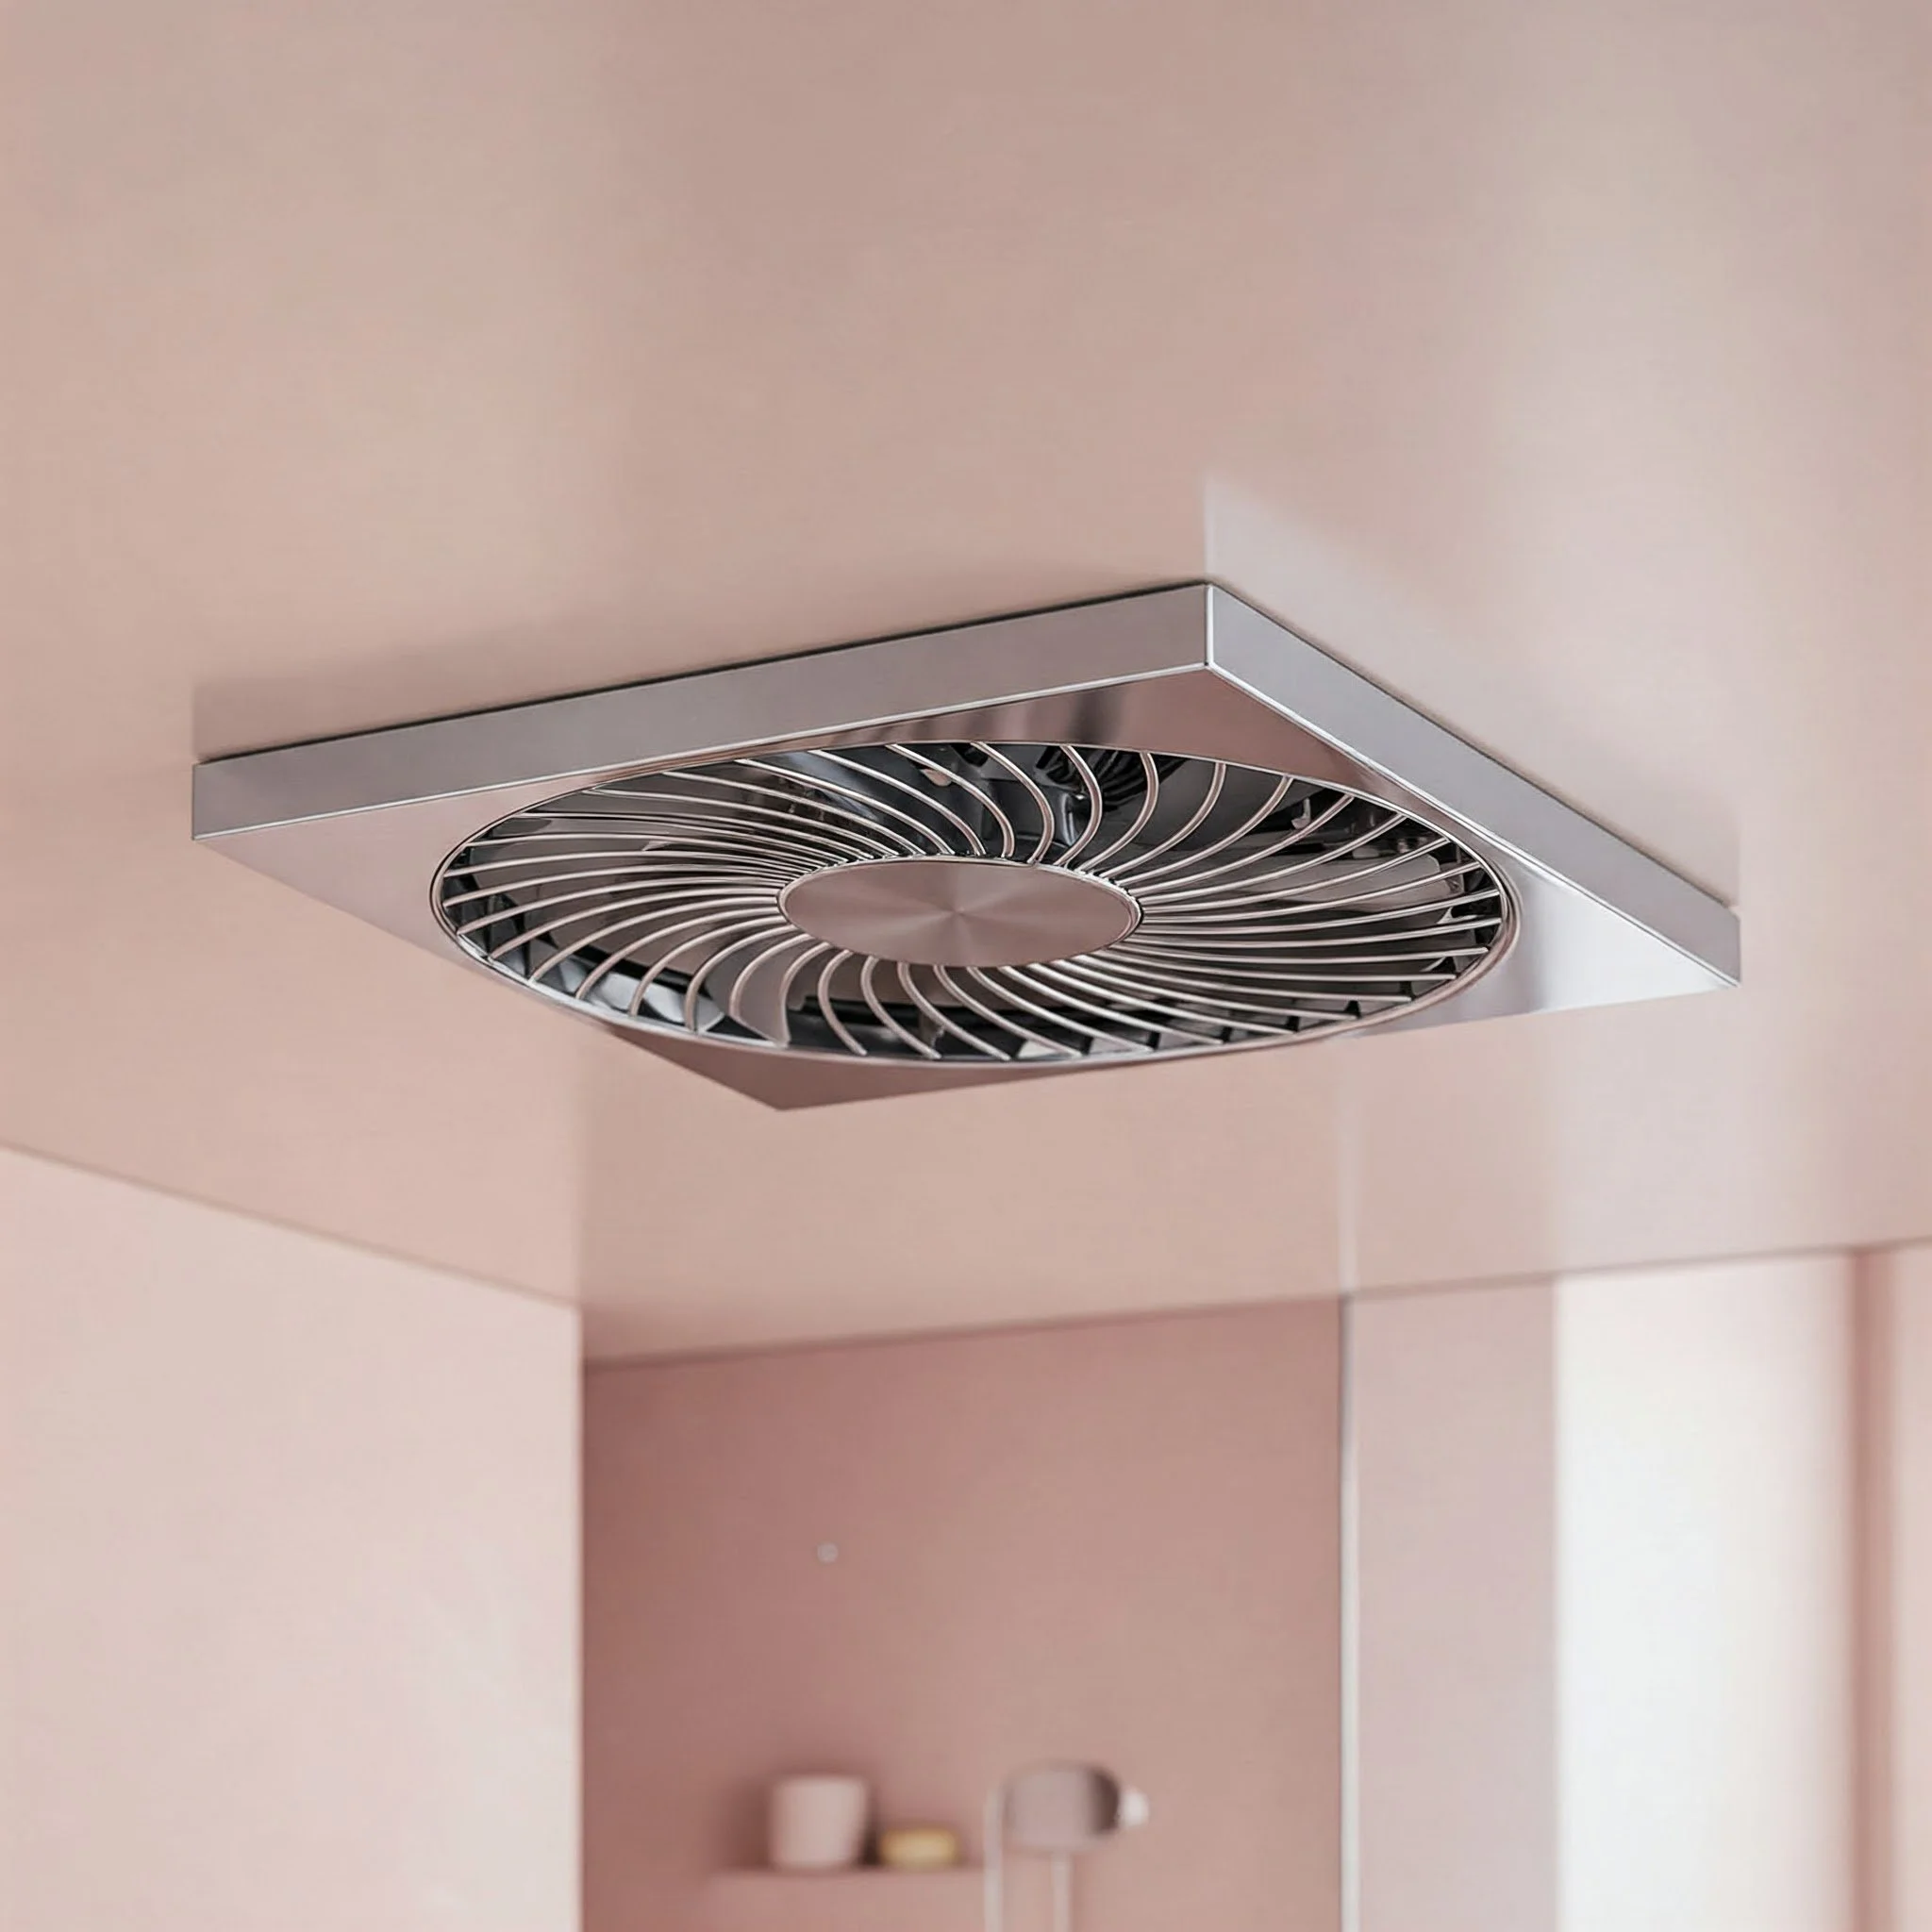
The Perks of a Well-Installed Bathroom Fan
Before we jump into the "how-to" details, let’s chat about why this project is a real game changer. A properly installed bathroom fan does more than just circulate air—it protects your home from moisture buildup, prevents mold growth, and can even extend the life of your fixtures and paint job. Plus, by doing it yourself, you'll save a pretty penny compared to hiring a professional. Who doesn't love a little extra cash in the wallet, right?
Why Bother Installing a Bathroom Fan?
Improved Air Quality: Keeps the bathroom free from lingering steam and odors.
Moisture Control: Prevents mold and mildew from creeping up on your walls and ceilings.
Energy Efficiency: Modern fans are designed to operate quietly and efficiently.
Cost Savings: DIY installation can be much more budget-friendly than professional help.
Enhanced Home Value: A well-ventilated bathroom is a big plus for homebuyers.
By understanding these benefits, you'll appreciate why mastering How to Install a Bathroom Fan Step by Step is a must-have skill in your home improvement toolkit.
Tools and Materials: Your DIY Arsenal
Alright, let's talk gear. The beauty of this project is that it doesn't require a fancy toolkit or a degree in engineering. Most of the tools you'll need are probably already sitting in your garage or toolbox. Here’s what you’ll want to gather before you start:
Essential Tools and Materials
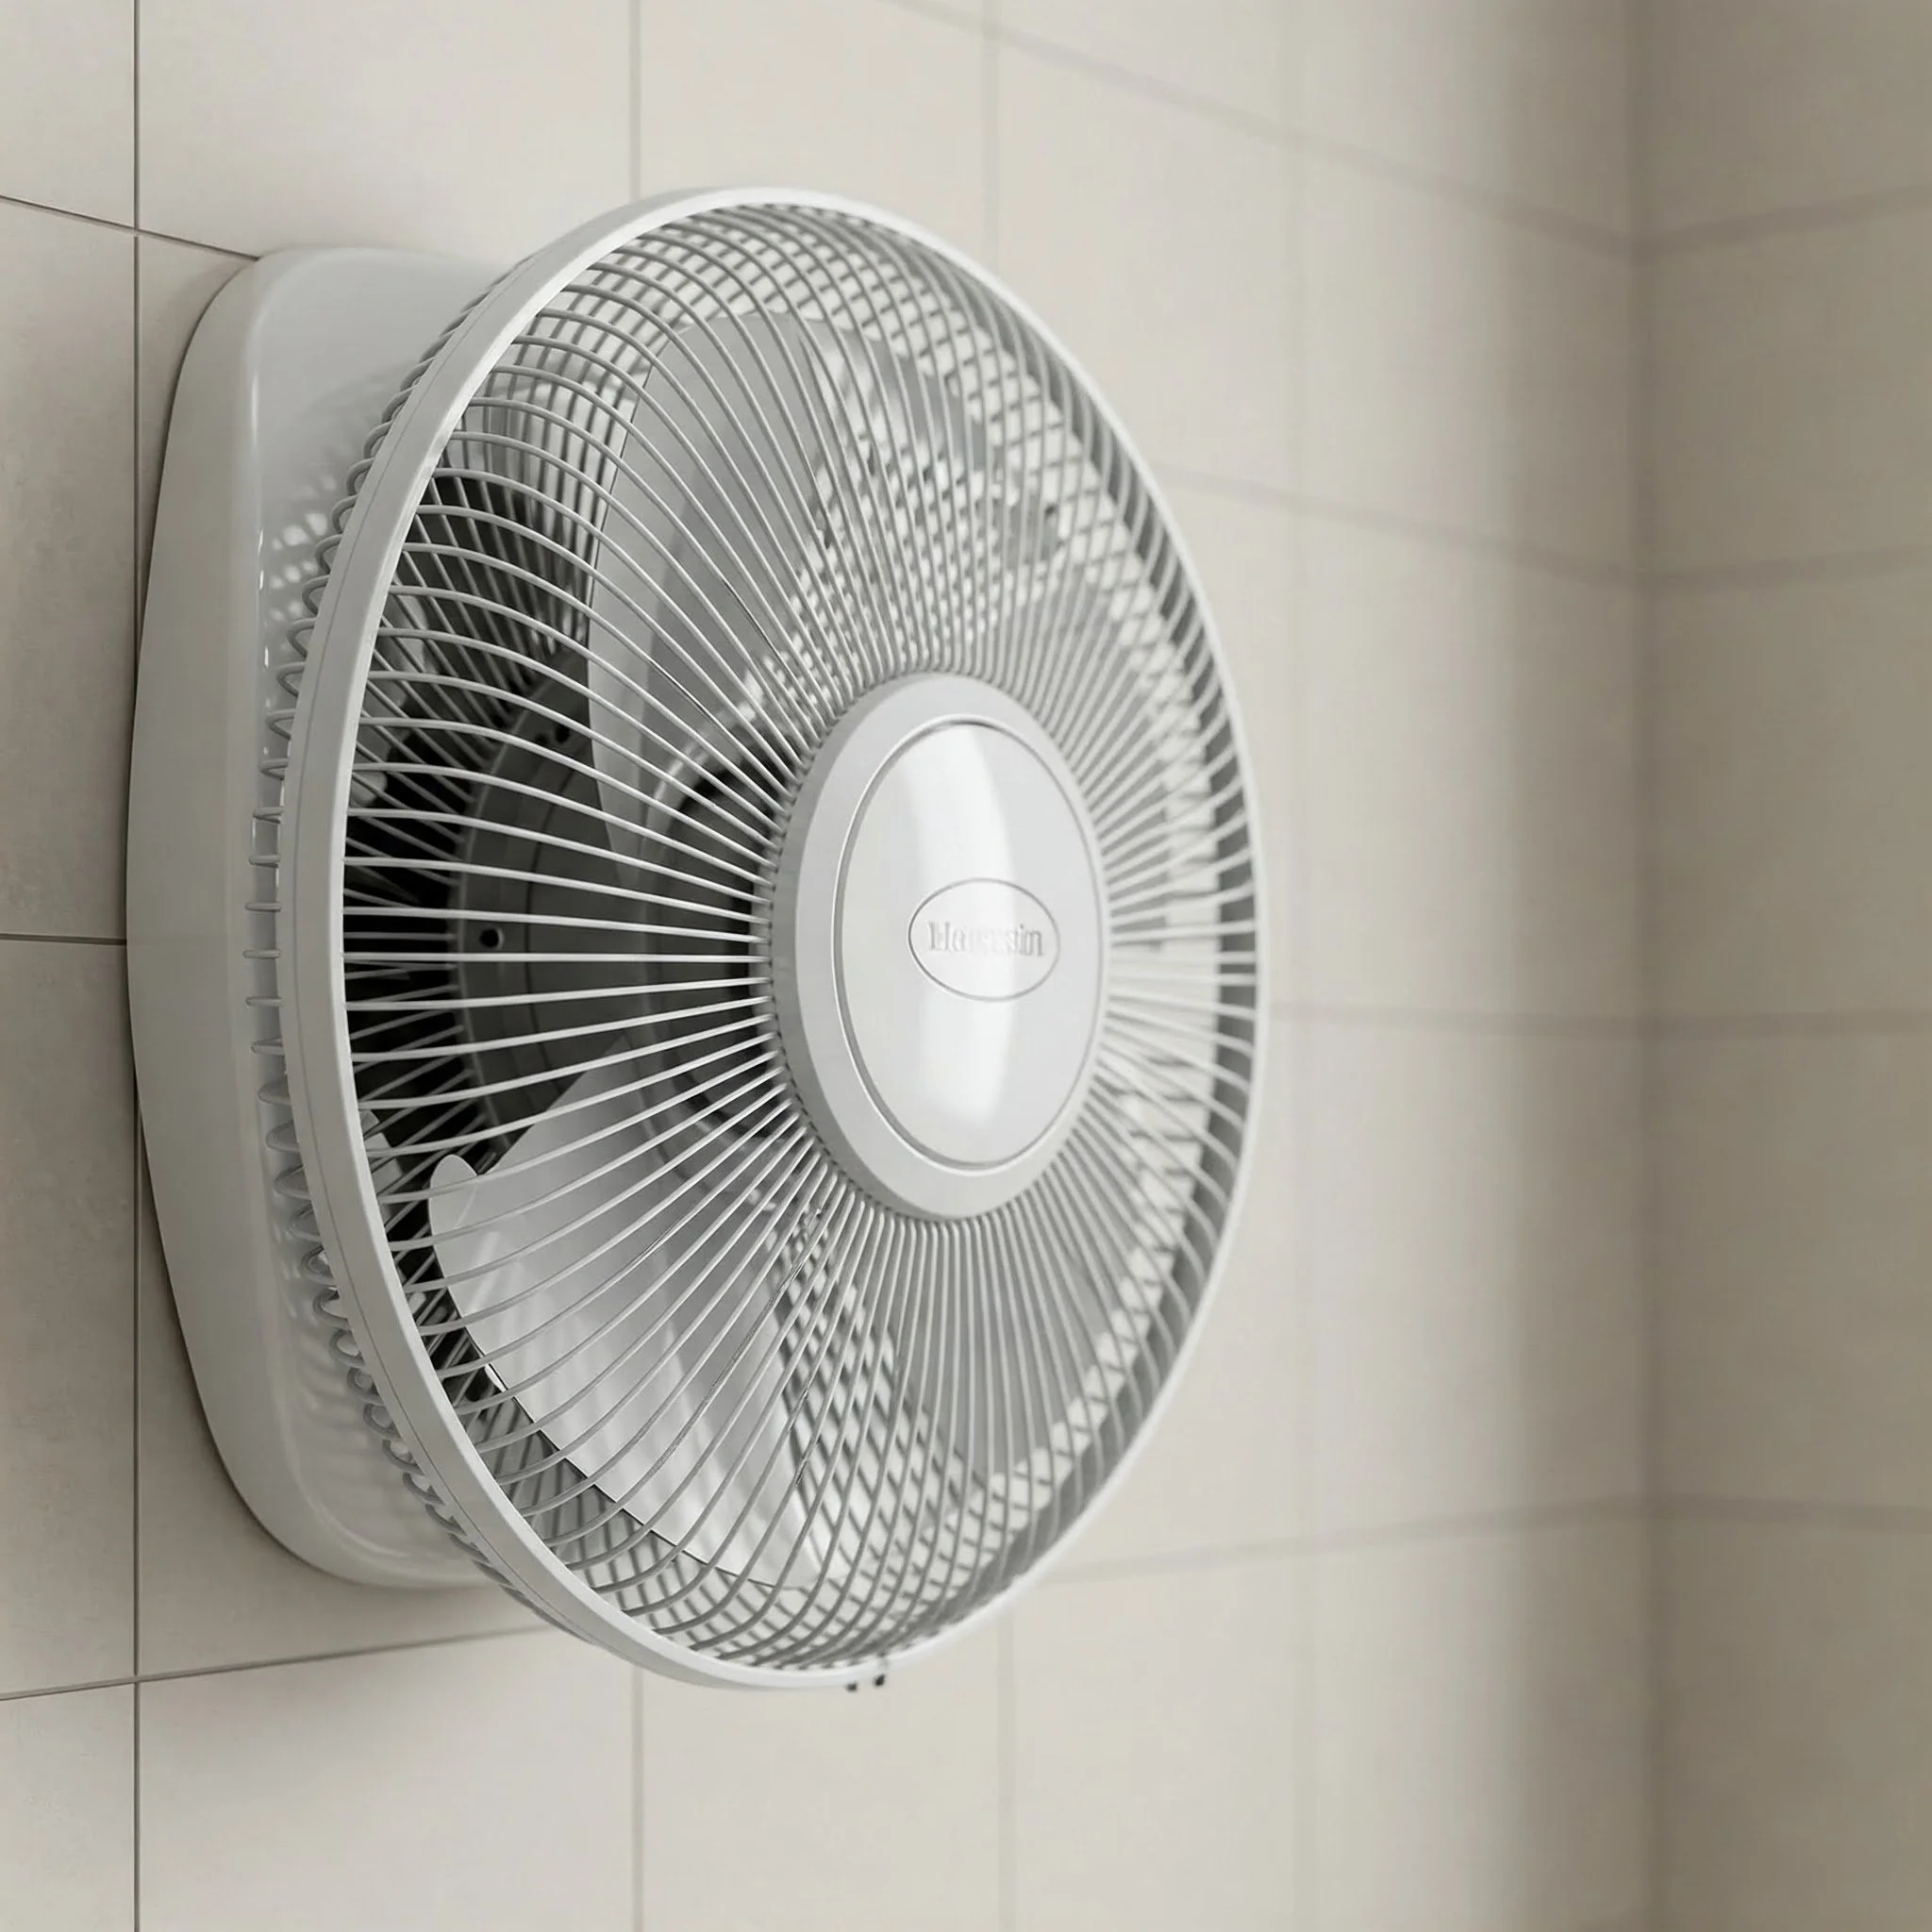
Bathroom Fan Unit: Make sure to pick one that suits your space and needs.
Screwdriver Set: Both flat-head and Phillips-head are handy.
Measuring Tape: For ensuring precise cuts and placements.
Pencil or Marker: To mark your cutting lines.
Utility Knife: For trimming any excess material.
Drywall Saw: If you need to cut a hole in the ceiling or wall.
Drill: With appropriate bits for making pilot holes.
Ladder or Step Stool: Safety first when reaching up high!
Duct Tape: For securing any duct connections.
Flexible Ducting: To connect the fan to the exterior vent.
Caulk and Sealant: To seal gaps and prevent leaks.
Safety Gear: Gloves, goggles, and a dust mask to keep you protected.
Having your tools lined up and ready to go will make the installation process smoother than a hot knife through butter.
How to Install a Bathroom Fan Step by Step
Now, let’s get to the meat of the matter. Follow these detailed steps and you'll be well on your way to a job well done. Remember, a little patience and attention to detail can make all the difference!
Step 1: Planning and Preparation
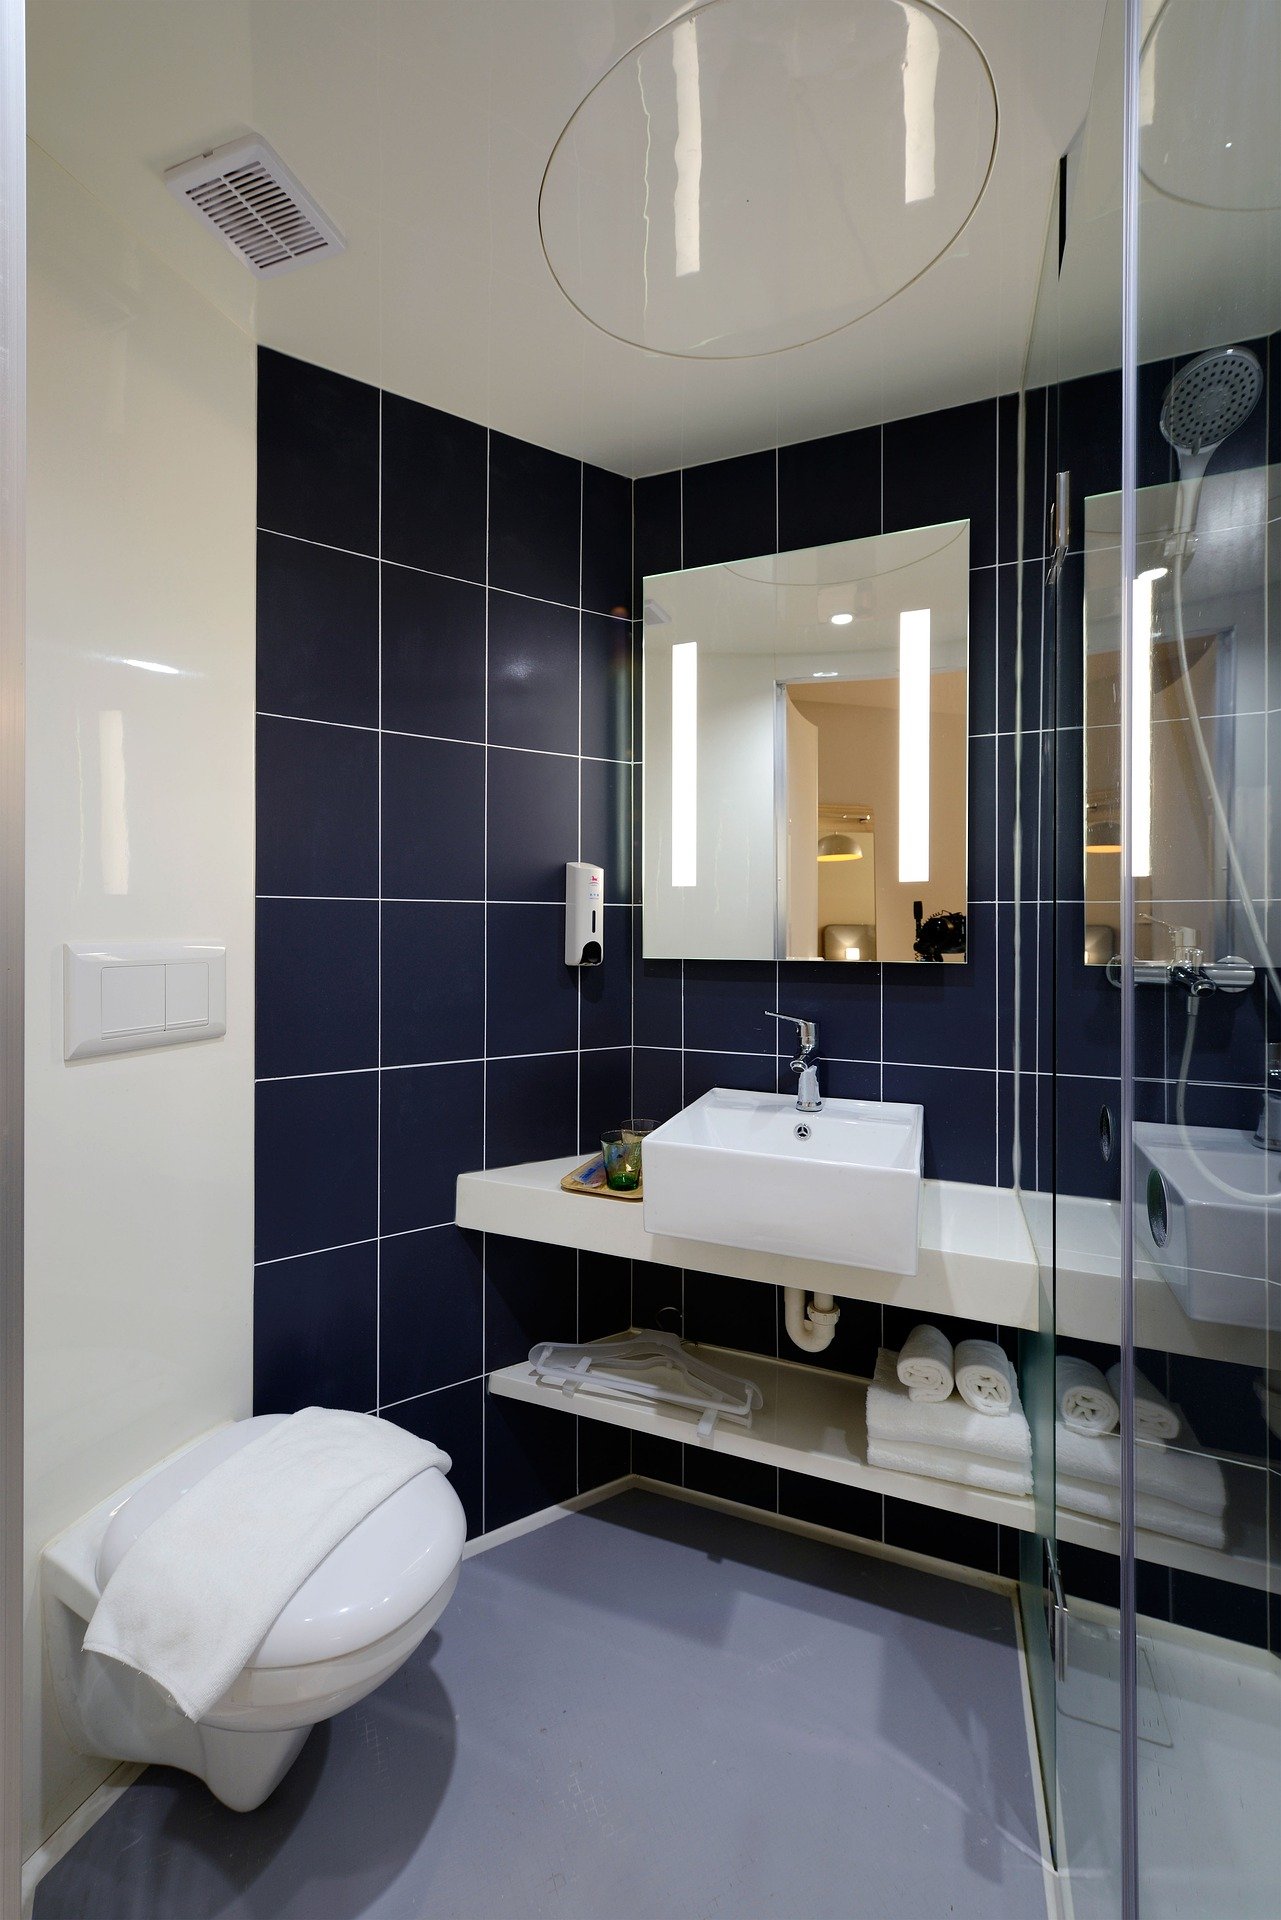
Before you even touch a tool, it's crucial to plan your approach. Survey the bathroom to decide on the best location for your fan. Typically, you'll want it placed near the shower or tub where moisture accumulates the most. Also, consider the fan's proximity to an exterior wall or roof for proper venting.
Key Planning Tips:
Location is Key: Ensure the fan is installed where it can efficiently remove moist air.
Check for Obstructions: Avoid areas with electrical wiring, plumbing, or structural supports.
Measure Twice, Cut Once: Accurately mark the location on the ceiling or wall.
Step 2: Marking the Cutout
With your location determined, it's time to mark the area for the fan installation.
Outline the Area: Use the fan's template or instructions to trace the cutout on the ceiling or wall.
Double-Check Measurements: Accuracy is everything. Ensure the marked area is exactly where you want your fan to go.
Safety First: Wear your safety gear and double-check that there are no hidden obstacles behind the drywall.
Step 3: Cutting the Opening
This step can be a bit nerve-wracking if you're not used to handling power tools, but take a deep breath—you’ve got this!
Use a Drywall Saw: Carefully cut along the marked lines. Keep your hand steady, and don’t rush the process.
Smooth the Edges: Once the opening is cut, use a utility knife to clean up any rough edges.
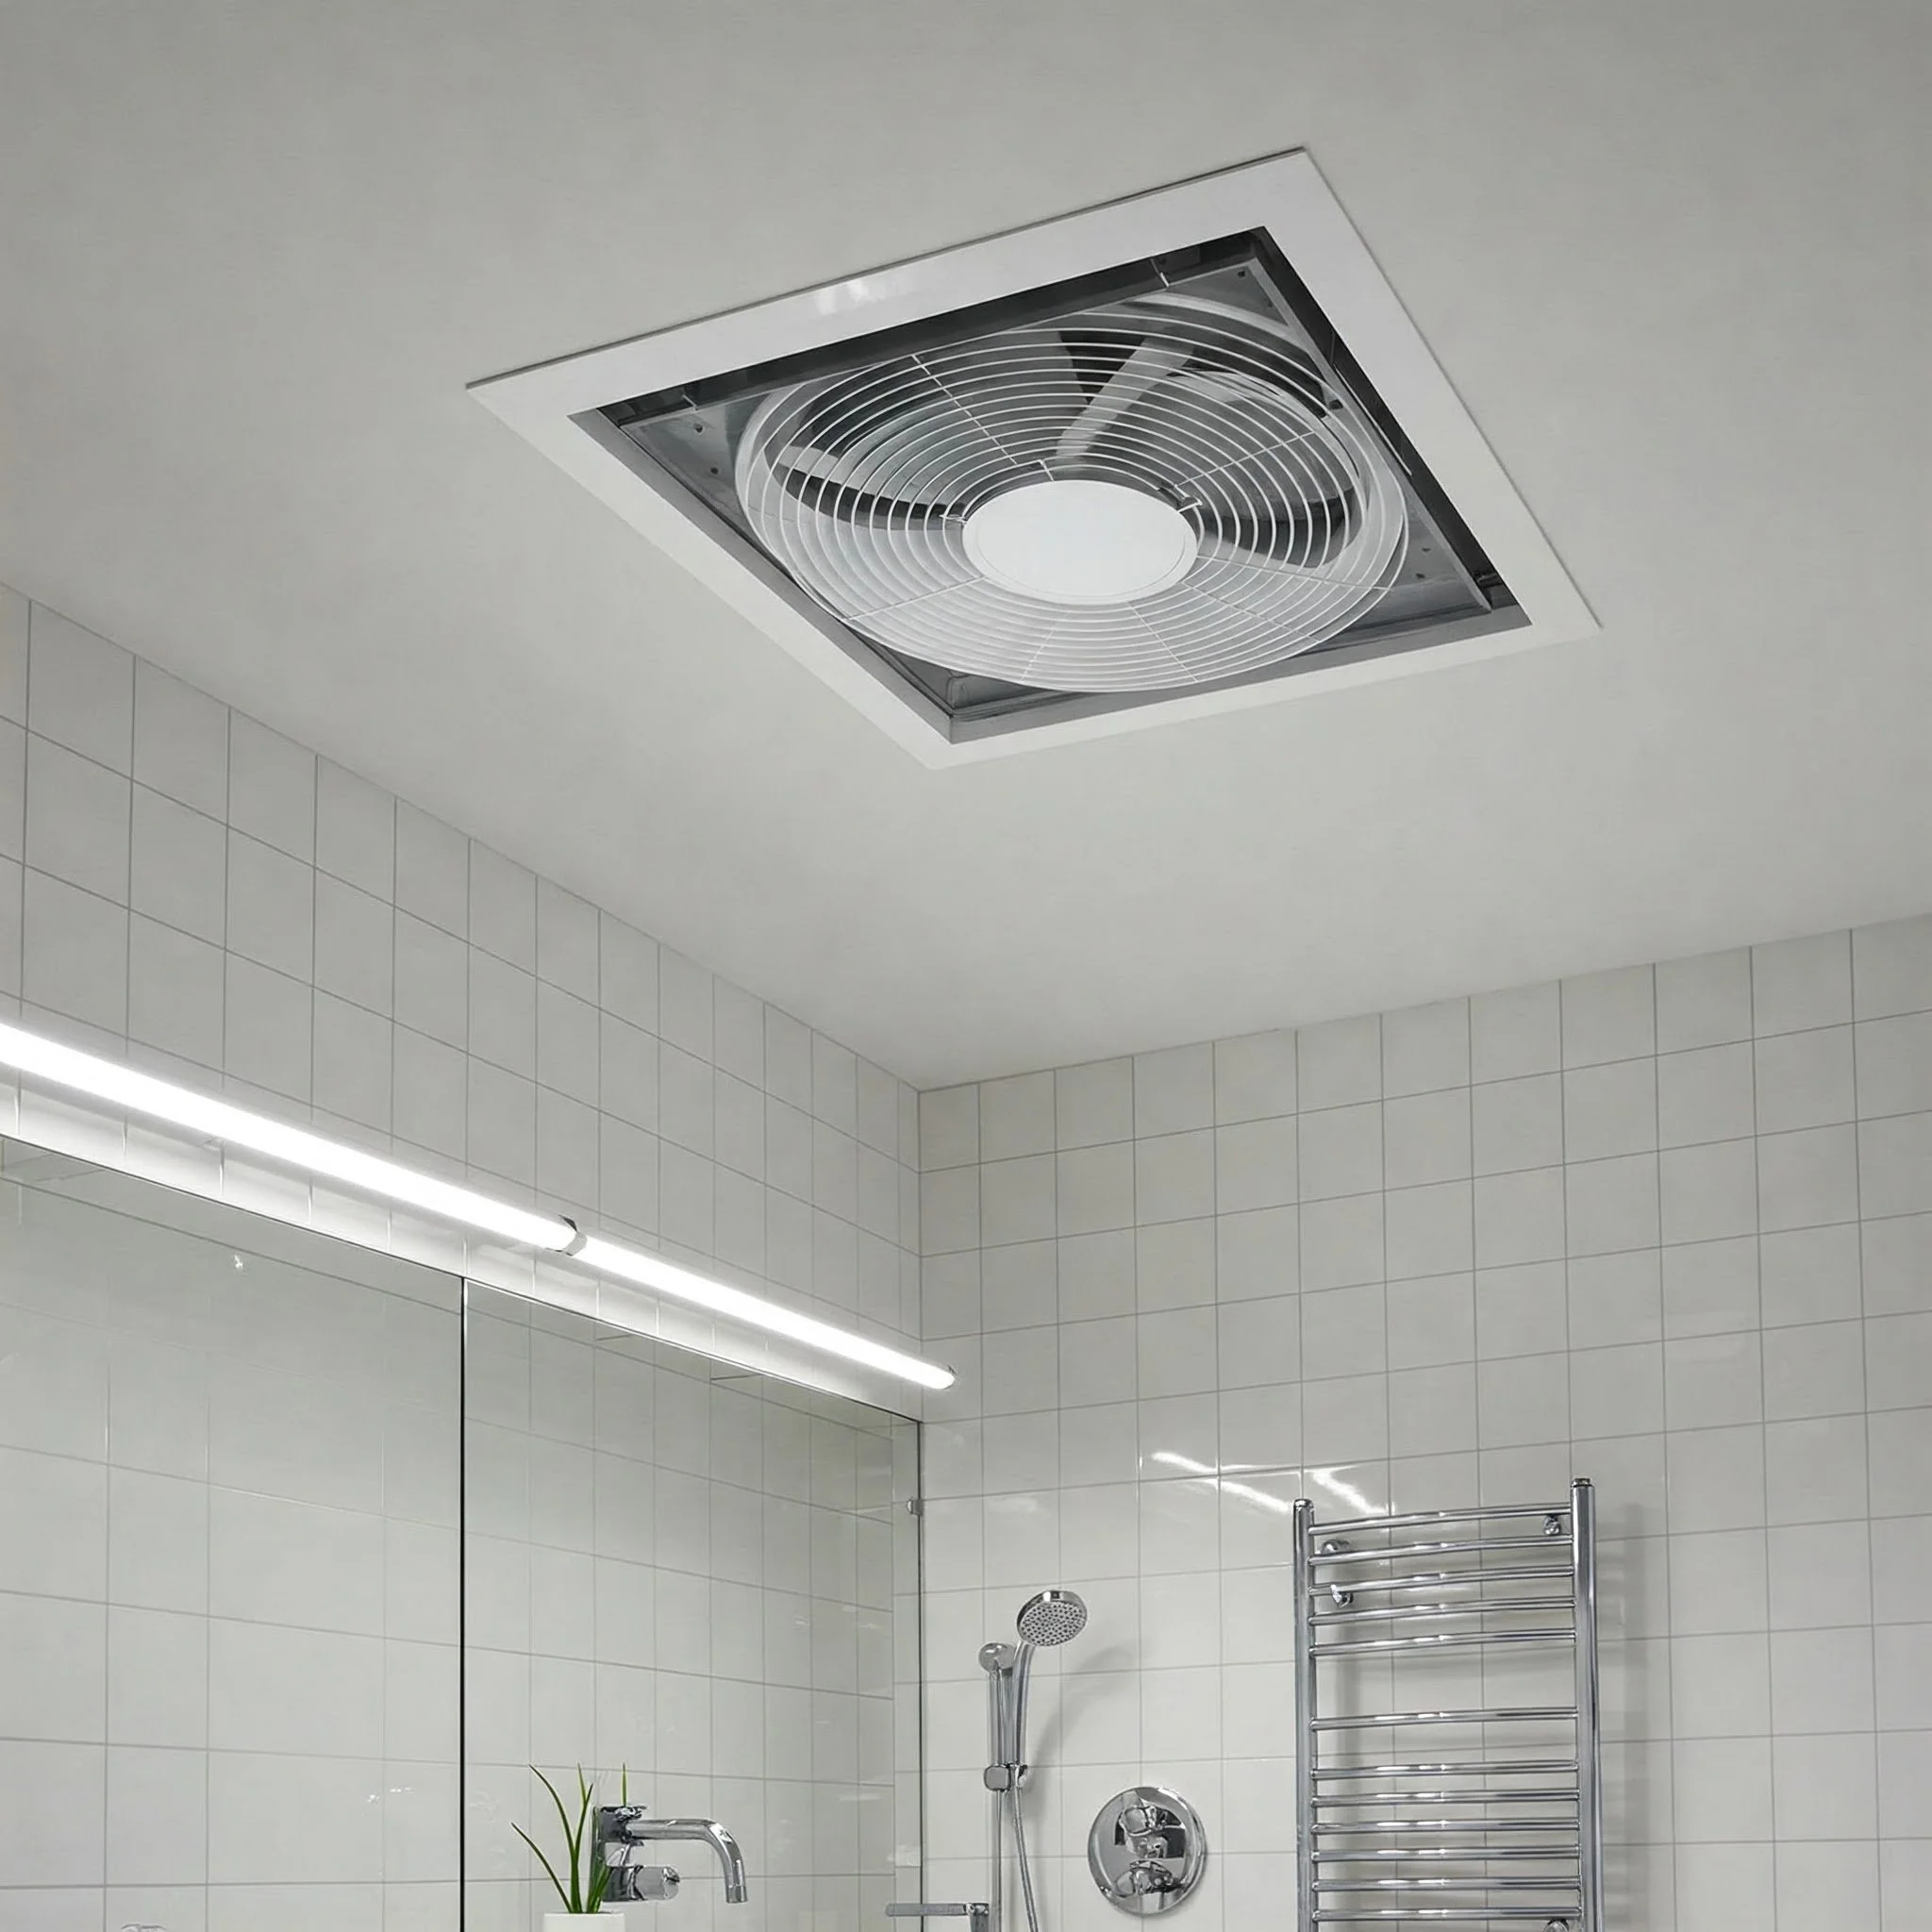
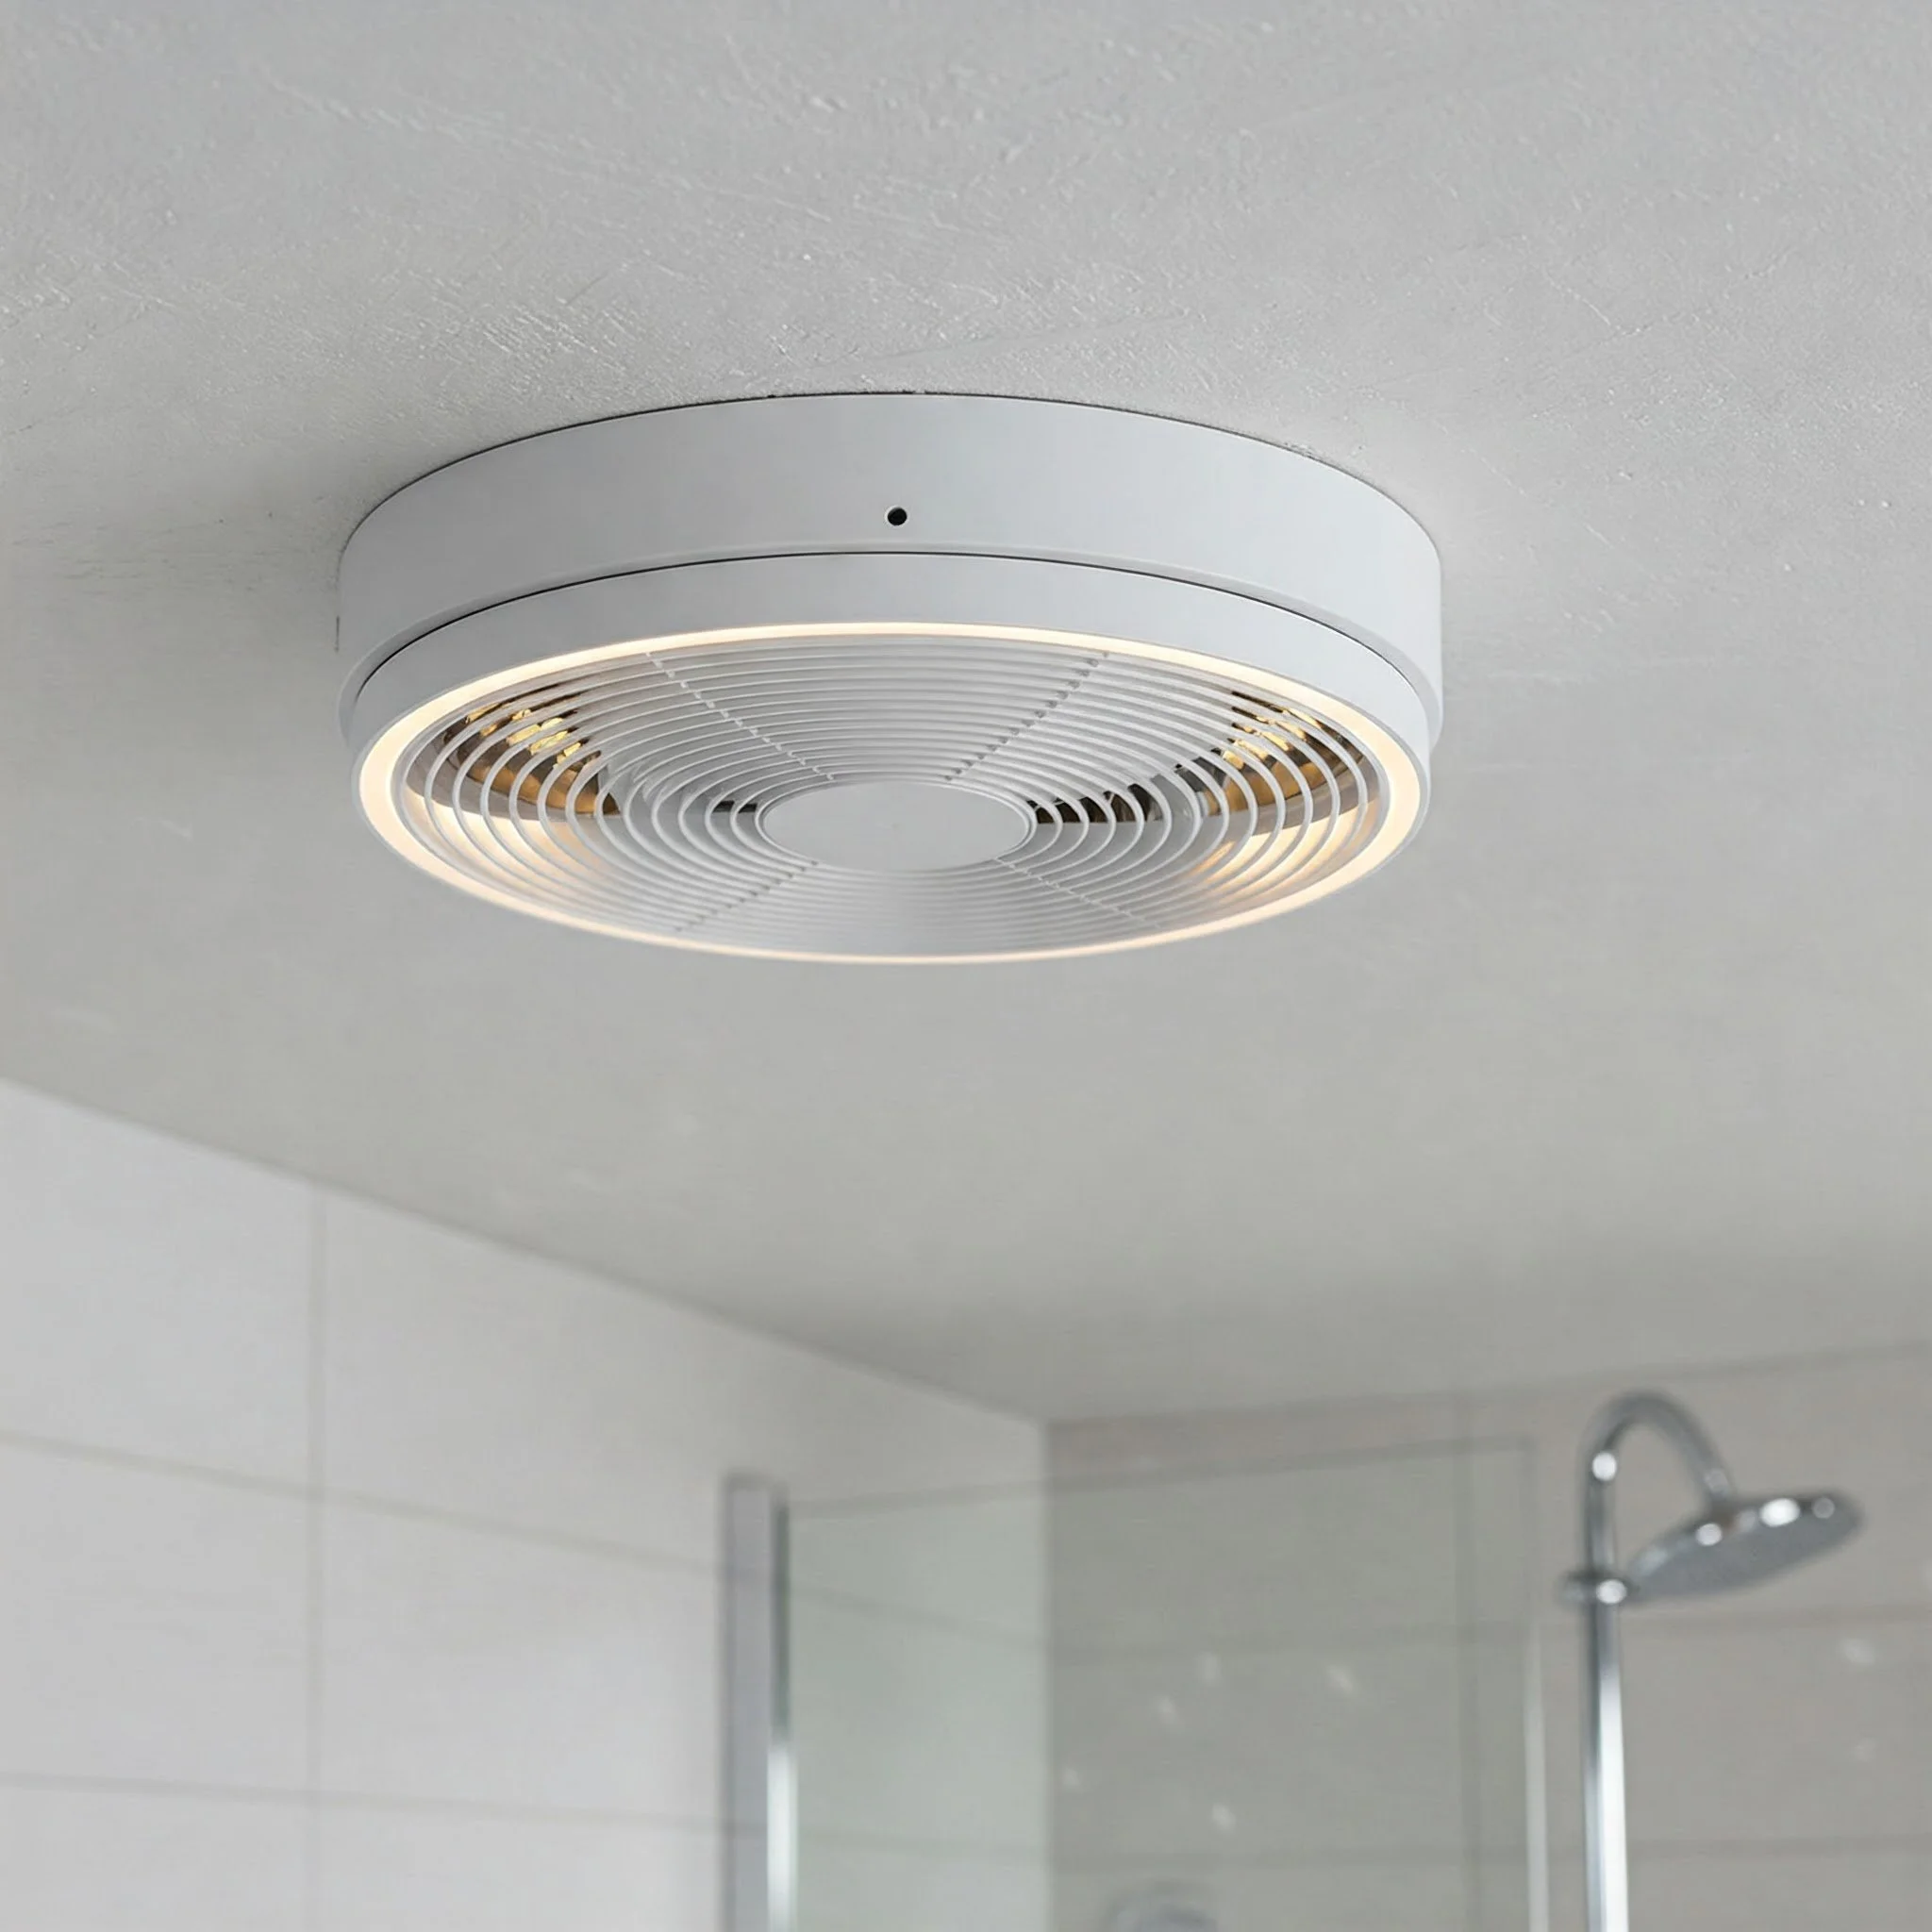
Step 4: Installing the Fan Unit
Now for the fun part: installing the fan itself.
Position the Fan: Insert the fan into the opening to ensure it fits snugly.
Secure with Screws: Most fan units come with mounting brackets or a frame. Use these to attach the fan securely to the ceiling or wall.
Connect the Duct: Attach the flexible ducting to the fan's vent outlet. Use duct tape to secure the connection, ensuring there are no leaks.
Seal the Gaps: Apply caulk or sealant around the edges of the fan to prevent any air leaks and moisture from seeping in.
Step 5: Wiring the Fan
If your fan includes a light or heating element, you'll need to connect it to your home's electrical system. If you're not comfortable working with electricity, it's always a good idea to consult a professional. However, if you decide to tackle this step yourself, follow these guidelines:
Turn Off the Power: Ensure the circuit breaker is off before starting any electrical work.
Follow the Manufacturer's Instructions: Every fan is a bit different, so read the manual carefully.
Use Wire Nuts: Secure all connections with wire nuts and ensure there’s no exposed wiring.
Test the Connections: Once everything is connected, restore power and test the fan to make sure it’s working properly.
Step 6: Final Touches and Testing
You're almost at the finish line!
Re-check All Connections: Double-check that the fan is securely attached, the ducting is sealed, and the wiring is safe.
Turn On the Power: Restore electricity and give your new fan a whirl. Listen for any odd noises and ensure it’s operating smoothly.
Clean Up: Remove any dust or debris, and tidy up your workspace.
And there you have it—How to Install a Bathroom Fan Step by Step in all its glory. With your new fan in place, your bathroom will not only look better but also function more efficiently, keeping moisture at bay and your space smelling fresh.
Troubleshooting: What If Things Go South?
Even with the best-laid plans, hiccups can occur. Here’s how to handle some common issues you might face during installation:
Common Problems and Quick Fixes
Fan Doesn’t Turn On:
Did you forget to flip the circuit breaker back on? Double-check your electrical connections.
Ensure that all wiring is correctly secured and that no wires are loose.
Excessive Noise:
Sometimes a fan can be a bit noisy if it’s not mounted properly. Check for any loose screws or brackets.
Make sure the ducting isn’t kinked or obstructed, as this can cause vibrations.
Poor Airflow:
Verify that the ducting is properly connected and free from blockages.
Check if the fan blades are clean and free of dust buildup.
Water Leaks:
If you notice moisture around the fan, inspect your sealant and caulk. Reapply if necessary to ensure a tight seal.
Look for any gaps where water might be seeping in and address them promptly.
Taking the time to troubleshoot these issues can save you from potential headaches later on and ensure that your installation stands the test of time.
Tips and Tricks for a Smooth Installation
When it comes to DIY projects, a few extra pointers can go a long way. Here are some insider tips to make your installation process even smoother:
Take Your Time: Rushing through the steps can lead to mistakes. Slow and steady really does win the race.
Enlist a Friend: Sometimes, an extra pair of hands can make the job less daunting—and a bit more fun.
Keep the Manual Handy: The manufacturer’s instructions are your best friend. They’re there for a reason, so don’t toss them aside.
Safety Gear is a Must: Don’t skimp on your protective equipment. A little safety gear goes a long way in preventing accidents.
Document Your Progress: Take pictures as you go. This not only helps with troubleshooting later but also gives you a sense of accomplishment when you look back.
Check Local Codes: In some areas, electrical work or modifications to ventilation systems must meet certain standards. Make sure you're in the clear before you begin.
By following these tips, you'll not only master How to Install a Bathroom Fan Step by Step but also boost your overall DIY confidence for future projects.
Wrapping It All Up: A Breath of Fresh Air
Installing a bathroom fan might seem like a daunting task at first, but as we've shown in our guide on How to Install a Bathroom Fan Step by Step, it’s entirely achievable with a bit of patience, the right tools, and some know-how. Not only does a new fan keep your bathroom fresh and free of excess moisture, but it also contributes to a healthier, more energy-efficient home.
Final Thoughts
By now, you should feel equipped and ready to tackle this project. Remember, a smooth installation starts with careful planning and ends with a thorough check of every connection and seal. The benefits—a fresher bathroom, a reduction in mold and mildew, and even some energy savings—are well worth the effort. So, if you’re ever wondering, "How to Install a Bathroom Fan Step by Step?" just follow this guide and get to work. You'll not only enhance your home's comfort but also gain a newfound sense of accomplishment.
The key takeaway here is that DIY projects, when done right, can transform your living space in more ways than one. A bathroom fan isn't just a fixture; it's an investment in your home's longevity and your family's well-being. With each step carefully executed, you'll be basking in the benefits of improved air quality and a well-ventilated space.
A Quick Recap:
Plan Thoroughly: Determine the ideal location and measure accurately.
Prepare Your Tools: Gather all the necessary tools and safety gear.
Follow the Steps: From cutting the opening to wiring and testing, take your time.
Troubleshoot: Address any issues as they arise to ensure a seamless installation.
Maintain Regularly: Keep your fan and ducts clean for long-term efficiency.
So, next time you glance at that old, inefficient fan, you'll know exactly how to replace it and breathe new life into your bathroom. With clear instructions and a dash of DIY spirit, you’re well on your way to mastering the art of home improvement.
Conclusion
In wrapping up our guide on How to Install a Bathroom Fan Step by Step, we hope you’re feeling as pumped about your new project as we are. DIY projects can be a wild ride—sometimes a bit bumpy, but always rewarding. When you take the plunge into installing your own bathroom fan, you're not just fixing a ventilation issue; you're taking control of your home environment, saving money, and even learning a new skill in the process.
So, whether you're tackling this project on a lazy Saturday or as a midweek challenge, remember that every step counts. From the initial planning and marking of the cutout to the final wiring and testing, each phase plays its part in creating a space that's both functional and refreshing.
By mastering How to Install a Bathroom Fan Step by Step, you’ll not only enjoy a fresher, more comfortable bathroom but also gain the confidence to take on even bigger DIY challenges in the future. And let's be honest—there's nothing quite like the satisfaction of knowing you did it all yourself, right?
Happy installing, and here's to a home that’s as fresh as a daisy!
Read next: How to Replace Bathroom Fan: Step-by-Step Guide
Frequently Asked Questions
Q1: How long does it usually take to install a bathroom fan?
A: The installation process can vary depending on your experience and the complexity of your bathroom. On average, you might spend anywhere from a couple of hours to a full day on the project. It all depends on the specifics of your space and any unforeseen challenges that pop up.
Q2: Do I need professional help for the electrical wiring?
A: If you’re comfortable working with electricity and have experience with basic wiring, you might handle it on your own. However, if you’re unsure or uncomfortable, it’s always safer to consult a licensed electrician to ensure everything is up to code.
Q3: What tools are absolutely essential for the installation?
A: You’ll need a screwdriver set, measuring tape, utility knife, drywall saw, drill, ladder, duct tape, flexible ducting, caulk, and safety gear like gloves, goggles, and a dust mask. Having these at hand will make the process smoother and safer.
Q4: Can I install the bathroom fan without cutting a hole in the wall or ceiling?
A: Typically, installing a bathroom fan requires cutting a proper opening to ensure efficient ventilation. However, there are some models designed for retrofitting that might allow alternative installation methods. Always refer to the manufacturer’s guidelines.
Q5: How do I know if the fan is installed correctly?
A: Once the installation is complete, test the fan by turning it on and checking for proper airflow, noise levels, and any signs of leakage or vibration. If everything runs smoothly and there are no unusual sounds, you’ve done it right.
Stay up to date with our latest ideas!