How to Finish a Basement: Step-by-Step Guide
Transform your dark basement into livable space with our complete finishing guide. Learn costs, permits, insulation, and DIY tips.

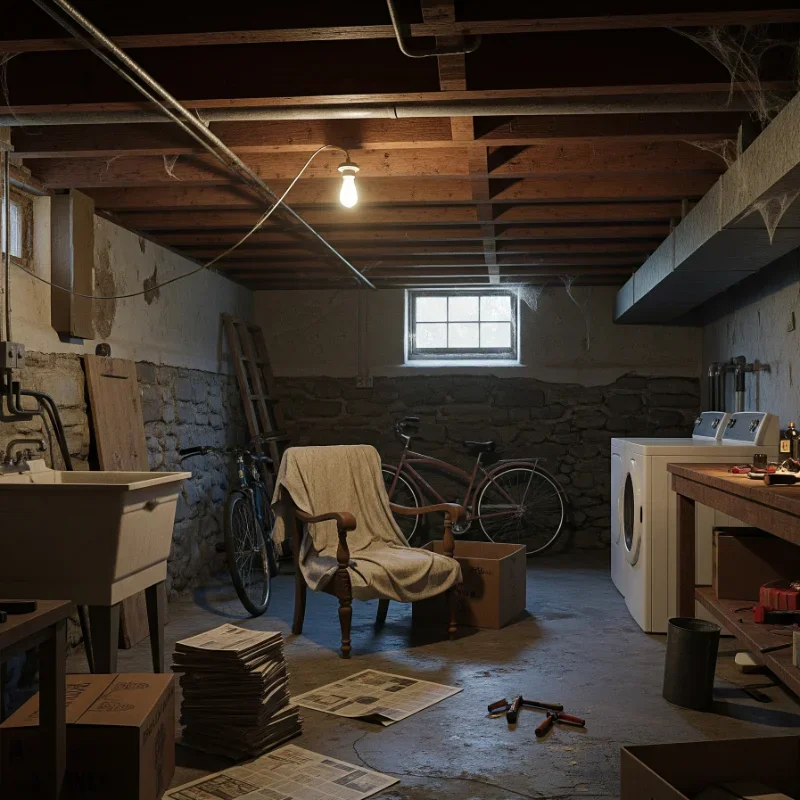
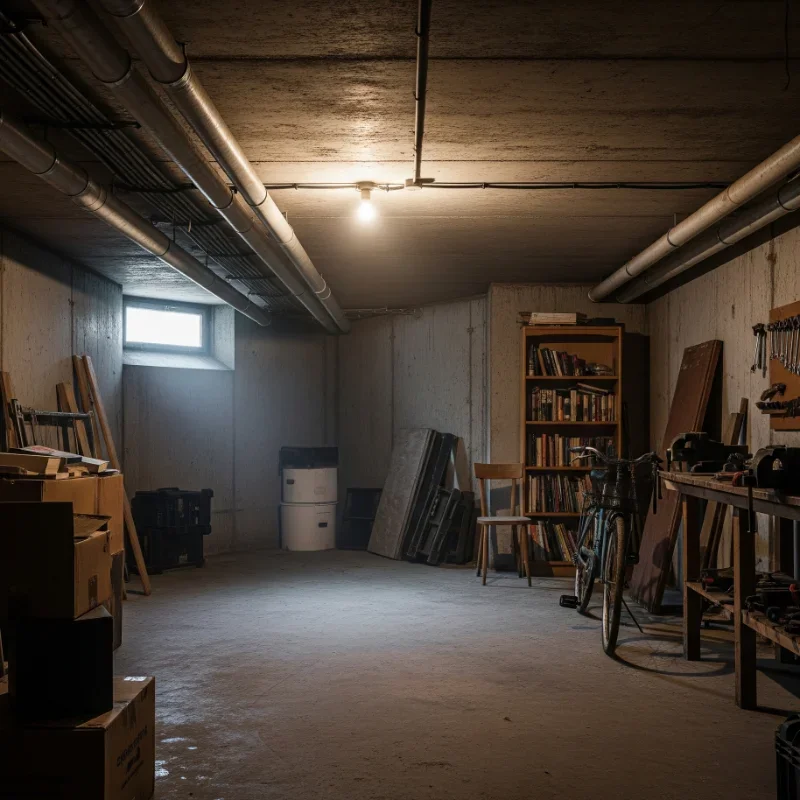
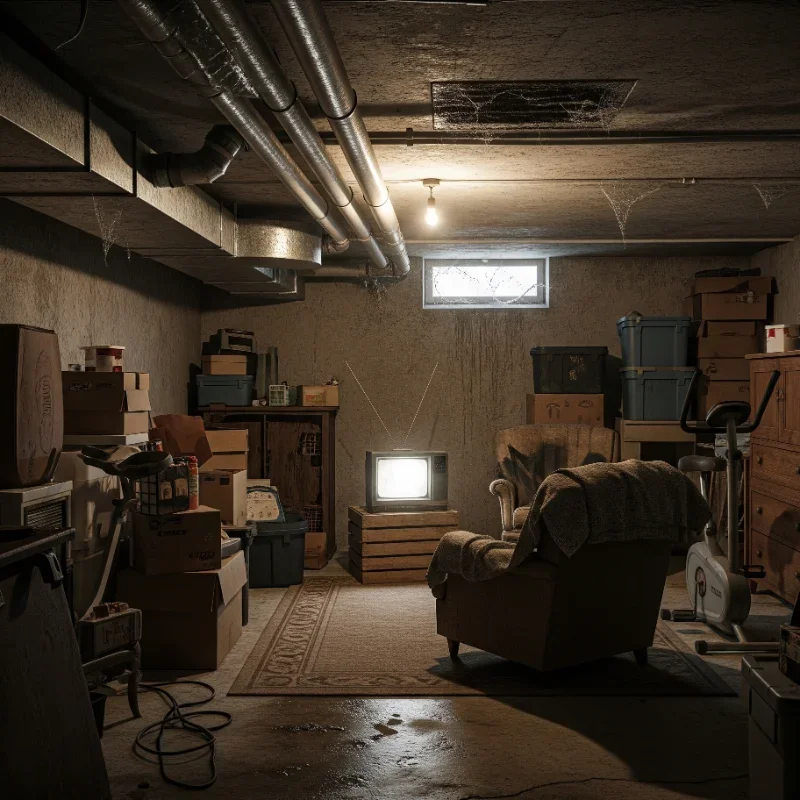
Well, well, well, looks like you're finally ready to tackle that creepy basement that's been collecting cobwebs and Christmas decorations since forever! If you've been wondering about "How to Finish a Basement: Step-by-Step Guide" that actually makes sense, you've hit the jackpot. Trust me, turning that underground cave into a cozy living space isn't just about slapping up some drywall and calling it a day.
Picture this: instead of tiptoeing through a dark, musty space to grab your holiday decor, you're walking into your brand-new home theater, guest suite, or man cave. Sounds pretty sweet, right? But here's the kicker, finishing a basement is like cooking a fancy meal. Skip a step or use the wrong ingredients, and you'll end up with a disaster that'll haunt you for years. Lucky for you, I'm about to walk you through every single step, from checking if your basement's even finish-able to putting on those final touches that'll make your neighbors green with envy.
Pre-Planning: Don't Jump the Gun!
Before you start swinging hammers and dreaming about your future basement bar, let's pump the brakes a bit. Planning is where the magic happens, folks, and skipping this part is like trying to build a house of cards in a windstorm.
Assessing Your Basement's Condition
First things first, you gotta play detective in your own basement. Grab a flashlight and channel your inner Sherlock Holmes:
Moisture check: Run your hand along the walls. Feeling dampness? That's a red flag bigger than the one at a NASCAR race
Crack inspection: Look for cracks in the foundation. Hairline cracks? Usually no biggie. Cracks you can stick a quarter in? Houston, we have a problem
Height measurement: Most building codes require at least 7 feet of clearance. If you're ducking like you're in a cave, you might need to rethink things
Window situation: Count those windows. You'll need proper egress for bedrooms
Existing mechanicals: Where's your furnace, water heater, and electrical panel? These bad boys need to stay accessible
Setting Your Budget: The Reality Check
Alright, time for some tough love. Finishing a basement ain't cheap, and if you think you can do it for the price of a used car, you're in for a rude awakening. Here's what you're looking at:
Basic finishing: $25-50 per square foot
Mid-range finishing: $50-75 per square foot
High-end finishing: $75-150+ per square foot
And before you say "I'll just DIY everything," remember that time is money, and mistakes can cost you big time.
Getting Permits: The Necessary Evil
Yeah, I know, permits are about as fun as a root canal, but skipping them is like driving without insurance. Sure, you might get away with it, but when something goes wrong, you're toast. Here's what you'll typically need:
Building permit
Electrical permit
Plumbing permit (if adding a bathroom)
Mechanical permit (for HVAC work)
Pro tip: Make friends with your local building department folks. They're actually pretty helpful when you're not trying to pull a fast one on them.
How to Finish a Basement: Step-by-Step Guide - The Foundation Work
Now we're cooking with gas! Let's dive into the actual work, starting with the unglamorous but crucial foundation prep.
Step 1: Waterproofing - Your Basement's Raincoat
Water is basement enemy number one, and I'm not being dramatic here. Even a tiny leak can turn your dream space into a moldy nightmare. Here's your waterproofing game plan:
Interior drainage system: Consider installing a French drain if water's been an issue
Sealant application: Use waterproofing paint or sealant on all walls
Crack repair: Fill those cracks with hydraulic cement or polyurethane caulk
Sump pump check: If you've got one, make sure it's working like a champ
Step 2: Insulation - Keeping Things Cozy
Insulating your basement is like putting on a warm sweater, it keeps the cold out and the heat in. But here's where people mess up: they use the wrong type or install it incorrectly.
Your insulation options:
Rigid foam boards: Great for moisture resistance
Spray foam: Pricey but super effective
Fiberglass batts: Budget-friendly but needs a vapor barrier
Mineral wool: Fire-resistant and soundproofing bonus
Remember, building codes usually require R-10 to R-15 for basement walls. Don't skimp here, or you'll be paying for it in heating bills!
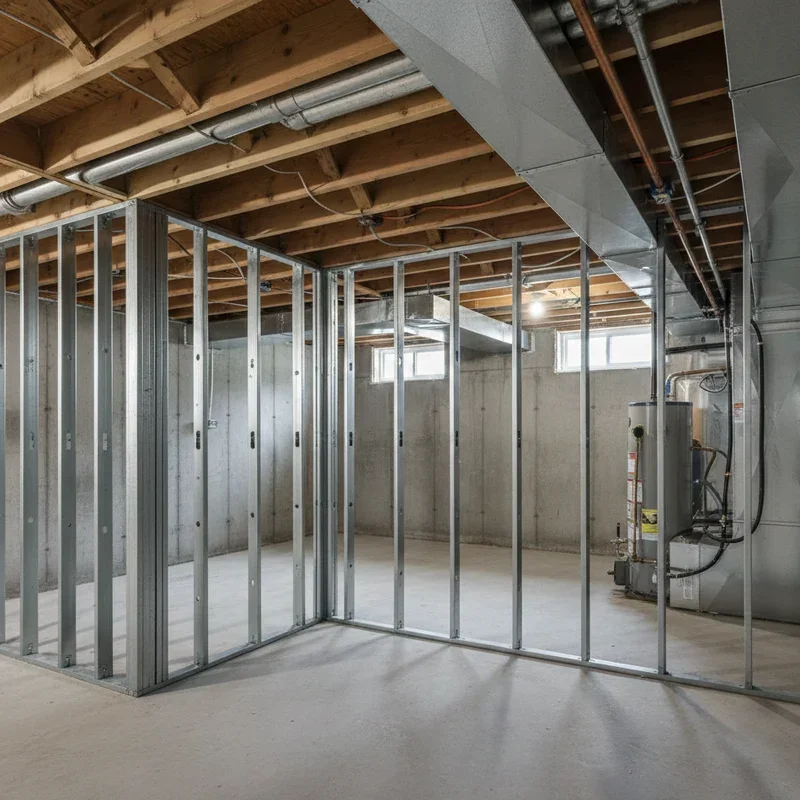
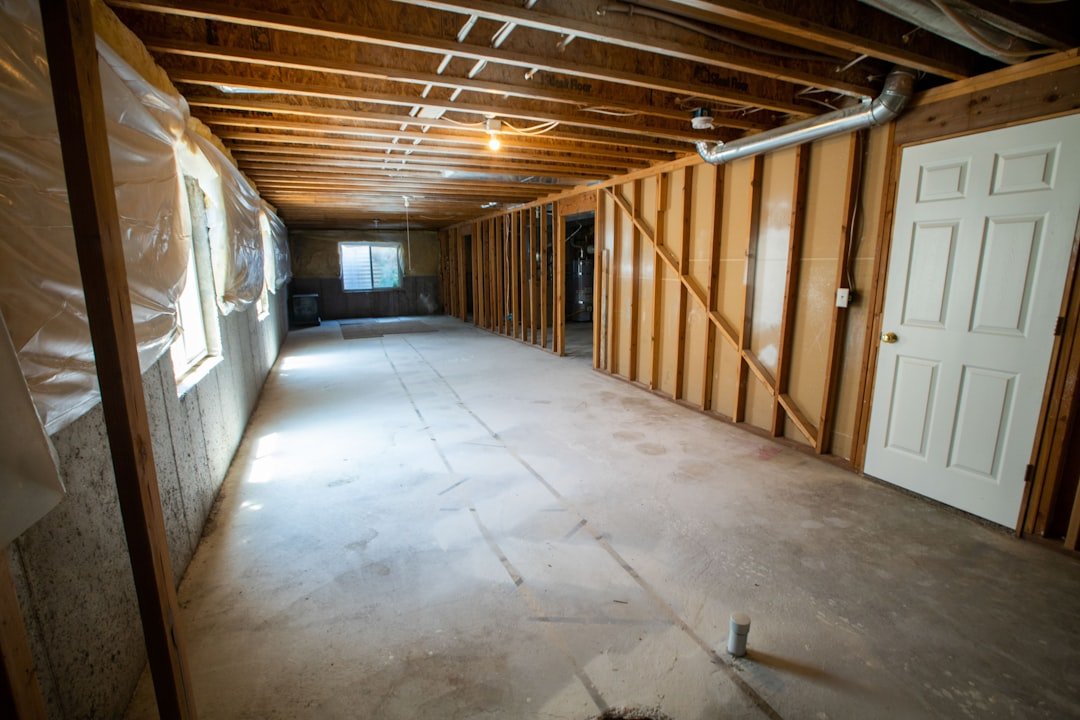
Step 3: Framing - Building Your Skeleton
Time to build some walls! Framing is where your basement starts looking less like a dungeon and more like actual rooms. Here's the lowdown:
Mark your layout: Use chalk lines to map out where walls will go
Install bottom plates: Use pressure-treated lumber for any wood touching concrete
Build your walls: Standard 2x4 construction works for most non-load-bearing walls
Leave gaps: Keep framing 1/2 inch from foundation walls for breathing room
Frame around obstacles: Work around pipes, ducts, and other mechanicals
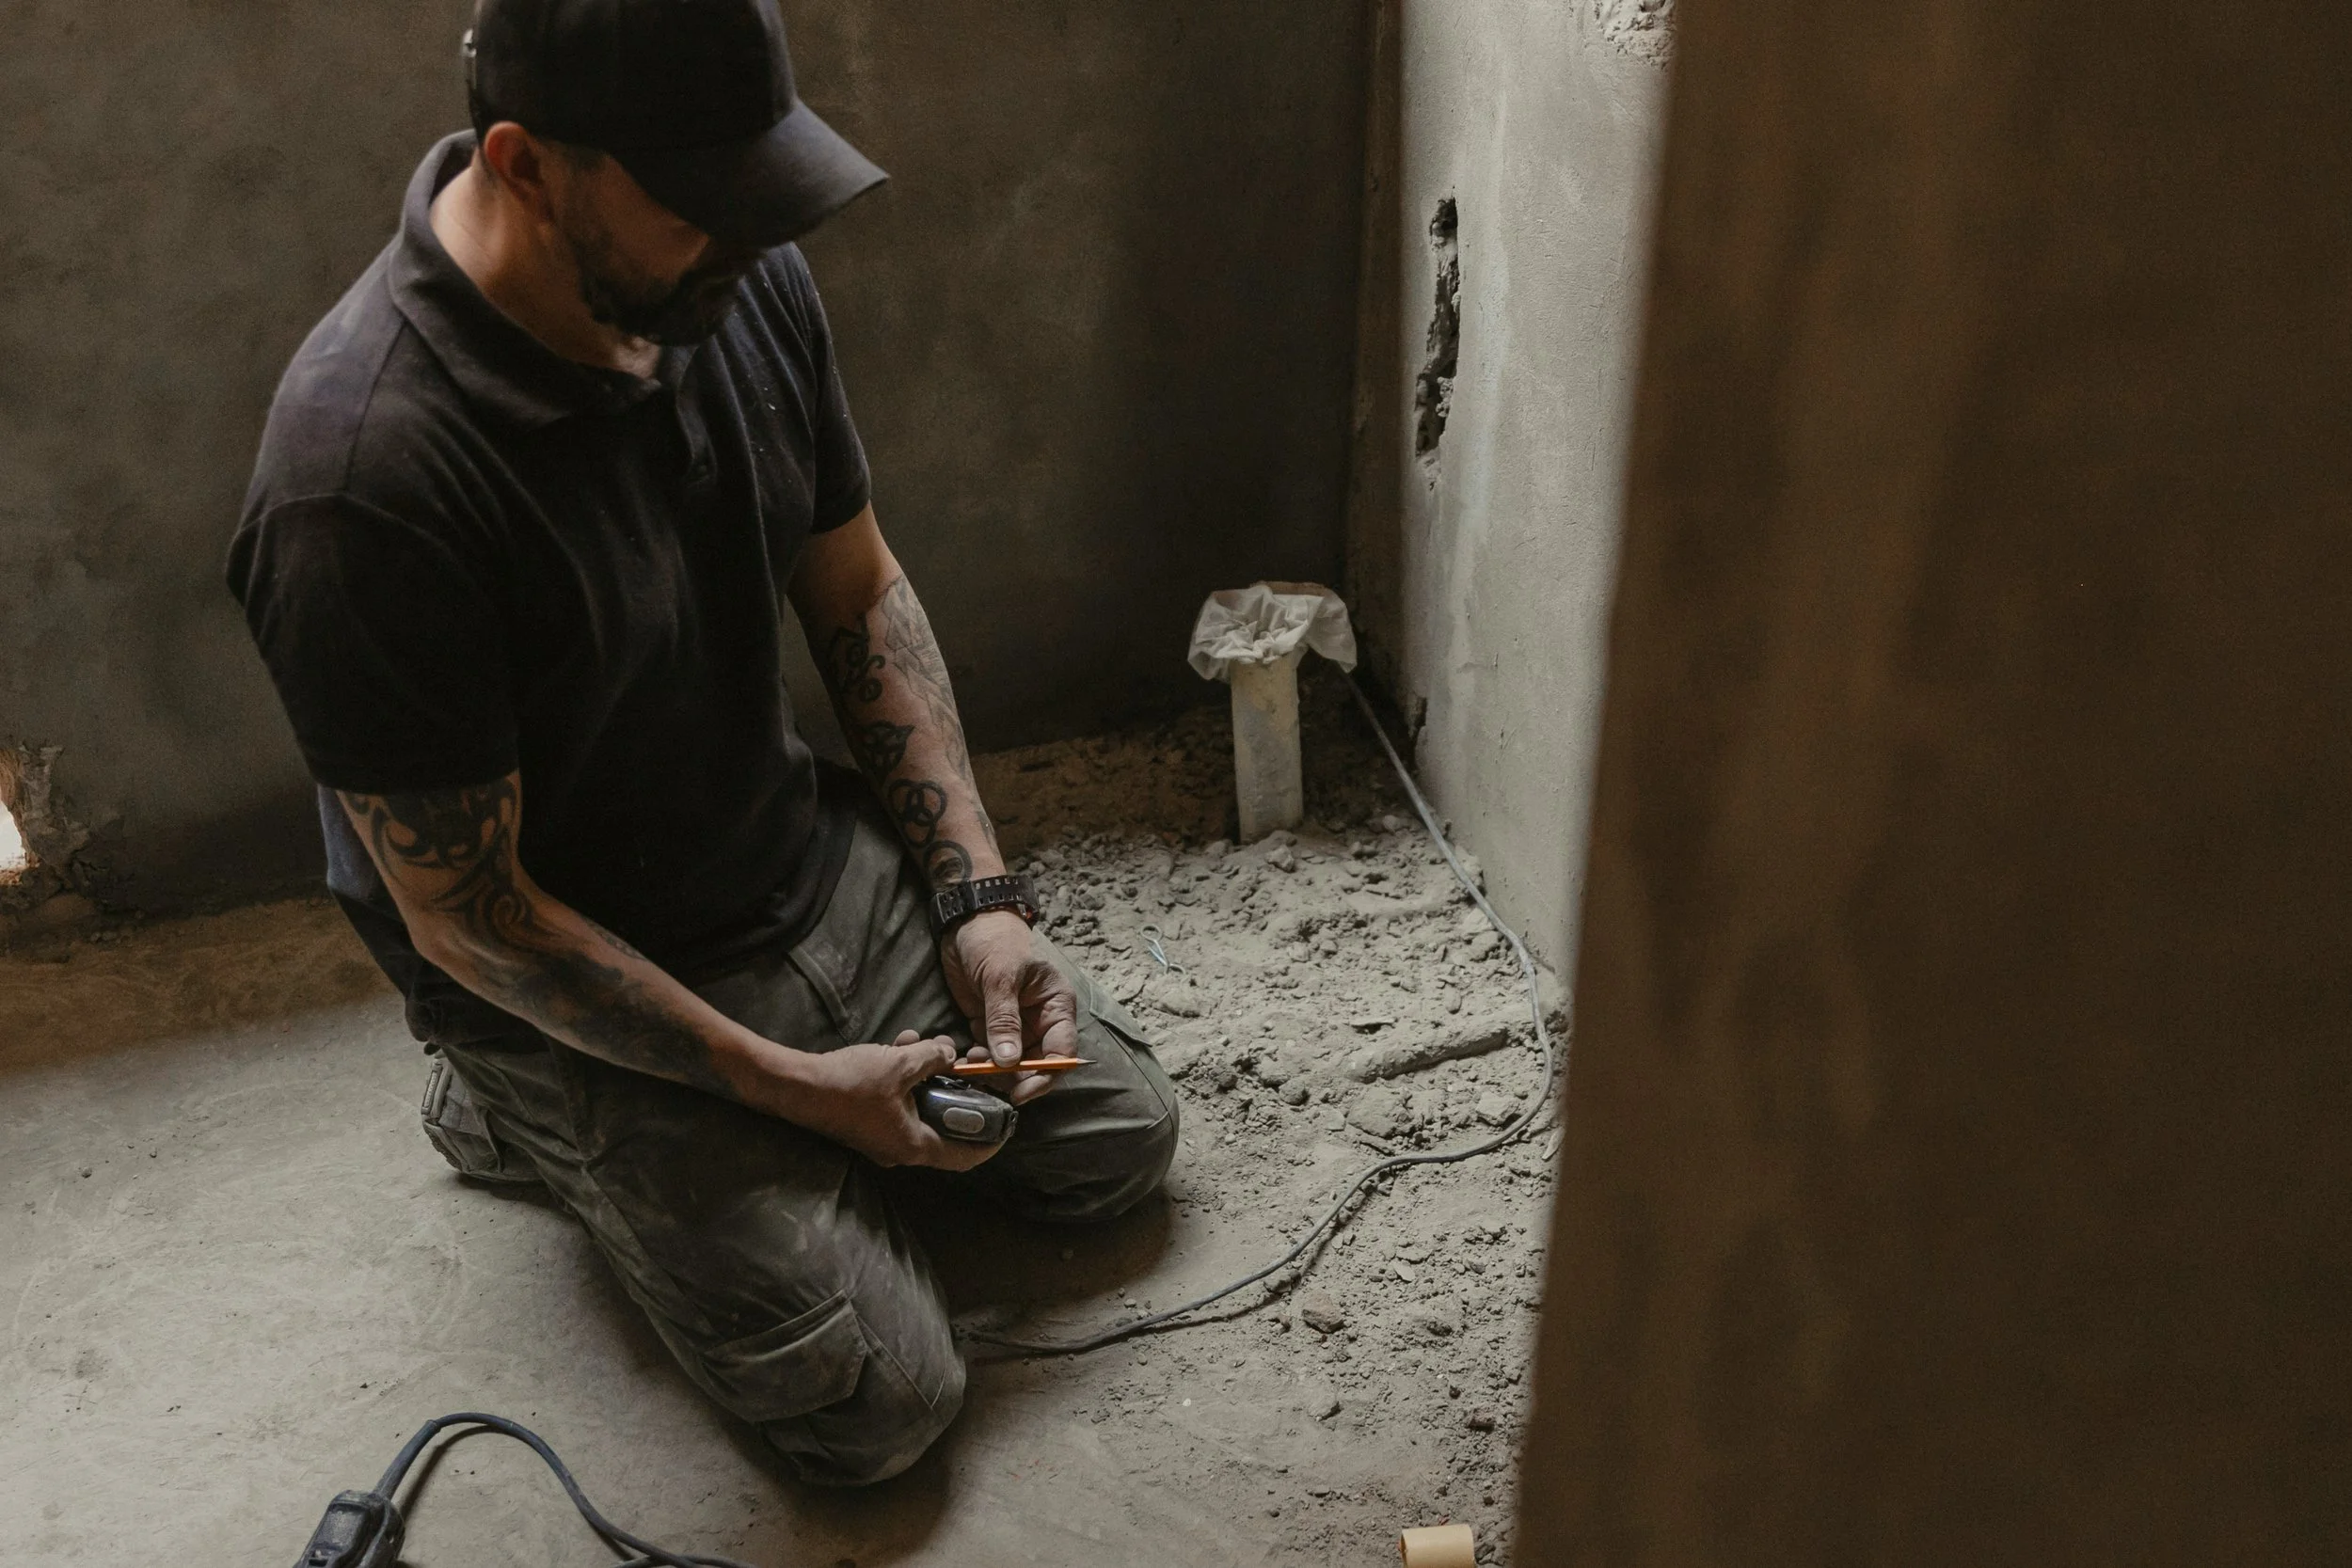
Step 4: Electrical and Plumbing - The Guts of the Operation
Unless you're a licensed electrician or plumber, this is where you might wanna call in the pros. But if you're feeling brave (and legal in your area), here's what needs doing:
Electrical must-haves:
Outlets every 6 feet along walls
GFCI protection for all outlets
Proper lighting circuits
Smoke and carbon monoxide detectors
Arc-fault circuit interrupters (required by code in many areas)
Plumbing considerations:
Bathroom rough-ins if adding one
Ejector pump for below-grade drainage
Water supply lines for wet bars or kitchens
Proper venting for all fixtures
The Comfort Zone: Making It Livable
With the bones in place, it's time to make this space somewhere you actually want to hang out.
Step 5: HVAC - Climate Control Central
Your existing HVAC might not cut it for the extra square footage. Options to consider:
Extending existing ductwork: Often the most economical choice
Mini-split system: Great for zone control
Electric baseboard heat: Simple but can be pricey to run
Radiant floor heating: Luxury option that feels amazing on bare feet
Step 6: Drywall - Finally, Real Walls!
Nothing says "real room" like smooth, painted walls. Hanging drywall is kinda like gift-wrapping a really big, awkward present:
Measure and cut: Measure twice, cut once (seriously, this saves so much frustration)
Hang the ceiling first: Work with a buddy unless you enjoy suffering
Stagger the seams: Like laying bricks, you don't want all seams lining up
Screw it right: Every 8 inches on edges, 12 inches in the field
Don't forget moisture-resistant drywall: Essential for basement environments
Step 7: Mudding and Taping - The Art of Smoothness
This is where patience pays off. Rushing mudding and taping is like frosting a cake while it's still hot, disaster waiting to happen.
First coat: Bed the tape and cover screw holes
Second coat: Feather out wider than the first
Third coat: Final smoothing and feathering
Sanding: The dusty finale that makes everything smooth

Flooring: The Foundation of Style
Choosing basement flooring is trickier than picking out socks. You need something that can handle moisture, temperature changes, and your kid's juice box spills.
Flooring Options That Won't Let You Down
Luxury vinyl plank: Waterproof and looks like real wood
Polished concrete: Industrial chic and moisture-proof
Carpet tiles: Easy to replace when disasters strike
Engineered hardwood: Beauty with moisture resistance
Rubber flooring: Great for home gyms or play areas
Whatever you choose, always use a moisture barrier and consider adding a subfloor system for extra comfort and protection.
How to Finish a Basement: Step-by-Step Guide - The Finishing Touches
We're in the home stretch now! These final steps are what transform your basement from "nice" to "holy cow, can I move in?"
Step 8: Trim and Doors - The Jewelry of Your Rooms
Installing trim and doors is like adding accessories to an outfit, it pulls everything together:
Baseboards: Hide the gap between floor and wall
Door casings: Frame those doorways properly
Crown molding: Fancy? Yes. Worth it? Absolutely
Interior doors: Don't forget proper sizing for basement humidity
Step 9: Painting - Color Your World
Painting a basement requires some special considerations:
Use high-quality primer (seriously, don't cheap out here)
Choose moisture-resistant paint
Consider lighter colors to brighten the space
Don't forget the ceiling (white makes it feel taller)
Step 10: Lighting - Brighten Things Up
Basements are naturally dark, so lighting is crucial. Layer your lighting like a pro:
Recessed lights: Great for general illumination
Task lighting: For specific areas like desks or bars
Accent lighting: Highlight artwork or architectural features
Natural light: Maximize any windows you have
Common Pitfalls: Learn From Others' Mistakes
Even with the best intentions, people mess up basement finishing all the time. Here are the biggies to avoid:
The Moisture Mishap
Thinking you can skip waterproofing because "it's never been wet" is like saying you don't need car insurance because you've never had an accident. One spring thaw or heavy rain, and you're looking at thousands in damage.
The Ceiling Height Hustle
Trying to finish a basement with 6-foot ceilings is gonna leave everyone feeling like they're in a hobbit hole. If you can't get proper height, consider leaving it unfinished or digging down (major bucks alert!).
The Code Violation Shuffle
"My buddy did it this way" isn't gonna fly with the building inspector. Following code isn't just about avoiding fines, it's about safety and resale value.
Special Considerations: Beyond the Basics
Some basements come with special challenges that need extra attention.
Dealing with Radon
If you're in a radon-prone area, testing is non-negotiable. High levels? You'll need a mitigation system before finishing.
Working Around Mechanicals
Your furnace, water heater, and electrical panel need accessibility. Build removable panels or doors to keep them reachable while looking good.
Creating Proper Egress
Any bedroom needs a proper escape route. That means windows that meet size requirements or a door directly to the outside.
Cost-Saving Tips: Stretch That Dollar
Want to finish your basement without selling a kidney? Here's how to save some serious cash:
Do the demo yourself: Sweat equity pays off
Buy materials in bulk: Especially during sales
Consider partial finishing: Do one area at a time
Reuse and recycle: Check salvage yards for doors and fixtures
Time it right: Contractors are cheaper in slow seasons
Conclusion
Whew! There you have it, your complete roadmap for transforming that dark basement into the space of your dreams. Remember, finishing a basement isn't a weekend project, it's a journey that requires patience, planning, and probably a few choice words when things don't go as planned. But stick with it, follow these steps, and soon you'll be enjoying your new favorite room in the house!
Read next: How Much Does It Cost to Finish a Basement?
Frequently Asked Questions
Q1: How long does it take to finish a basement?
A: Typically 4-8 weeks for professionals, 2-6 months for dedicated DIYers.
Q2: Can I finish a basement with low ceilings?
A: Building codes require 7+ feet; anything less limits your options significantly.
Q3: What's the average ROI on basement finishing?
A: Usually 70-75% return, but you gain immediate livable space enjoyment.
Q4: Do I really need permits for basement finishing?
A: Yes! Permits ensure safety and protect your investment during resale.
Q5: What's the biggest mistake people make?
A: Ignoring moisture issues; they'll ruin everything if not addressed first.
Stay up to date with our latest ideas!