How to Clean Vinyl Plank Flooring Without Damage
Looking for a sparkling, scratch-free shine on your vinyl planks? Learn how to clean vinyl plank flooring without damage, using proven methods that keep it looking good as new—without the fuss or fear of accidental harm.
So you’ve embraced the wonder that is vinyl plank flooring—congrats! You’re probably enjoying its affordability, durability, and downright stylish appearance. After all, vinyl planks can mimic everything from rustic oak boards to sleek stone tiles, minus the hefty price tag and high-maintenance drama. But hold up: are you a little nervous about cleaning them the right way? You’re not alone. While vinyl planks are fairly easy to care for, using the wrong product or technique could leave them scuffed, warped, or (gasp!) discolored.
Never fear. In this handy guide on How to Clean Vinyl Plank Flooring Without Damage, we’ll explore exactly what to do—and, just as important, what NOT to do. Whether you’ve got high-traffic chaos from kids and pets or just want to preserve that brand-new glow, the steps below will keep your floor spiffy and your worries at bay. Ready to make that vinyl shine like a diamond? Let’s dive in.
1. Why Vinyl Plank Flooring Is the Cat’s Pajamas
Before we roll up our sleeves, let’s take a moment to appreciate why vinyl plank flooring has captured so many hearts. It’s not just hype, folks—there are some real perks:
Budget-Friendly: Compared to hardwood or stone tiles, vinyl planks let you achieve a sophisticated look without forcing you to sell your firstborn.
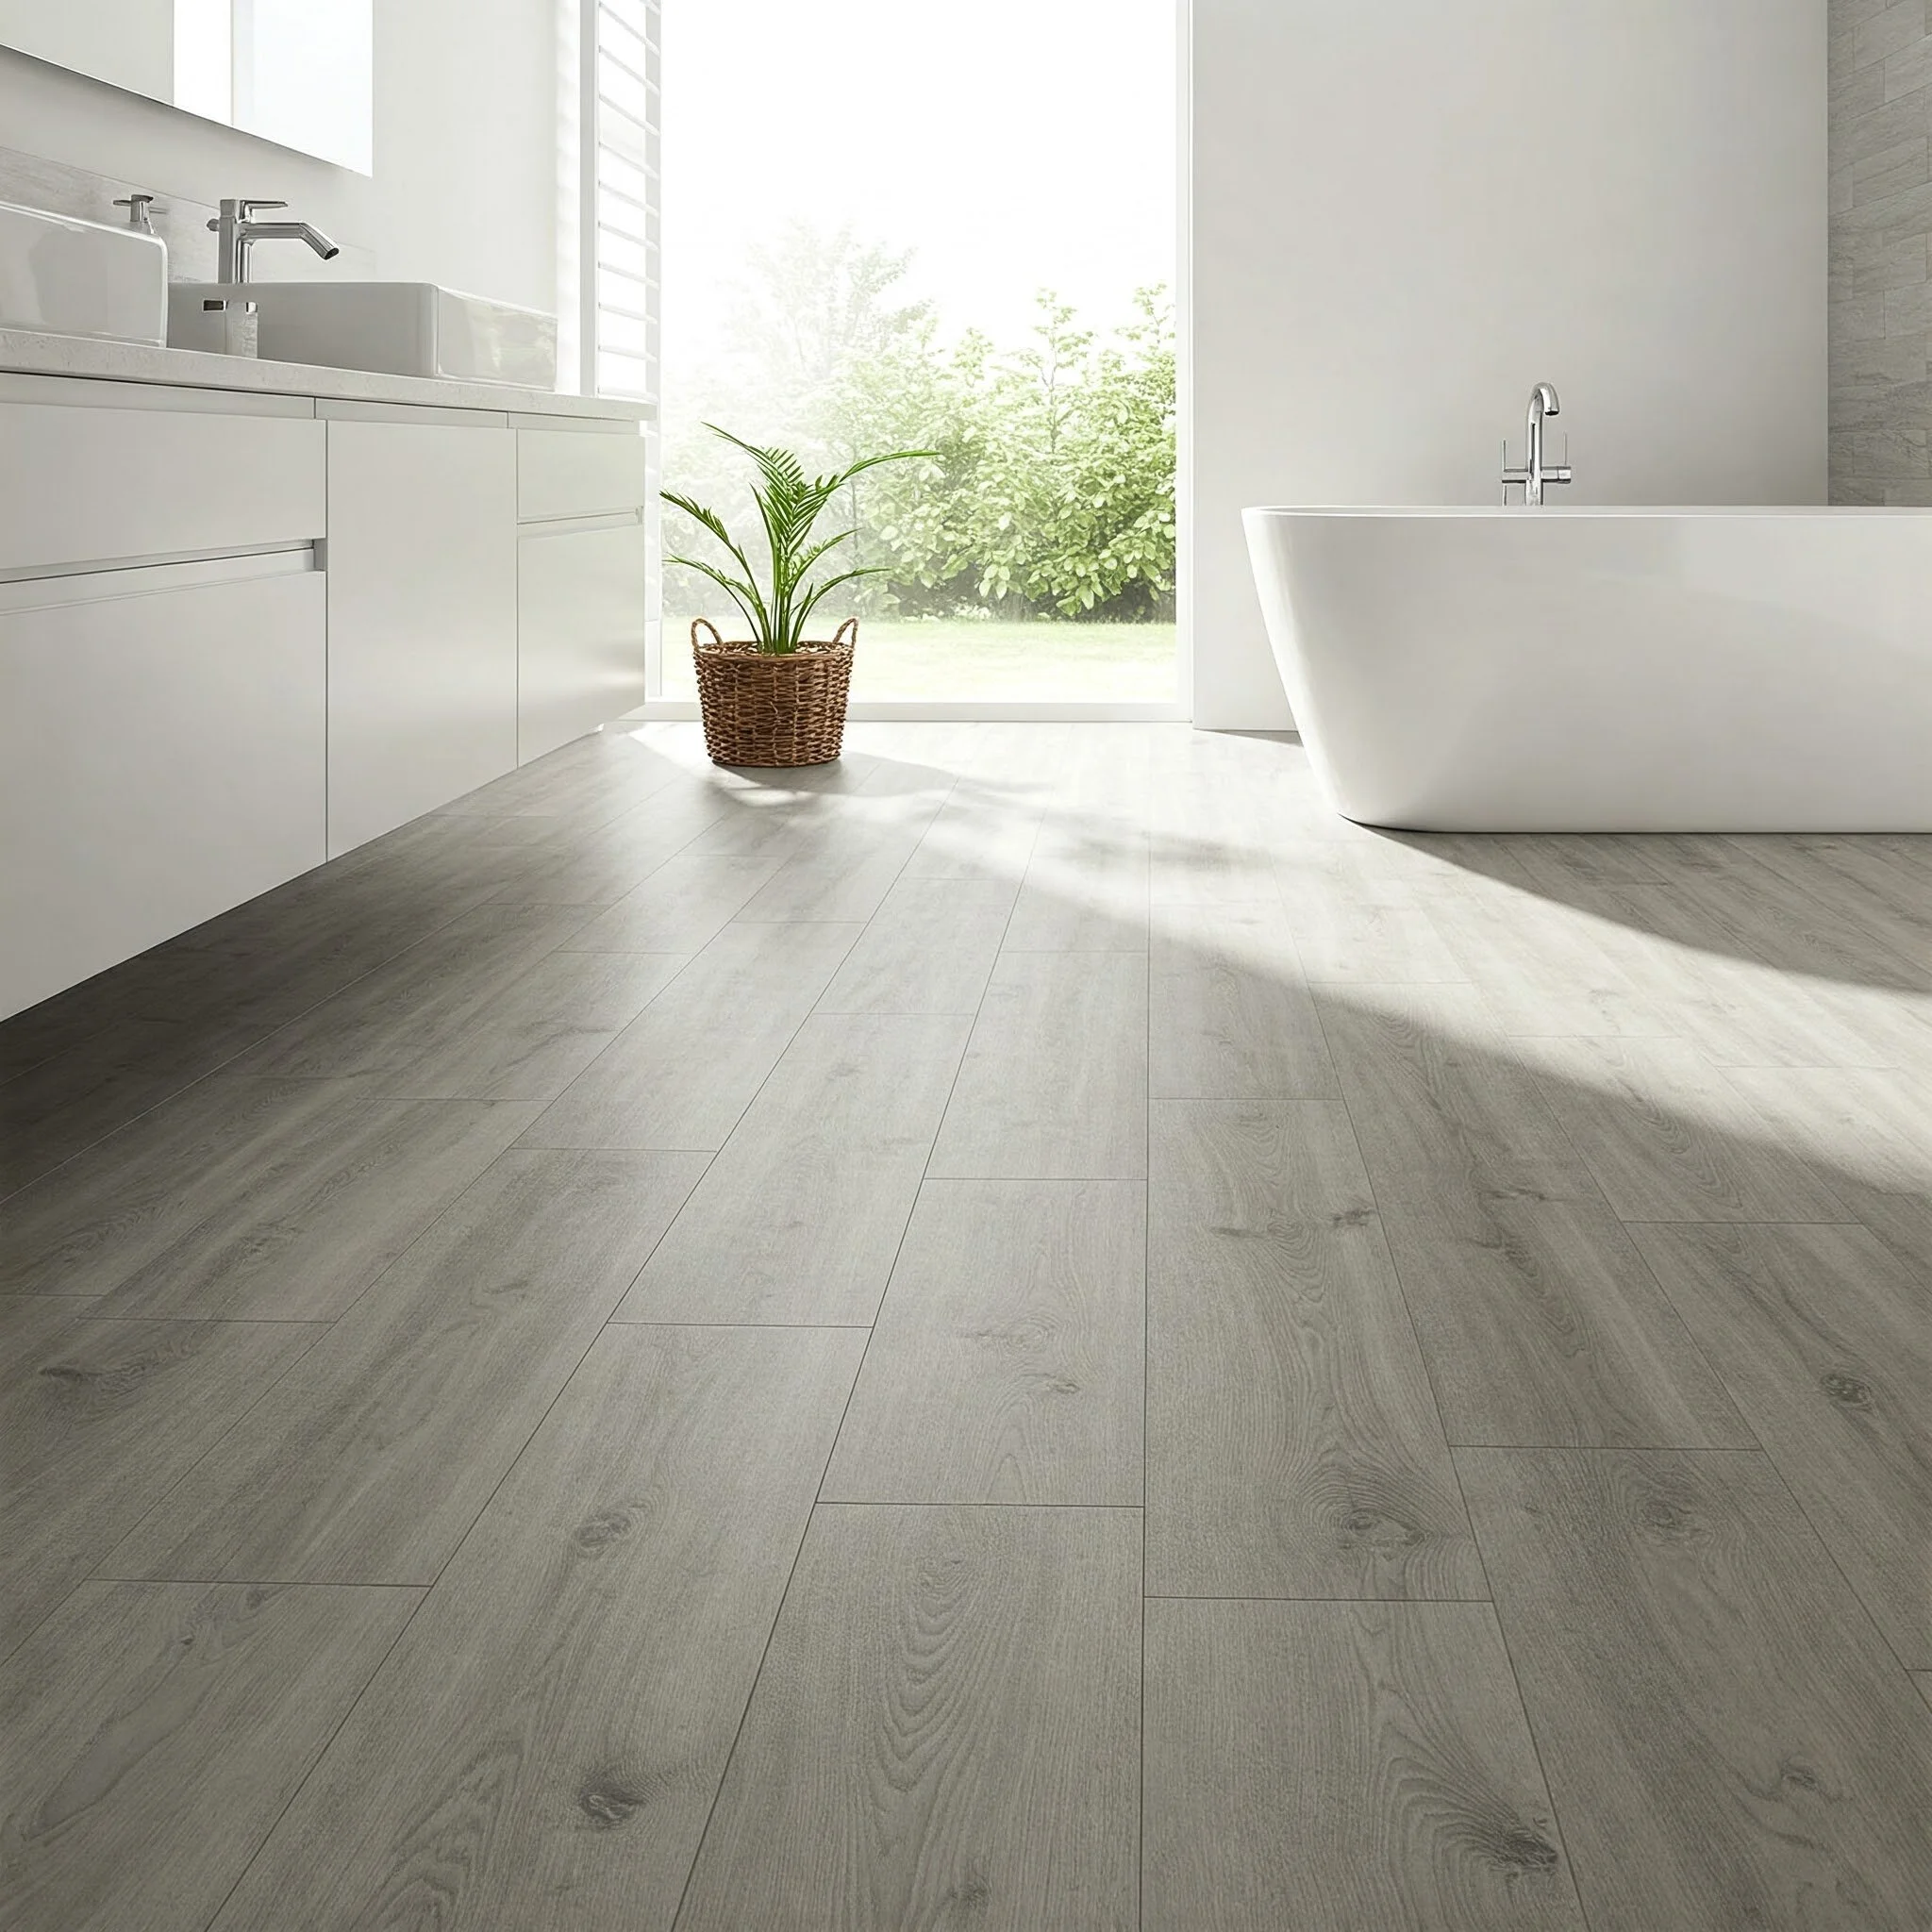
Moisture Resistant: Vinyl planks handle water better than many alternatives, making them a top contender for bathrooms, kitchens, and even basements.
Easy Installation: Many come with a click-lock system or peel-and-stick backing. You could practically set these up in your sleep. (Okay, maybe not literally, but you get the idea.)
Endless Design Options: From trendy reclaimed wood finishes to futuristic metallic looks, vinyl offers creative freedom in your décor.
Durable as All Get-Out: With the right maintenance, vinyl plank floors can withstand quite a bit of foot traffic—and maybe even the occasional doggy zoomies—without losing their flair.
Of course, none of that matters if you accidentally mar the surface with harsh chemicals or the wrong cleaning tool. That’s where the next sections come in handy.
2. “How to Clean Vinyl Plank Flooring Without Damage” – The Basics
The phrase “How to Clean Vinyl Plank Flooring Without Damage” might sound like you need a magic wand, but trust me, it’s simpler than you’d think. There are a few golden rules to keep top of mind:
Gentle Is Best: This type of flooring appreciates a light touch. Heavy-duty scrubbing with abrasive pads is a big no-no.
Avoid Standing Water: While vinyl is water-resistant, you don’t want to turn your living room into a wading pool. Excess moisture seeps between planks and can wreak havoc if left unchecked.
pH-Neutral Cleaners: Highly acidic or highly alkaline products can damage the protective finish. Opt for mild solutions unless you fancy dull patches.
Sweep or Vacuum First: Crumbs and grit act like little razors if you just start mopping over them. Clear that debris so you’re not scraping the floor inadvertently.
Got these in your memory bank? Good. Now let’s move on to the specific steps for a damage-free, squeaky-clean vinyl plank floor.

3. Step-by-Step: The Foolproof Routine
3.1 Daily (or Frequent) Sweep/Vacuum
Keep it simple: Start by grabbing a soft-bristle broom or a vacuum specifically designed for hard surfaces.
Gentle approach: If you opt for the vacuum, ensure the beater bar (the rotating brush) is turned off or replaced with a specialized attachment, so you’re not scratching the vinyl.
Focus on corners: Dirt loves to gather in corners and along baseboards. A quick pass with a crevice tool can save you from grit buildup.
3.2 Weekly Light Mop
Prep Your Solution: Fill a bucket with warm water and a drop or two of mild dish soap (or a specialized vinyl cleaner). Don’t go overboard—the more soap, the harder it is to rinse away.
Use a Damp (Not Soaked) Mop: Think “wrung out” rather than “dripping.” Excess water is the enemy, so aim for a slightly damp mop that glides over the floor.
Smooth, Even Strokes: Mop in the direction of the planks if you can, though it’s not a deal-breaker if you prefer a swirl pattern. Just be consistent and thorough.
3.3 The Drying Dance
Optional Towel Dry: After mopping, you can run a clean, dry microfiber cloth or mop over the surface to pick up extra moisture. This step is especially crucial if your home is prone to humidity or you used a bit more water than planned.
Air It Out: If you’re skipping a towel dry, at least make sure the room is well-ventilated. Turn on a fan or open a window to accelerate drying time.
3.4 Spot Cleaning Stains
Act Fast: Got ketchup on the floor? A quick wipe with a damp cloth can prevent a permanent stain.
For Stubborn Spots: Try a diluted vinegar-water mix or a vinyl-friendly stain remover. Test on an inconspicuous area first to confirm no discoloration occurs.
4. Mistakes to Avoid (and Why They’re Bad News)
We can’t talk about How to Clean Vinyl Plank Flooring Without Damage without spotlighting a few pitfalls that can sabotage your best intentions:
Bleach or Harsh Chemicals: Sure, bleach kills germs, but it might also kill the floor’s finish. Use gentler cleaners unless you’re tackling a major health hazard.
Ammonia: This chemical can degrade the vinyl over time, causing brittleness or discoloration. No one wants dull, crackly floors.
Steam Mops: Yes, they’re trendy, but super-hot steam and vinyl planks are like oil and water. Steam can warp the adhesive or cause lifting at the edges. If you must use steam, do your homework to see if your vinyl brand allows it.
Scrubbing with Steel Wool: It’s essentially a guaranteed route to scratches—and if you scratch the floor’s protective coating, you open the door to even more stains and scuffs.
Waxes and Polishes Meant for Other Floors: Some folks think waxing everything is the path to a heavenly shine. But vinyl planks often come with a factory finish that doesn’t play nice with wax. You could end up with a dull film or a sticky mess.

5. Grimy Spills and Stubborn Stains: Quick Solutions
Sometimes, life happens. Your toddler flings tomato sauce halfway across the kitchen, or your dog tracks in glorious muddy footprints. Freaking out? Relax. Here’s how to handle those oh-no moments:
Grease Splatter: A dab of dish soap in warm water, plus a soft cloth, typically dissolves grease. Wipe, rinse, and done.
Crayon or Ink: A small amount of isopropyl alcohol on a cotton ball can remove marks. Spot test first! Then rinse the area with a damp cloth to remove residue.
Scuff Marks: Often buff out with a tennis ball or a melamine foam sponge (like a Magic Eraser). Go gently—light pressure is enough.
6. Natural Cleaning Methods for the Eco-Conscious
If you’re more “au naturel” and prefer to dodge commercial cleaners, there are plenty of effective, eco-friendly ways to tackle How to Clean Vinyl Plank Flooring Without Damage:
6.1 Vinegar and Water
Ratio: Mix one cup of white vinegar into a gallon of warm water.
Why It Works: Vinegar’s acidity helps cut through grime without being so harsh it strips the floor’s finish.
Caution: Some folks worry about vinegar’s odor, but it dissipates quickly once it’s dry.
6.2 Baking Soda Paste
Use Case: Great for spot-treating tough stains (like coffee or red wine).
Application: Sprinkle baking soda on the stain, spritz with water, and let it sit for a few minutes. Gently scrub with a soft cloth or sponge, then wipe clean.
6.3 Lemon Juice Spritz
Why Lemon?: It’s naturally antibacterial and leaves a fresh scent.
How To: Dilute lemon juice in water (about a 1:5 ratio) and lightly mist the area before wiping. This is awesome for quick deodorizing.
7. When to Call in the Big Guns (Commercial Cleaners)
Let’s be real: sometimes you just want a bottled solution that’s made specifically for vinyl plank floors, especially if you’re dealing with serious grime or an ultra-busy household. No shame there! Just remember:
Check Labels: Look for “vinyl floor cleaner” or “pH-neutral floor cleaner” explicitly.
Follow the Instructions: Don’t wing it—overdosing on cleaner can lead to a filmy residue.
Patch Test: If you’re paranoid about potential damage, test the cleaner in a hidden area first.
Avoid Rinsing Too Late: Some cleaners require a good rinse. Don’t wait till the solution dries into a sticky layer.
With the right commercial product, you can zip through floor cleaning in record time, leaving your vinyl planks gleaming like a showroom.
8. Maintenance Habits: Keep the Sparkle Alive
Cleaning is one part of the equation, but consistent upkeep ensures your floor remains top-notch for years. Don’t skip these ongoing habits:
Door Mats and Rugs: Cut down on tracked-in dirt by placing mats at every entrance. This single step can drastically reduce how often you need to mop.
Furniture Pads: Felt pads under chair and table legs prevent random scratches. They’re cheap and save you heartbreak down the line.
Tackle Spills Immediately: The longer a spill sits, the greater the chance of staining or seeping into plank seams.
Control Humidity: Vinyl doesn’t love extreme humidity. If you live in a muggy region, consider using a dehumidifier to keep your floor happy.

9. Putting It All Together: The Master Cleaning Routine
Let’s condense everything into one brilliant strategy, so you can approach your cleaning day with total confidence:
Daily or Frequent Sweep: Clear away dust, crumbs, and pet hair with a broom or gentle vacuum attachment.
Weekly Mop: Use a mild cleaning solution—like a tiny squirt of dish soap in warm water or a vinyl-safe product. Mop with minimal moisture.
Spot-Clean Stains: Attack spills ASAP with a damp cloth and, if necessary, a specialized stain remover or vinegar solution.
Periodic Thorough Clean: Once a month (or more, if your floors see a lot of action), up your game. Remove scuff marks, scrub corners more deeply, and incorporate a baking soda paste on stubborn spots.
Long-Term Maintenance: Invest in doormats, use furniture pads, keep your humidity levels in check, and store a supply of vinyl-friendly cleaning products on-hand for emergencies.
Ta-da! Follow this routine, and you’ll keep your vinyl plank flooring looking as slick as it did on installation day—without any unsightly damage.
10. The Importance of Manufacturer Guidelines
One last note: As universal as these tips may be, your floor might have unique quirks or special instructions. Some vinyl plank brands tout extra-strong wear layers or unique chemical compositions. So if you still have the manufacturer’s pamphlet, it’s worth a skim. They’ll specify recommended cleaners, disclaimers about steam mops, and whether your warranty covers certain issues.
When in doubt, put down the bleach and triple-check that user manual. You’ll thank yourself later when your floor still looks runway-ready and your warranty remains fully intact.
Conclusion
Well, that’s the lowdown on How to Clean Vinyl Plank Flooring Without Damage—and hopefully, it was less intimidating than you thought. Whether you prefer natural remedies like vinegar and baking soda or you’re a fan of specialized vinyl cleaners, the core principle remains the same: treat your floor gently and consistently. Scrapes, discoloration, and warping are almost always caused by harsh chemicals, rough scrubbing, or excessive moisture. Steer clear of those pitfalls, and your vinyl will reward you with years of stylish resilience.
So go on—pull out that soft-bristle broom and whisk away the dust bunnies. Whip up a gentle cleaning solution, or crack open a vinyl-specific product you trust. Bask in the sweet satisfaction that only a spotless, damage-free floor can bring. And if a neighbor pops by and asks why your vinyl looks so darn fabulous, well, feel free to share these tips (or keep them as your tidy little secret). After all, a pristine floor is one thing, but the sheer joy of walking barefoot on a comfy, shimmering surface? Absolutely priceless.
Frequently Asked Questions
Q1: Can I use a steam mop on vinyl plank floors if I keep it on low heat?
A: Generally, most manufacturers advise against any steam mopping. Even “low heat” might damage the adhesive or warp the planks, so proceed with caution—or skip steam entirely.
Q2: How often should I deep clean my vinyl plank floor?
A: That depends on traffic. A home with pets and kids might require weekly or biweekly thorough cleaning, while a single adult in a small apartment might manage just fine with monthly deep cleans.
Q3: Are there specialized polishes for vinyl plank floors that are safe?
A: Some brands offer polishes specifically formulated for vinyl. However, many vinyl floors come pre-finished and don’t need waxing or polishing. If you try one, follow the instructions carefully and patch test first.
Q4: My vinyl plank floor looks dull—is it scratched or dirty?
A: Sometimes dullness is just residue buildup from soaps or cleaners. Try rinsing with a mild vinegar-water solution or a pH-neutral cleaner. If that doesn’t help, tiny scratches may be to blame, especially in high-traffic zones.
Q5: Do I need to strip and reseal vinyl plank floors like I do with linoleum?
A: Typically, no. Modern vinyl planks have a protective wear layer that doesn’t require sealing like linoleum or older vinyl sheets do. Just follow standard cleaning tips and watch for manufacturer updates.
Stay up to date with our latest ideas!