How to Paint Garage Door and Boost Your Home’s Curb Appeal
Transform your home's facade! Learn pro tips for painting garage doors, choosing colors, and creating stunning curb appeal on a budget.
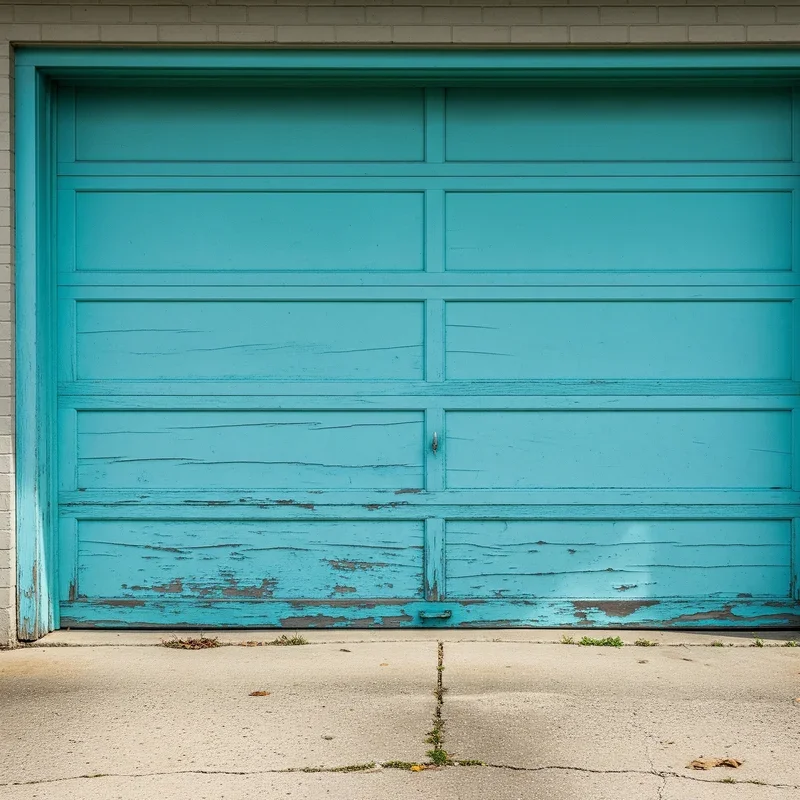
Let's face it, your garage door is like the elephant in the room, except it's the elephant on your house! Taking up nearly a third of your home's front facade, that big old door can either make your place look like a million bucks or, well, like it needs some serious TLC. If you're staring at a faded, peeling, or just plain boring garage door, you've probably wondered about giving it a fresh coat of paint.
Good news, folks! Learning how to paint garage door and boost your home's curb appeal isn't just for the pros. With a weekend to spare, some elbow grease, and the right know-how, you can transform that eyesore into an eye-catcher. Whether you're prepping to sell or just tired of being the house with "that garage door," this guide will walk you through everything from prep work to the final brushstroke.
Why Your Garage Door Deserves Some Love
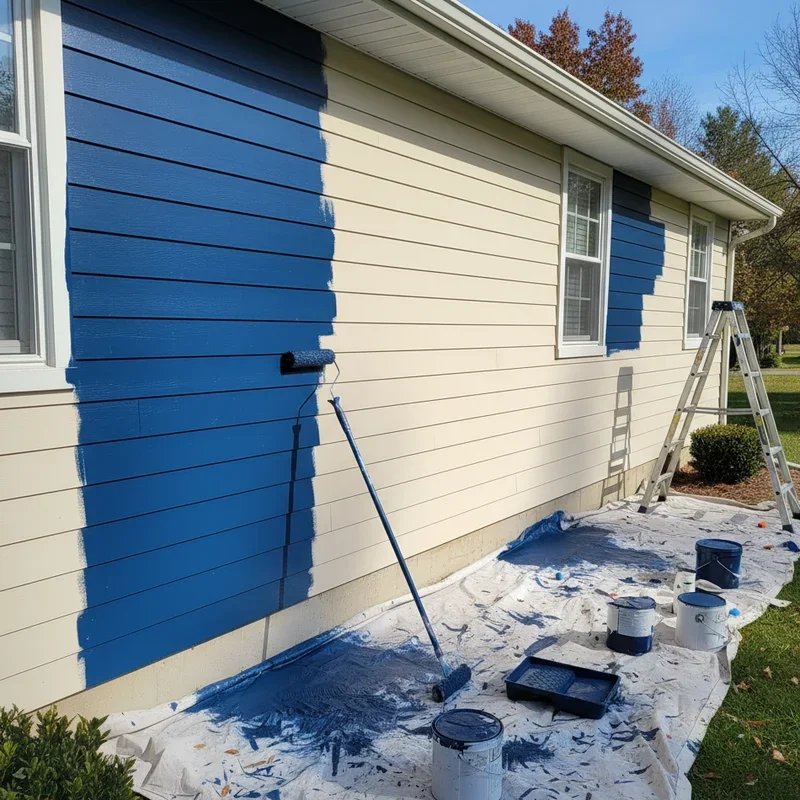
Think about it this way: your garage door is basically wearing the same outfit every single day, rain or shine. After years of sun beating down, rain pelting away, and temperature swings doing their thing, even the best paint job starts looking rough around the edges. But here's the kicker: a freshly painted garage door can literally transform your entire home's appearance overnight!
Real estate agents will tell you that curb appeal can add thousands to your home's value. And guess what's one of the most cost-effective ways to boost that appeal? Yep, you guessed it! A well-painted garage door costs a fraction of what a new door would set you back, yet delivers nearly the same visual impact.
The Psychology of First Impressions
We're all guilty of judging books by their covers, and homes are no different. When someone pulls up to your house, that garage door is often the first thing they notice. A shabby door screams "neglect," while a crisp, freshly painted one whispers "this homeowner has their act together." It's amazing how much personality you can inject into your home just by choosing the right color and finish for that big canvas sitting right there in front.
Choosing the Perfect Paint Color for Maximum Impact
Alright, before you run off to the paint store like a kid in a candy shop, let's talk strategy. The color you choose can make or break your home's entire look, so this isn't the time to just grab whatever's on sale!
Classic Choices That Never Go Wrong
White or Off-White: Can't go wrong with these timeless options. They make your home look clean, fresh, and well-maintained. Plus, they go with literally everything!
Match Your Trim: This creates a cohesive look that ties your whole exterior together. It's safe, it's classy, and it always works.
Go Bold with Black: Black garage doors are having a moment right now, and for good reason! They look sophisticated, modern, and surprisingly versatile.
Earth Tones: Browns, tans, and grays blend beautifully with natural surroundings and give off warm, welcoming vibes.
Trendy Colors for the Brave
Feeling adventurous? Navy blue, forest green, or even a deep burgundy can set your home apart from the cookie-cutter crowd. Just remember, with great color comes great responsibility. Make sure it complements your home's overall palette, not fights with it!
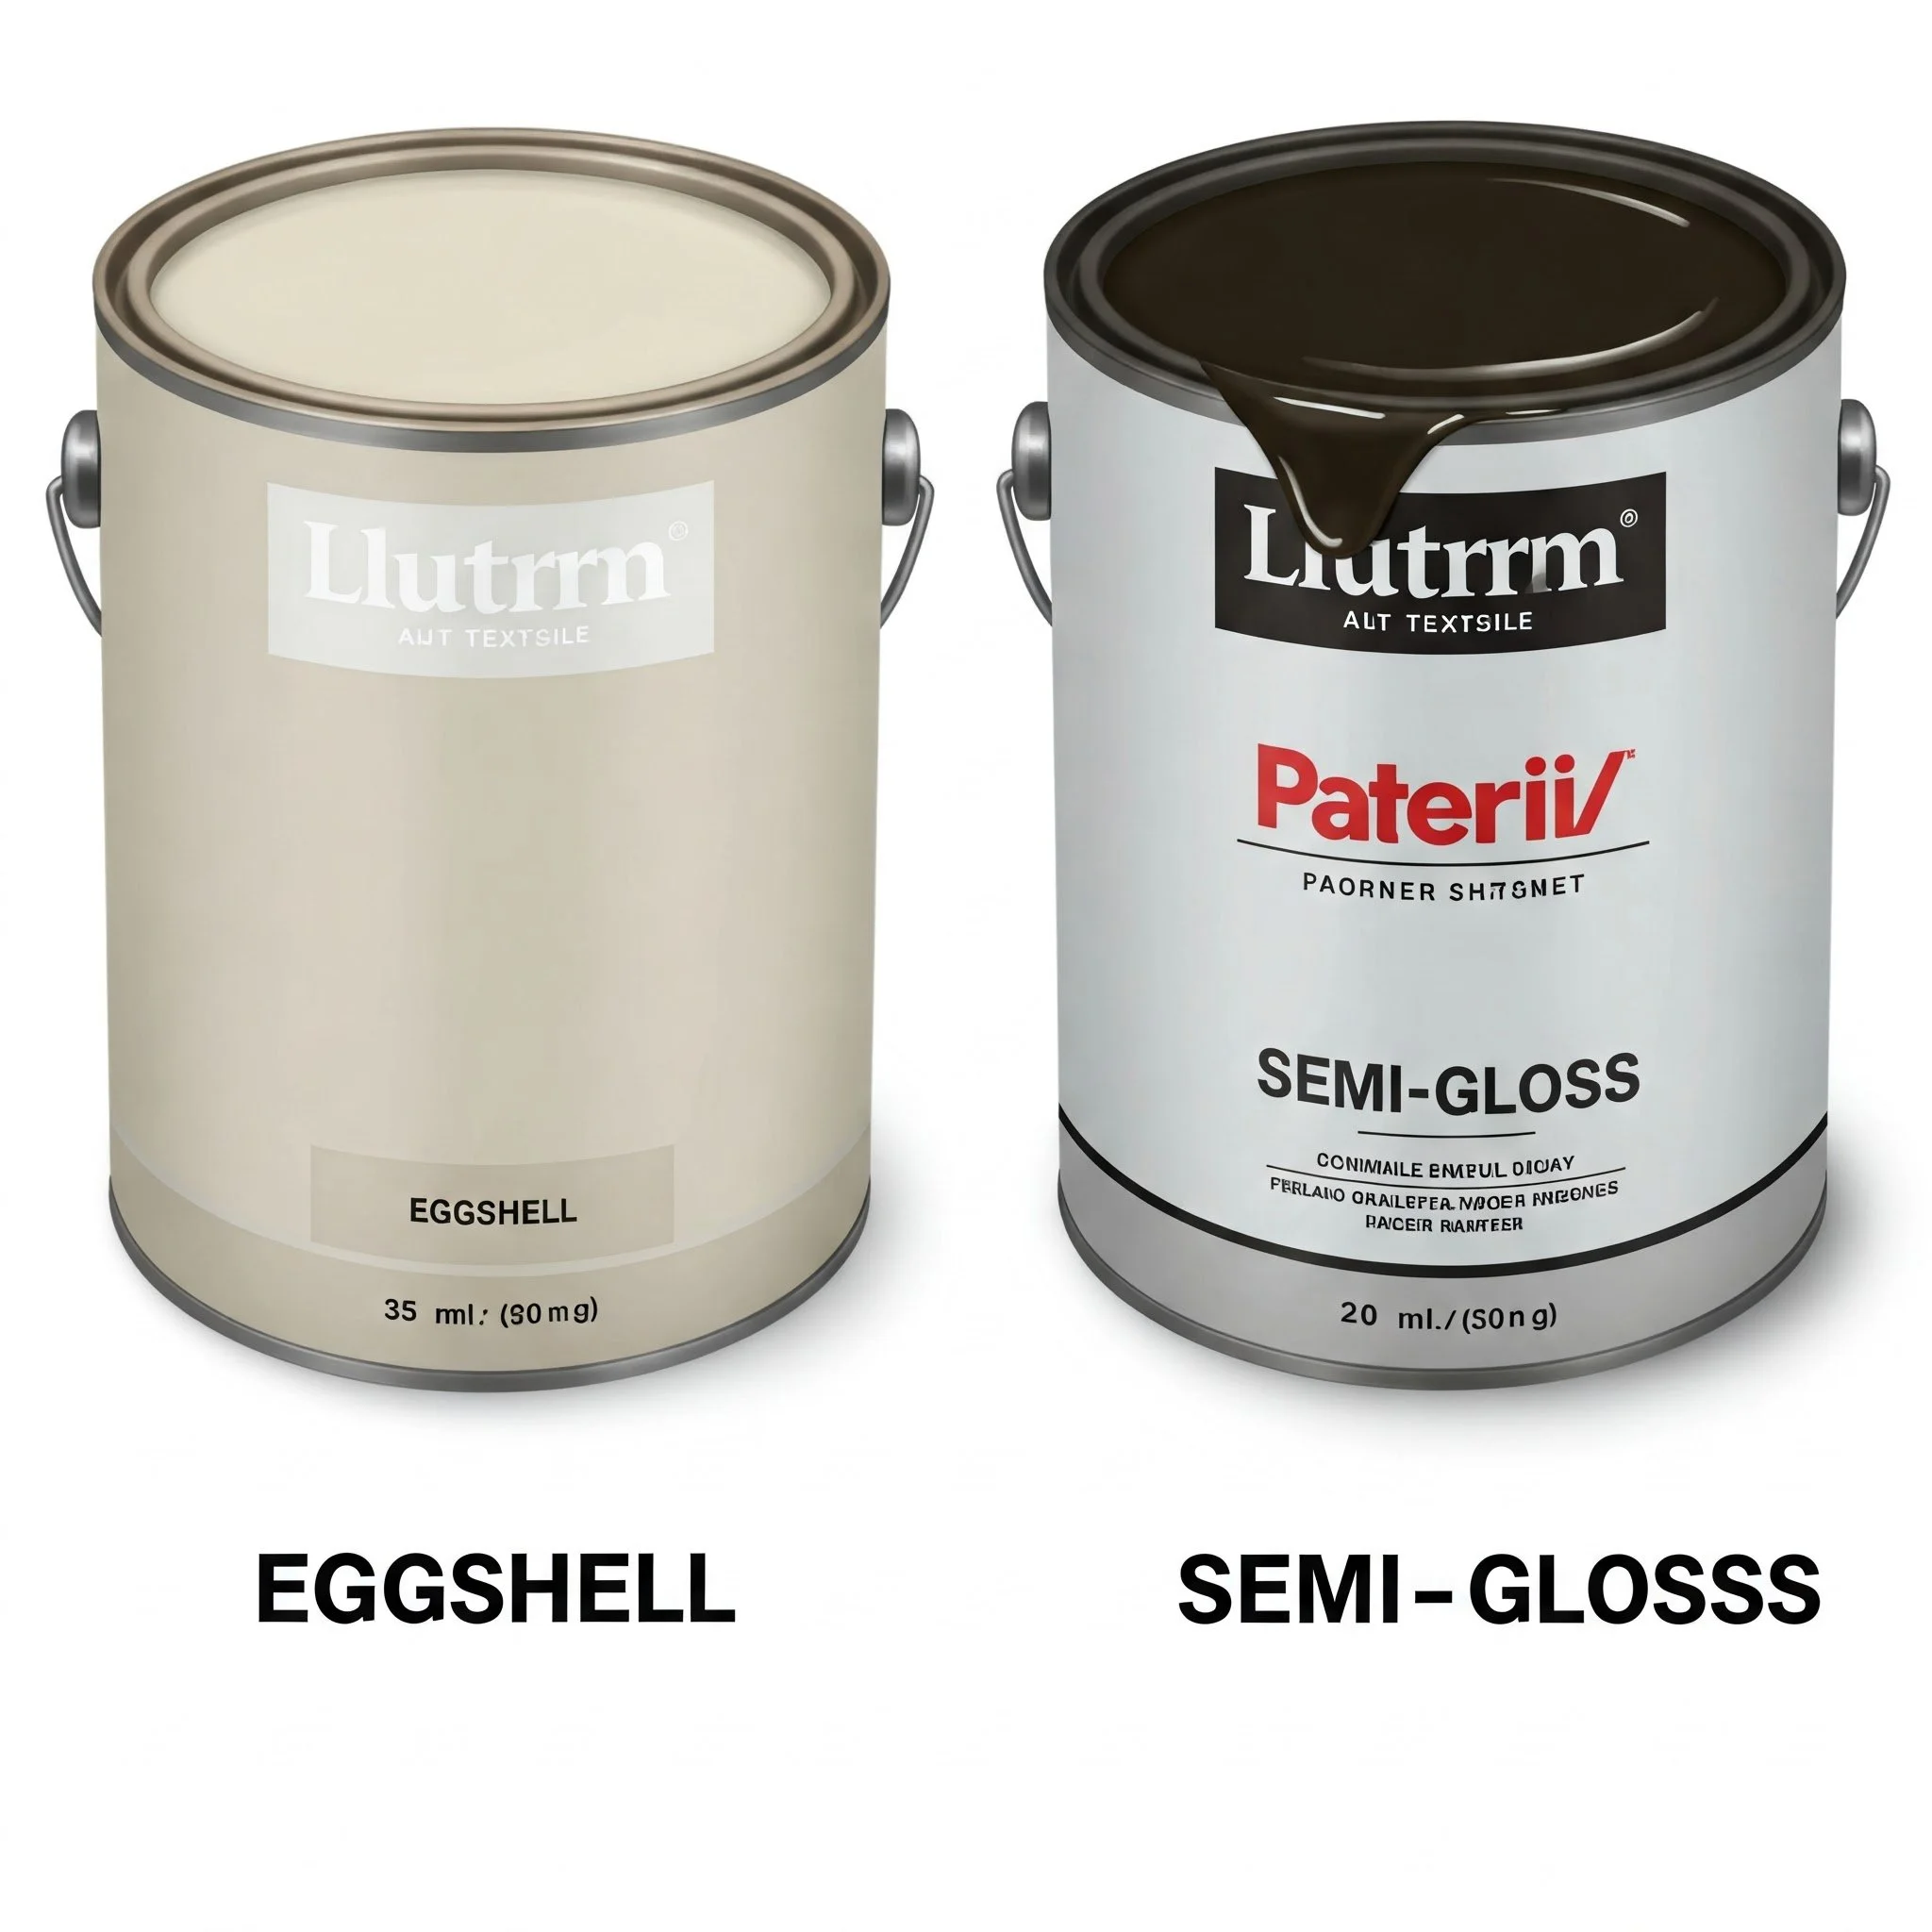
The Finish Factor
Here's something many DIYers overlook: the finish matters just as much as the color! Flat finishes hide imperfections but show dirt easily. Glossy finishes are easier to clean but will highlight every ding and dent. Most folks find that satin or semi-gloss hits the sweet spot, offering durability without being too shiny.
Essential Tools and Materials You'll Need
Time to gear up! Having the right tools makes the difference between a paint job that looks professional and one that screams "weekend warrior gone wrong."
The Must-Have List
Quality exterior paint: Don't cheap out here! Get 100% acrylic latex or exterior alkyd paint
Primer: Especially crucial if you're changing colors dramatically or painting metal
Brushes: A 2-3 inch angled brush for detail work and cutting in
Rollers: 3/8-inch nap for smooth doors, 1/2-inch for textured surfaces
Paint tray and liners: Makes cleanup so much easier
Painter's tape: The good stuff, not the bargain bin special
Drop cloths: Your driveway will thank you
Sandpaper: 120-150 grit for prep work
TSP cleaner or degreaser: Gets rid of years of grime
Pressure washer or hose: For the initial cleaning
Scraper: For removing loose, flaking paint
Nice-to-Have Extras
Paint sprayer (if you're feeling fancy)
Extension pole for your roller
Paint can opener (because destroying screwdrivers gets old)
Disposable gloves
Old clothes you don't mind ruining
A radio or speaker (trust me, this job needs tunes!)
How to Paint Garage Door and Boost Your Home's Curb Appeal: The Prep Work
Listen up, because this is where most DIY paint jobs go south. Prep work isn't sexy, but skipping it is like building a house on quicksand. You might get away with it for a while, but eventually, that beautiful paint job will start peeling faster than a bad sunburn.
Step 1: Clean That Door Like Your Mother-in-Law is Coming
I'm talking serious cleaning here, not just a quick spray with the hose. Mix up some TSP cleaner according to the package directions (wear gloves, this stuff means business), and scrub every inch of that door. Pay special attention to the bottom where road grime builds up and any spots that look extra grimy.
After scrubbing, rinse thoroughly with your pressure washer or hose. And I mean thoroughly! Any cleaner residue left behind will mess with your paint adhesion. Let the door dry completely, which usually means waiting until the next day. Patience, grasshopper!
Step 2: Inspect and Repair
With your door clean, you can finally see what you're really working with. Check for:
Dents (small ones can be filled with auto body filler)
Rust spots (sand these down to bare metal)
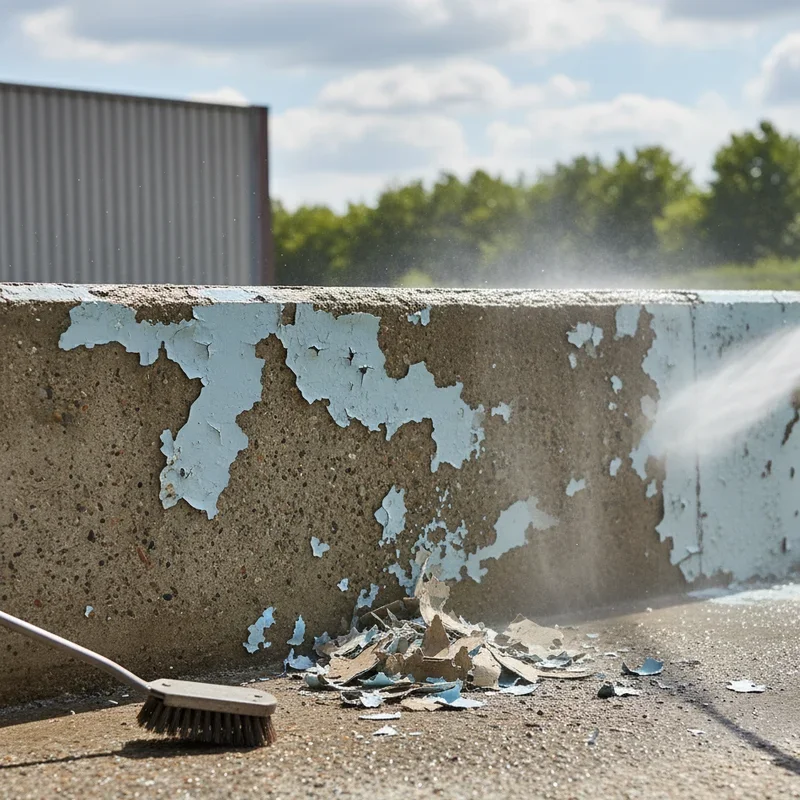
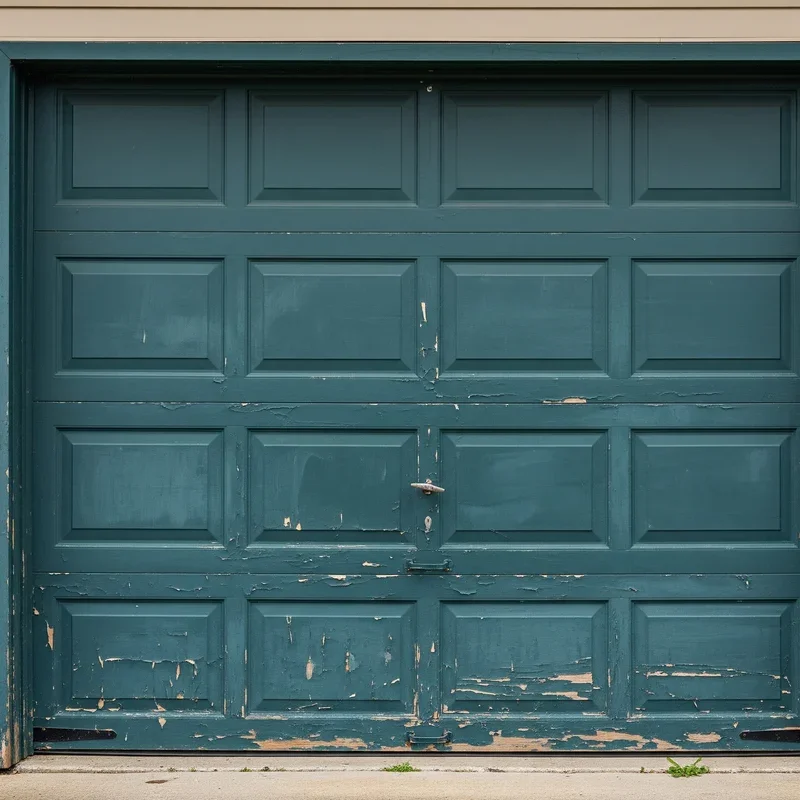
Loose or peeling paint (scrape it all off)
Damaged weather stripping (replace if needed)
Don't skip this step thinking paint will hide problems. It won't! In fact, it'll often make them more obvious.
Step 3: Sand It Down
Here's where the real fun begins (said no one ever). But seriously, sanding is crucial for helping new paint stick. You don't need to sand down to bare material unless the existing paint is in terrible shape. Just rough up the surface with 120-150 grit sandpaper.
For the lazy folks (no judgment!), you can use liquid deglosser instead of sanding. It won't give quite as good adhesion, but it's better than nothing and saves your arms from feeling like jello.
Step 4: Tape and Protect
Time to channel your inner artist! Use painter's tape to mask off anything you don't want painted: windows, handles, trim, weather stripping. Press the edges down firmly to prevent paint bleeding underneath.
Lay down drop cloths on your driveway, and if there's any landscaping near the door, cover it with plastic sheeting. Trust me, explaining green paint on your spouse's prized roses isn't a conversation you want to have.
The Painting Process: Where the Magic Happens
Finally, the moment you've been waiting for! But hold your horses; there's a method to this madness.
Prime Time (See What I Did There?)
Unless you're painting the exact same color and the existing paint is in great shape, you need primer. Period. End of story. For metal doors, use a rust-inhibiting primer. For wood, use an oil-based or high-quality latex primer.
Apply primer just like paint: thin, even coats. Better to do two thin coats than one gloppy mess. Let it dry according to the manufacturer's instructions, which usually means overnight. Yeah, I know, more waiting. But good things come to those who wait!
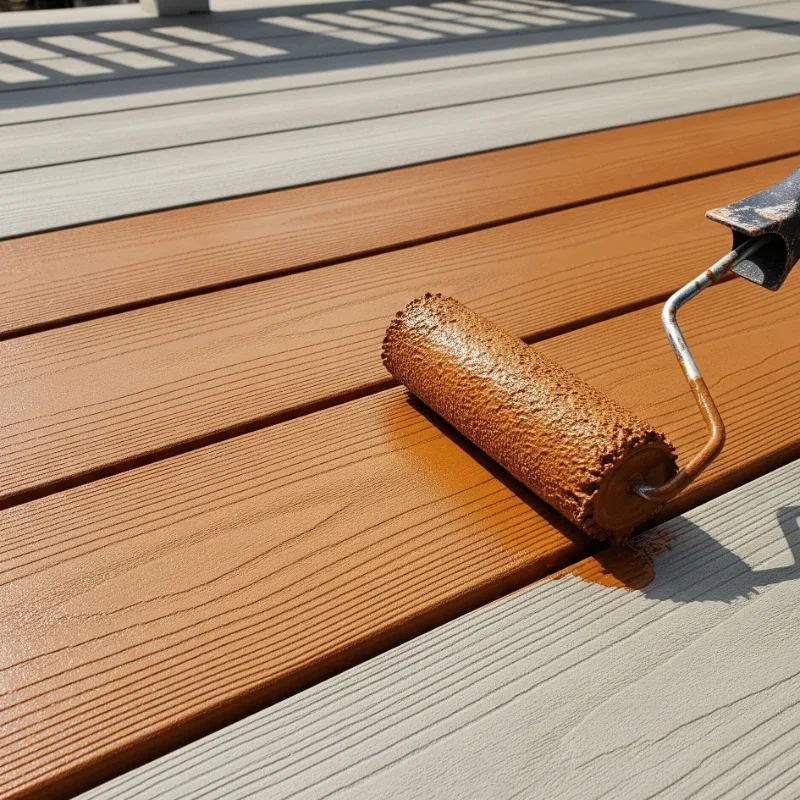
The Main Event: Applying Paint
Alright, here's where how to paint garage door and boost your home's curb appeal really comes together! Start early in the day when it's cooler, especially if you're painting in summer. Paint doesn't like extreme temperatures any more than you do.
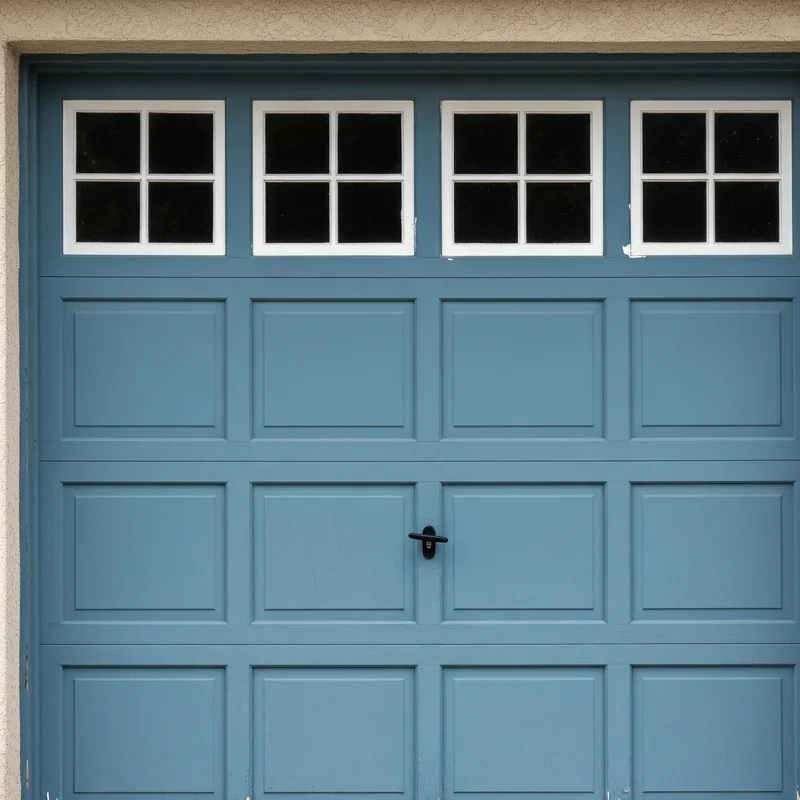
For Raised Panel Doors:
Start with the recessed panels using your brush
Paint the raised edges next
Use your roller for the flat rails and stiles
Finish with any trim or edges
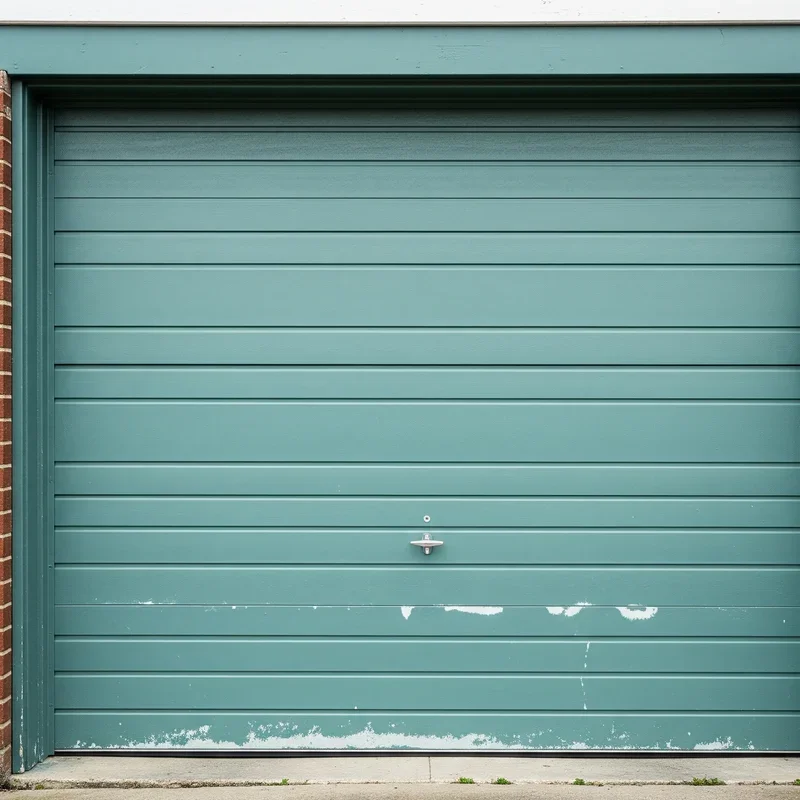
For Flat Doors: Roll in a "W" pattern, then fill in with parallel strokes. Keep a wet edge to avoid lap marks, which is fancy talk for "don't let sections dry before you blend them."
The Second Coat Situation
One coat might look good when it's wet, but trust me, you need two. Sometimes three if you're covering a dark color with a light one. Wait for the first coat to dry completely (check that can for drying times), then repeat the whole process.
Between coats, wrap your brushes and rollers in plastic wrap or aluminum foil. They'll stay wet and ready for round two without needing a full cleaning.
Special Considerations for Different Door Materials
Not all garage doors are created equal, and each type has its own quirks when it comes to painting.
Metal Doors
These are probably the easiest to paint, but they need special attention to prevent rust. Any bare metal spots must be primed with rust-inhibiting primer. In humid climates, consider using paint with rust inhibitors built in.
Metal doors also expand and contract with temperature changes, so use paint that can handle that movement without cracking. 100% acrylic latex is your friend here.
Wood Doors
Wood's a bit more high-maintenance (aren't we all?). It needs to be completely dry before painting, and any bare wood should be primed with oil-based primer to prevent tannin bleed-through.
Check for rot or damage before painting. Small areas can be repaired with wood filler, but extensive damage might mean it's time for a new door. Sorry to be the bearer of bad news!
Vinyl Doors
Here's where things get tricky. Not all vinyl doors can be painted, and those that can need special vinyl-safe paint. The wrong paint can cause warping, especially with dark colors that absorb heat.
If you're determined to paint vinyl, use light colors and paint specifically formulated for vinyl surfaces. And maybe cross your fingers for good measure.
Fiberglass Doors
These doors are actually pretty paint-friendly! They don't expand and contract as much as other materials, and they take paint well. Just make sure to use 100% acrylic paint for best results.
Maintaining Your Newly Painted Masterpiece
Congratulations, you've just transformed your home's curb appeal! But don't rest on your laurels just yet. A little maintenance goes a long way in keeping that door looking fresh.
Regular Cleaning
Wash your door every few months with mild soap and water. This prevents dirt buildup that can break down paint over time. Plus, it gives you a chance to inspect for any chips or damage that need touching up.
Annual Inspection
Once a year, give your door a thorough once-over. Look for:
Chips or scratches (touch up immediately)
Fading (might be time for a fresh coat)
Rust spots on metal doors
Weather stripping condition
Touch-Up Protocol
Keep some leftover paint for touch-ups. Small chips and scratches are easy to fix if you catch them early, but leave them alone and you might be repainting the whole door sooner than expected.
Common Mistakes to Avoid Like the Plague
Learning from others' mistakes is way less painful than making your own, so here's what NOT to do:
Painting in Bad Weather: Too hot, too cold, too humid, or threatening rain? Wait for better conditions. Paint needs goldilocks weather to cure properly.
Skipping Primer: I know I've harped on this, but it bears repeating. Primer isn't optional unless you enjoy redoing work.
Using Interior Paint: Just because it's cheaper doesn't mean it's a good idea. Exterior paint is formulated to handle weather. Interior paint will fail spectacularly.
Painting Over Dirt or Grease: Paint won't stick to grime. It's like trying to put a sticker on a dusty surface. Won't work!
Rushing Between Coats: Patience, young grasshopper. Rushing leads to tacky paint that never quite cures right.
How to Paint Garage Door and Boost Your Home's Curb Appeal: Design Ideas
Now that you know the technical stuff, let's talk about making your garage door a real showstopper!
The Faux Wood Look
Love the look of wood but have a metal door? With the right technique and colors, you can create a convincing wood grain effect. It takes patience and practice, but the results can be stunning.
Two-Tone Designs
Who says your door has to be one color? Paint the panels one color and the rails and stiles another for a custom look. Just keep it tasteful, folks. This isn't the time to recreate a rainbow.
Hardware Upgrades
While you're at it, consider upgrading your hardware. New handles, hinges, and decorative elements can take your door from basic to boutique. Even faux hardware can add serious style points!
Window Treatments
If your door has windows, don't forget about them! Clean them thoroughly, consider adding decorative inserts, or even frost them for privacy while maintaining light flow.
Conclusion
There you have it! Mastering how to paint garage door and boost your home's curb appeal isn't rocket science, but it does take planning, patience, and proper technique. With your newly painted garage door, you're not just improving your home's appearance; you're protecting your investment and maybe even making the neighbors a little jealous. So grab those brushes, crank up the tunes, and transform that garage door from drab to absolutely fab!
Read next: Eggshell vs Semi Gloss Paint: Pros and Cons Guide
Frequently Asked Questions
Q1: How long does garage door paint typically last?
A: With proper prep and quality paint, expect 5-10 years before needing repainting.
Q2: Can I paint my garage door in winter?
A: Best to wait for temperatures above 50°F for proper paint curing results.
Q3: Should I remove the door before painting it?
A: Not necessary; painting in place works fine with proper taping and protection.
Q4: What's the cost difference between DIY and professional painting?
A: DIY costs $50-150 in materials; pros charge $200-500 including labor and supplies.
Q5: Can I use a paint sprayer instead of brushes and rollers?
A: Yes, but requires more prep work masking surrounding areas to prevent overspray.
Stay up to date with our latest ideas!