How to Change Ceiling Light Safely with Easy Guide
Master the art of changing ceiling lights safely with our foolproof guide. Step-by-step instructions, pro tips, and safety measures included!

Well, here's the thing about ceiling lights: they're fantastic until they aren't! You know that moment when you flip the switch and nothing happens? Or worse yet, when that beautiful fixture you've been eyeing at the store is just begging to replace your outdated one? Standing there, looking up at your ceiling, you might feel a tad overwhelmed. But hey, don't sweat it! Learning how to change ceiling light safely with easy guide principles isn't rocket science, and I'm here to walk you through every single step.
Whether you're a DIY newbie who's never held a screwdriver or someone who's tackled a few home projects before, this comprehensive guide will transform you into a ceiling light changing pro. We'll cover everything from basic safety precautions to those tricky wiring situations that might pop up along the way.
Why Learning How to Change Ceiling Light Safely with Easy Guide Matters
Let's face it, calling an electrician for every little light fixture change can burn a hole in your wallet faster than you can say "LED bulb!" Plus, there's something incredibly satisfying about completing a home improvement project yourself. You get that warm, fuzzy feeling of accomplishment, and your spouse might even be impressed!
But here's the kicker: safety isn't just important, it's absolutely crucial. Electricity doesn't play favorites, and one wrong move could land you in hot water (or worse). That's why understanding the proper techniques and safety measures isn't optional; it's mandatory.
Essential Tools and Materials You'll Need
Before diving headfirst into this project, let's gather our arsenal. Having the right tools at your fingertips makes the whole process smoother than butter on warm toast.
Basic Tools: • Non-contact voltage tester (your new best friend) • Screwdrivers (both flathead and Phillips) • Wire strippers • Wire nuts • Electrical tape • Step ladder or sturdy chair • Flashlight or headlamp • Safety glasses • Rubber-soled shoes
Optional but Helpful: • Wire connectors • Electrical pliers • Circuit tester • Work gloves • Drop cloth
Safety First: Pre-Installation Precautions
Alright, folks, this is where we get serious for a hot minute. Electricity isn't something to mess around with, and taking shortcuts here could literally be shocking (and not in a good way).
Turn Off the Power
This isn't just step one; it's the golden rule! Head to your circuit breaker panel and flip off the switch controlling your ceiling light. Don't just rely on the wall switch being off. That's like wearing a seatbelt that's not buckled. Sure, it looks safe, but it won't protect you when things go sideways.
Test, Test, and Test Again
After flipping that breaker, grab your non-contact voltage tester. This nifty gadget will beep or light up if there's still juice flowing through those wires. Wave it near the wires like you're conducting an invisible orchestra. No beep? You're good to go!
Set Up Your Workspace
Clear the area beneath your work zone. Move that expensive vase Aunt Martha gave you, relocate the coffee table, and lay down a drop cloth if you're worried about debris. Creating a safe workspace isn't just smart; it prevents those "oops" moments that lead to broken treasures.
Step-by-Step Guide: How to Change Ceiling Light Safely with Easy Guide
Now we're cooking with gas! Let's break down this process into bite-sized pieces that even your tech-challenged uncle could follow.
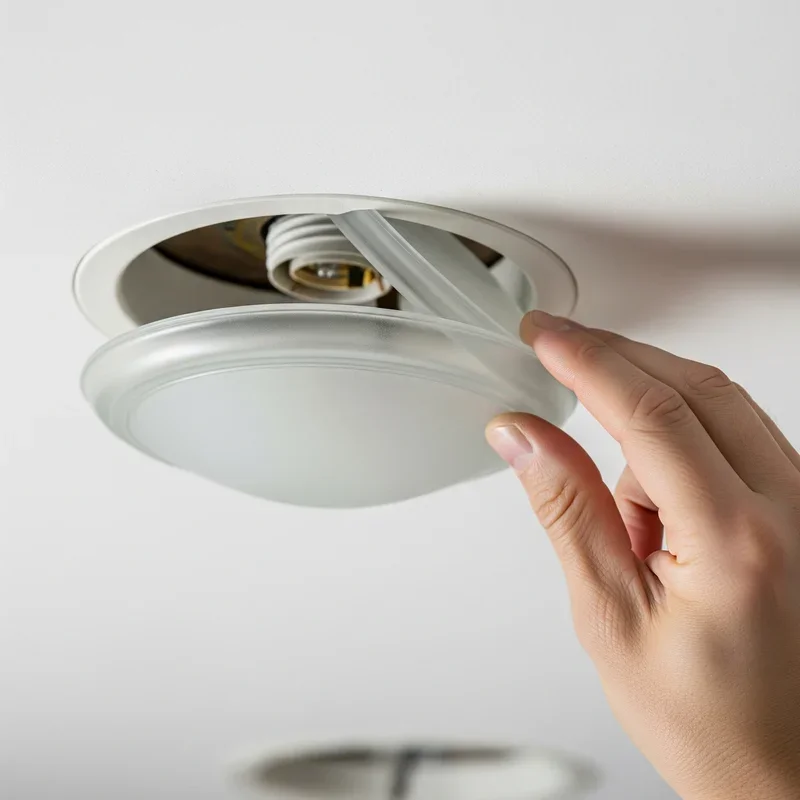
Step 1: Remove the Old Fixture
Start by removing the light bulbs and any glass shades or covers. These pieces are usually held by decorative screws or simply twist off. Set them aside gently (breaking glass at this stage would really put a damper on things).
Next, locate the mounting screws holding the fixture to the ceiling box. As you unscrew these, support the fixture with your other hand. It's heavier than it looks, trust me! Once loose, carefully lower the fixture, exposing the wires.
Step 2: Disconnect the Wiring
Here's where things get interesting! You'll typically see three wires: black (hot), white (neutral), and green or bare copper (ground). Sometimes there's a red wire too, especially if you've got a ceiling fan situation going on.
Untwist the wire nuts connecting the fixture wires to the house wires. Do this gently, keeping the wires separated. Take a quick photo with your phone if you're worried about forgetting the configuration. It's like leaving breadcrumbs to find your way back!
Step 3: Prepare the New Fixture
Unbox that shiny new fixture and lay out all the parts. Read through the manufacturer's instructions (I know, I know, nobody likes reading instructions, but humor me here). Check that you've got all the necessary hardware and that nothing's damaged.
If your new fixture has a mounting bracket different from the old one, now's the time to swap it out. Attach the new bracket to the electrical box using the provided screws, making sure it's level and secure.
Step 4: Connect the New Wiring
Time for the main event! Strip about 3/4 inch of insulation from the wire ends if needed. Now, match the wires color for color: black to black, white to white, and ground to ground. Twist them together clockwise (righty-tighty applies here too!) and secure with wire nuts.
Give each connection a gentle tug to ensure they're solid. Nobody wants wires coming loose down the road! Wrap electrical tape around each wire nut for extra security. Call it overkill if you want, but I call it peace of mind.
Step 5: Mount the New Fixture
Carefully tuck the wires into the electrical box, making sure nothing's getting pinched. Align the fixture with the mounting bracket and secure it with the provided screws. This part might require some patience, especially if you're working overhead. Your arms might feel like jello, but hang in there!
Step 6: Add Finishing Touches
Install any glass shades, decorative elements, or covers that came with your fixture. Pop in the appropriate light bulbs (check the fixture's maximum wattage rating first). LED bulbs are your friend here; they last longer and won't turn your fixture into a miniature oven.
Testing Your Handiwork
Moment of truth time! Head back to the circuit breaker and flip the switch back on. Return to your newly installed light and flip the wall switch. If everything lights up beautifully, give yourself a pat on the back! You've just successfully changed a ceiling light fixture.
If nothing happens, don't panic. Double-check your wire connections and ensure the circuit breaker is actually on. Sometimes it's just a loose connection playing hide and seek.
Troubleshooting Common Issues
Even the best-laid plans can go awry. Here are some common hiccups you might encounter:
The Light Flickers
This usually means a loose connection somewhere. Turn off the power and check all your wire nuts. Make sure they're tight and secure.
The Breaker Keeps Tripping
You might be overloading the circuit, or there could be a short somewhere. Double-check that no bare wires are touching each other or the metal box.
The Light Won't Turn On
Besides checking connections, verify that your bulbs aren't duds and that they're screwed in properly. Sometimes it's the simple things that trip us up!
Different Types of Ceiling Light Fixtures
Not all ceiling lights are created equal, and knowing what you're dealing with helps immensely.
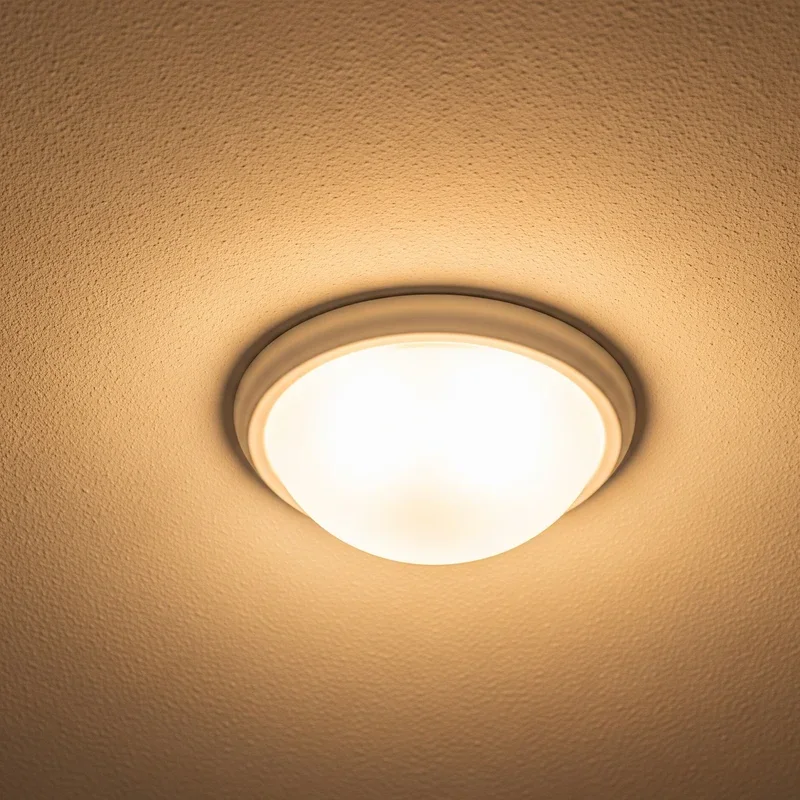
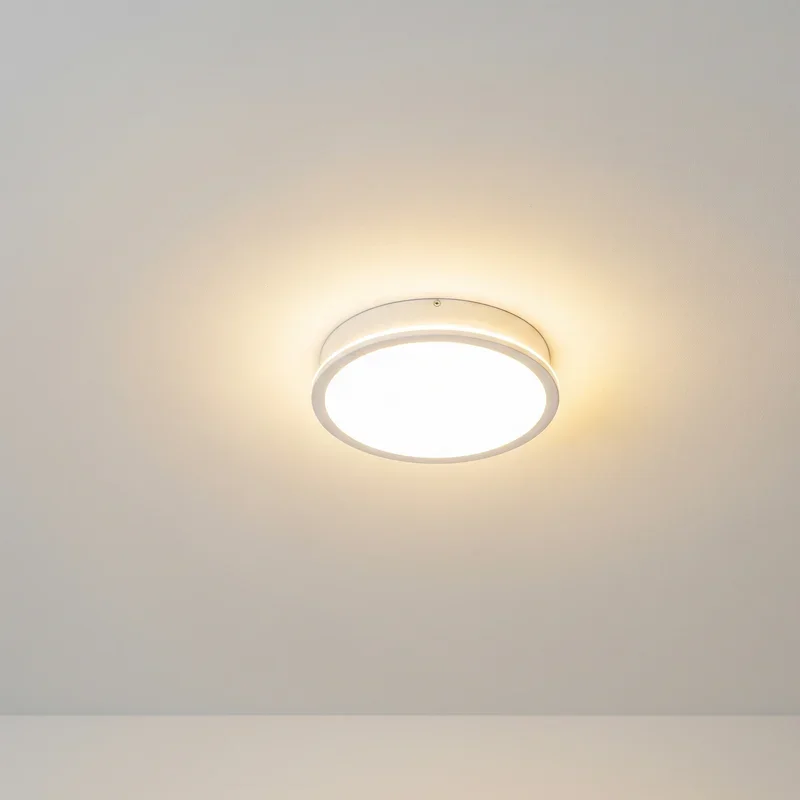
Flush Mount Fixtures
These bad boys sit flush against the ceiling, perfect for rooms with low clearance. They're usually the easiest to change since everything's right there in front of you.
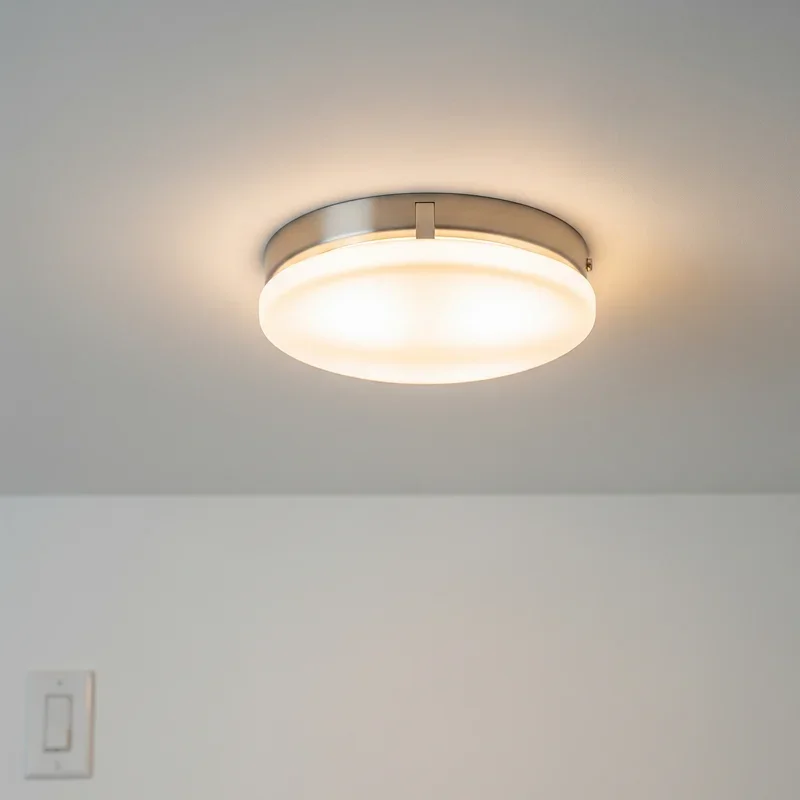
Semi-Flush Mount Fixtures
These hang down a few inches from the ceiling, giving you a bit more style without sacrificing too much headroom. Installation is similar to flush mounts but with a small stem or chain involved.
Pendant Lights
These dangle from a cord or chain and can be trickier to install. You'll need to adjust the height and possibly deal with additional hardware. But boy, do they make a statement!
Chandeliers
The granddaddy of ceiling lights! These beauties require more muscle and patience. Having a helper isn't just recommended; it's practically essential unless you've got arms like an octopus.
Pro Tips from the Trenches
After years of changing countless fixtures, I've picked up some tricks that'll make your life easier:
Always buy fixtures with quick-connect features when possible
Keep a small container nearby for screws and small parts
Use painter's tape to mark which breaker controls which room
Invest in a good headlamp (hands-free lighting is a game-changer)
Take multiple photos during disassembly if you're a visual learner
When to Call a Professional
Look, there's no shame in knowing your limits. If you encounter any of these situations, it's time to phone a friend (and by friend, I mean licensed electrician):
• Aluminum wiring (common in older homes)
• No ground wire present
• Damaged electrical box
• Wiring that doesn't match standard colors
• Any situation where you feel uncomfortable or unsafe
Maintaining Your New Ceiling Light
Once you've successfully installed your new fixture, don't just forget about it! Regular maintenance keeps it looking sharp and functioning properly:
• Dust it monthly with a microfiber cloth • Check for loose screws annually • Replace burnt-out bulbs promptly • Clean glass shades with appropriate cleaner • Inspect wiring connections every few years
Energy Efficiency Considerations
While you're up there changing fixtures, why not think about energy efficiency? LED-compatible fixtures are the way to go. They'll save you money on electricity bills and reduce the frequency of bulb changes. It's a win-win situation!
Consider installing dimmer switches too. They're not just for setting the mood; they also extend bulb life and reduce energy consumption. Plus, who doesn't love having control over their lighting ambiance?
Conclusion
There you have it! You've just absorbed everything you need to know about changing ceiling lights safely and efficiently. Remember, this isn't just about saving money on electrician fees; it's about gaining confidence in your DIY abilities. Take your time, prioritize safety, and don't hesitate to ask for help when needed. With practice, you'll be swapping out fixtures like a seasoned pro!
Read next: How Much Does Recessed Lighting Installation Cost?
Frequently Asked Questions
Q1: How long does changing a ceiling light typically take?
A: Usually 30 minutes to an hour for basic fixtures.
Q2: Can I install a heavier fixture on any ceiling?
A: Check your electrical box's weight rating before installing chandeliers.
Q3: Do I need special permits for changing light fixtures?
A: Generally no, but check local codes for specific requirements.
Q4: What's the difference between wire nuts and push-in connectors?
A: Both work well; push-in connectors are faster but cost more.
Q5: Is it safe to change fixtures in older homes?
A: Yes, but watch for outdated wiring that needs professional attention.
Stay up to date with our latest ideas!