How to Change a Light Fixture Safely in Simple Steps
Master DIY light fixture installation! Learn foolproof safety tips, tools needed, and step-by-step instructions to upgrade your home's lighting today.
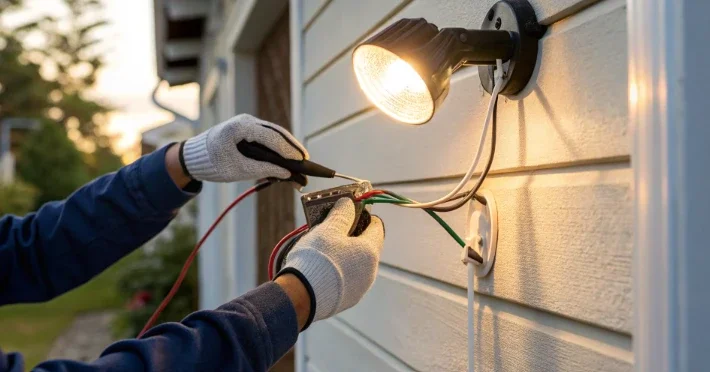
So, you're staring up at that outdated brass chandelier from the '80s, wondering if you really need to shell out big bucks for an electrician? Well, here's some good news: learning how to change a light fixture safely in simple steps isn't rocket science! With the right know-how and a healthy respect for electricity, you can totally tackle this project yourself.
Whether you've got a flickering ceiling fan that's driving you bonkers or you're just ready to swap that builder-grade boob light for something with actual style, this guide's got your back. We're talking real-world advice here, not some technical mumbo-jumbo that'll leave you more confused than when you started. By the time you finish reading, you'll be ready to brighten up your space without breaking a sweat (or the bank).
Why DIY Light Fixture Installation Makes Sense
Let's talk turkey for a minute. Electricians typically charge anywhere from $150 to $500 just for basic fixture installation. Yikes! Meanwhile, most light fixtures can be swapped out in about 30 minutes to an hour once you know what you're doing. That's some serious savings right there, folks.
But it's not just about the money. There's something incredibly satisfying about flipping that switch and seeing your handiwork literally light up the room. Plus, once you've done it once, you'll have the confidence to update lighting throughout your entire home. Talk about a game-changer for your weekend warrior credentials!
When to Call in the Pros
Now, before we dive in, let's get real about when you should absolutely call an electrician instead:
If you need new wiring run to a location
When dealing with aluminum wiring (common in homes from the '60s and '70s)
If you discover damaged or burnt wiring
When installing heavy fixtures like ceiling fans that need extra support
If your home's electrical system hasn't been updated since disco was cool
Anytime you feel genuinely uncomfortable or unsafe
There's no shame in knowing your limits, friend. Better safe than sorry when electricity's involved!
Essential Tools and Materials You'll Need
Alright, let's gear up! Having the right tools makes this job way easier and, more importantly, safer. Here's what you'll want to have on hand:
Must-Have Tools
Non-contact voltage tester: This little lifesaver tells you if wires are hot without touching them. Worth every penny!
Wire strippers: For cleaning up wire ends when needed
Screwdrivers: Both flathead and Phillips head in various sizes
Needle-nose pliers: Great for bending wires and making connections
Wire nuts: Usually come with your new fixture, but grab extras just in case
Electrical tape: Black is standard, but any color works
Step ladder: Sturdy and tall enough to work comfortably
Flashlight or headlamp: You'll be working with the power off, remember?
Nice-to-Have Extras
Voltage meter (more accurate than a tester)
Wire coat hanger (for fishing wires through tight spots)
Helper (seriously, an extra pair of hands is golden)
Drop cloth (protects your floor from falling debris)
Safety glasses (because nobody wants ceiling crud in their eyes)
Understanding Basic Electrical Safety
Listen up, because this part's crucial! Electricity doesn't play favorites, and it won't give you a second chance if you mess up. But don't let that scare you off; just respect it and follow these golden rules.
First off, always assume wires are live until you've personally tested them. Even with the breaker off, treat those wires like they're ready to bite. It's just good practice, you know? And here's a pro tip: take a photo of the existing wiring before you disconnect anything. Trust me, future you will thank present you when you're trying to remember which wire went where.
The Color Code You Need to Know
Understanding wire colors is like knowing a secret language:
Black or Red: Hot wires (carry electricity to the fixture)
White: Neutral wire (completes the circuit)
Green or Bare Copper: Ground wire (safety feature)
Blue or Yellow: Less common, usually for special functions like fan controls
Sometimes older homes throw curveballs with different colors, but these are the standards you'll usually encounter.
How to Change a Light Fixture Safely in Simple Steps: The Pre-Installation Phase
Before you even think about touching that old fixture, there's prep work to do. Taking shortcuts here is like building a house on sand; it might work for a bit, but you're asking for trouble down the road.
Step 1: Turn Off the Power (And We Mean Really Off!)
Head to your electrical panel and flip the breaker for the room you're working in. Can't figure out which breaker? Turn on the light and have someone watch while you flip breakers until it goes off. Label that sucker while you're at it!
But here's the kicker: flipping the breaker isn't enough. Some homes have wonky wiring where multiple circuits feed one fixture. That's why you absolutely must test with a voltage tester before touching any wires. Hold that tester near the wires, and if it beeps or lights up, stop everything and figure out what's going on.
Step 2: Remove the Old Fixture
With the power definitely off, it's time for the fun part! Start by removing any glass shades, bulbs, or decorative elements. These usually unscrew or pop off with gentle pressure. Set them aside carefully (or toss them if you're not keeping the old fixture).
Next, look for the screws holding the fixture to the electrical box. There might be a decorative cover plate hiding them. Unscrew these partially but don't remove them completely yet. This is where that helper comes in handy; they can support the fixture while you work on the wiring.
Step 3: Document and Disconnect
Whip out your phone and snap some photos of the wire connections. Seriously, do this even if you think you'll remember. Then, carefully unscrew the wire nuts connecting the fixture wires to the house wires. You'll typically see:
Black to black (hot)
White to white (neutral)
Ground to ground (green or bare copper)
Sometimes you'll find all the ground wires twisted together with one wire nut. That's normal! Just remember how it was configured.
Installing Your New Fixture Like a Pro
Now comes the exciting part! You've got your shiny new fixture ready to go, and it's time to make the magic happen.
Step 4: Check the Electrical Box
Before hanging anything, inspect that electrical box in the ceiling. Is it secure? Give it a gentle wiggle. If it moves more than a tiny bit, you'll need to tighten it up. Also, check the weight rating. Standard boxes support up to 50 pounds, but heavier fixtures need special fan-rated boxes.
Look for any damaged wires while you're up there. If the insulation is cracked or the copper looks tarnished, you might need to trim back to fresh wire. This is where those wire strippers come in handy.
Step 5: Prepare the New Fixture
Unbox that beautiful new fixture and lay out all the parts. Read the instructions (yeah, I know, but seriously, read them). Every manufacturer does things slightly differently, and there might be specific steps for your model.
Thread any necessary mounting hardware through the canopy (that's the part that sits flush against the ceiling). If your fixture came with a mounting bracket that's different from what's on your ceiling, now's the time to swap it out.
Step 6: Make the Connections
Here's where how to change a light fixture safely in simple steps really comes together! Start with the ground wire. Wrap it clockwise around the ground screw in the electrical box (if there is one), then connect it to the fixture's ground wire with a wire nut.
Next up, connect the neutral wires (white to white) by holding them parallel, twisting them together clockwise, and securing with a wire nut. Give it a gentle tug to make sure it's secure. Repeat with the hot wires (black to black).
Pro tip: If the wires are too short to work with comfortably, you can add wire extensions. Just make sure they're the same gauge as the existing wires.
Step 7: Tuck and Mount
Carefully fold the connected wires up into the electrical box. Don't just cram them in there; neat wiring prevents problems later. The wire nuts should point upward to prevent any potential loosening.
Align the mounting screws with the holes in your fixture's mounting bracket or strap. Start threading them by hand to avoid cross-threading, then tighten with a screwdriver. The fixture should be snug against the ceiling but not so tight that it cracks the paint or drywall.
Testing and Troubleshooting Your Installation
Moment of truth time! Head back to the breaker box and flip that switch back on. Return to your newly installed fixture and flip the wall switch. If everything lights up, give yourself a pat on the back!
Common Issues and Quick Fixes
But what if nothing happens? Don't panic! Here are the usual suspects:
Light doesn't turn on at all:
Double-check the breaker is actually on
Make sure bulbs are properly installed
Test the wall switch with a voltage tester
Recheck your wire connections
Light flickers or dims:
Loose wire connection (turn off power and retighten)
Wrong bulb type for the fixture
Dimmer switch incompatibility with LED bulbs
Breaker trips immediately:
Short circuit from wires touching
Overloaded circuit (fixture draws too much power)
Damaged wire creating a ground fault
Fixture feels loose:
Mounting screws need tightening
Electrical box not properly secured
Wrong mounting hardware for fixture weight
Special Considerations for Different Fixture Types
Not all light fixtures are created equal, and some need special attention during installation.
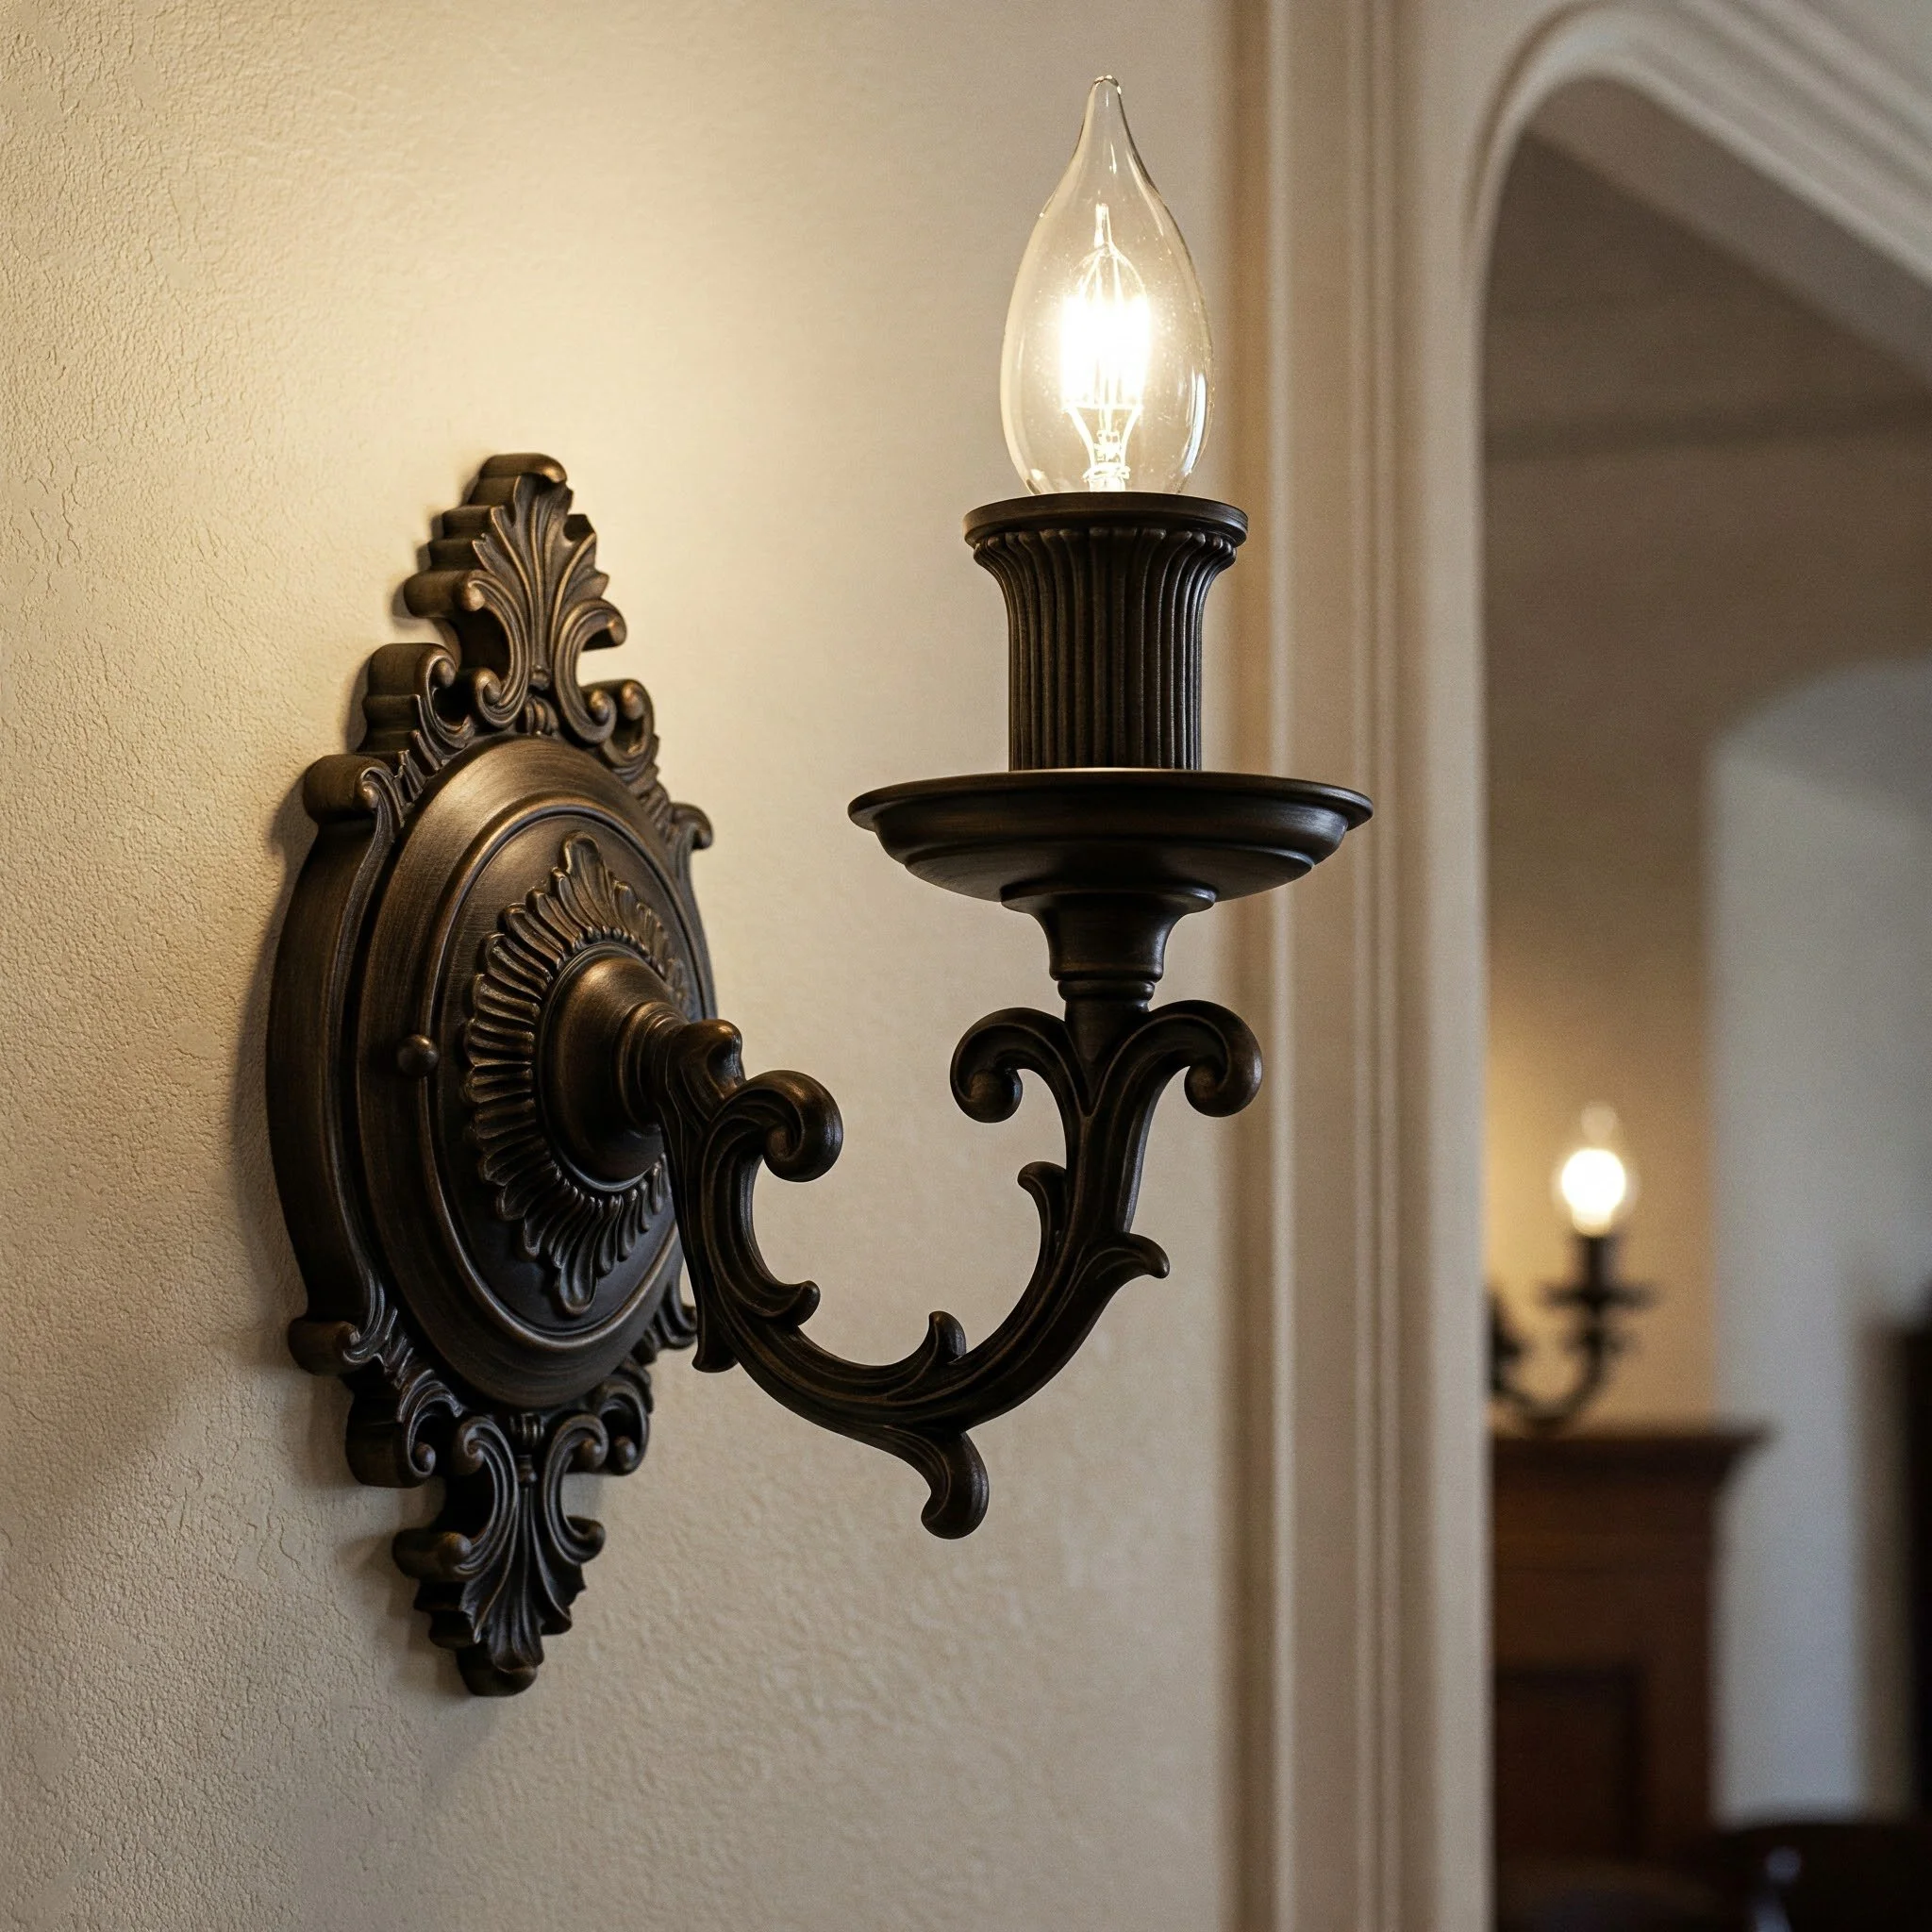
Chandelier Installation
These fancy fixtures often weigh more than standard lights and might need additional support. Some come with a chain that needs proper adjustment for height. When installing a chandelier, having someone help support the weight while you make connections is pretty much mandatory. Nobody wants to play catch with crystal!
Flush Mount Fixtures
These sit tight against the ceiling and can be tricky because there's less room to work. The secret? Connect the wires first, then push everything up while aligning the mounting screws. It's like solving a 3D puzzle, but totally doable.
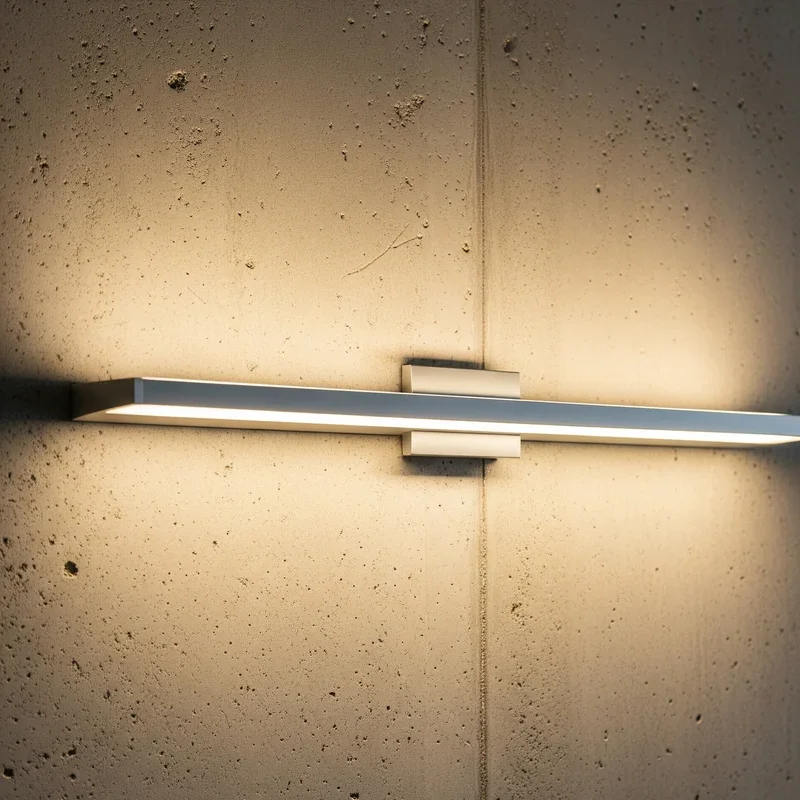
Track Lighting
Track lighting systems need careful attention to polarity. The tracks have specific positive and negative sides that must align correctly. Also, make sure the track is level; even a slight tilt looks obviously wrong once you step back.
Recessed Lighting
Switching from a standard fixture to recessed lighting is usually beyond DIY scope because it requires cutting ceiling holes and potentially rerouting wires. However, replacing existing recessed fixtures is straightforward, following the same basic steps we've covered.
Maintaining Your New Fixtures
Congrats, you've successfully installed your new light! But the job doesn't end there. Proper maintenance keeps your fixtures looking great and working safely for years to come.
Every few months, turn off the power and check that the mounting screws are still tight. Houses settle, and vibrations from daily life can loosen things over time. While you're at it, dust those fixtures! Built-up dust can actually cause overheating in some cases.
If you notice any flickering, buzzing, or dimming that wasn't there before, investigate immediately. These symptoms often indicate loose connections that can become fire hazards if ignored. Better to spend five minutes checking than to risk bigger problems later.
How to Change a Light Fixture Safely in Simple Steps: Advanced Tips
Once you've got the basics down, these pro-level tips will take your installation game to the next level:
Using Smart Switches and Bulbs
If you're updating fixtures, why not go smart while you're at it? Smart bulbs work in any standard fixture, but make sure your new fixture doesn't have built-in dimming that might interfere. Smart switches are a different beast altogether and might require a neutral wire at the switch box.
Dealing with Old Wiring
Houses built before the 1960s might have cloth-insulated wiring that's brittle and scary-looking. If the cloth insulation is intact, you can usually work with it carefully. But if it's crumbling when you touch it, stop and call a professional. That's not a DIY situation, trust me.
Adding a Ceiling Medallion
Want to fancy things up? A ceiling medallion adds elegance and can hide any imperfections around the electrical box. Install it before mounting your fixture by applying construction adhesive and centering it around the box. Just make sure to cut a center hole for the wires first!
Conclusion
There you have it! Learning how to change a light fixture safely in simple steps opens up a world of possibilities for updating your home's ambiance without emptying your wallet. Remember, the key is respecting electricity while not being afraid of it. Take your time, follow safety protocols, and don't hesitate to ask for help when you need it. With practice, you'll be swapping fixtures like a pro!
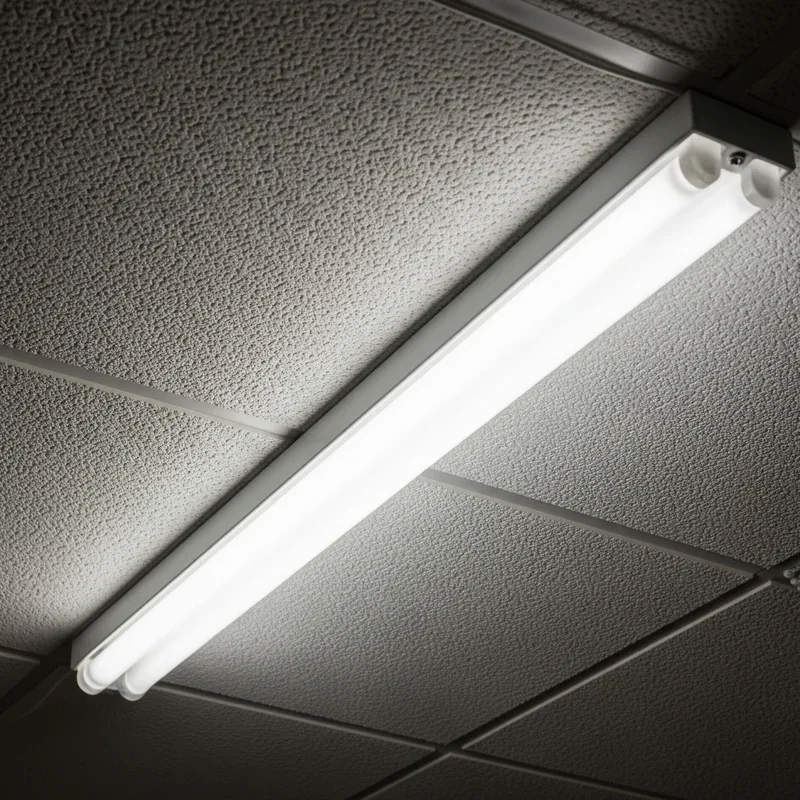
Read next: How to Install Fluorescent Light Step by Step Guide
Frequently Asked Questions
Q1: Can I install a ceiling fan where a light fixture was?
A: Only if the electrical box is fan-rated and can support the weight safely.
Q2: Do I need a permit to change a light fixture?
A: Usually not for simple swaps, but check local codes for your specific area.
Q3: Why do my LED bulbs flicker in the new fixture?
A: Likely incompatible with dimmer switch; try non-dimmable LEDs or update the switch.
Q4: How do I know if my electrical box is grounded properly?
A: Test with voltage meter between hot wire and box; should show 120 volts.
Q5: Can I change a light fixture in a bathroom myself?
A: Yes, but ensure fixture is rated for bathroom use due to moisture exposure.
Stay up to date with our latest ideas!