How to Texture a Ceiling: Step-by-Step Guide for Beginners
Learn how to texture a ceiling with our step-by-step guide for beginners. Discover easy techniques, tools, and tips for stunning results.

Looking up at a plain, boring ceiling and wishing it had more character? You are definitely not alone. Textured ceilings have made a massive comeback in recent years, and for good reason. They add visual interest, hide imperfections, and give any room that finished, polished look that makes guests say "wow."
Here is the beautiful thing about ceiling texturing. It is not as intimidating as it might seem at first glance. Sure, the thought of working overhead with joint compound dripping everywhere sounds like a nightmare. But with the right preparation and techniques, even complete beginners can achieve results that look like a professional did the job.
Whether you are renovating an older home, finishing a basement, or simply tired of staring at that flat, lifeless ceiling above your head, this guide has got you covered. We are going to walk through everything you need to know about how to texture a ceiling: step-by-step guide for beginners that leaves no stone unturned. From gathering your supplies to applying that final coat, you will learn exactly what it takes to transform your ceiling from drab to fab.
So grab a cup of coffee, roll up your sleeves, and let us dive into the wonderful world of ceiling texturing. Trust me, by the end of this article, you will be itching to get started on your own project.
Why Should You Consider Texturing Your Ceiling?
Before we jump into the nitty-gritty of how to actually do this project, let us talk about why textured ceilings are such a fantastic choice for homeowners.
Hiding Imperfections Like a Pro
Got cracks, dents, or uneven drywall joints staring back at you? Textured ceilings are absolute lifesavers when it comes to concealing these flaws. Instead of spending hours mudding and sanding to achieve a perfectly smooth surface, texture can cover up those problem areas without breaking a sweat. It is like makeup for your ceiling, honestly.
Adding Visual Depth and Interest
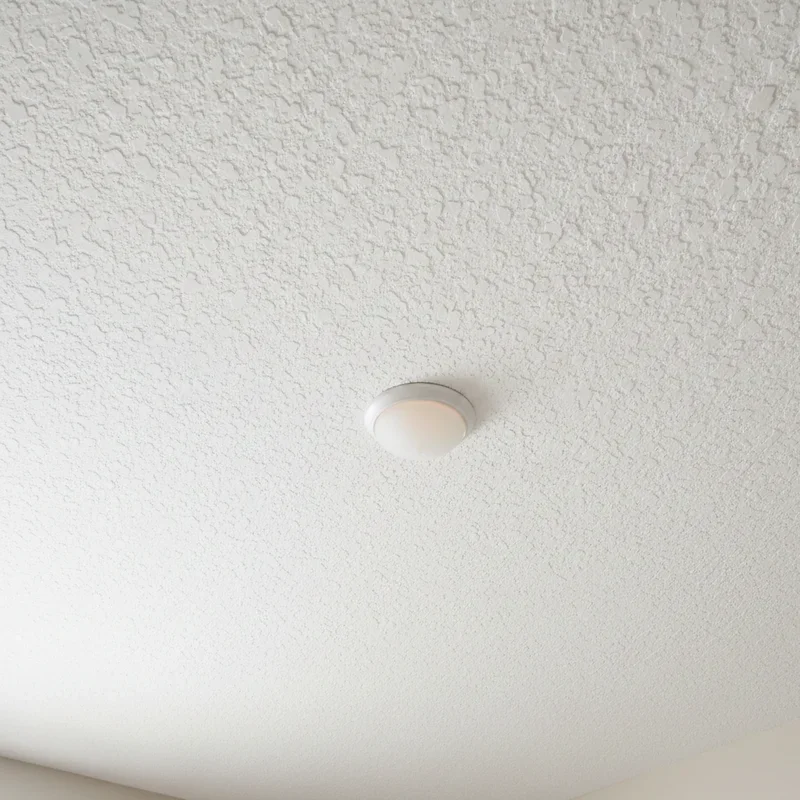
Flat ceilings can feel, well, flat. There is no other way to put it. Adding texture creates shadows, dimension, and visual movement that transforms the entire feel of a room. Depending on the pattern you choose, you can make a space feel cozy and intimate or open and sophisticated.
Sound Dampening Benefits
Here is something most people do not realize. Textured ceilings actually help reduce echo and absorb sound. If you have got a room that feels echoey or noisy, adding ceiling texture can make a noticeable difference in the acoustics. Pretty neat bonus if you ask me.
Increasing Home Value
A well-executed textured ceiling shows attention to detail and craftsmanship. Potential buyers notice these finishing touches, and they can contribute to your home's overall appeal and value.

Essential Tools and Materials You Will Need
Alright, let us get down to brass tacks. Before you can start texturing, you need to gather your supplies. Having everything on hand before you begin will save you countless trips to the hardware store and keep your project running smoothly.
Basic Tools
You will want to have these items ready to go before starting your project. A sturdy ladder or scaffolding is essential for reaching your ceiling safely. Plastic sheeting and drop cloths will protect your floors and furniture from the mess. Painter's tape helps create clean edges along walls. A mixing drill with a paddle attachment makes blending your texture compound much easier. Various drywall knives in different sizes give you flexibility for different techniques. A hawk or mud pan holds your compound while you work. Safety goggles protect your eyes from falling debris. A dust mask keeps you from breathing in particles. And do not forget old clothes you do not mind getting messy.
Texture Materials
Depending on which technique you choose, you might need joint compound or drywall mud as your base material. Pre-mixed ceiling texture saves time and effort. A texture sprayer works great for popcorn or knockdown styles. Stomping brushes or rollers create specific patterns. A knockdown knife smooths raised textures beautifully. And primer and ceiling paint finish off the job.
How to Texture a Ceiling: Step-by-Step Guide for Beginners Starting from Scratch
Now we are getting to the heart of the matter. Follow these steps carefully, and you will be well on your way to a beautifully textured ceiling.
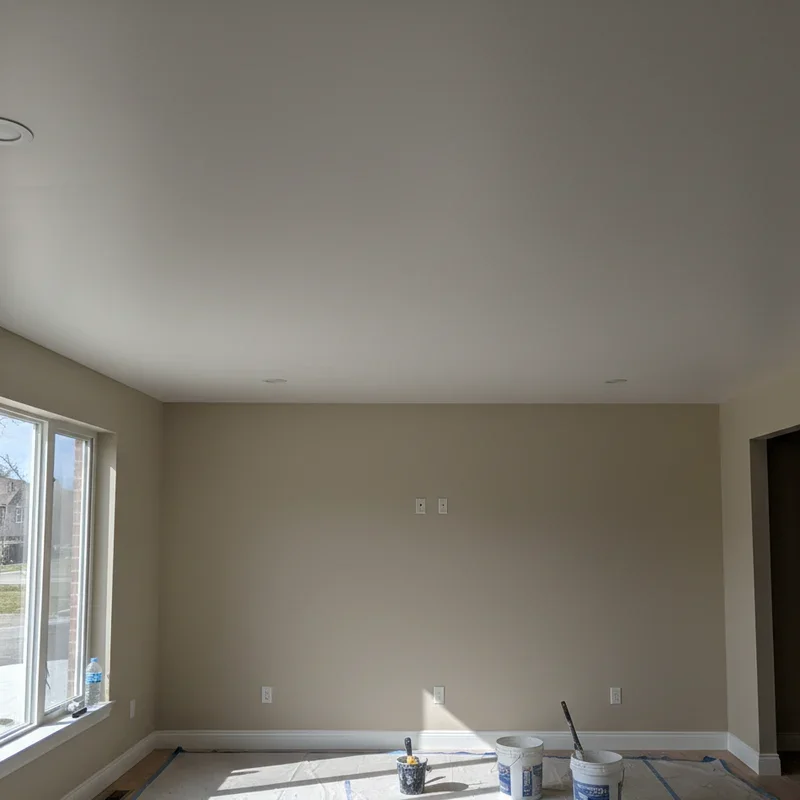
Step One: Prepare the Room Thoroughly
Preparation might not be the most exciting part of this project, but boy oh boy, does it make a difference. Start by removing all furniture from the room if possible. For larger pieces that cannot be moved, push them to the center and cover them completely with plastic sheeting.
Cover your floors with drop cloths, making sure to tape down the edges so nothing shifts while you work. Remove light fixtures and ceiling fans, capping off any exposed wires safely. Use painter's tape to protect the top edges of your walls where they meet the ceiling.
If your ceiling has any existing damage, now is the time to address it. Fill holes and cracks with joint compound, let it dry, and sand smooth. Any repairs you make now will be hidden under the texture later.
Step Two: Prime the Ceiling Surface
Never skip priming. Seriously, just do not do it. Primer helps your texture adhere properly and ensures even coverage. Apply a coat of quality primer using a roller, working in sections and maintaining a wet edge to avoid lap marks.
Let the primer dry completely according to the manufacturer's instructions. This usually takes anywhere from two to four hours, but overnight is even better if you have got the time.
Step Three: Mix Your Texture Compound
If you are using pre-mixed texture, give it a good stir before starting. For powdered compounds, follow the mixing instructions on the package carefully. The consistency matters more than you might think. Too thick and it will not spread properly. Too thin and it will drip everywhere and refuse to hold a pattern.
Aim for a consistency similar to thick pancake batter or creamy peanut butter, depending on your chosen technique. Let the mixture sit for a few minutes after mixing to allow any air bubbles to escape.
Step Four: Choose Your Texture Style
This is where things get fun. There are several popular ceiling texture styles to choose from, and each creates a different look and feel.
Knockdown texture is incredibly popular and relatively forgiving for beginners. You apply compound with a sprayer or roller, let it set slightly, then flatten the peaks with a knockdown knife. The result is a subtle, organic pattern that works in virtually any room.
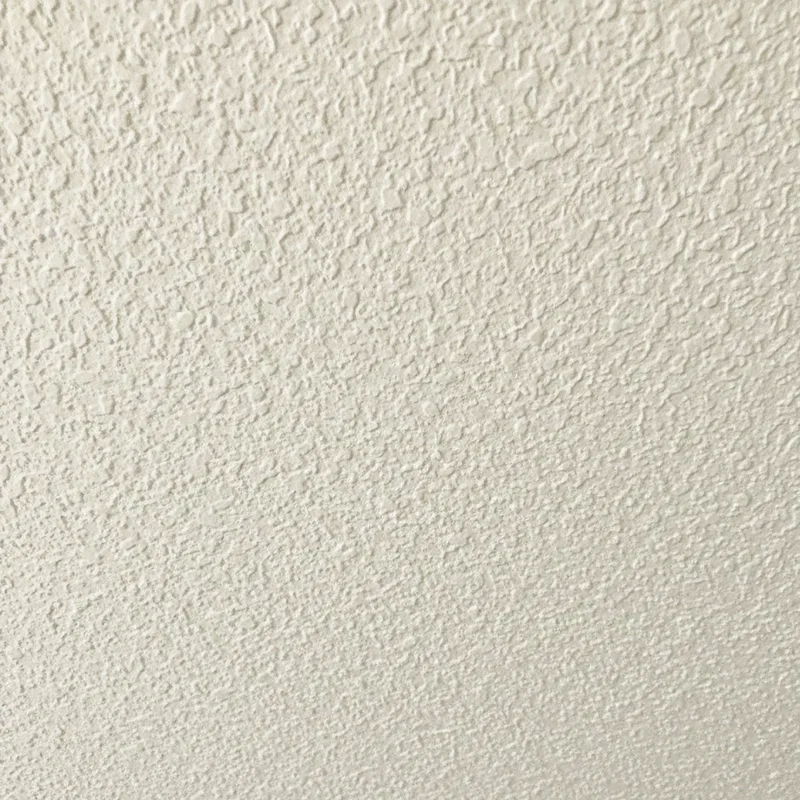
Orange peel texture resembles the surface of an orange, hence the name. It is applied with a sprayer and left as is without any knockdown. This style is easier than knockdown since there is no second step involved.
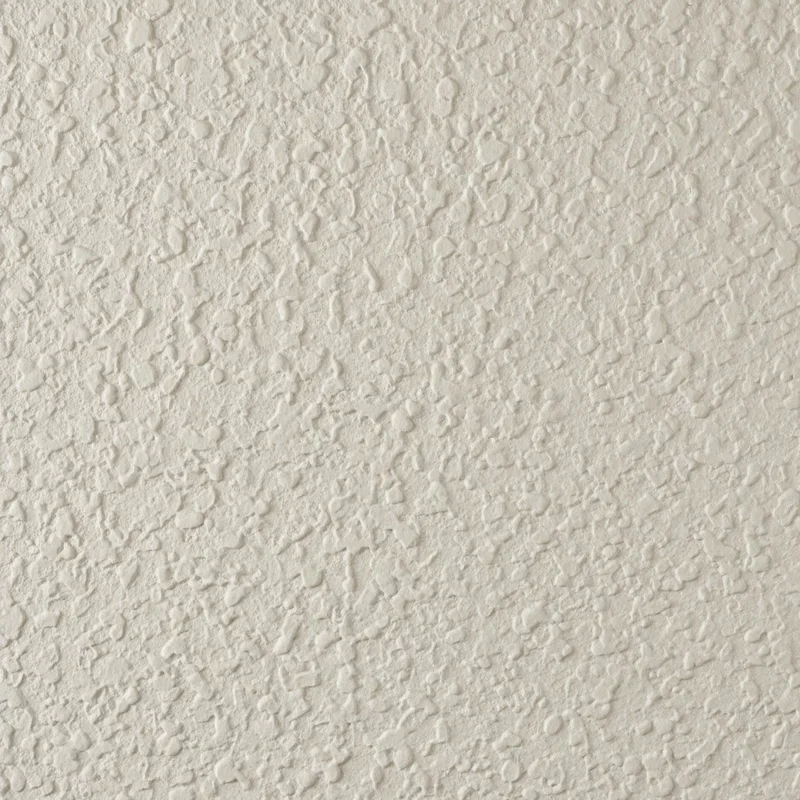
Skip trowel creates a Mediterranean or stucco-like appearance. Using a curved trowel, you apply compound in random, overlapping arcs. This technique takes more practice but produces stunning results.
Stomp texture uses a special brush dipped in compound and literally stamped onto the ceiling. You can create various patterns by twisting or pulling the brush away differently each time.
Swirl patterns involve creating circular motions with a brush or trowel while the compound is wet. This old-school technique adds elegance and works beautifully in traditional homes.
Step Five: Apply the Texture
Here comes the moment of truth. Working in manageable sections, apply your texture using your chosen method. Start in a corner and work your way across the room systematically. Do not try to cover too large an area at once, especially if you are using a technique that requires a second step like knockdown.
Keep your movements consistent to achieve uniform results. If you are using a sprayer, maintain the same distance from the ceiling throughout. For hand-applied techniques, try to use similar pressure and motions each time.
Do not panic if your first section does not look perfect. Texture is forgiving, and small inconsistencies blend together once the entire ceiling is complete.
Step Six: Work the Texture (If Applicable)
For knockdown textures, timing is everything. You need to wait until the compound has started to set but is not completely dry. This usually takes about ten to fifteen minutes, depending on humidity and temperature. The texture should be firm enough to hold its shape but soft enough to flatten smoothly.
Drag your knockdown knife lightly across the surface, wiping the blade clean between passes. Work in one direction first, then lightly go perpendicular for the most natural appearance.
Step Seven: Let It Dry Completely
Patience is a virtue here. Let your newly textured ceiling dry thoroughly before doing anything else. This typically takes twenty four to forty eight hours, though humid conditions may require longer drying times.
Resist the urge to touch or test the texture while it is drying. You do not want to leave fingerprints or disturb the pattern you worked so hard to create.
Step Eight: Prime and Paint
Once your texture is completely dry, apply another coat of primer. This seals the texture and provides a consistent base for your paint. After the primer dries, apply your ceiling paint using a thick-nap roller designed for textured surfaces.
Two coats of paint usually provide the best coverage and most uniform appearance. Let each coat dry completely before applying the next.
Common Mistakes to Avoid When Texturing Ceilings
Learning how to texture a ceiling: step-by-step guide for beginners would not be complete without addressing the pitfalls that trip up most first-timers.
Working Too Fast
Texturing is not a race. Rushing through the process leads to uneven coverage, inconsistent patterns, and a whole lot of frustration. Take your time, especially when you are just starting out.
Ignoring Environmental Conditions
Temperature and humidity affect how your compound behaves and dries. Avoid texturing on extremely humid days or in rooms that are too cold. Ideal conditions are between sixty and eighty degrees Fahrenheit with moderate humidity.
Using the Wrong Consistency
If your compound is too thick or too thin, you will struggle to achieve good results. Test your mixture on a piece of cardboard before committing to the ceiling.
Inadequate Preparation
Skipping prep work might save time upfront, but it will cost you in the end. Dirty or unprimed surfaces prevent proper adhesion and lead to peeling and cracking down the road.
Overworking the Texture
Once you have applied your pattern, leave it alone. Fussing with texture that has already started to set creates a messy, inconsistent appearance.
Tips for Achieving Professional Looking Results
Want your ceiling to look like a seasoned pro did the work? Keep these insider tips in mind.
Practice on scrap drywall or cardboard before tackling your actual ceiling. This helps you get comfortable with your tools and technique without any pressure.
Work with a partner if possible. One person can apply compound while the other follows behind with the knockdown knife or pattern tool.
Keep a spray bottle of water handy. A light mist can help keep edges workable and prevent premature drying.
Take breaks when you need them. Ceiling work is physically demanding, and fatigue leads to mistakes.
Step back periodically and look at your work from different angles. What looks perfect up close might reveal inconsistencies from across the room.
Conclusion
Texturing a ceiling is one of those satisfying DIY projects that delivers impressive results without requiring years of experience. Armed with this comprehensive guide on how to texture a ceiling: step-by-step guide for beginners, you have everything needed to tackle this project confidently. Remember to prepare thoroughly, choose a texture style that matches your skill level, and take your time throughout the process. The transformation will amaze you, and you will have the pride of knowing you did it yourself. Now get up there and create something beautiful.
Read next: How to Clean Popcorn Ceiling Without Damaging It
Frequently Asked Questions
1.How long does it take to texture a ceiling?
Most rooms take one to two days including drying time between primer and paint.
2.Can I texture over an existing textured ceiling?
Yes, but you should clean, repair, and prime the surface thoroughly before applying new texture.
3.What is the easiest ceiling texture for beginners?
Orange peel texture is beginner-friendly because it requires no knockdown or additional manipulation steps.
4.Do I need special paint for textured ceilings?
Use flat or matte ceiling paint with a thick-nap roller designed for textured surfaces.
5.How do I fix mistakes in ceiling texture?
Scrape off the wet compound immediately, let it dry, then reapply texture to the affected area.
Stay up to date with our latest ideas!