How to Install a Dishwasher Step by Step
Learn how to install a dishwasher step by step with our comprehensive DIY guide. Save money and gain confidence with expert tips!

So, you've finally decided to take the plunge and install that shiny new dishwasher sitting in your garage? Good for you! There's something incredibly satisfying about tackling a home improvement project yourself, and honestly, installing a dishwasher isn't as daunting as it might seem at first glance. Sure, it involves plumbing, electrical work, and a bit of elbow grease, but with the right guidance and a healthy dose of patience, you'll have that bad boy up and running before you know it. This comprehensive guide will walk you through how to install a dishwasher step by step, transforming what seems like a professional-only job into a manageable weekend project. Whether you're replacing an old unit or installing one for the first time, we've got your back. Let's roll up those sleeves and dive right in!
Understanding What You're Getting Into
Before jumping headfirst into the installation process, let's talk about what you'll actually be dealing with here. A dishwasher needs three key connections to function properly: water supply, drainage, and electrical power. Each of these connections requires careful attention and proper execution to avoid any nasty surprises down the road.
Now, I'm not gonna sugarcoat it. This project will take some time, probably anywhere from two to four hours depending on your skill level and whether you run into any unexpected hiccups. But hey, that's still way cheaper than hiring a professional who might charge you several hundred bucks for the same job.
Gathering Your Tools and Materials
First things first, you'll need to assemble your arsenal of tools and materials. There's nothing worse than getting halfway through a project only to realize you're missing a crucial component. Trust me on this one!
Tools You'll Need:
Adjustable wrench
Screwdriver set (both Phillips and flathead)
Drill with various bits
Level
Tape measure
Pliers
Utility knife
Bucket and towels (for catching water)
Flashlight or work light
Materials Required:
New dishwasher (obviously!)
Water supply line
Drain hose
Electrical wire and connectors
Teflon tape
Wire nuts
Mounting brackets (usually included with the dishwasher)
Wood screws
Preparing Your Workspace
Alright, now we're getting somewhere! Before you can install anything, you need to prep your workspace properly. This step is absolutely crucial and will make the entire process smoother than butter.
Turning Off Utilities
Safety first, folks! Head down to your circuit breaker and flip off the power to your kitchen. You don't want any shocking surprises while you're working. Next up, locate the water shut-off valve under your sink and turn that baby off too. Give your hot water faucet a quick turn to release any pressure in the lines.
Removing the Old Dishwasher
If you're replacing an existing unit, you'll need to disconnect and remove it first. Start by opening the dishwasher door and removing the screws that secure it to the countertop. These are usually located at the top corners of the unit.
Next, carefully pull the dishwasher forward just enough to access the connections at the back. You'll see the water supply line, drain hose, and electrical connection. Disconnect each of these carefully, keeping a bucket handy because water will definitely drip out. Once everything's disconnected, gently slide the old unit out completely.
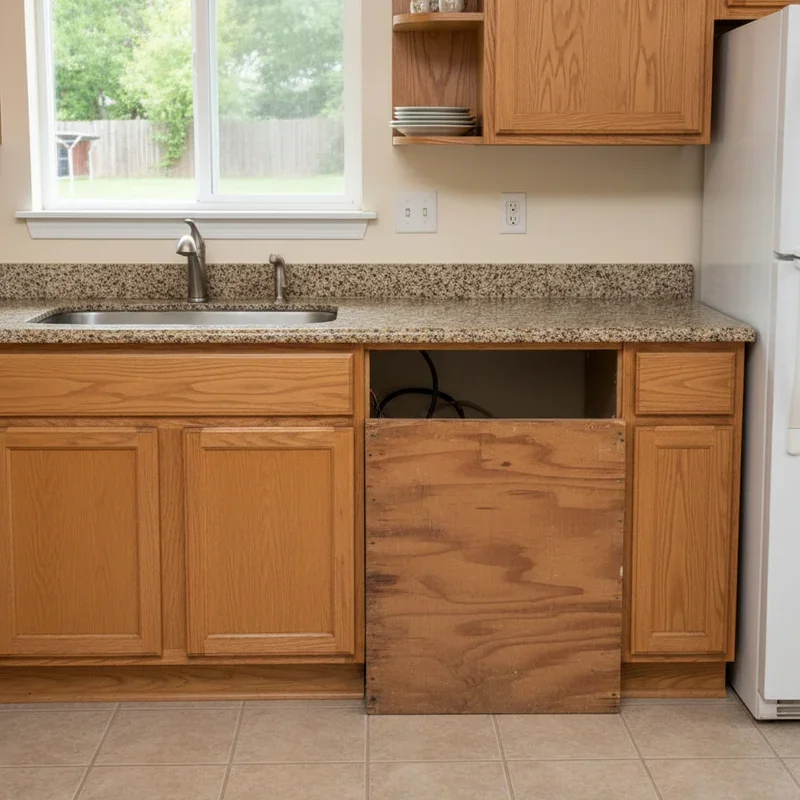
Checking Your Space
Measure the opening where your new dishwasher will go. Standard dishwashers are typically 24 inches wide, but it's always smart to double-check. Look for any damage to the floor or cabinets that might need addressing before installation.
How to Install a Dishwasher Step by Step: The Main Event
Here we go! This is where things get real. Following these steps carefully will ensure your dishwasher works like a charm for years to come.
Step 1: Prep the New Dishwasher
Unbox your new appliance and remove all packaging materials. Tip it slightly backward (carefully!) and remove the cardboard base. Check the manufacturer's instructions for any specific preparation steps. Some models require you to attach certain components before installation.
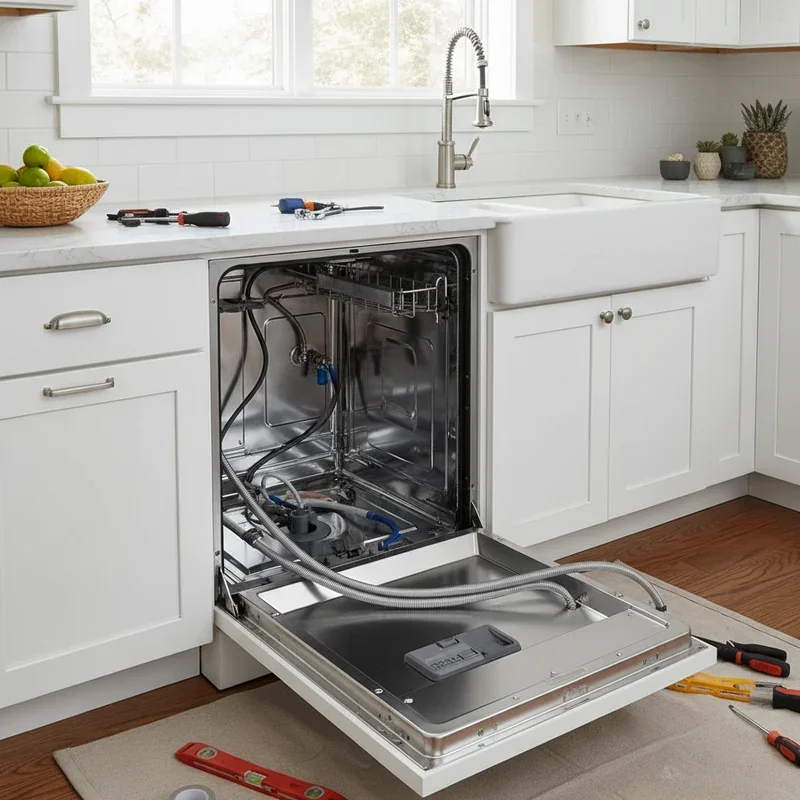
Step 2: Position the Dishwasher
Now comes the fun part. Carefully slide the dishwasher into the opening, but don't push it all the way back just yet. You need to leave enough space to connect everything. Make sure the front of the dishwasher is flush with your cabinets, using a level to ensure it's perfectly straight. An unlevel dishwasher can cause drainage issues and excessive noise during operation.
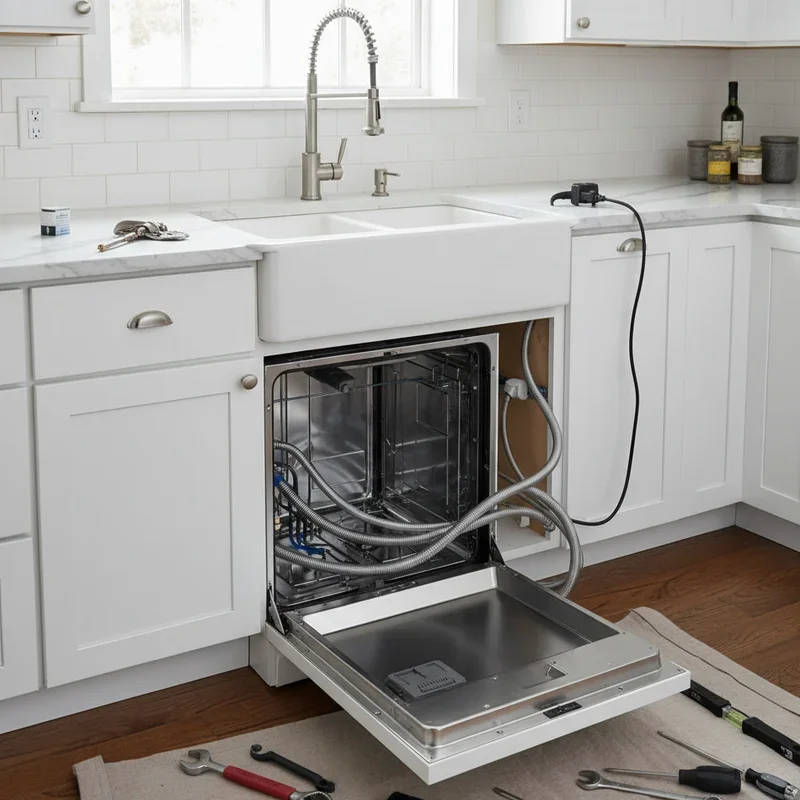
Step 3: Connect the Water Supply
Thread the water supply line through the designated opening, usually on the left side. Under the sink, you'll find the hot water shut-off valve. Wrap the threads with Teflon tape (about three wraps should do the trick) and connect the supply line. Hand-tighten first, then give it another quarter turn with your wrench. Don't overtighten, though, or you might damage the fittings.
At the dishwasher end, connect the supply line to the inlet valve, which you'll find at the front left of the unit. Again, use Teflon tape and tighten securely but carefully.
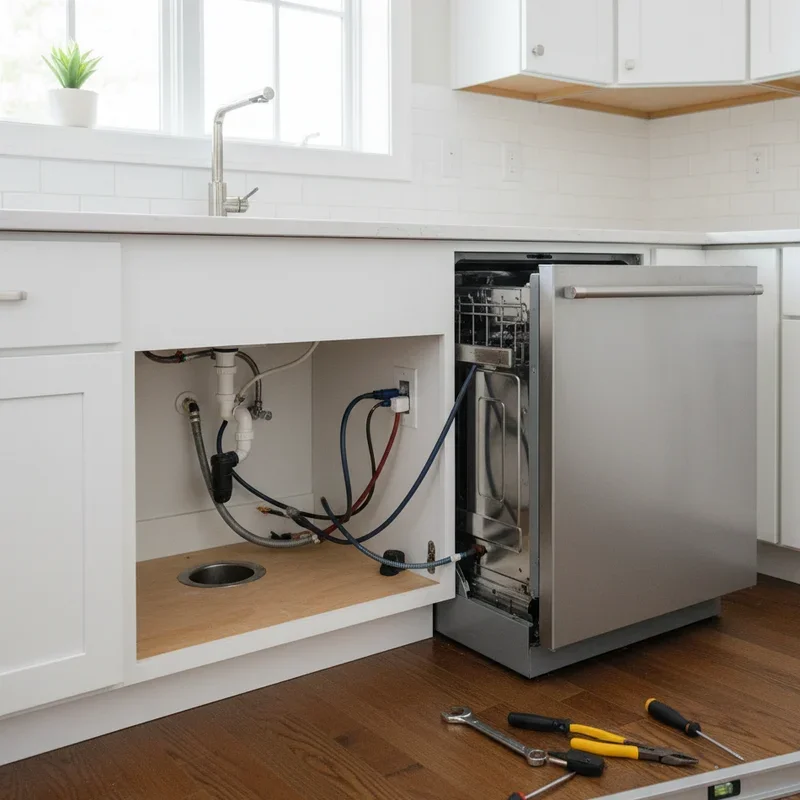
Step 4: Install the Drain Hose
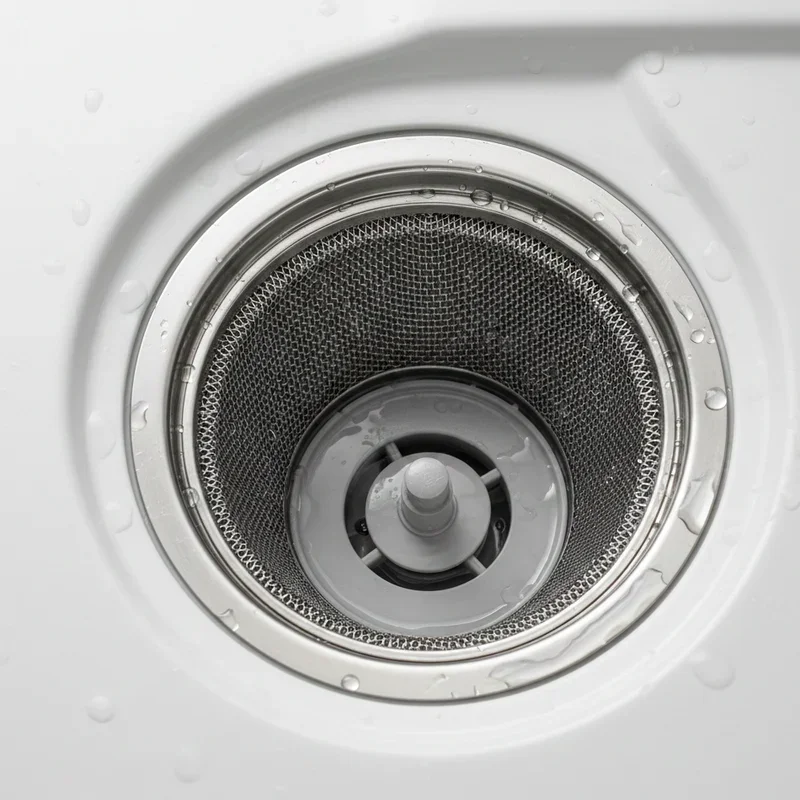
The drain hose needs to connect from your dishwasher to either your garbage disposal or the drain pipe under your sink. If you have a garbage disposal, you'll need to knock out the drain plug inside the disposal inlet (use a screwdriver and hammer for this).
Attach one end of the drain hose to the dishwasher's drain outlet, securing it with a hose clamp. Route the hose to create a high loop (this prevents backflow) before connecting it to the disposal or drain pipe. Secure this end with another hose clamp, making sure everything's tight and leak-proof.
Step 5: Make the Electrical Connection
Whoa, electrical work! Don't freak out, it's pretty straightforward. Locate the junction box at the front of the dishwasher (usually bottom right). Remove the cover plate.
You'll need to connect the electrical cable from your wall to the dishwasher's wiring. Match the wires: black to black (hot), white to white (neutral), and green to green (ground). Use wire nuts to secure each connection, then wrap them with electrical tape for extra safety. Tuck everything neatly into the junction box and replace the cover.
Step 6: Secure the Dishwasher
With all connections made, gently slide the dishwasher into its final position. Open the door and locate the mounting brackets at the top corners. Drill pilot holes into the underside of your countertop, then drive screws through the brackets to secure the dishwasher in place. Check one more time that everything's level.
If your dishwasher has side mounting brackets, secure those to the adjacent cabinets as well. This prevents any movement during operation.
Step 7: Attach the Kick Plate
Most dishwashers come with a decorative kick plate that covers the gap at the bottom. Snap this into place according to the manufacturer's instructions. It usually just clips on, but some models require screws.
Testing Your Installation
Alright, moment of truth! Before you celebrate, you need to test everything to make sure it all works properly.
Running the Water Test
Turn the water supply back on and check for leaks around the supply line connections. Look under the sink and at the dishwasher connections. If you spot any drips, tighten the connections a bit more.
Electrical Check
Flip the circuit breaker back on. Your dishwasher should have some indicator lights that show it's receiving power. If nothing lights up, double-check your electrical connections.
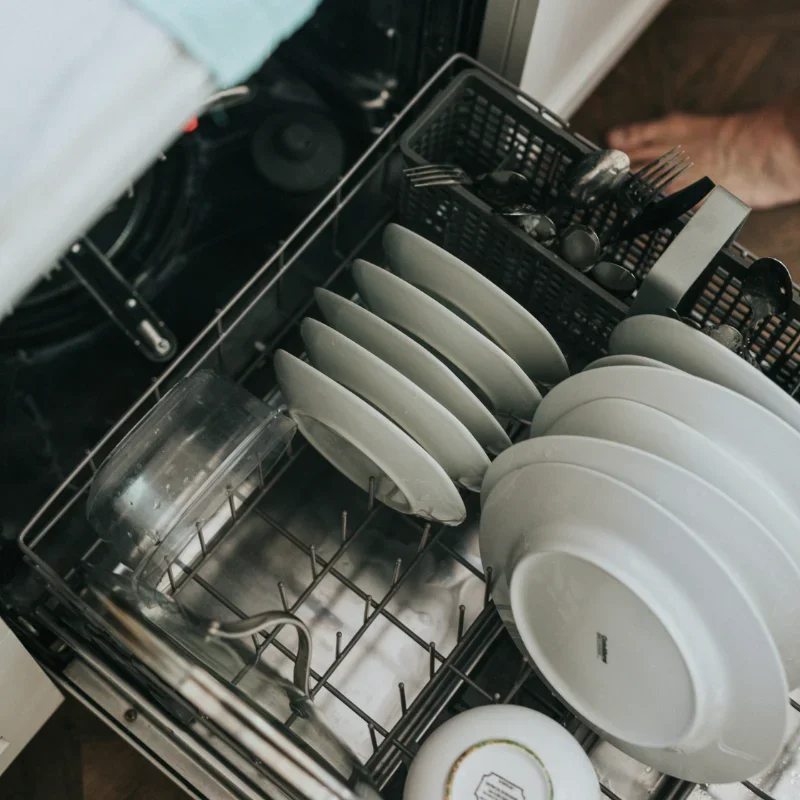
Full Cycle Test
Load up a few dishes and run a complete wash cycle. Listen for any unusual noises and watch for leaks throughout the cycle. Check that water's draining properly and that the dishes come out clean and relatively dry.
Pay special attention during the fill and drain cycles. These are when problems typically show up if connections aren't quite right.
Troubleshooting Common Issues
Even when following how to install a dishwasher step by step perfectly, sometimes things don't go exactly as planned. Here are some common hiccups and how to fix them.
Leaking Water
If you notice water pooling under your dishwasher, the culprit is usually a loose connection. Check both ends of the water supply line and the drain hose connections. Tighten everything up and run another test cycle.
Not Draining Properly
A dishwasher that won't drain often has a kinked drain hose or a clogged air gap. Make sure your drain hose has that proper high loop and isn't twisted or compressed anywhere along its length.
Strange Noises
Some noise during operation is normal, but loud grinding or banging sounds aren't. Check that the dishwasher is level and that nothing's interfering with the spray arms inside.
Won't Turn On
No power? First, verify the circuit breaker is on. Then check that your electrical connections are secure inside the junction box. If everything looks good but it still won't work, you might have a faulty control board, which would require professional help.
Maintenance Tips for Longevity
Congrats on completing your installation! Now let's talk about keeping that dishwasher running smoothly for years to come.
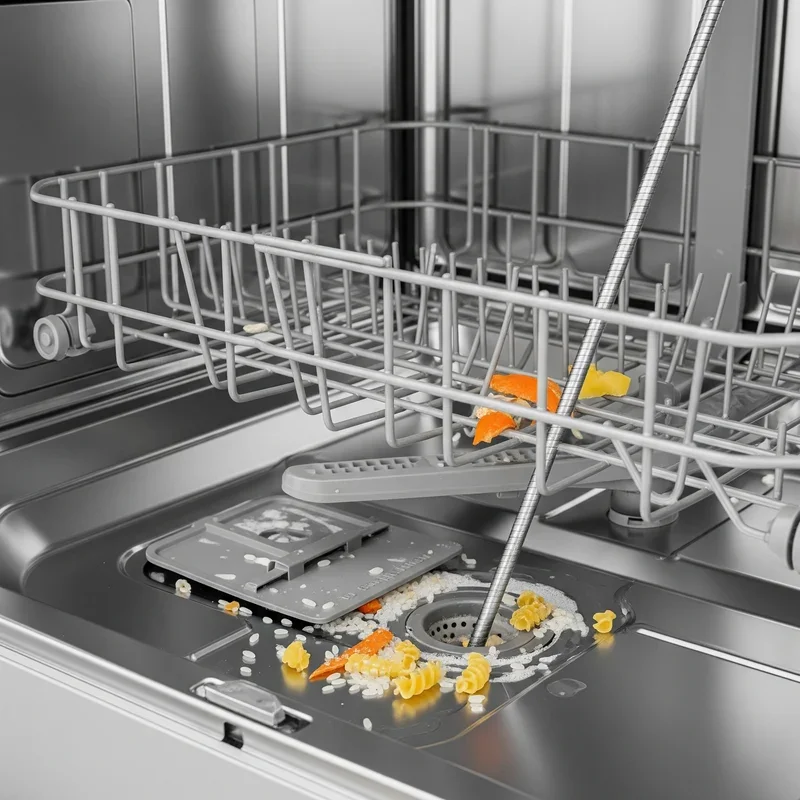
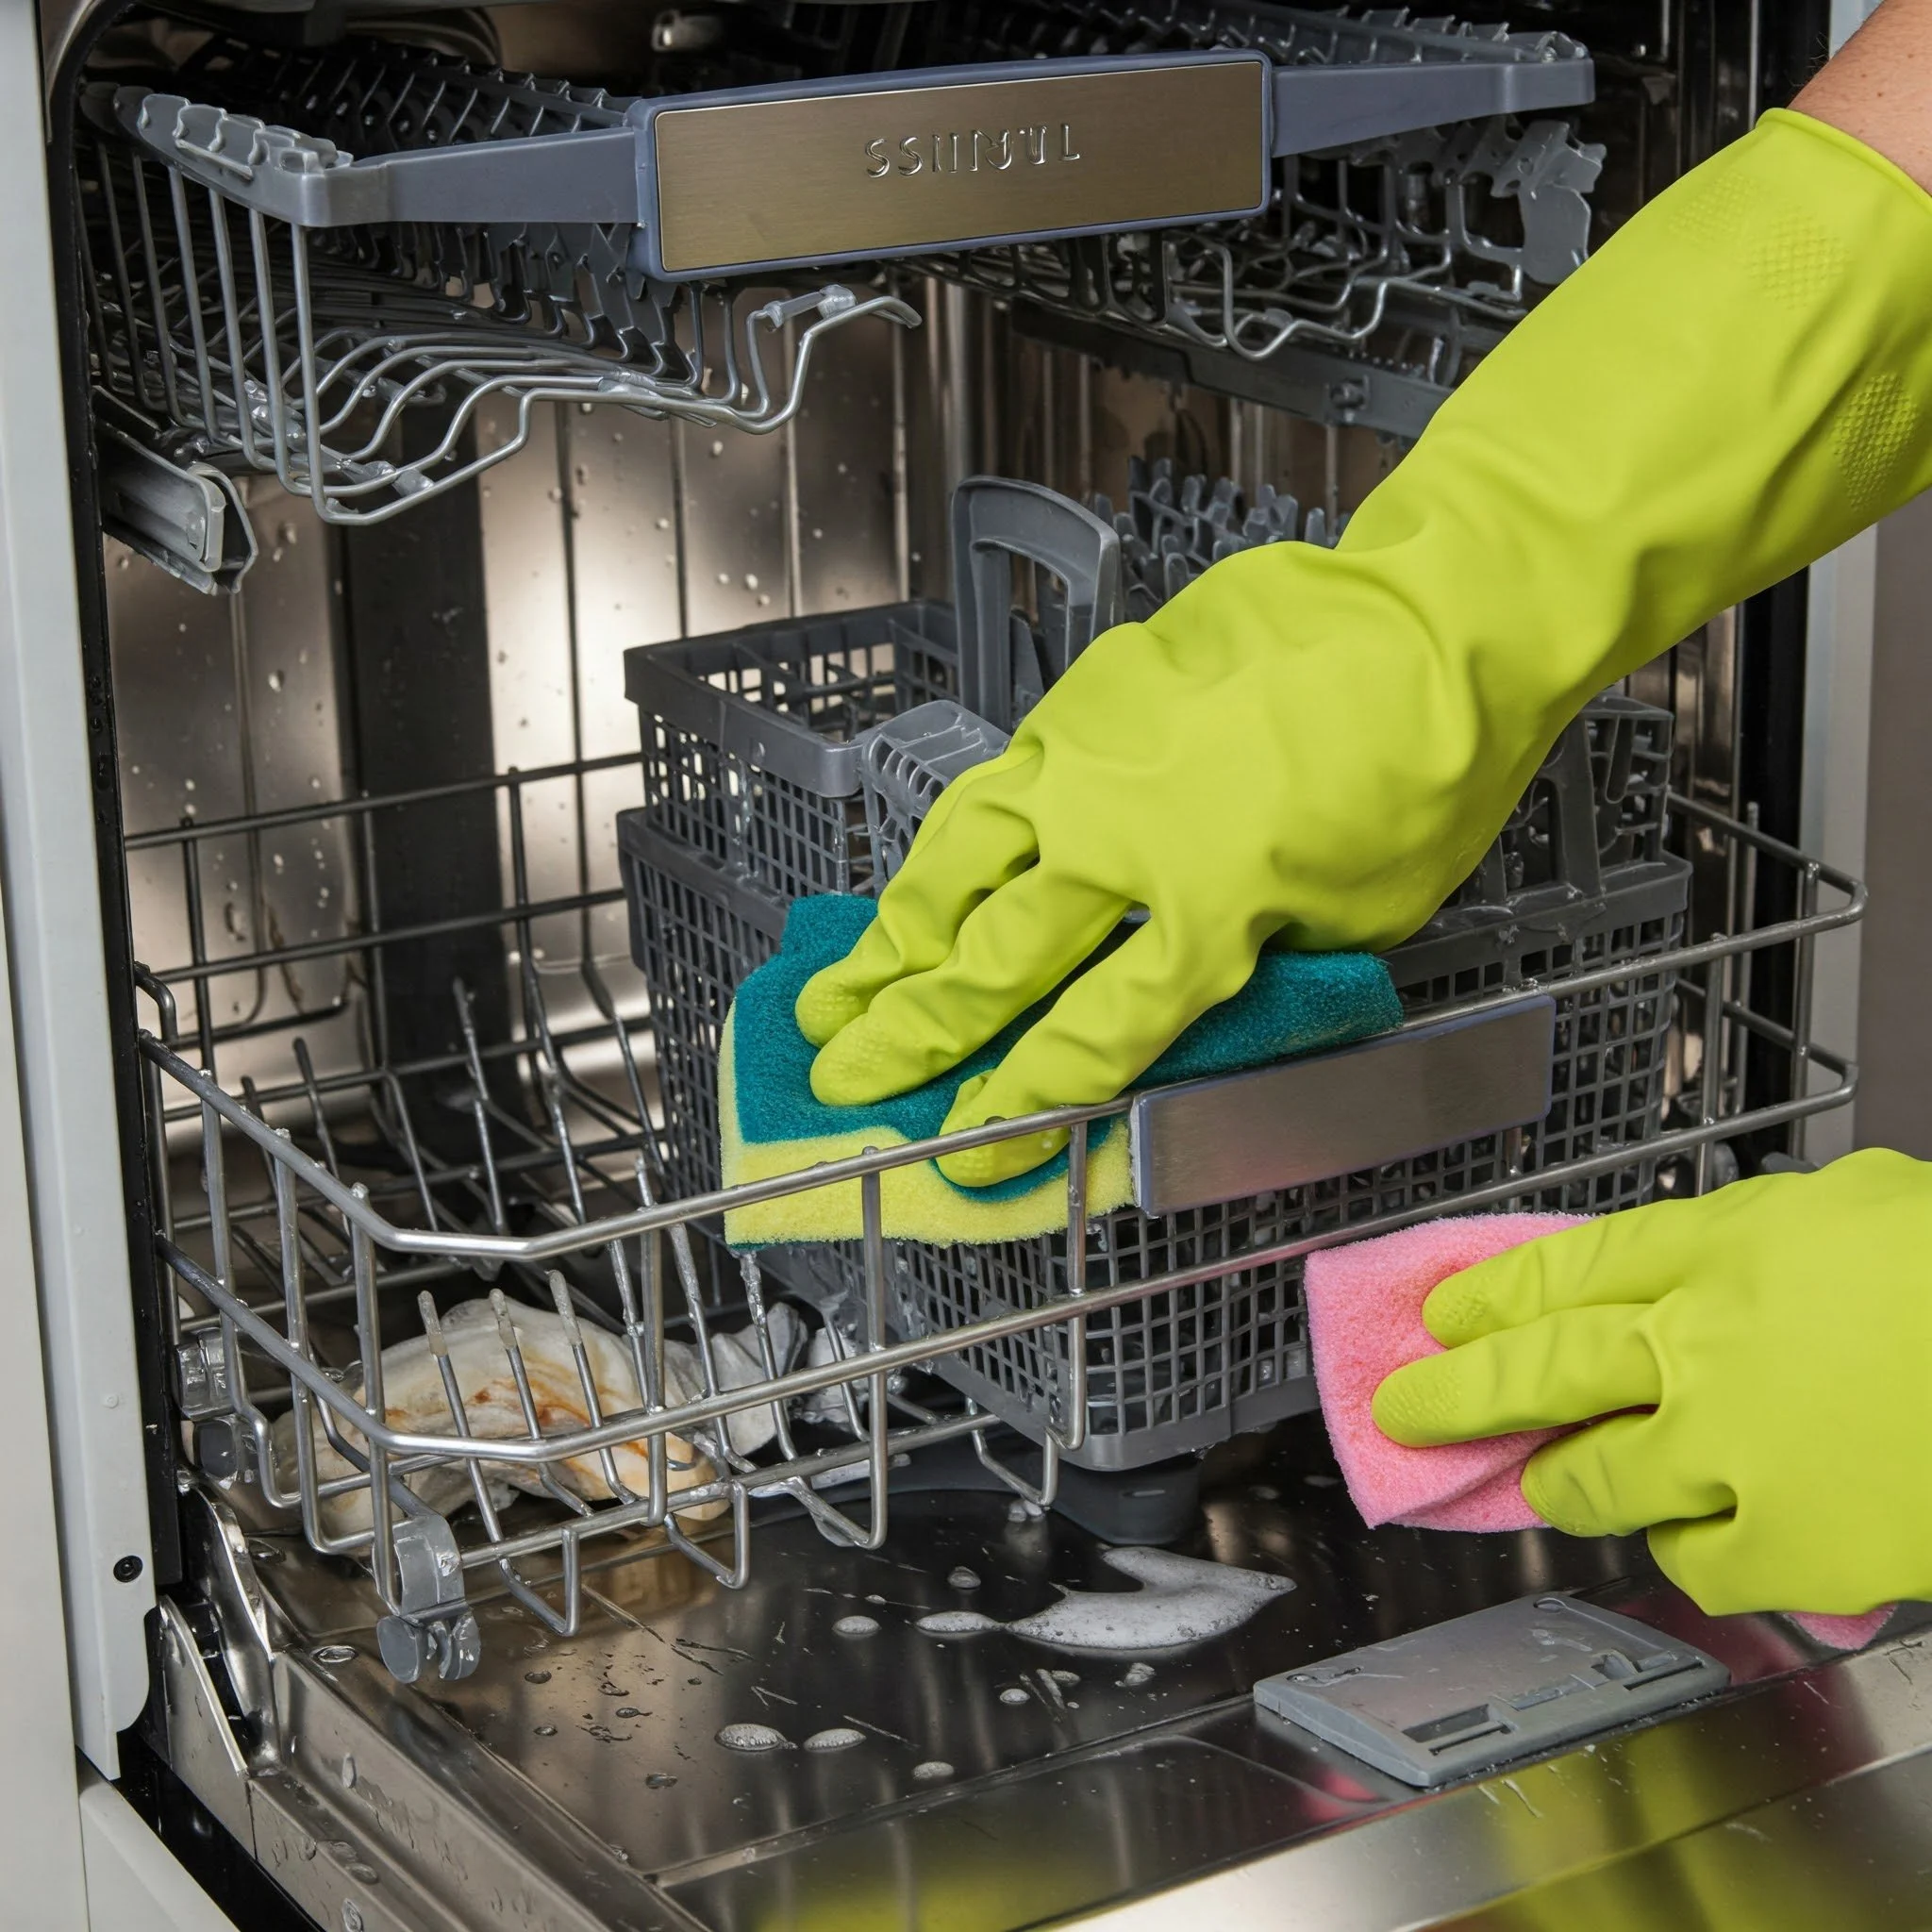
Clean the filter regularly, at least once a month. A clogged filter forces your dishwasher to work harder and can lead to poor cleaning results. Run a cleaning cycle with dishwasher cleaner every few months to prevent buildup and eliminate odors.
Check the spray arms periodically to make sure the holes aren't clogged. Use a toothpick to clear any blockages. Inspect door seals for cracks or damage, as these can cause leaks over time.
When to Call a Professional
Look, I'm all about DIY projects, but sometimes you gotta know when to wave the white flag. If you're not comfortable working with electricity or plumbing, there's absolutely no shame in calling a pro. Better safe than sorry!
Similarly, if your installation space needs significant modifications, like adding new electrical outlets or water lines, that's probably professional territory unless you've got serious experience in those areas.
Conclusion
There you have it! Installing a dishwasher yourself isn't rocket science, but it does require patience, attention to detail, and a willingness to get your hands dirty. By following this guide on how to install a dishwasher step by step, you've not only saved a chunk of change but also gained valuable skills and confidence for future home improvement projects. Remember, take your time, don't skip steps, and always prioritize safety over speed. Happy washing!
Read next: How to Unclog a Dishwasher: Step-by-Step Cleaning Guide
Frequently Asked Questions
1. How long does it typically take to install a dishwasher?
Most installations take between two to four hours, depending on your experience level.
2. Can I install a dishwasher without a garbage disposal?
Yes, you can connect the drain hose directly to your sink's drain pipe.
3. Do I need a permit to install a dishwasher?
Most areas don't require permits for dishwasher replacement, but check local building codes first.
4. What size water supply line do I need?
Standard dishwashers typically require a three eighths inch compression fitting water supply line connection.
5. Can a dishwasher and garbage disposal share the same circuit?
Generally yes, but verify your local electrical codes and ensure adequate circuit capacity exists.
Stay up to date with our latest ideas!