How to Install a Door Handle Step by Step
Master door handle installation with our foolproof guide. Learn tools, techniques, and troubleshooting tips for perfect results every time.

Well, butter my biscuit, you've finally decided to tackle that wobbly door handle that's been driving you bonkers for months! If you're scratching your head wondering about "How to Install a Door Handle Step by Step," you're in for a treat. Trust me, I've been there, standing in the hardware store aisle, surrounded by more handle options than a poker game has cards, wondering if I'd bitten off more than I could chew. But here's the kicker: installing a door handle is actually easier than convincing a teenager to clean their room!
You know what's funny? Most folks think you need to be some kind of DIY wizard to swap out a door handle. Hogwash! With the right tools and a smidge of patience, you'll be opening doors like a pro in no time. Whether you're dealing with a handle that's seen better days or you're just jazzing up your place with some new hardware, I'm gonna walk you through this process like we're old buddies chatting over the fence. So grab your toolbox, roll up those sleeves, and let's turn you into the door handle hero your home deserves!
Understanding Door Handles: More Than Meets the Eye
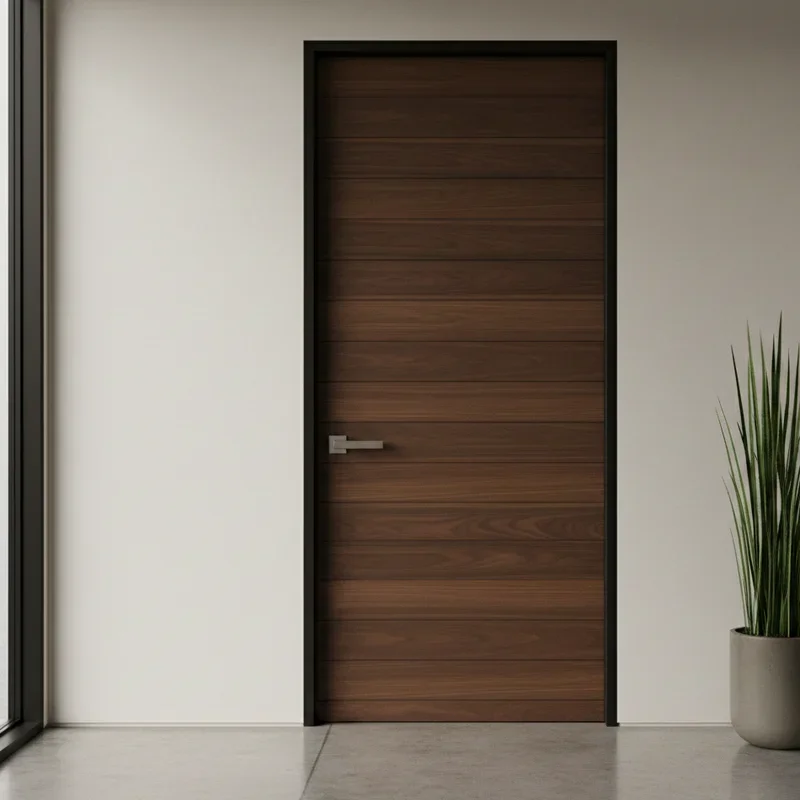
Before we dive into the nuts and bolts (literally), let's chat about what we're working with here. Door handles might seem simple, but picking the right one is like choosing the perfect pair of shoes, it's gotta fit just right and look good doing it!
Types of Door Handles: The Usual Suspects
Not all door handles are created equal, folks. Here's the lineup of characters you might encounter:
Passage handles: No locks, just for opening and closing (perfect for closets)
Privacy handles: Lockable from inside (bathroom and bedroom champions)
Dummy handles: All show, no go (decorative only, often on closet doors)
Keyed entry handles: Lock and key situation (front doors and security)
Lever handles: Easy-grip design (great for arthritis sufferers)
Knob handles: The classic round style (traditional and timeless)
Parts of a Door Handle: Know Your Components
Getting familiar with door handle anatomy is like learning the players on your favorite team:
The handle or knob: What you actually grab
The rosette or backplate: Covers the hole in the door
The latch: The spring-loaded bolt that keeps the door closed
The strike plate: Where the latch catches in the door frame
The spindle: Connects the handles and operates the latch
Screws: The unsung heroes holding it all together
Tools and Materials: Your Installation Arsenal
Alright, before we start this rodeo, let's make sure you've got all your ducks in a row. Having the right tools is half the battle won!
Essential Tools You'll Need
Here's what should be in your toolbox for this adventure:
Phillips head screwdriver: Your main squeeze for this job
Flathead screwdriver: For prying and adjusting
Tape measure: Measure twice, install once!
Pencil: For marking (not behind your ear)
Level: Optional but helpful for perfectionists
Drill and bits: If you're installing fresh or need pilot holes
Materials Checklist
Beyond tools, here's what you'll need:
New door handle set (obviously!)
Wood filler or putty (for fixing old holes)
Sandpaper (if smoothing is needed)
Touch-up paint (matching your door)
Patience (not sold in stores, unfortunately)
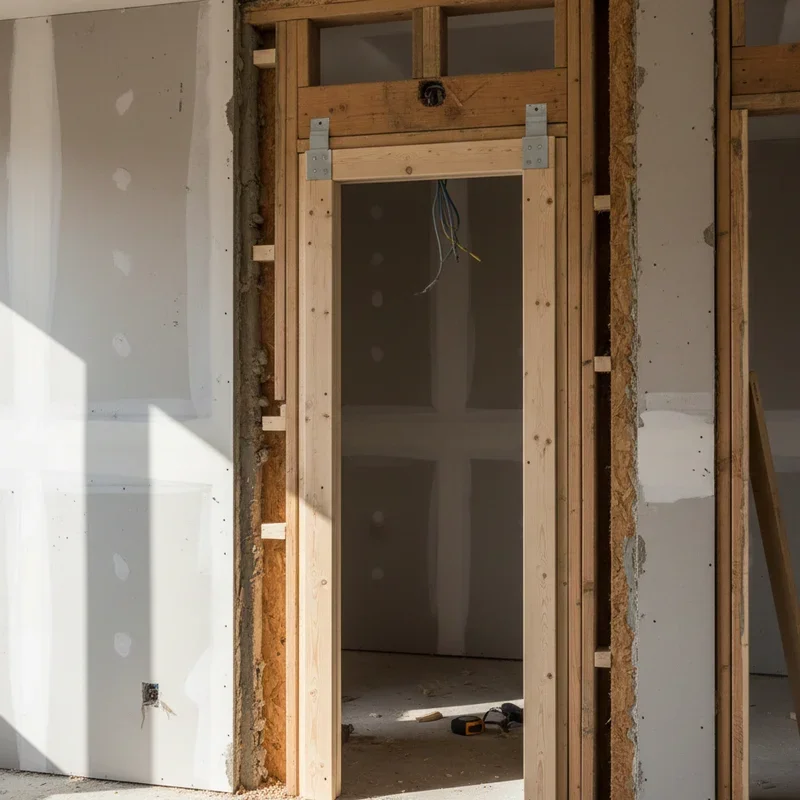
Pre-Installation Prep: Setting Yourself Up for Success
You wouldn't run a marathon without stretching first, right? Same goes for installing door handles. A little prep work goes a long way!
Removing the Old Handle
First things first, let's get that old handle outta there:
Locate the screws: Usually on the interior side rosette
Unscrew carefully: Keep track of all pieces
Pull handles apart: They should separate easily
Remove the latch: Unscrew from the door edge
Take out strike plate: If replacing that too
Assessing the Situation
With the old handle gone, it's inspection time:
Check hole sizes (standard is 2-1/8 inches)
Measure the backset (distance from edge to center of hole)
Look for damage that needs fixing
Verify door thickness compatibility
Clean out any debris or old paint
How to Install a Door Handle Step by Step: The Main Event
Now we're cooking with gas! Let's get down to the nitty-gritty of "How to Install a Door Handle Step by Step." Follow along, and you'll be done before your coffee gets cold.
Step 1: Install the Latch
The latch is like the foundation of a house, get this right, and everything else falls into place:
Orient correctly: The angled edge faces the door frame
Insert into edge bore: Slide it in smoothly
Align screw holes: Make sure they're centered
Secure with screws: Snug but not overtightened
Test the mechanism: Should move freely
Step 2: Position the Strike Plate
If you're replacing the strike plate, here's your game plan:
Hold the door closed
Mark where the latch hits
Align the strike plate opening
Trace around the plate
Chisel out if needed for flush mounting
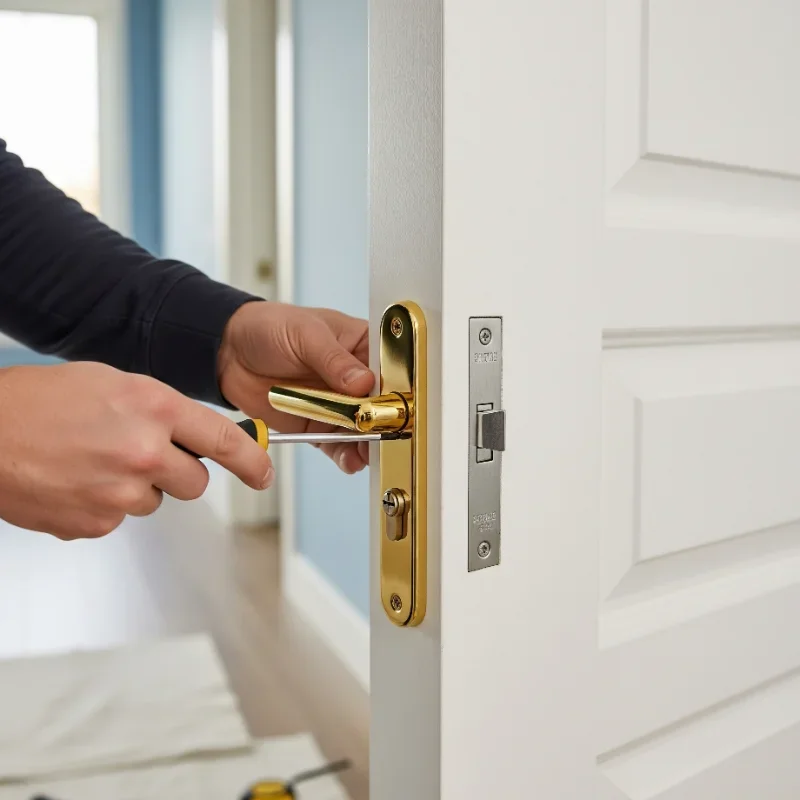
Step 3: Install the Exterior Handle
Time to tackle the outside handle:
Thread the spindle through: Goes through the latch mechanism
Align mounting holes: Should line up perfectly
Hold firmly in place: This is where a helper comes in handy
Check orientation: Make sure it's not upside down!
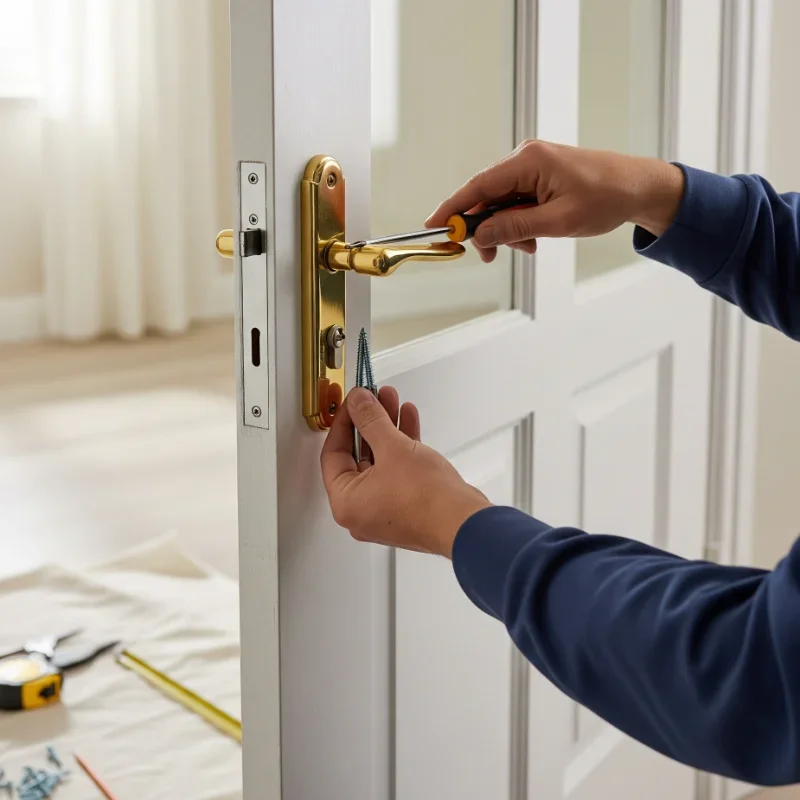
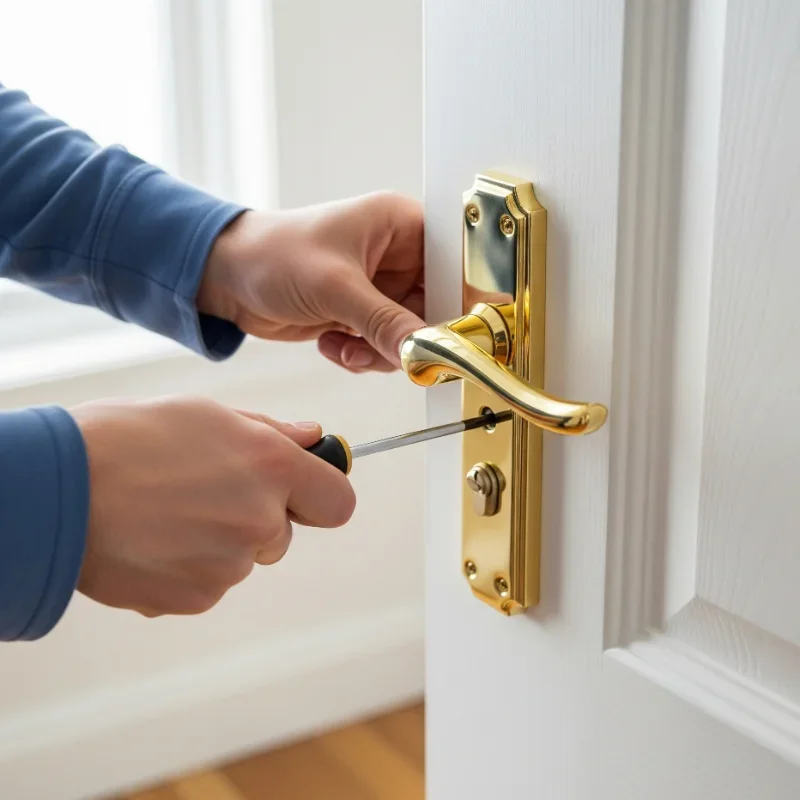
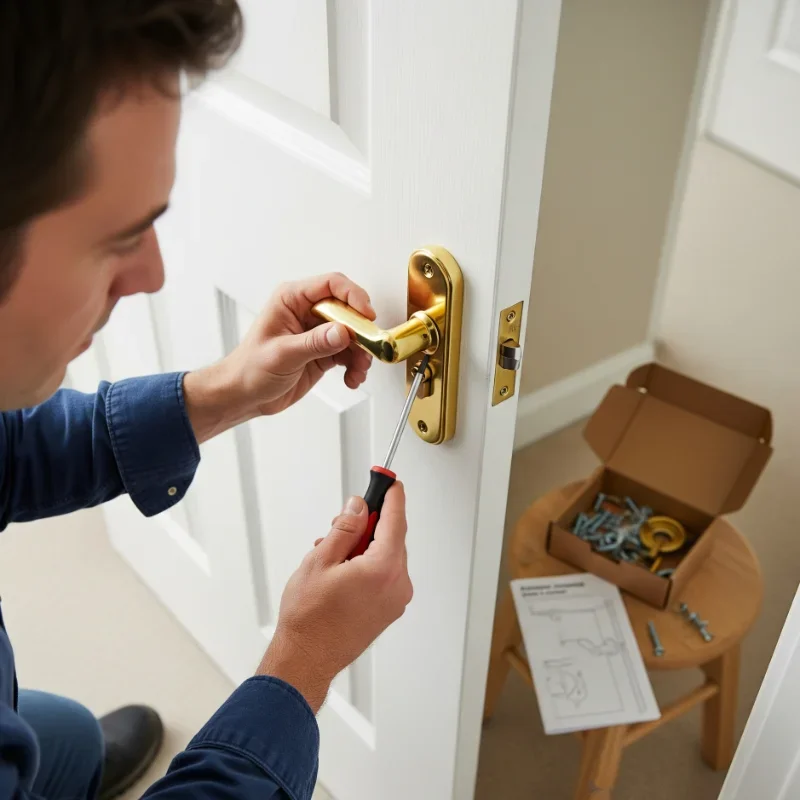
Step 4: Attach the Interior Handle
Almost home free! Here's how to finish strong:
Align with the spindle from outside
Match up screw holes
Insert mounting screws
Tighten evenly (alternate screws)
Don't gorilla-grip those screws!
Step 5: Fine-Tuning and Testing
The moment of truth has arrived:
Test the handle operation: Should turn smoothly
Check the latch: Must extend and retract fully
Verify door closing: Latch should catch properly
Adjust strike plate: If needed for smooth operation
Test any locking mechanism: For privacy or keyed handles
Troubleshooting Common Issues: When Things Go Sideways
Even the best-laid plans can hit a snag. Here's how to handle common hiccups:
The Handle Feels Loose
Nothing worse than a wobbly handle! Here's the fix:
Check all screws for tightness
Verify spindle is properly seated
Look for worn screw holes
Consider using longer screws
Add thread locker for chronic looseness
The Latch Won't Catch
When your door won't stay closed:
Adjust strike plate position: May need to move up/down
Check latch alignment: Should hit strike plate center
File strike plate opening: If slightly misaligned
Verify door isn't warped: Bigger issue if so
Replace worn latch: If spring is shot
Sticking or Hard to Turn
When your handle needs some WD-40 and prayer:
Loosen mounting screws slightly
Check for paint in mechanism
Verify spindle isn't binding
Lubricate moving parts
Ensure proper door alignment
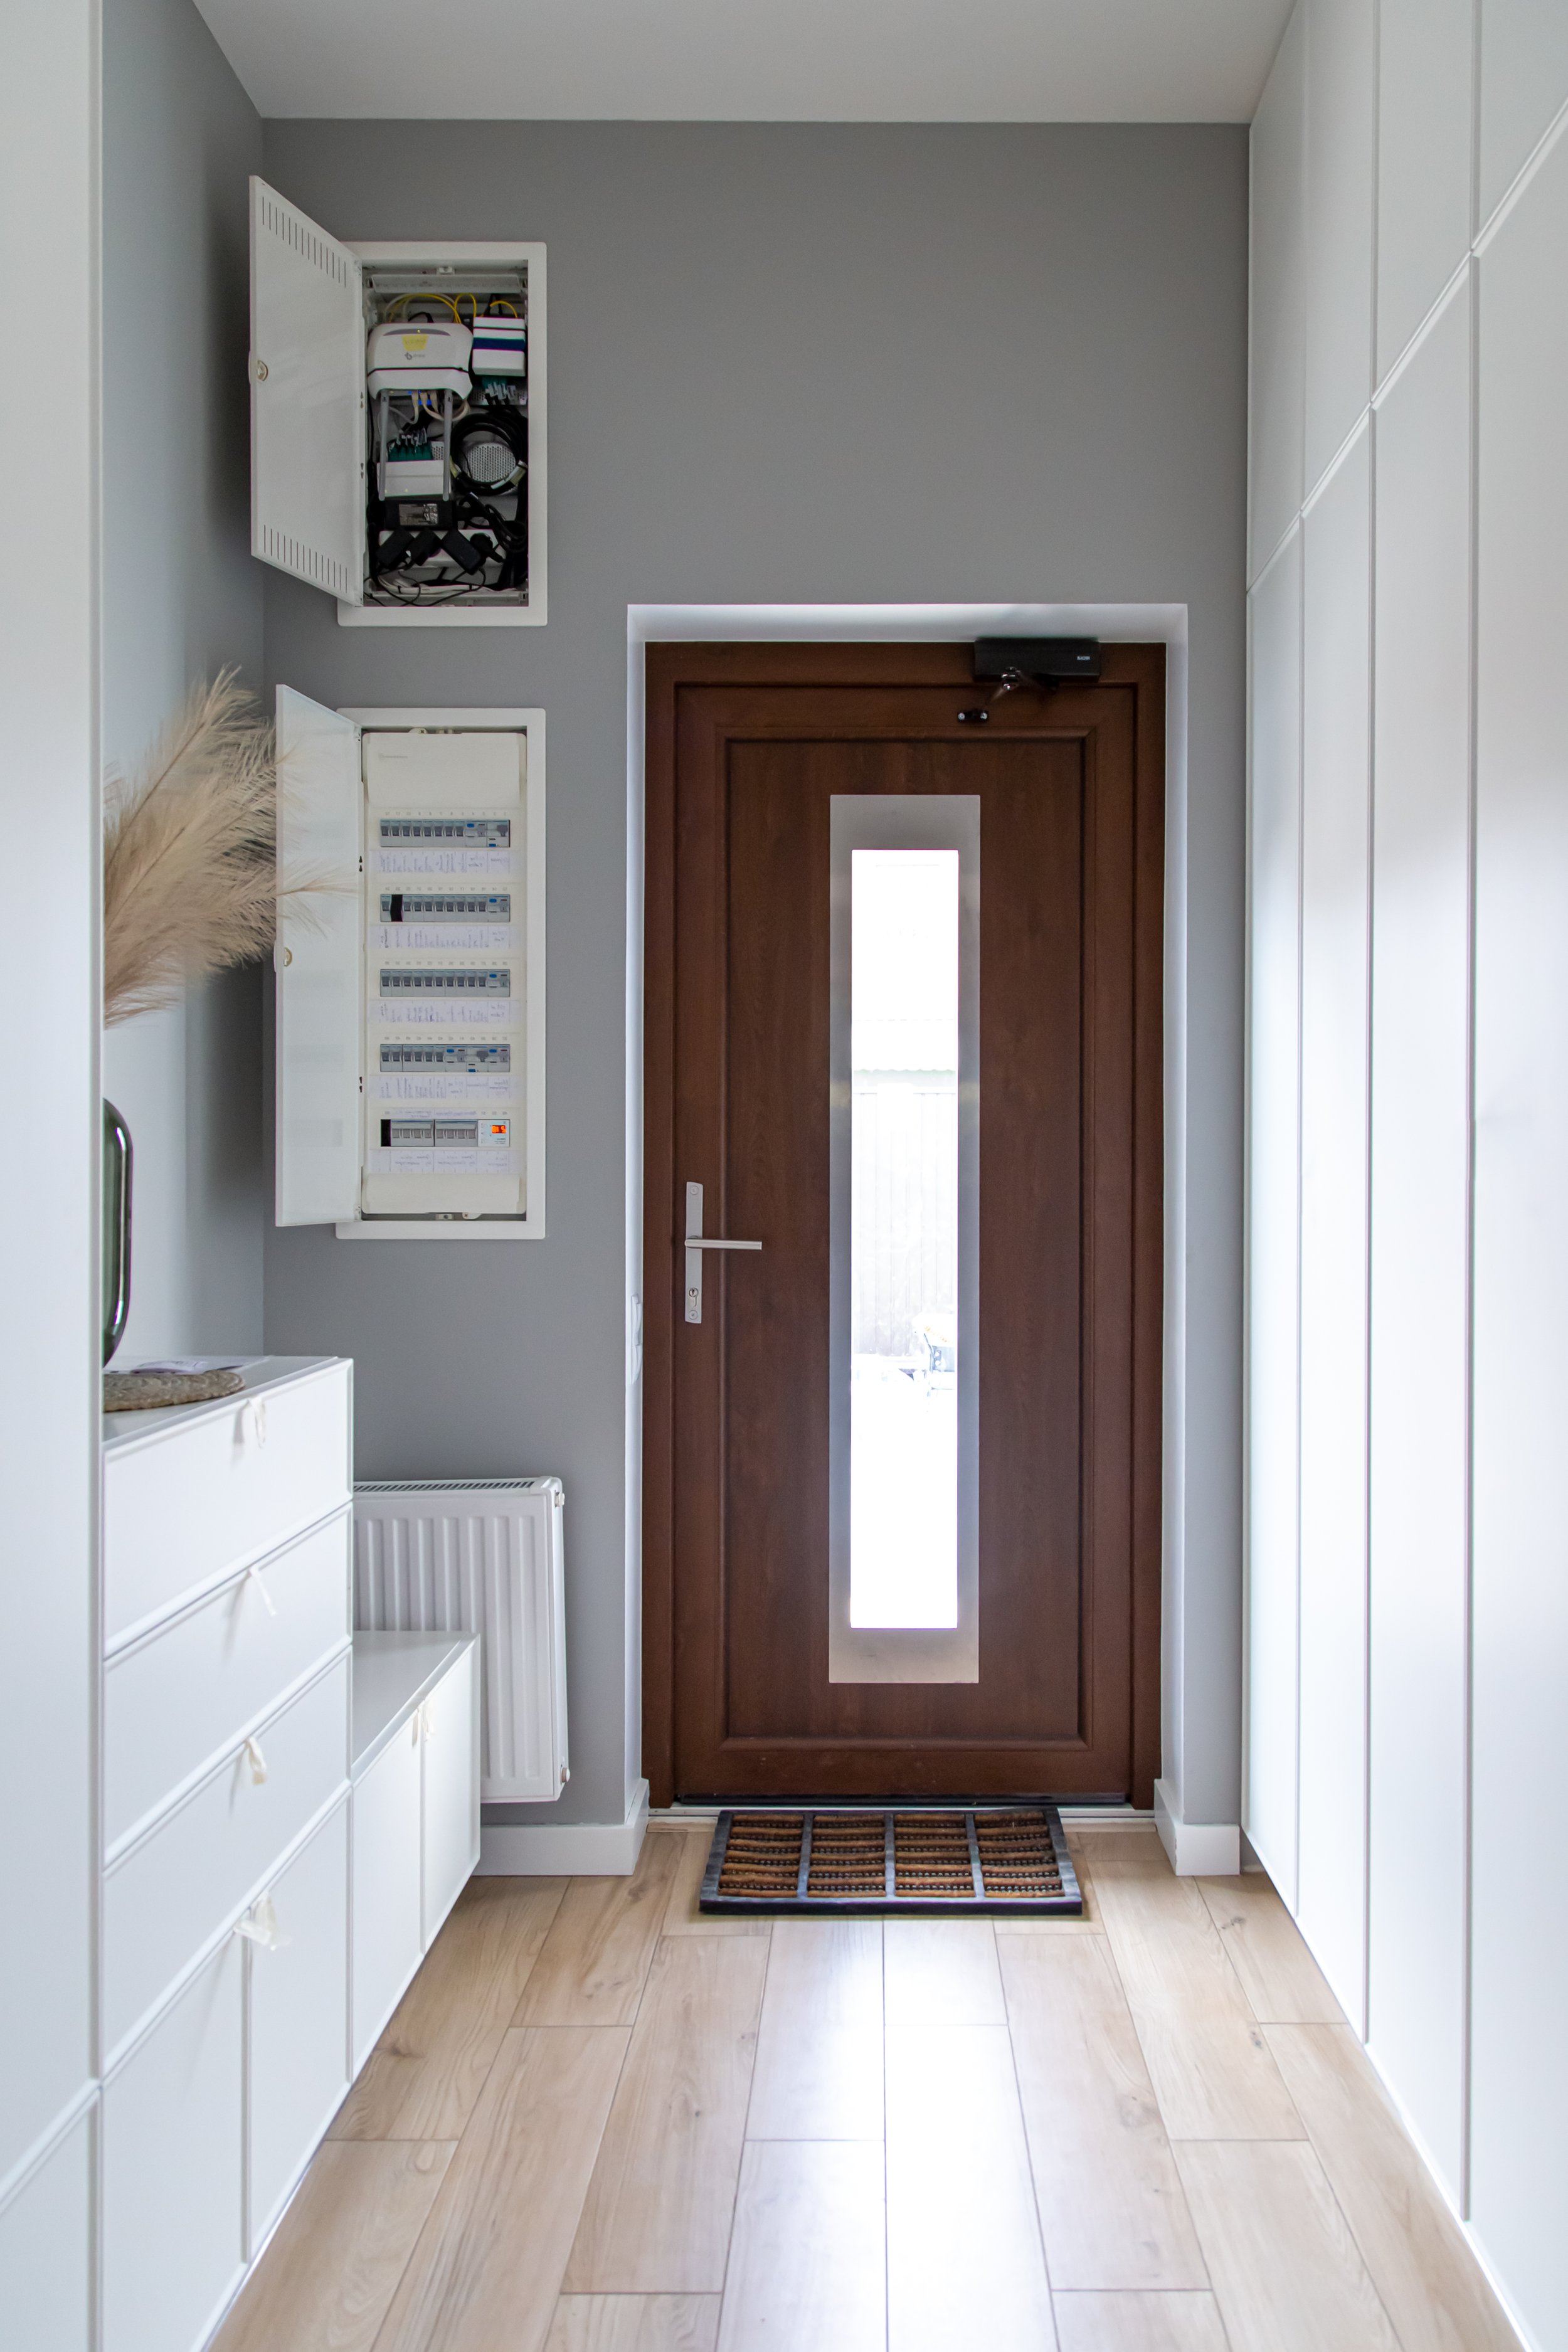
Special Considerations: Not All Doors Are Created Equal
Sometimes you'll run into special situations that need extra attention. Let's cover the curveballs:
Installing on Hollow Core Doors
These lightweight doors need gentle handling:
Use appropriate screws (not too long)
Don't overtighten anything
Consider reinforcement plates
Be extra careful with measurements
Support the door while working
Dealing with Antique Doors
Old doors have character, and sometimes, challenges:
Non-standard measurements: May need adapters
Worn wood: Might require filling and reinforcement
Lead paint concerns: Test and handle safely
Thicker doors: Ensure handle set accommodates
Historical accuracy: Consider period-appropriate hardware
Smart Lock Installation
Welcome to the 21st century! Smart locks add complexity:
Follow manufacturer instructions religiously
Check battery requirements
Set up app connectivity
Program access codes
Test all features thoroughly
How to Install a Door Handle Step by Step: Pro Tips and Tricks
Want to install handles like you've been doing it for years? Here are some insider secrets:
The Veteran's Wisdom
Little tricks that make a big difference:
Use a door wedge to hold door steady
Pre-drill pilot holes in hardwood
Apply beeswax to screws for easier driving
Keep old hardware as template
Take photos before disassembly
Aesthetic Considerations
Making it look professional:
Match finishes throughout: Consistency is key
Consider handle height: Standard is 36 inches
Align with other doors: Keep uniform appearance
Clean up thoroughly: Remove fingerprints and debris
Touch up paint: Blend any exposed wood
Maintenance and Longevity: Keeping Things Running Smooth
You've installed that beautiful new handle, now let's keep it working like a dream:
Regular Maintenance Schedule
A little TLC goes a long way:
Monthly: Wipe down and check tightness
Quarterly: Lubricate moving parts
Annually: Deep clean and full inspection
As needed: Tighten loose screws
When sticky: Clean and lubricate mechanism
Signs It's Time for Replacement
Know when to throw in the towel:
Excessive play in handle
Visible wear or damage
Frequent sticking despite maintenance
Security concerns with locks
Style updates for home value
Cost Considerations: Budget-Friendly to Boutique
Let's talk turkey about what this project might cost you:
DIY Installation Costs
When you're doing it yourself:
Basic passage handle: $10-30
Privacy handle set: $20-50
Entry lockset: $30-150
Smart locks: $100-300
Tools (if needed): $20-50
When to Call a Pro
Sometimes it's worth the investment:
Multiple doors: Time savings add up
Valuable antique doors: Don't risk damage
Commercial grade hardware: Requires expertise
Smart home integration: Complex setups
Warranty considerations: Some require pro installation
Safety First: Don't Hurt Yourself Over a Door Handle
Safety might not be sexy, but neither is a trip to the emergency room:
Basic Safety Guidelines
Keep these in mind:
Wear safety glasses when drilling
Watch for sharp metal edges
Support heavy doors properly
Keep tools away from kids
Work in good lighting
Child Safety Features
If you've got little ones:
Consider lever handles over knobs
Install higher on nursery doors
Choose locks with emergency release
Avoid pinch points
Test for smooth operation
Conclusion
There you have it, folks! You've just mastered the art of door handle installation, and I bet it wasn't nearly as scary as you thought. Remember, every DIY project is a chance to learn something new and save a few bucks while you're at it. Whether you're updating your home's style or fixing that handle that's been bugging you forever, you've now got the skills to handle it (pun totally intended). So go forth, install with confidence, and enjoy the satisfaction of doors that work like a dream!
Read next: How to Install a Door Knob: A Step-by-Step Guide
Frequently Asked Questions
Q1: How long does it take to install a door handle?
A: Usually 15-30 minutes per door for experienced DIYers, longer for beginners.
Q2: Can I reuse the old holes in my door?
A: Yes, if they match the new hardware's specifications and aren't damaged.
Q3: What's the standard door handle height?
A: Typically 36 inches from floor to handle center, but check local codes.
Q4: Do I need special tools for installation?
A: Basic installation only requires screwdrivers, though drills make work easier sometimes.
Q5: Can I mix door handle styles in my home?
A: Sure, but keeping consistent finishes throughout typically looks more cohesive overall.
Stay up to date with our latest ideas!