How to Repaint a Dresser for a Fresh New Look
Learn how to repaint a dresser for a fresh new look with our step-by-step guide. Transform old furniture into stunning pieces easily!

Well, isn't it funny how that old dresser sitting in your bedroom seems to mock you every single morning? You know the one I'm talking about, with its dated finish and those mysterious scratches that appeared out of nowhere. Here's the thing though: you don't need to toss it out or live with an eyesore forever! Learning how to repaint a dresser for a fresh new look can completely transform your space without breaking the bank.
Speaking from experience, there's something incredibly satisfying about taking a tired piece of furniture and giving it new life. Whether you've inherited grandma's vintage dresser or snagged a bargain at a yard sale, repainting can work absolute wonders. Plus, it's way easier than you might think!
Why You Should Consider How to Repaint a Dresser for a Fresh New Look
The Benefits That'll Make You Grab a Paintbrush
First off, let's talk money. Buying new furniture these days? Yikes! A quality dresser can set you back hundreds, if not thousands of dollars. Meanwhile, repainting your existing piece costs a fraction of that price. You're basically getting brand new furniture for the cost of some paint and supplies.
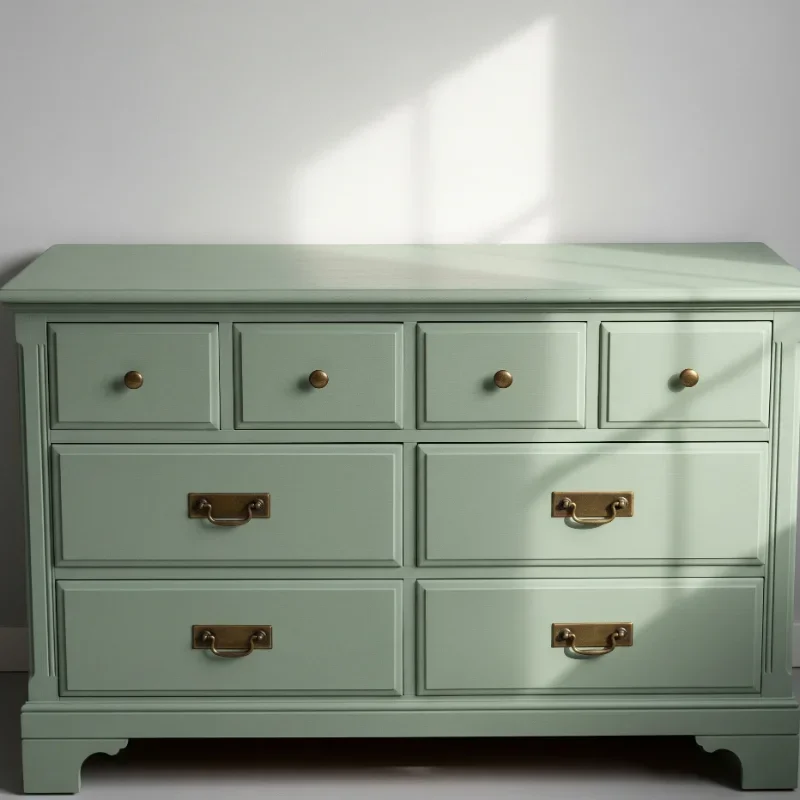
But it's not just about saving cash. When you repaint a dresser yourself, you're creating something totally unique. No more cookie cutter furniture that looks exactly like what everyone else has! You get to choose colors that perfectly match your style and decor. Want a bold navy blue? Go for it! Feeling a soft sage green vibe? Why not!
Environmental Impact Worth Considering
Here's something that might surprise you: refinishing furniture is actually pretty eco-friendly. Instead of sending that old dresser to a landfill and buying something new (hello, carbon footprint!), you're essentially recycling. Mother Earth will thank you, and honestly, your conscience will too.
Getting Started: What You'll Need Before Diving In
Essential Supplies Checklist
Alright, before we jump into the nitty gritty, let's gather our supplies. Trust me, having everything ready beforehand saves tons of frustration later!
Sandpaper (various grits from 120 to 220)
Quality primer (don't skimp on this!)
Paint (chalk paint, latex, or milk paint work great)
Paint brushes and/or foam rollers
Drop cloths or plastic sheeting
Screwdriver (for removing hardware)
Cleaning supplies (TSP cleaner or degreasing soap)
Tack cloth or microfiber cloths
Painter's tape
Optional: electric sander (your arms will thank you)
Protective gear (mask, goggles, gloves)
Choosing the Right Paint Type
Oh boy, walking into the paint aisle can feel overwhelming! There are so many options it'll make your head spin. But here's the scoop on what works best:
Chalk paint has become super popular lately, and for good reason. It sticks to almost anything without much prep work. The downside? It can be pricey and needs a protective wax or sealant.
Latex paint is your budget friendly option that comes in endless colors. It's durable and easy to clean up with soap and water. Just make sure you prime first!
Milk paint gives that gorgeous, authentic vintage look. It's eco-friendly too! However, it can be a bit unpredictable with coverage.
Step-by-Step Process: How to Repaint a Dresser for a Fresh New Look
Step 1: Prep Work Makes Perfect
Walking into this project without proper prep? That's like trying to bake a cake without preheating the oven! Start by removing all the drawers and hardware. Pop those handles and knobs into a plastic bag so they don't go on a mysterious adventure to the land of lost things.
Give your dresser a good cleaning with TSP cleaner or degreasing soap. Years of dust, grime, and who knows what else have probably accumulated on that surface. Wipe it down thoroughly and let it dry completely.
Step 2: The Sanding Marathon
Now comes the part that'll give you a workout! Sanding is crucial for helping paint adhere properly. Using medium grit sandpaper (around 120-150 grit), sand the entire dresser. You're not trying to strip it down to bare wood, just roughing up the surface enough for primer to grab onto.
Pro tip: an electric sander makes this job way easier, especially on flat surfaces. But you'll still need to hand sand those pesky corners and detailed areas. Once you're done, wipe everything down with a tack cloth to remove dust.
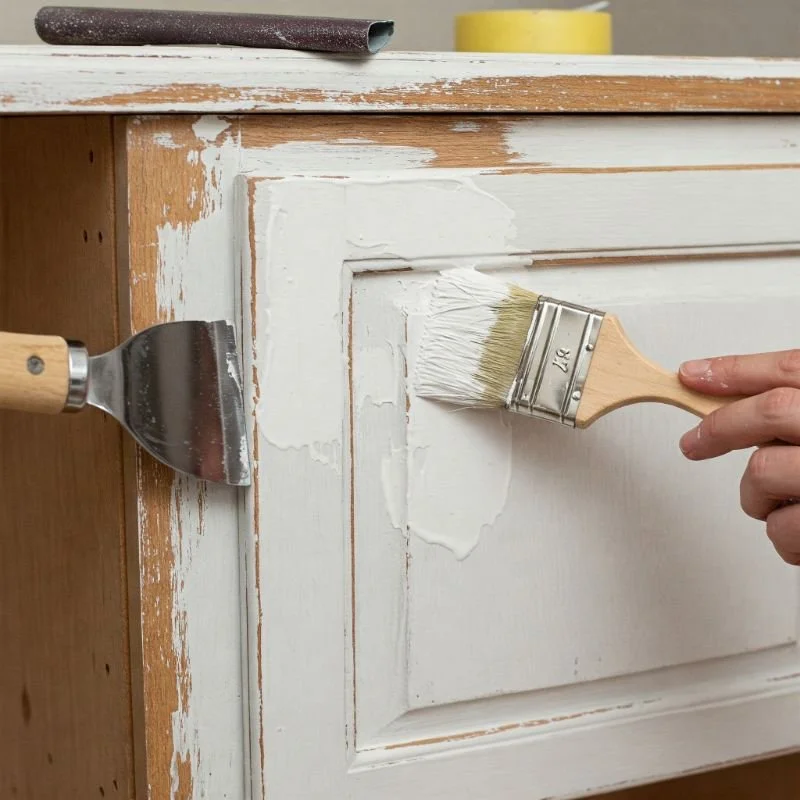
Step 3: Prime Time
Here's where many DIYers mess up: they skip the primer. Big mistake! Primer is like the foundation of a house; without it, everything else might crumble. Apply a thin, even coat of primer using long, smooth strokes. Don't glob it on thinking more is better. Thin coats dry faster and look smoother.
Let the primer dry according to the manufacturer's instructions. Usually, we're talking about 2-4 hours, but humidity and temperature play a role. Lightly sand with fine grit sandpaper (220 grit) between coats if you're doing multiple layers.
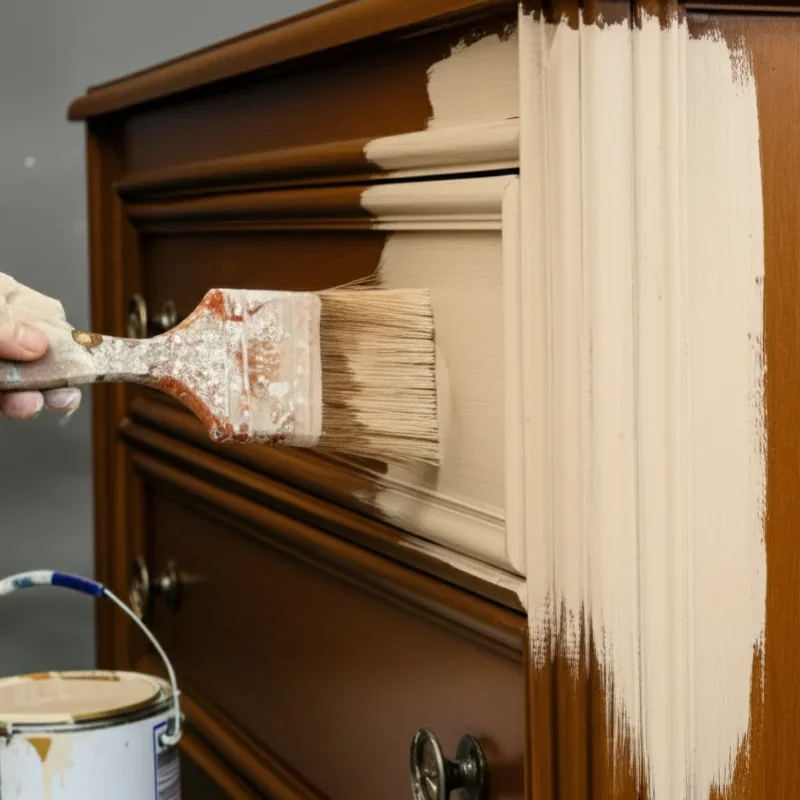
Step 4: Painting Like a Pro
Finally, the fun part arrives! Start painting with thin, even coats. Whether you're using a brush or roller, always paint in the direction of the wood grain when possible. It just looks more professional that way.
Apply your first coat and resist the urge to go back over areas that look uneven while wet. Paint has this magical ability to self level as it dries. Wait for it to dry completely before judging! Usually, you'll need 2-3 coats for full coverage.
Between coats, lightly sand with fine grit sandpaper. This helps subsequent coats adhere better and creates that smooth, professional finish everyone's after.
Step 5: The Finishing Touches
Once your final coat of paint is bone dry, it's time for the details that make all the difference! If you used chalk paint, apply wax or a protective sealant. For latex paint, consider a clear polyurethane topcoat for extra durability.
Now's also the perfect time to update that hardware. Sometimes just swapping out old handles for modern ones completely changes the whole vibe. Or hey, spray paint the existing hardware for a budget friendly update!
Common Mistakes to Avoid
Rushing Through the Process
I get it, you're excited to see the finished product! But rushing leads to drips, uneven coverage, and paint that chips off faster than you can say "oops." Each step needs proper drying time. Think of it as a marathon, not a sprint.
Forgetting to Test Paint Colors
That gorgeous teal that looked perfect on the paint chip? It might look totally different on your dresser under your bedroom lighting. Always test a small, hidden area first. Better safe than sorry!
Overloading Your Brush
Dipping your brush like you're going for the last bit of queso at a party? Stop right there! Too much paint causes drips and takes forever to dry. Dip just the bottom third of your brush and tap off excess.
Creative Design Ideas to Consider
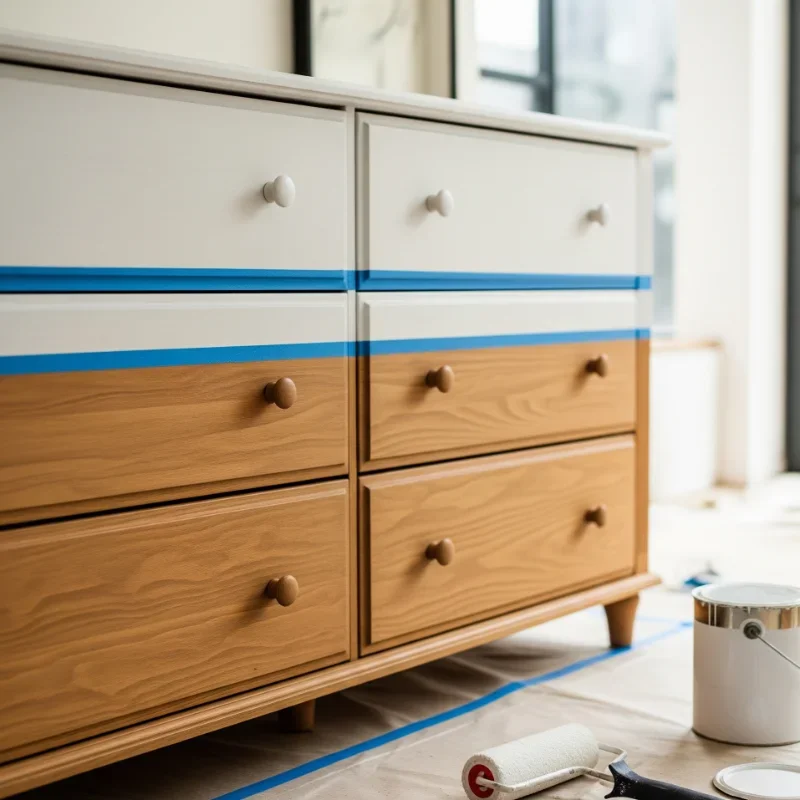
Two-Tone Magic
Who says you need to stick with one color? Paint the frame one shade and the drawer fronts another for a designer look. Navy and white? Classic! Sage green and cream? Absolutely dreamy!
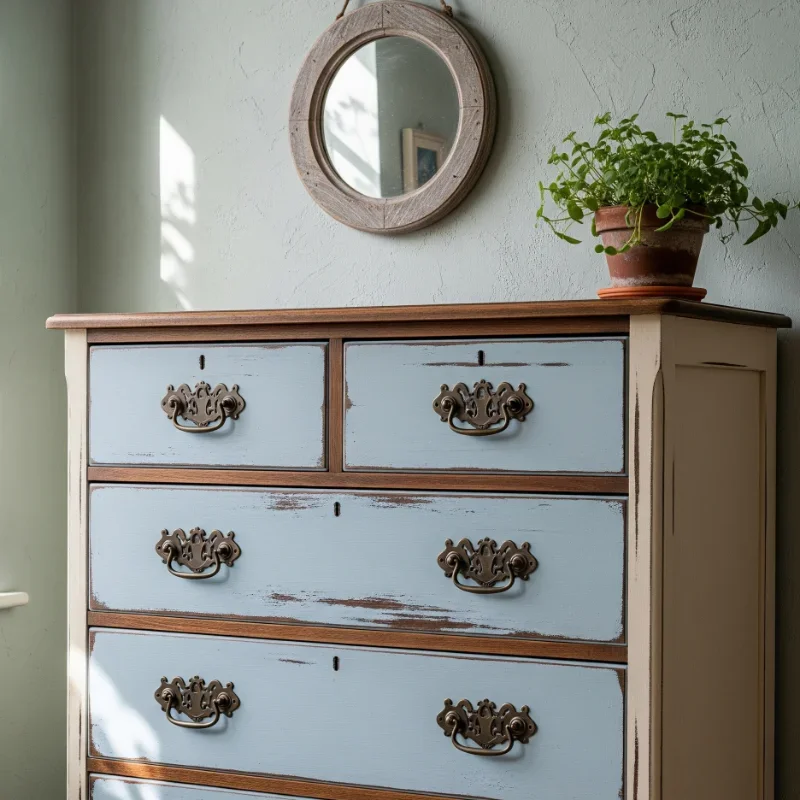
Distressing for Character
Want that farmhouse chic look? After your paint dries, lightly sand edges and areas that would naturally wear over time. It adds instant character and hides future dings pretty well too.
Stenciling and Patterns
Feeling artsy? Add stenciled designs to drawer fronts or sides. Geometric patterns, florals, or even quotes can turn your dresser into a real conversation piece.
Maintenance Tips for Your Newly Painted Dresser
Keeping It Looking Fresh
Your beautiful repainted dresser deserves some TLC to stay gorgeous! Dust regularly with a soft cloth and avoid harsh chemical cleaners that might damage the finish. A slightly damp cloth works wonders for most cleaning needs.
Touch-Ups When Needed
Life happens, and sometimes that means dings and scratches. Keep a small container of your paint color for quick touch-ups. A tiny artist's brush works perfectly for fixing small imperfections before they become big problems.
Conclusion
Transforming an old dresser with fresh paint isn't just a weekend project; it's your chance to create something uniquely yours while saving money and helping the environment. With proper preparation, quality materials, and a bit of patience, you'll end up with a stunning piece that looks like it came from a high-end furniture store. So grab those supplies and get ready to give that tired dresser the makeover it deserves!
Read next: How to Repaint Cabinets for a Fresh New Look
Frequently Asked Questions
Q1 How long does repainting a dresser typically take?
A: Usually 2-3 days including drying time between coats.
Q2: Can I paint over laminate or veneer dressers?
A: Yes, with proper primer and surface preparation first.
Q3: What's the best paint for a kid's dresser?
A: Non-toxic latex paint with a durable polyurethane topcoat.
Q4: Should I sand between every coat of paint?
A: Light sanding between coats ensures the smoothest finish possible.
Q5: How much will supplies cost for this project?
A: Typically between $50-$100 depending on paint quality chosen.
Stay up to date with our latest ideas!