How to Wire a Bathroom Fan and Light Diagram
Learn how to wire a bathroom fan and light diagram with step-by-step instructions, safety tips, tools needed, and clear wiring guidance.
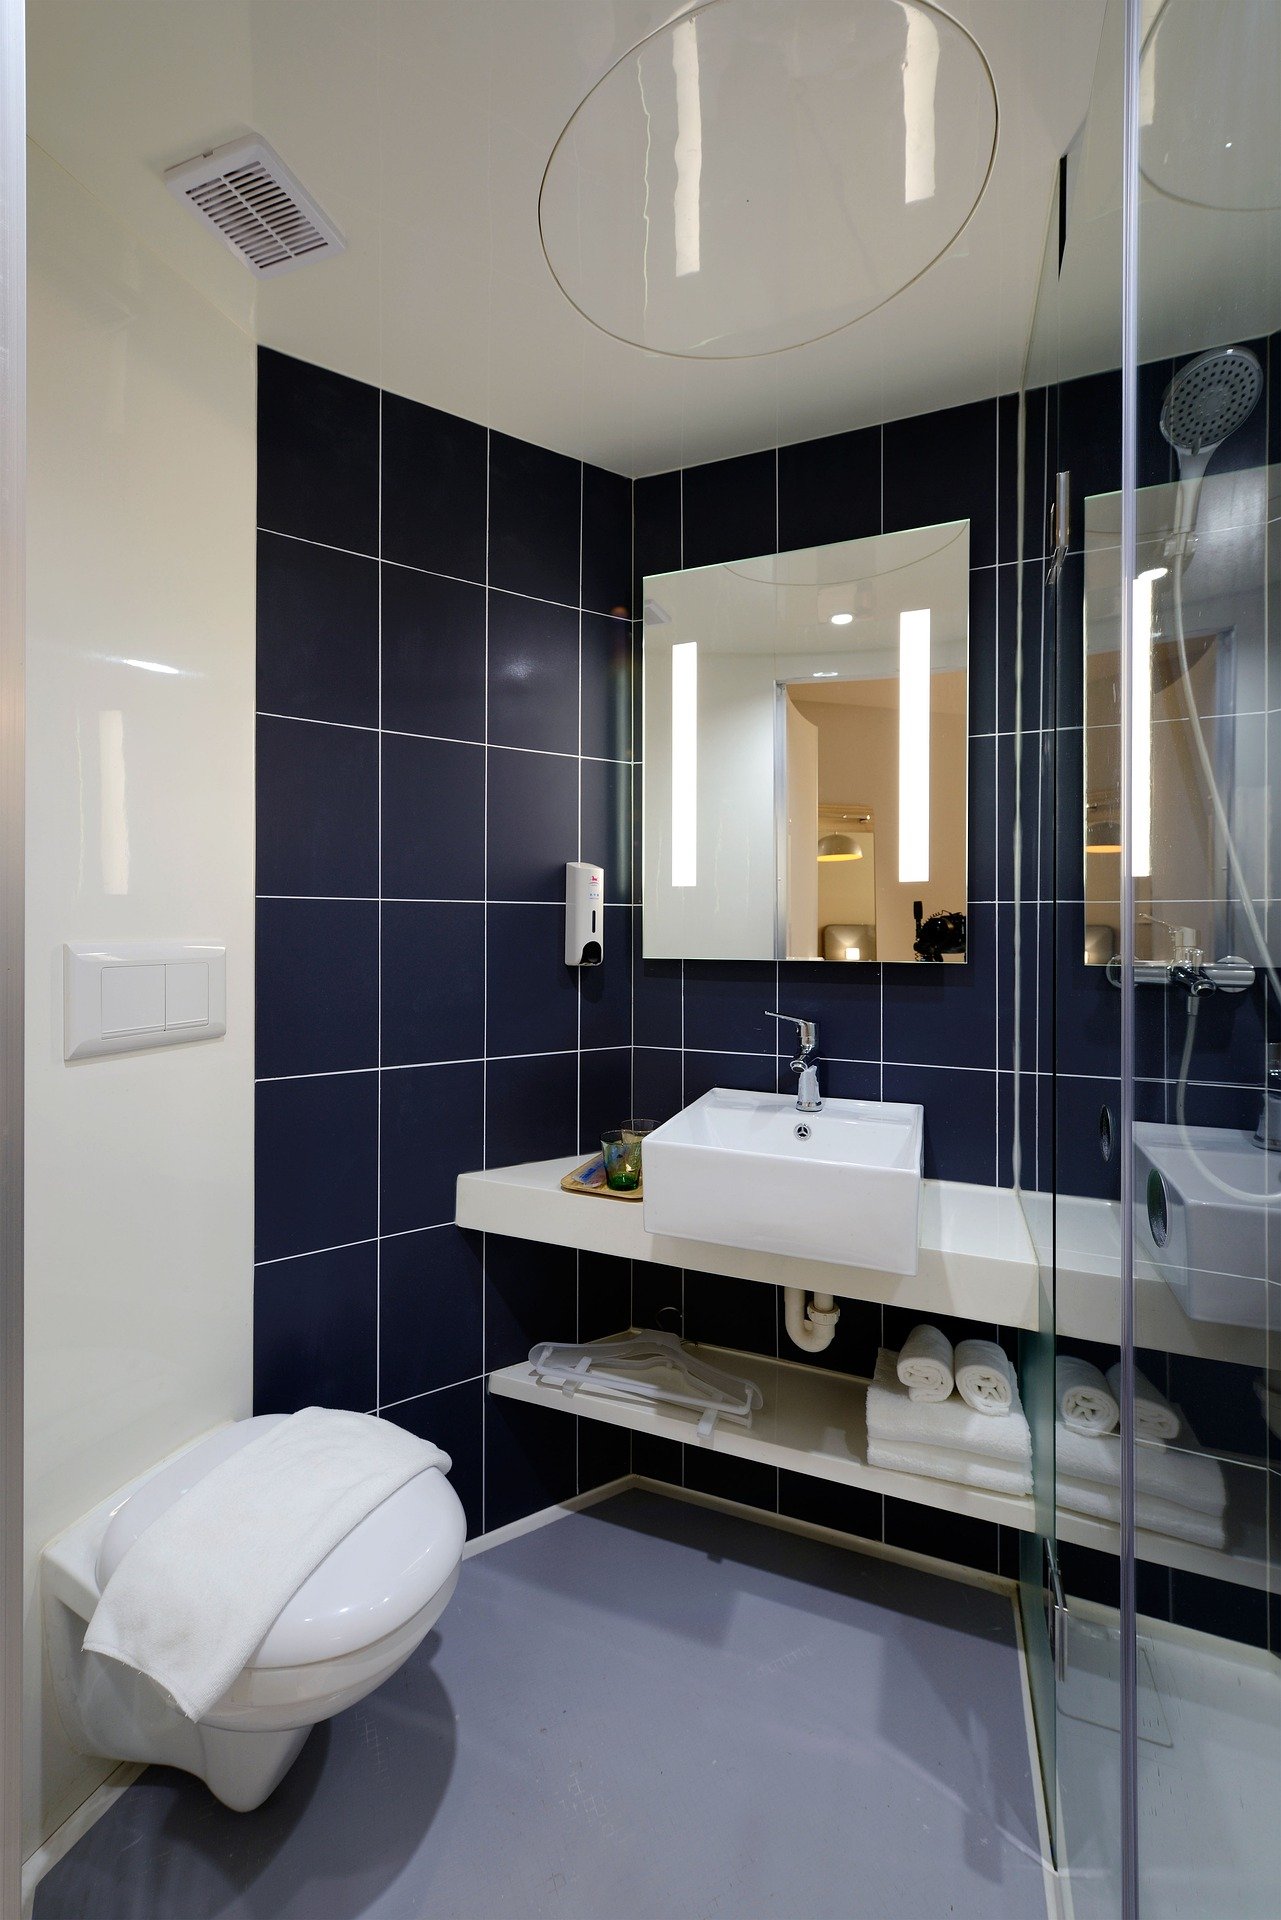
Let's face it. Nobody enjoys stepping into a steamy bathroom after a hot shower only to find the mirror completely fogged up and the walls dripping with moisture. That's precisely why a bathroom fan and light combo is one of those must-have upgrades in any modern home. But here's the kicker. Getting the wiring right can feel like solving a puzzle blindfolded, especially if you've never tackled an electrical project before.
The good news? Wiring a bathroom fan and light isn't rocket science. With the right guidance, a solid understanding of how the components connect, and a healthy respect for electricity, you can absolutely pull this off yourself. Whether you're renovating your bathroom, replacing an old unit, or installing something fresh from scratch, understanding how to wire a bathroom fan and light diagram is the foundation you need before touching a single wire.
Throughout this guide, we're going to break down the whole process into digestible chunks. We'll cover the tools you'll need, the safety precautions that could literally save your life, the different wiring configurations, and step-by-step instructions to get the job done right the first time. So roll up your sleeves, grab a cup of coffee, and let's dive into the world of bathroom electrical work.
Why Proper Wiring Matters More Than You Think
Before we jump into the nitty-gritty, it's worth talking about why doing this right is such a big deal. Sure, bad wiring might mean your fan doesn't spin or your light flickers annoyingly. But that's honestly the least of your worries.
Faulty electrical work in a bathroom, where moisture is everywhere, can lead to short circuits, electrical fires, or dangerous shocks. Bathrooms are considered wet locations by the National Electrical Code, which means every wire, connection, and fixture needs to meet stricter standards than what you'd find in a bedroom or living room.
Beyond safety, proper wiring ensures your fan and light work independently or together, depending on how you set things up. It also affects your home's resale value, since inspectors will absolutely flag sketchy electrical work faster than you can say "hazard."
Understanding the Basic Components
Before you can wire anything, you need to know what you're working with. Here's a rundown of the main players in this electrical dance.
The Bathroom Fan
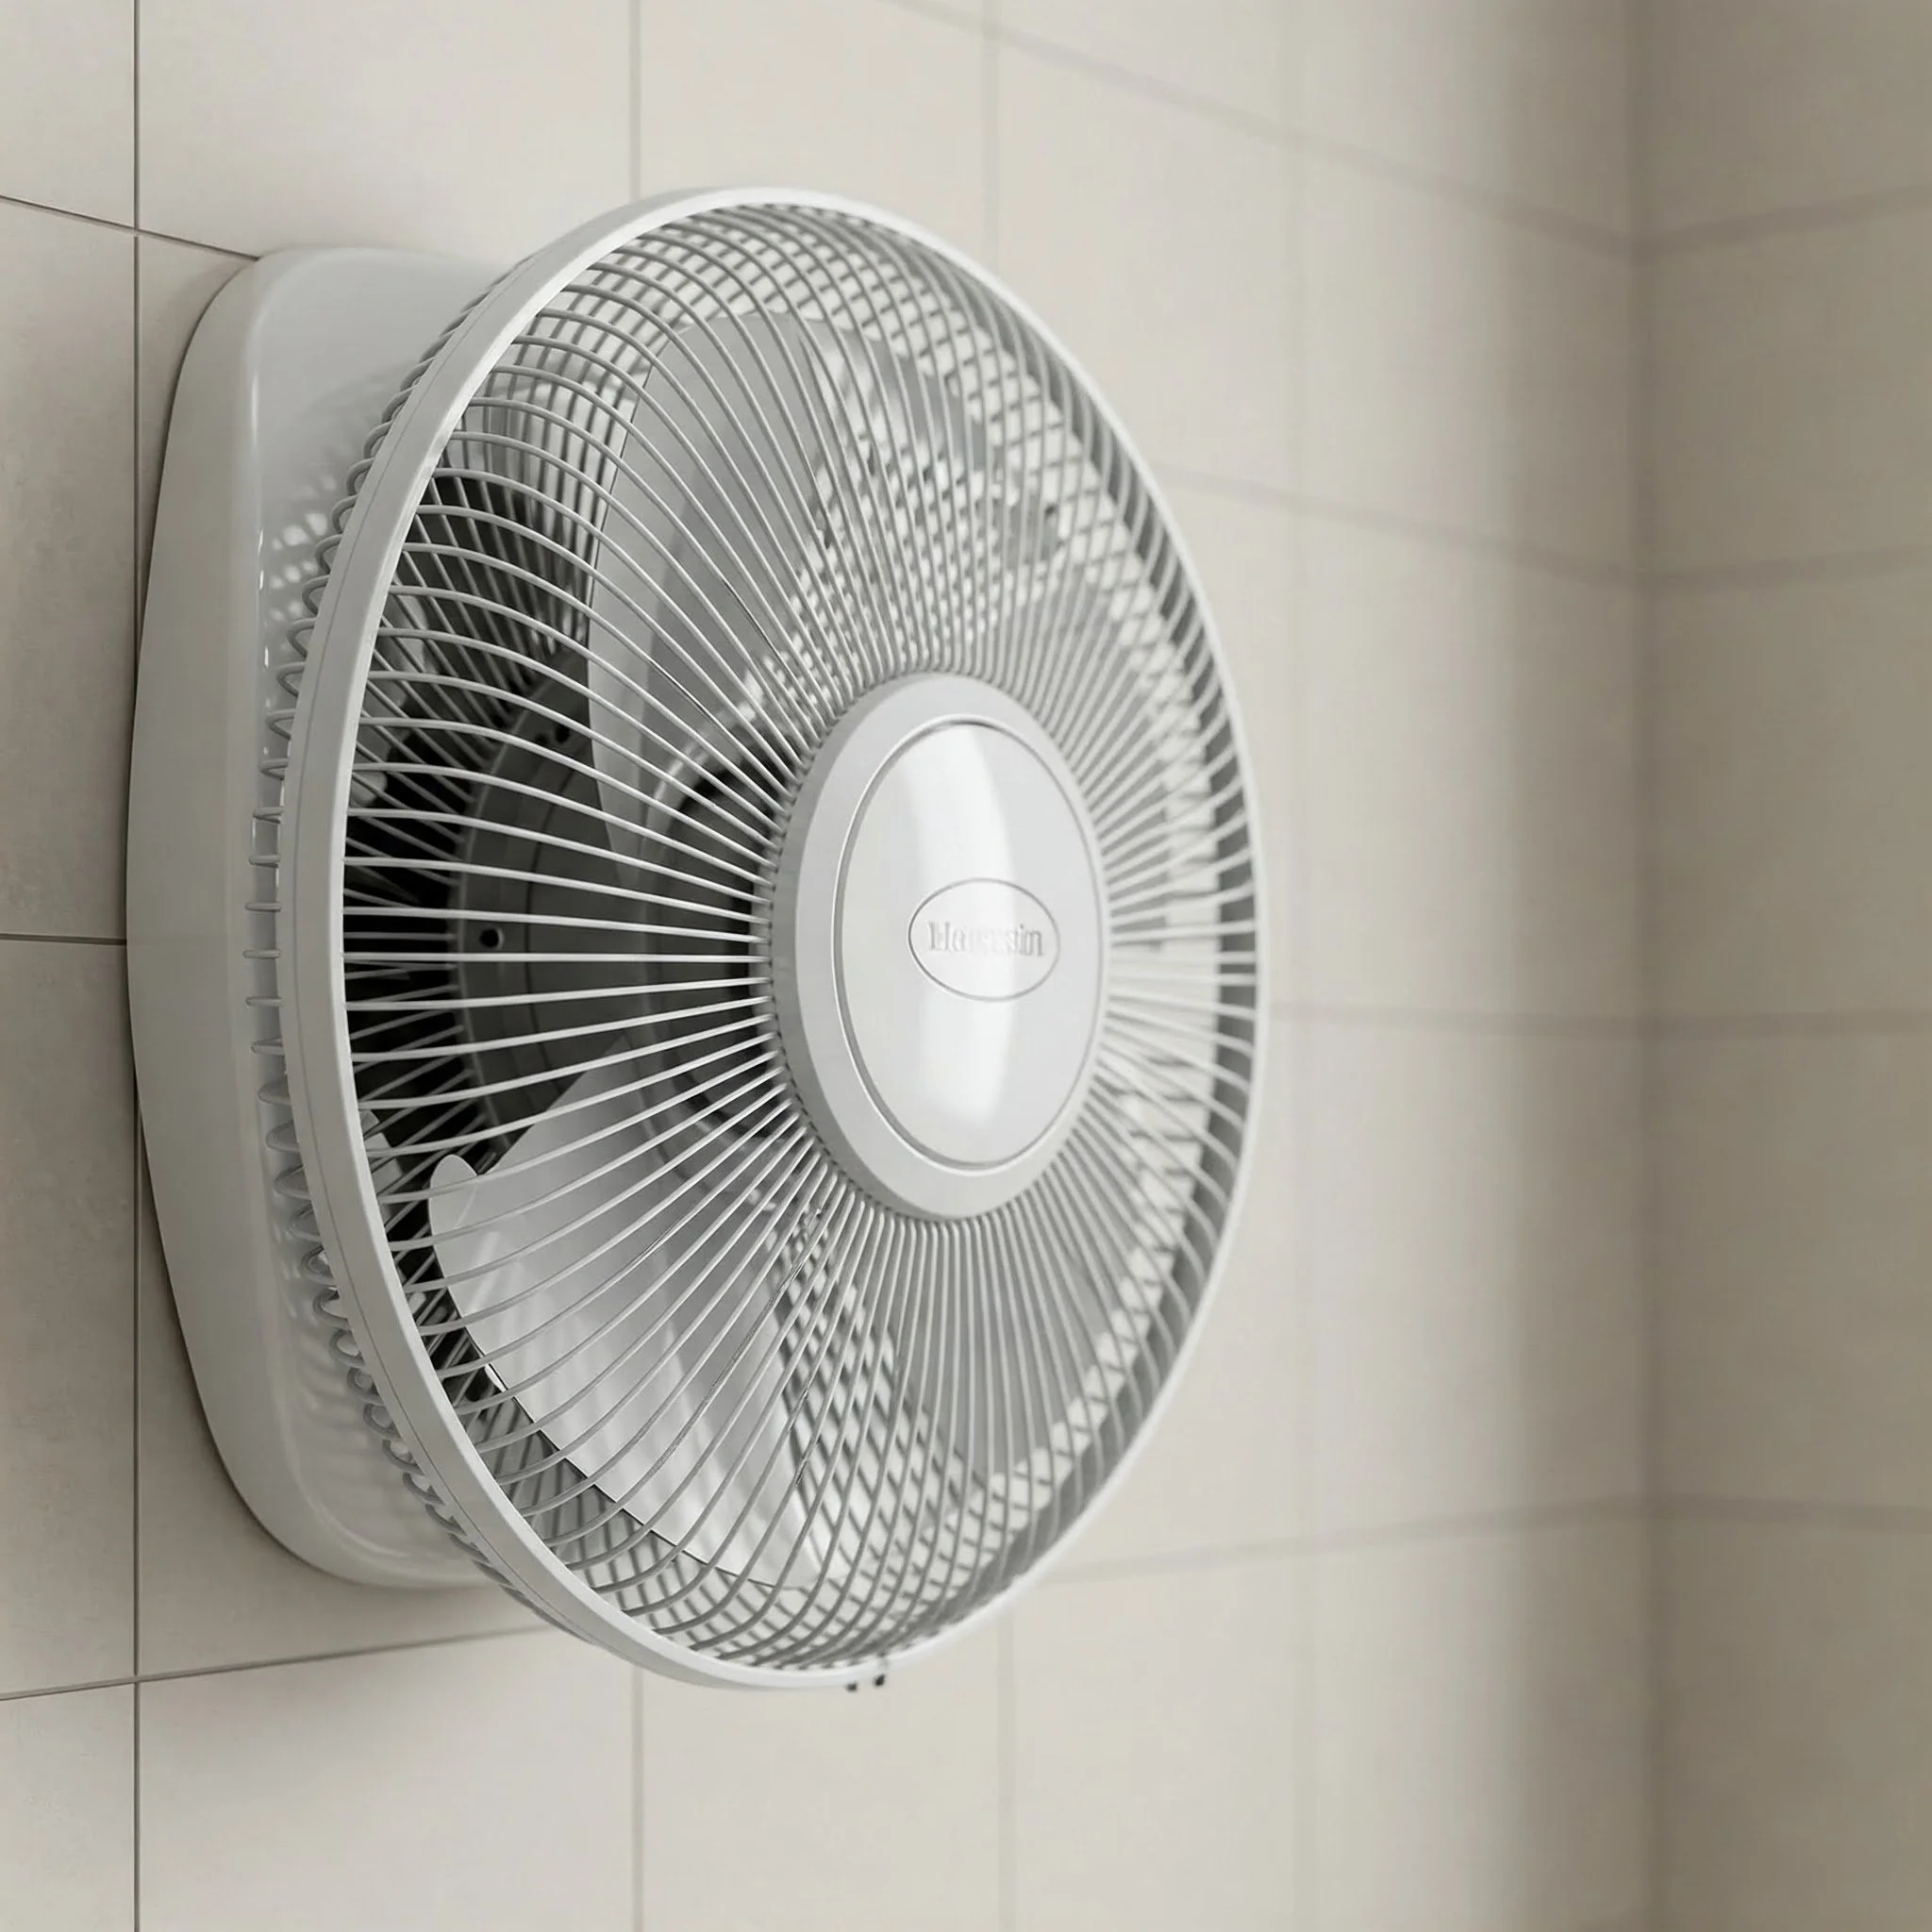
The exhaust fan pulls moisture and odors out of your bathroom and vents them outside. Most fans run on standard 120-volt household current and have a motor, a fan blade, and a housing unit that mounts to the ceiling. Some newer models come with humidity sensors or timers built right in, which is pretty handy.
The Light Fixture
This might be a simple bulb socket built into the fan housing, or it could be a separate ceiling light. Combo units often include both in a single assembly, which simplifies installation quite a bit.
The Switch
You've got options here. A single switch controls both the fan and light together. A double switch, sometimes called a two-gang switch, lets you operate each independently. There are also timer switches and humidity-sensing switches for folks who want a little more automation.
The Wiring
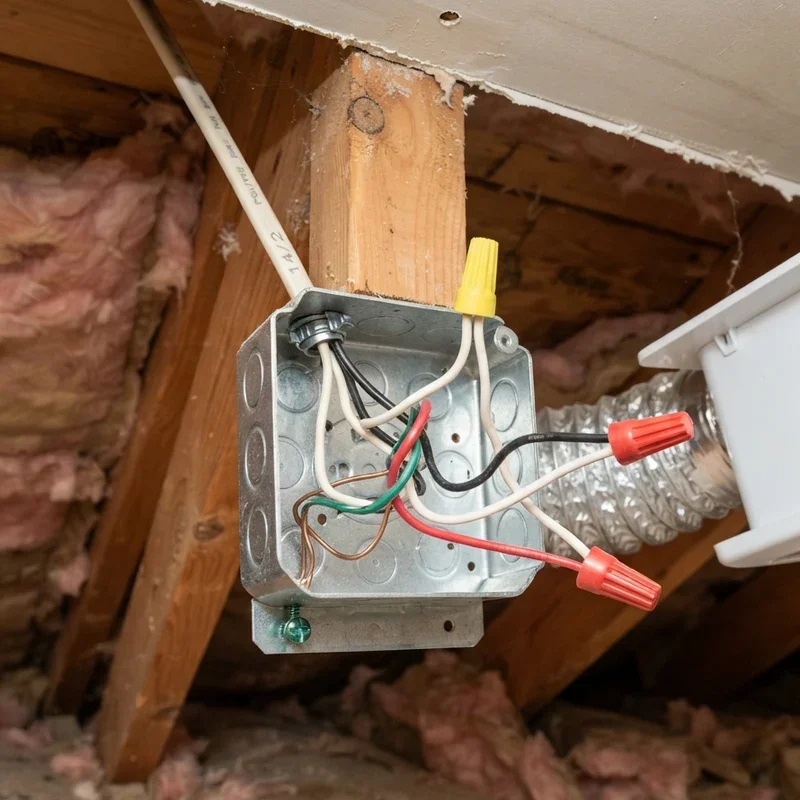
Standard 14-gauge wire is typical for 15-amp circuits, while 12-gauge is used for 20-amp circuits. Bathroom circuits are usually on a 20-amp GFCI-protected line, so make sure you're matching your wire gauge to your breaker size.
Tools and Materials You'll Need
Nothing kills momentum like realizing you're missing a critical tool halfway through the project. Here's what you should have on hand before you start.
Voltage tester or multimeter Wire strippers Screwdrivers, both flathead and Phillips Needle-nose pliers Electrical tape Wire nuts in various sizes Cable staples NM-B electrical cable, usually 14/2 or 14/3 depending on the setup Junction box if needed Fan and light combo unit Wall switch, single or double gang Ladder or step stool Flashlight or headlamp
Having all this ready to go means you won't be running back and forth to the hardware store every ten minutes.
Safety First: Non-Negotiable Precautions
Alright, listen up. This part isn't optional. Electrical work is one of those areas where cutting corners can literally cost you your life. Here's what you absolutely must do before touching any wires.
Turn off the power at the breaker box. Don't just flip the switch on the wall and call it good.
Test the wires with a voltage tester before you touch anything. Just because you flipped the breaker doesn't mean the circuit is dead. Verify it.
Wear rubber-soled shoes and work on a dry surface. Water and electricity are a match made in nightmare fuel.
Never work alone if you can help it. Having someone nearby who can call for help in an emergency is a smart move.
Check local building codes and permit requirements. Some areas require licensed electricians for certain jobs, and skipping permits can bite you later when selling your home.
If at any point you feel out of your depth, stop and call a licensed electrician. There's no shame in getting professional help.
How to Wire a Bathroom Fan and Light Diagram: The Basic Setup
Now we're getting to the meat of it. Understanding the basic diagram is what separates a successful project from a frustrating mess. Here's how the most common configuration works.
In a standard setup, power comes from your electrical panel through a hot wire, typically black, and returns through a neutral wire, typically white. A ground wire, usually bare copper or green, provides a safe path for stray current.
The power source enters the switch box first. From there, wires run up to the fan and light unit in the ceiling. If you're using a single switch, one hot wire controls both the fan and light simultaneously. If you're using a double switch, you'll need a three-conductor cable, which has a black, red, white, and ground wire, running from the switch to the fan unit. The black wire controls one function, the red controls the other, and the white serves as the shared neutral.
Single Switch Configuration
This is the simplest setup and works well if you always want the fan and light to operate together. Here's the basic flow.
Power enters the switch box through a two-conductor cable, which is 14/2 with ground.
The hot wire connects to one terminal on the switch.
A second two-conductor cable runs from the switch to the fan and light unit.
Inside the fan housing, both the fan motor and the light connect to the same hot wire.
Neutral wires connect straight through, bypassing the switch.
Ground wires connect to the metal housing and the ground screw.
Double Switch Configuration
This is where things get more useful. You can turn the light on without running the fan, or vice versa.
Power enters the switch box through a two-conductor cable.
The hot wire is spliced with a pigtail to feed both switches.
A three-conductor cable, which is 14/3 with ground, runs from the switch box to the fan and light unit.
The black wire from the three-conductor cable connects to one switch and powers the fan.
The red wire connects to the other switch and powers the light.
The white neutral wire runs straight through to complete the circuit for both components.
Ground wires connect everything together for safety.
Step-by-Step Installation Guide
Ready to get your hands dirty? Here's how to actually do the work.
Step 1: Kill the Power
Head to your breaker box and flip off the breaker that controls the bathroom circuit. If your breakers aren't labeled, this is a great time to do some detective work with a helper. Test the switch you're replacing with a voltage tester to confirm the power is truly off.
Step 2: Remove the Old Fixture
If you're replacing an existing fan or light, carefully unscrew the old unit from the ceiling. Disconnect the wires, making a mental note or even snapping a photo of how everything was connected. This can be a lifesaver later.
Step 3: Install the Fan Housing
Position the new fan housing between the ceiling joists. Most units come with mounting brackets that extend to fit standard joist spacing. Secure it firmly, making sure it's flush with the ceiling drywall.
Step 4: Run the Cable
If you're starting from scratch, you'll need to run electrical cable from the switch location up to the fan. This usually means fishing wire through walls and ceilings, which can be tricky. Use fish tape or a fish rod to guide the cable through, and secure it with cable staples every few feet.
Step 5: Connect the Fan Wiring
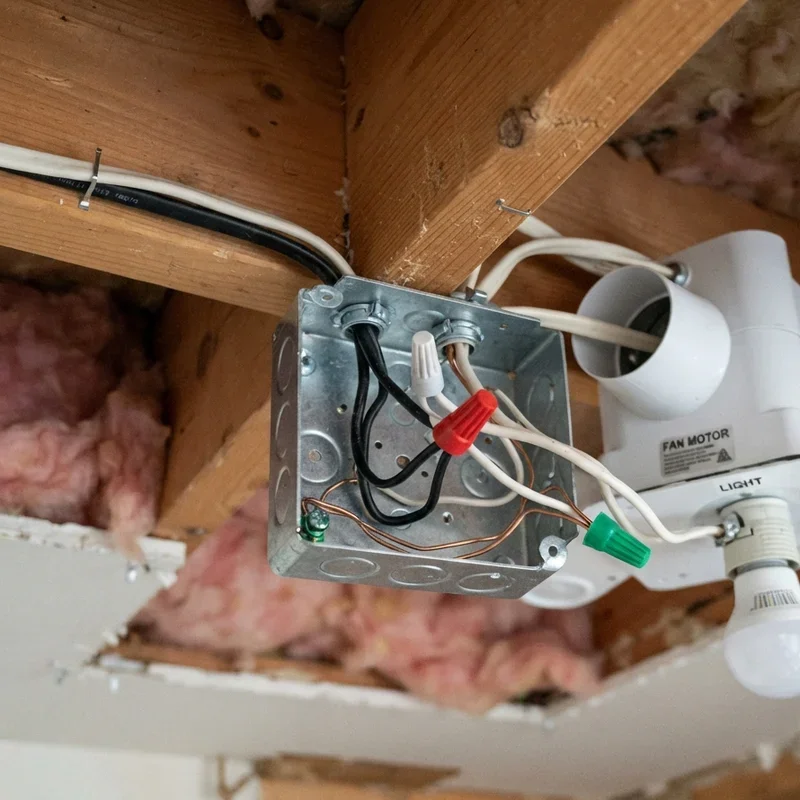
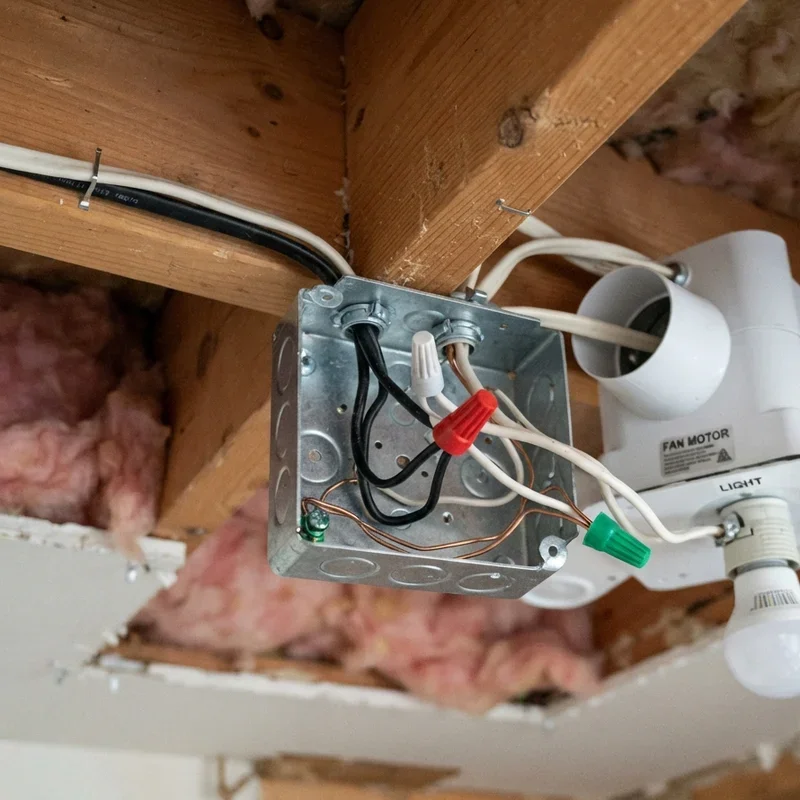
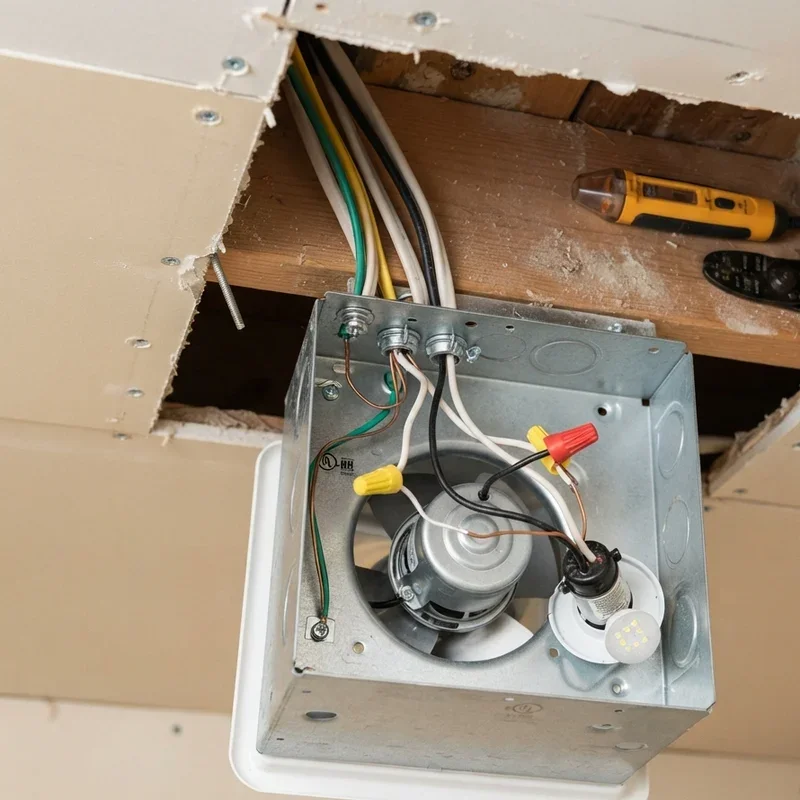
Bring the cable into the fan's junction box through the appropriate knockout. Strip about six inches of the outer sheath to expose the individual wires, then strip about three quarters of an inch of insulation off each wire.
For a single switch setup, connect the black wire from the cable to the black wire from the fan and light unit. Connect the white wires together. Connect the ground wire to the green screw or ground wire in the unit.
For a double switch setup, connect the black cable wire to the fan motor's wire. Connect the red cable wire to the light's hot wire. Connect the whites together and the grounds together.
Twist wire nuts on tight and give each connection a gentle tug to confirm it's secure.
Step 6: Install the Switch
Back at the switch location, connect the incoming power wires and the wires heading up to the fan.
For a single switch, the hot wire from the power source connects to one terminal, and the hot wire heading to the fan connects to the other terminal. Neutrals are spliced together with a wire nut and tucked into the box. Ground wires connect to the green screw on the switch.
For a double switch, use a pigtail to split the incoming hot wire between both switches. The black wire going up to the fan connects to one switch, and the red wire connects to the other. Whites and grounds are handled the same way as before.
Step 7: Mount Everything and Test
Screw the switches into the wall box and attach the cover plate. Install the fan grille and light cover according to the manufacturer's instructions.
Head back to the breaker box, flip the power on, and test everything. Both the fan and light should operate correctly based on your switch configuration.
How to Wire a Bathroom Fan and Light Diagram for Timer Switches
Some folks want a little extra convenience, and timer switches are a fantastic way to add it. These switches automatically shut off the fan after a set period, which is perfect for clearing out moisture without needing to remember to flip the switch back off.
Wiring a timer switch is nearly identical to wiring a standard switch. The main difference is that timer switches require a neutral wire connection in the switch box, which older homes might not have. Check your switch box before purchasing a timer to make sure you've got a neutral wire available.
Connect the incoming hot wire to the timer's line terminal. Connect the wire going up to the fan to the load terminal. Connect the neutral wires together and the grounds together. That's really all there is to it.
Common Wiring Mistakes to Avoid
Even experienced DIYers can slip up. Here are the pitfalls to watch out for.
Mixing up hot and neutral wires. This creates a serious safety hazard and can damage your fixture.
Forgetting to connect ground wires. Grounding is what keeps you safe if something goes wrong.
Using the wrong wire gauge. Match your wire to your breaker size or you're asking for trouble.
Overloading a circuit. Don't tap into a circuit that's already maxed out with other appliances.
Skipping the GFCI protection. Bathroom circuits legally require GFCI protection in most jurisdictions.
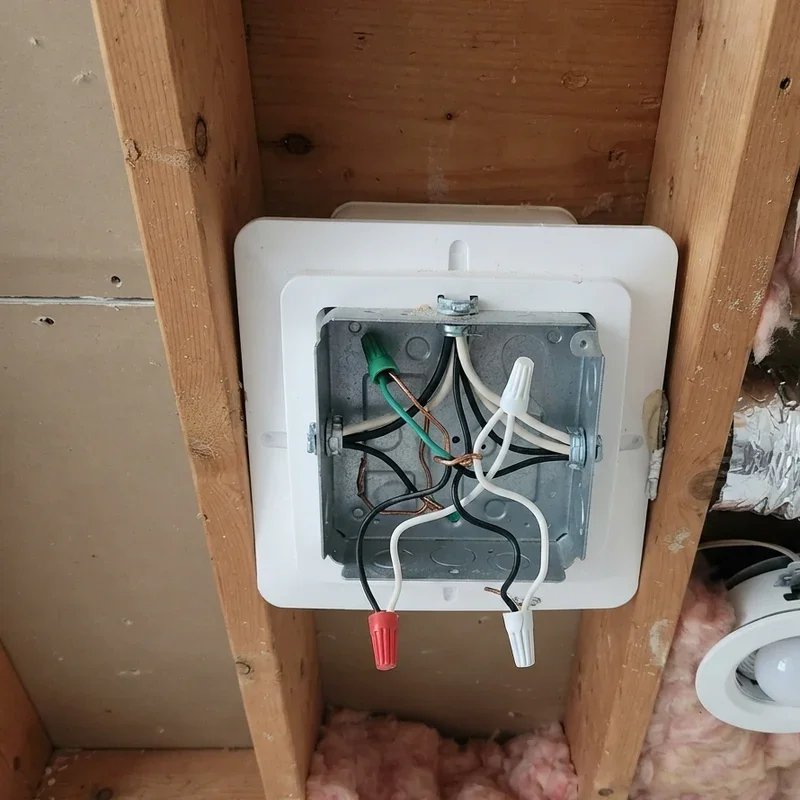
Loose connections. A wire nut that isn't fully tightened can arc, overheat, and start a fire.
Not securing cables properly. Loose cables can get pulled or damaged, creating shorts down the road.
When to Call a Professional
Look, DIY is great and can save you a boatload of cash. But there are times when calling a pro is the smarter play.
If your home has knob-and-tube wiring or ungrounded circuits, you're dealing with outdated electrical systems that need professional attention. If you need to run new circuits from the breaker panel, that's another job better left to licensed electricians. And if you're just not comfortable with electrical work after reading through this guide, honor that feeling. A few hundred bucks for an electrician is way cheaper than dealing with a house fire.
Conclusion
Wiring a bathroom fan and light isn't as scary as it might seem at first glance. With the right tools, a solid understanding of the diagram, and unwavering attention to safety, most homeowners can tackle this project in an afternoon. Whether you go with a single switch, double switch, or fancy timer setup, following the steps we've covered will get you a functional, code-compliant installation. Just remember to always kill the power, test your wires, and don't hesitate to call a pro if something feels off. Happy wiring!
Read next: How to Install a Ceiling Fan Like a Pro: Step-by-Step Guide
Frequently Asked Questions
1.Do I need a permit to wire a bathroom fan and light?
Most areas require permits for new electrical work, so check with your local building department first.
2.Can I use one switch for both the fan and light?
Yes, a single switch works fine if you want them to operate together simultaneously.
3.What wire gauge should I use for a bathroom fan?
Use 14-gauge wire for 15-amp circuits or 12-gauge wire for 20-amp bathroom circuits.
4.Does a bathroom fan need to be on a GFCI circuit?
Yes, most current electrical codes require bathroom circuits to have GFCI protection for safety.
5.Can I install a bathroom fan without an electrician?
Yes, if you have basic electrical knowledge, follow safety precautions, and comply with local codes.
Stay up to date with our latest ideas!