How to Scrap a Microwave Step by Step
Learn how to scrap a microwave step by step to recover valuable metals like copper, aluminum, and steel from your old unit.
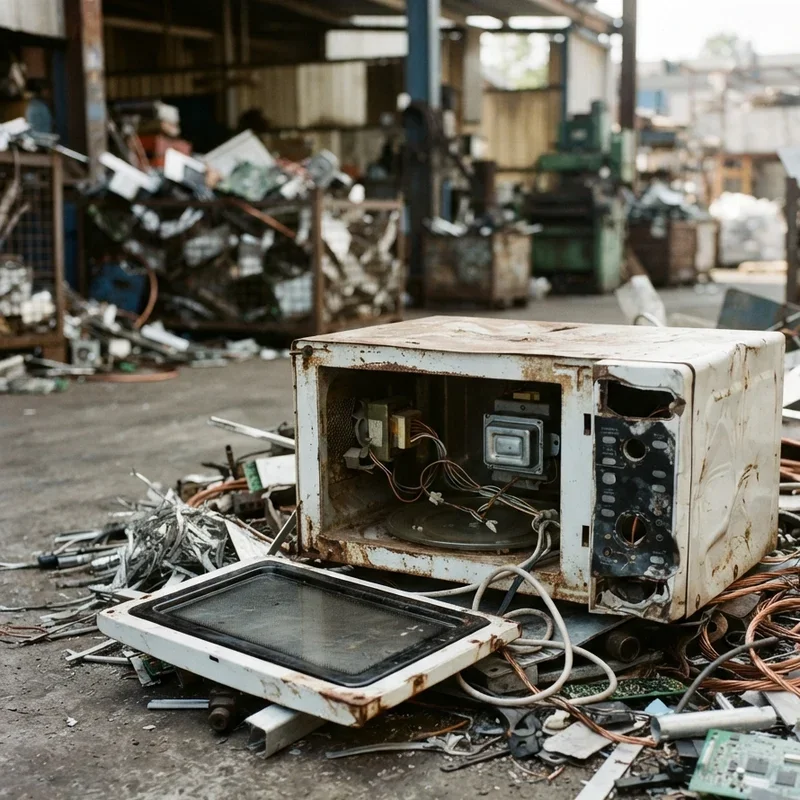
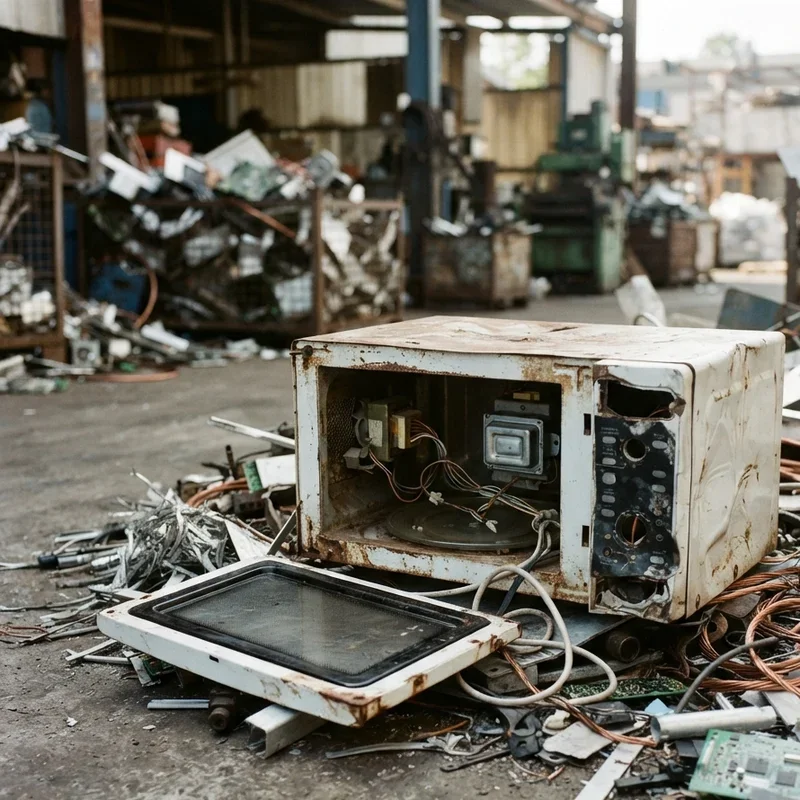
So your trusty microwave finally kicked the bucket. Maybe it stopped heating, maybe the turntable gave up, or maybe it just started making that weird buzzing noise that nothing could fix. Whatever happened, you're now staring at a dead appliance that's taking up counter space and collecting dust. Most people would just toss it in the trash or haul it to the curb, but here's something you might not know. That old microwave sitting in your kitchen is actually a treasure chest of recyclable materials. Copper wire, aluminum, steel, electric motors, and even circuit boards all have value when separated and sold to scrap yards. Learning how to scrap a microwave step by step isn't just a fun weekend project. It's a practical way to put a few extra bucks in your pocket while keeping electronics out of landfills. Now, before you grab a hammer and start smashing things apart, there's a right way and a wrong way to do this. The wrong way can be genuinely dangerous. Microwaves contain components that can store lethal electrical charges even when unplugged, so safety isn't optional here. Stick with me through this guide, and I'll walk you through the entire process safely, efficiently, and without any nasty surprises.
Why Scrapping a Microwave Is Worth Your Time
You might be wondering whether it's really worth the effort to take apart an old microwave for scrap. Fair question. The answer depends on your perspective, but for most people, it's absolutely worthwhile.
A typical household microwave contains about two to three pounds of copper, several pounds of steel, some aluminum, a small electric motor, and a power transformer that's loaded with copper windings. At current scrap metal prices, that copper alone can be worth a few dollars per pound. The transformer, which is the heaviest single component inside the unit, is often the most valuable piece. Some scrap yards pay a premium for clean transformers because they know exactly what's inside them.
Beyond the financial angle, scrapping a microwave is also an environmentally responsible choice. Electronics that end up in landfills can leach harmful chemicals into the soil and groundwater over time. By stripping out the metals and recycling them properly, you're keeping those materials in circulation and reducing the demand for newly mined resources. It's one of those situations where doing good for the planet and doing good for your wallet happen to overlap perfectly.
And honestly, there's a certain satisfaction that comes from taking something apart with your own hands. It's like being a kid again, except now you understand what all the pieces do and you can actually make money from the experience. Not a bad deal for an hour or two of work.
Safety First What You Need to Know Before You Start
I can't stress this enough. Microwaves are not toys, and even a dead one can hurt you badly if you're not careful. The most dangerous component inside a microwave is the high-voltage capacitor. This part stores electrical energy, and it can retain a lethal charge for hours, days, or even weeks after the microwave has been unplugged. Touching the wrong terminal without discharging the capacitor first could result in a severe shock or worse. This isn't fear-mongering. It's a genuine, well-documented hazard that anyone scrapping a microwave needs to take seriously.
The magnetron tube is another component to treat with respect. It contains beryllium oxide in its ceramic insulators, which is harmless when intact but extremely dangerous if crushed into dust and inhaled. Never break open the magnetron or grind its ceramic parts. Handle it carefully, and dispose of it properly through an electronics recycling program.
Before you touch a single screw, make sure the microwave has been unplugged for at least 24 hours. Even then, you'll still need to discharge the capacitor manually before working near it. We'll cover exactly how to do that in the steps below.
Wear safety glasses, heavy-duty work gloves, and closed-toe shoes throughout the entire process. Long sleeves are a good idea too, since there are plenty of sharp metal edges inside a microwave that can cut you if you're not paying attention. Work in a well-ventilated area, and keep kids and pets far away from your workspace.
Tools You'll Need for the Job
Having the right tools ready before you start makes the disassembly process faster and less frustrating. Here's what you should have on hand.
A Phillips head screwdriver and a flat head screwdriver will handle most of the fasteners inside a microwave. A nut driver set is also helpful since some internal components are bolted rather than screwed. Needle-nose pliers come in handy for pulling wire connectors and reaching into tight spaces. Wire cutters or side cutters let you snip wires cleanly when you need to separate components.
For discharging the capacitor, you'll need a well-insulated screwdriver with a rubber or plastic handle. Some people use a dedicated discharge tool, which is essentially an insulated screwdriver with a wire running from the shaft to a resistor. If you have one, use it. If not, the insulated screwdriver method works, but you need to be extremely careful and know what you're doing.
A pair of heavy-duty work gloves protects your hands from sharp edges and pinch points. Safety glasses are non-negotiable. Small metal fragments and bits of wire can fly when you're cutting and prying, and you do not want those anywhere near your eyes.
Finally, have a few containers or bins ready for sorting your scrap. Separate bins for copper, steel, aluminum, and electronics waste make things much easier when it's time to head to the scrap yard.
How to Scrap a Microwave Step by Step The Full Breakdown
Alright, now that safety gear is on, tools are ready, and you've got your sorting bins lined up, let's get into the actual teardown. Take your time with each step, and never rush through anything involving the capacitor or high-voltage components.
Step One: Unplug and Wait
This sounds almost too simple to mention, but unplug the microwave and let it sit for at least 24 hours before you start working on it. The capacitor needs time to lose some of its stored charge, though you should never assume it's fully discharged just because time has passed. Consider this waiting period a starting point, not a guarantee of safety.
Remove the microwave from any mounting brackets if it was installed above a stove, and place it on a sturdy workbench or table at a comfortable working height. Working on the floor invites back pain and puts you in awkward positions that make it harder to handle components safely.
Step Two: Remove the Outer Casing
The outer shell of a microwave is typically held on by several screws along the back and sides. Remove all the screws you can find and slide the casing off. Some models have the top and sides as a single piece that lifts off, while others have separate panels. Once the casing is removed, set it aside in your steel bin. That outer shell is your first piece of scrap metal.
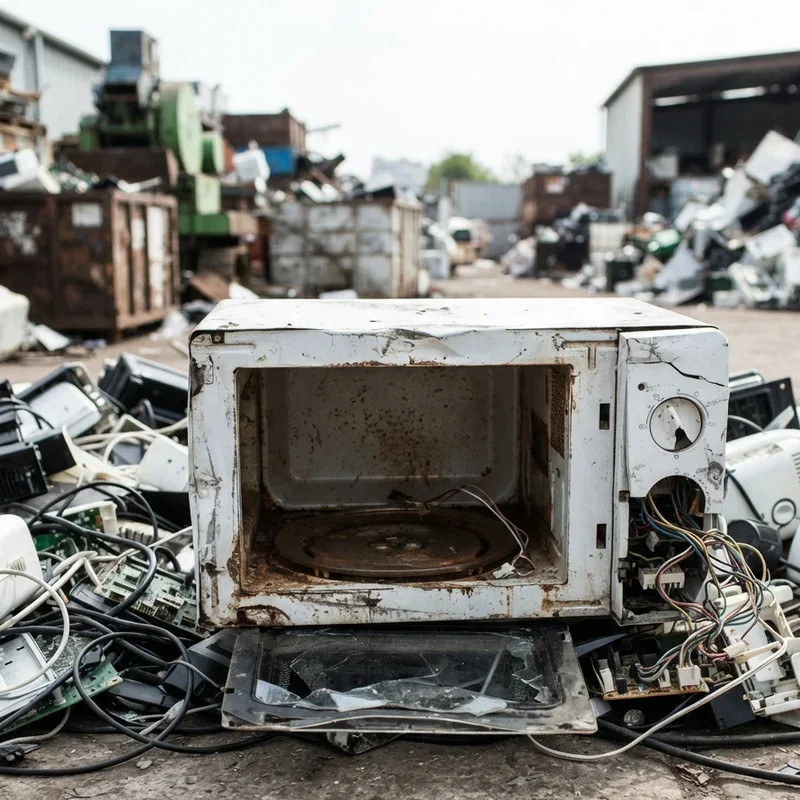
With the casing off, you can now see the guts of the microwave. Take a moment to look around and identify the major components before touching anything. You should be able to spot the transformer, which is the large, heavy block usually near the bottom. The capacitor is typically a silver or black cylinder connected to the transformer by wires. The magnetron is a cylindrical component with fins and a short antenna-like protrusion on top.
Step Three: Discharge the Capacitor
This is the most critical safety step in the entire process, so pay close attention. The capacitor must be discharged before you handle anything connected to it. Even after sitting unplugged for days, it can still hold enough charge to kill you. Take this seriously.
Using a well-insulated screwdriver, touch the metal shaft across both terminals of the capacitor simultaneously. You want to create a short circuit between the two terminals through the screwdriver's metal shaft while your hands stay safely on the insulated handle. If there's any stored charge, you'll see a spark and hear a pop. If nothing happens, the capacitor may already be discharged, but proceed with caution regardless.
Some capacitors have three terminals. In that case, short each pair of terminals to each other and then short each terminal to the capacitor's metal casing. Once discharged, you can cut the wires connecting the capacitor to the rest of the circuit and remove it. Set the capacitor aside for proper disposal. Most scrap yards don't want loose capacitors mixed in with other metals, so check with your local facility about how they prefer to handle them.
Step Four: Remove the Transformer
The power transformer is the crown jewel of microwave scrapping. It's the heaviest single component and contains the most copper. It's usually mounted to the base with bolts or heavy-duty screws. Remove those fasteners and lift the transformer out. Fair warning, these things are surprisingly heavy for their size. A typical microwave transformer weighs between three and five pounds, and almost all of that weight is iron and copper.
You have two options with the transformer. You can sell it whole to the scrap yard, which is faster and easier. Or you can cut it open and strip the copper windings out yourself, which takes more work but gets you a better price per pound since clean copper sells for significantly more than mixed materials.
If you decide to strip the transformer, use a hacksaw or an angle grinder to cut through the iron laminations on one side. Once you've cut through, you can pull the copper coils out. There are typically two coils inside. The primary winding made of thicker wire and the secondary winding made of thinner wire. Both are copper and both have value.
Step Five: Remove the Magnetron
The magnetron is the component that actually generates the microwaves that heat your food. It's mounted near the top of the internal cavity, usually connected to a waveguide. Remove the bolts or screws holding it in place and disconnect any wires attached to it.
As mentioned earlier, the magnetron contains beryllium oxide in its ceramic insulators. Do not smash it, drill into it, or grind any part of it. Handle it intact and set it aside. Some scrap yards accept magnetrons, while others require you to take them to specialized electronics recycling facilities. Call ahead and ask before you show up with a bag full of magnetrons.
The magnetron does contain a small amount of copper and steel, but the beryllium oxide makes it a component you handle carefully rather than one you try to strip down for maximum value.
Step Six: Pull the Electric Motor
Most microwaves have at least one small electric motor that drives the turntable. Some models have a second motor for the cooling fan. These little motors are easy to spot and usually held in with a couple of screws. Remove them and toss them in your copper bin.
Small electric motors are valuable at the scrap yard because they contain copper windings inside. You can sell them whole as "electric motors" at a decent per-pound rate, or you can crack them open and strip the copper out yourself. For the small motors in a microwave, selling them whole usually makes more sense since stripping them takes effort and doesn't yield much additional copper compared to larger motors.
Step Seven: Harvest the Copper Wiring
Now it's time to trace and cut all the copper wiring running through the microwave. There's typically quite a bit of it connecting the transformer, capacitor, magnetron, control board, and various switches. Use your wire cutters to snip wires at their connection points and bundle them together.
Insulated copper wire sells for a lower price than stripped copper, so if you've got the patience, stripping the insulation off the wires before selling them bumps up your return. A wire stripping tool makes this job fast and easy. Without one, you can use a utility knife to score the insulation lengthwise and peel it off, but be careful not to nick the copper underneath or, more importantly, your fingers.
Sort your copper into separate piles. Clean, stripped copper in one bin. Insulated wire in another. The scrap yard will price them differently, and keeping them sorted from the start saves you time later.
Step Eight: Separate the Steel and Aluminum
With the major components removed, you're left with the frame, interior cavity, door, and various brackets. The interior cavity and door frame are usually steel. The door itself may contain a steel mesh screen behind the glass that acts as a microwave shield. Separate these materials and toss them in your steel bin.
Some microwave parts are made of aluminum, including certain brackets, heatsinks, and occasionally the waveguide cover. Aluminum is lighter than steel, so you can usually tell the difference by weight. Use a magnet if you're unsure. Steel is magnetic while aluminum is not. Keeping aluminum separate from steel gets you a better price since aluminum is worth more per pound.
The glass from the door and the turntable plate don't have much scrap value, but they can be recycled through glass recycling programs. Same goes for any plastic components.
Step Nine: Deal With the Circuit Board
The control board and any other circuit boards inside the microwave contain small amounts of precious metals like gold, silver, and palladium in their connectors and solder points. The amounts are tiny per board, but if you're scrapping appliances regularly, they add up.
Most scrap yards accept circuit boards and pay by the pound. The rate varies depending on the quality and type of board, but it's almost always worth saving them rather than throwing them away. Remove any large attached components like transformers or relays before selling the boards, as yards often prefer clean boards.
Step Ten: Sort, Organize, and Head to the Scrap Yard
With everything disassembled and sorted, you should have separate piles of copper wire, copper from the transformer, steel, aluminum, electric motors, circuit boards, and a small stack of items for electronics recycling. Give your scrap yard a call beforehand to confirm their current prices and any specific requirements they have for how materials should be prepared.
Some yards want wire in bundles, some want copper stripped, and some have minimum weight requirements. A quick phone call saves you from showing up and finding out your material isn't in the format they accept.
What's Worth the Most When You Scrap a Microwave?
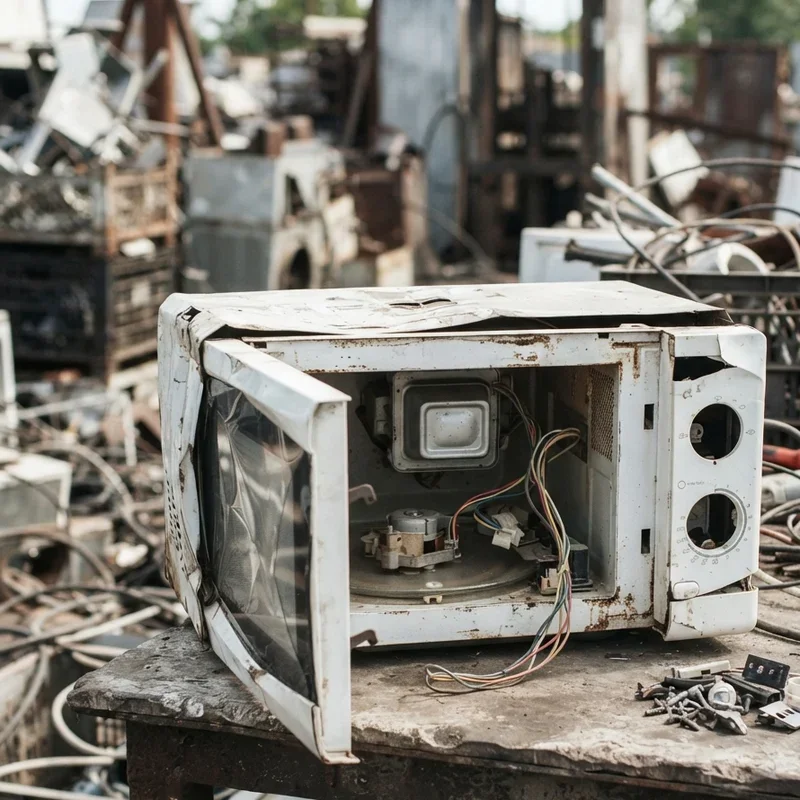
If you're wondering which components to focus on for maximum return, the transformer is almost always the winner. Its combination of copper windings and overall weight makes it the single most valuable piece in a standard microwave. Clean stripped copper wire comes next, followed by the electric motors and circuit boards. Steel and aluminum have value too, but their per-pound price is lower, so they contribute more through volume than individual worth.
Knowing how to scrap a microwave step by step isn't just about ripping things apart. It's about understanding what each component is worth and separating materials efficiently so you get the best possible price at the yard.
Environmental Benefits of Scrapping Rather Than Trashing
Tossing an old microwave in the garbage means it ends up in a landfill where it'll sit for decades or even centuries. The metals inside don't biodegrade, and some components can release harmful substances into the surrounding soil and water over time. Circuit boards contain lead solder, capacitors may hold oil-based dielectrics, and the magnetron's beryllium oxide is a known health hazard if it breaks down.
By taking the time to learn how to scrap a microwave step by step, you're diverting all those materials from the waste stream and putting them back into productive use. Recycled steel requires significantly less energy to process than mining and smelting new iron ore. Recycled copper saves even more energy compared to primary copper production. Every microwave you scrap instead of trash is a small but meaningful contribution to resource conservation.
It's easy to think that one person's effort doesn't matter in the grand scheme of things, but multiply your efforts by thousands of people doing the same thing, and the impact becomes substantial. Plus, you're setting a good example and proving that recycling electronics can be both practical and profitable.
Tips for Getting the Best Scrap Prices
Scrap metal prices fluctuate based on market conditions, so timing your trips to the yard can make a difference. Keep an eye on copper and steel prices through online trackers, and try to sell when prices are trending upward rather than during dips.
Building a relationship with your local scrap yard also pays dividends. Regular customers often get better rates because the yard knows they'll keep coming back with quality, well-sorted material. Being consistent, honest about what you're bringing in, and presenting clean, properly separated metals all work in your favor.
If you're scrapping multiple appliances, save up your materials and make one larger trip rather than several small ones. Yards are more willing to negotiate on price when you're bringing in a decent volume. A single microwave might not impress them, but a trunk full of sorted copper, steel, and motors from several appliances shows you're serious.
Conclusion
Scrapping an old microwave is a rewarding project that combines hands-on work with practical benefits for your wallet and the environment. The key is approaching the job with proper safety precautions, especially around the capacitor and magnetron, and taking the time to sort materials correctly for maximum value. From the copper-rich transformer to the small electric motors and circuit boards, every component has a purpose beyond the trash can. With the right tools, a little patience, and this guide in hand, you can turn what seems like worthless junk into money and keep hazardous materials out of landfills at the same time.
Frequently Asked Questions
1.Is it legal to scrap a microwave at home?
Yes, scrapping a microwave at home is legal in most areas with no special permits.
2.How much money can you get from scrapping one microwave?
Expect roughly three to seven dollars depending on copper prices and your local scrap yard.
3.Can the microwave capacitor really kill you?
Yes, a charged microwave capacitor carries enough voltage to deliver a potentially fatal electrical shock.
4.What should I do with the magnetron after removing it?
Take it to an electronics recycling facility since it contains beryllium oxide that requires safe disposal.
5.Do I need special tools to scrap a microwave?
No, basic hand tools like screwdrivers, pliers, wire cutters, and an insulated screwdriver are sufficient.
Stay up to date with our latest ideas!