How to Clean a Microwave With Baking Soda Safely
Discover how to clean a microwave with baking soda safely using simple steps that remove grime, odors, and stains naturally.
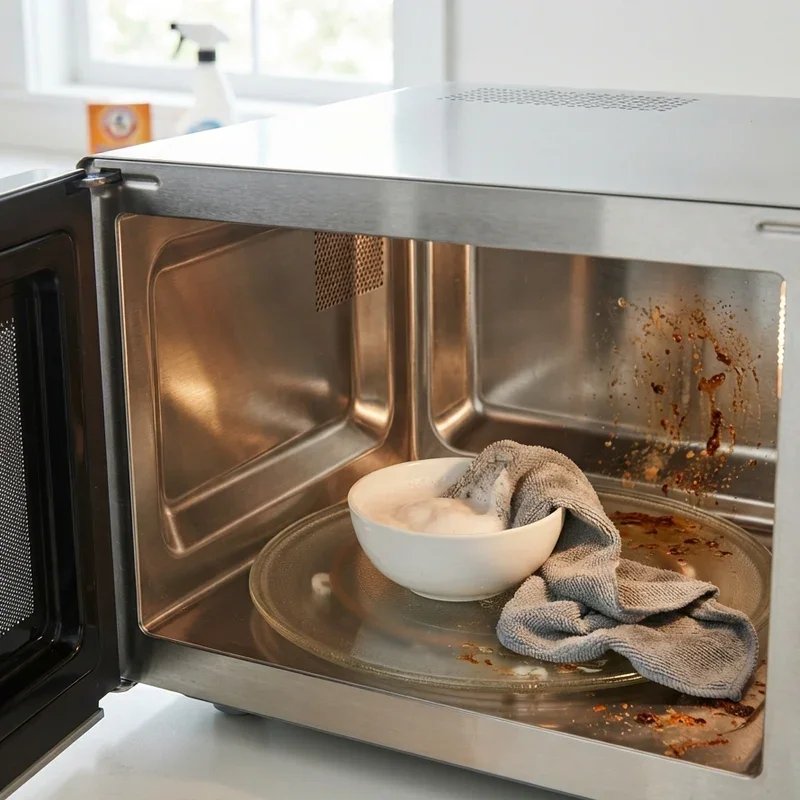
We've all been there. You pop open the microwave door and suddenly get hit with the ghost of last Tuesday's spaghetti explosion. There's sauce on the ceiling, dried cheese on the turntable, and some mysterious splatter on the walls that you honestly can't identify anymore. It's not a pretty sight, and let's face it, scrubbing away at baked-on food with harsh chemicals isn't exactly anyone's idea of a good time. That's where baking soda comes to the rescue. Learning how to clean a microwave with baking soda safely is one of the easiest, cheapest, and most effective tricks you can add to your cleaning routine. This humble pantry staple packs a serious punch when it comes to dissolving grease, lifting stains, and neutralizing those funky smells that seem to linger no matter what. You don't need fancy products or expensive gadgets. Just a box of baking soda, a little water, and about fifteen minutes of your time. Sounds like a fair deal, right? Let's walk through everything you need to know to get that microwave looking and smelling brand new again.
Why Baking Soda Is Your Microwave's Best Friend
Before we jump into the how-to, it's worth understanding why baking soda works so well for this particular job. Baking soda, or sodium bicarbonate if you want to get technical, is a mild alkaline compound. That means it's naturally good at breaking down grease and acidic food residues without scratching surfaces or leaving behind toxic fumes. Unlike commercial oven cleaners that smell like a chemistry lab gone wrong, baking soda is completely non-toxic. You could literally eat it. In fact, you probably already do since it's in your cookies, your pancakes, and your banana bread.
What makes it especially great for microwaves is its gentle abrasive quality. It scrubs without damaging the interior coating, which is something you absolutely want to avoid. Scratching the inside of your microwave can lead to bigger problems down the line, including rust spots and even safety concerns. Baking soda sidesteps all of that while still being tough enough to tackle dried-on food splatters that have been sitting there for who knows how long.
On top of all that, baking soda is a natural deodorizer. It doesn't just mask smells with some artificial fragrance. It actually absorbs and neutralizes odor molecules. So if your microwave smells like a combination of burnt popcorn and reheated fish, baking soda is going to take care of that problem at its root.
What You'll Need Before Getting Started
Gathering your supplies ahead of time makes the whole process smoother. There's nothing worse than getting halfway through a cleaning project only to realize you're missing something essential. Here's what to have on hand.
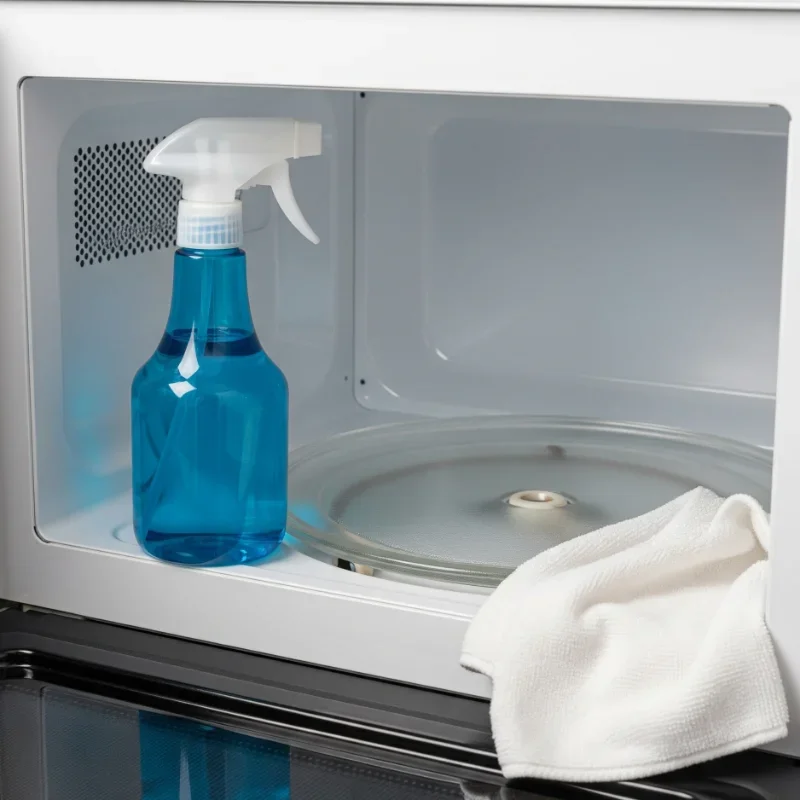
You'll need about two to three tablespoons of baking soda, a microwave-safe bowl or measuring cup, water, a clean sponge or soft cloth, a spray bottle if you have one handy, and a dry towel for finishing up. That's it. No special tools, no expensive products, no trip to the store required. Chances are you've got everything sitting in your kitchen right now.
If your microwave is dealing with particularly stubborn stains or heavy buildup, you might also want to grab some white vinegar and a lemon. These are optional additions that can boost your cleaning power, but baking soda alone will handle most messes without breaking a sweat.
How to Clean a Microwave With Baking Soda Safely Step-by-Step Guide
Alright, let's get down to business. Here's the full process broken down into simple, easy-to-follow steps that anyone can handle.
Step One: Remove Everything From the Microwave
Start by taking out the turntable, the roller ring, and any other removable parts. Set them aside in the sink. You'll clean those separately in a bit. Having an empty microwave makes it much easier to reach every surface and get into those tricky corners where gunk loves to hide.
Give the interior a quick once-over with your eyes. Note where the worst spots are so you know where to focus your effort. If there are any large chunks of dried food, gently scrape them off with a plastic spatula or the edge of a credit card. Don't use anything metal, though. Metal tools can scratch the interior coating, and that's a headache you don't need.
Step Two: Make Your Baking Soda Paste
In a small bowl, mix two to three tablespoons of baking soda with just enough water to form a thick paste. You're going for a consistency similar to toothpaste. If it's too runny, it'll slide right off the walls before it has a chance to work its magic. If it's too thick, it'll be hard to spread evenly. Finding that sweet spot takes about ten seconds of stirring, so don't overthink it.
This paste is your primary weapon against grease, stains, and dried-on food. The baking soda does the heavy lifting while the water helps it cling to surfaces and stay put long enough to break things down.
Step Three: Apply the Paste to the Interior
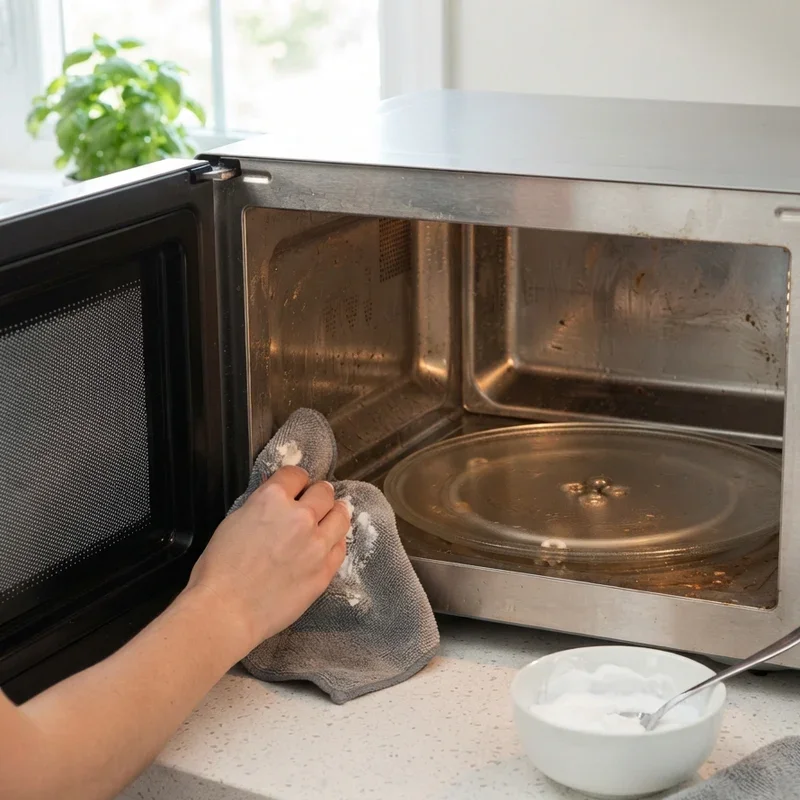
Using your fingers, a sponge, or a soft cloth, spread the baking soda paste all over the inside of the microwave. Cover the ceiling, the walls, the floor, and the door. Pay extra attention to those trouble spots you identified earlier. Stubborn stains and thick buildup deserve a slightly thicker layer of paste.
Don't worry about being too precise here. You're not decorating a cake. Just make sure every surface has a good coating and that you haven't missed any obvious dirty areas. The back wall and the ceiling tend to collect the most splatter, so give those sections a little extra love.
Step Four: Let It Sit and Work Its Magic
Here's the part where patience pays off. Close the microwave door and let the baking soda paste sit for at least fifteen to twenty minutes. If your microwave is seriously grimy, you can leave it on for up to an hour. The longer the paste sits, the more time it has to soften and dissolve the baked-on mess.
Walking away and letting the paste do its thing is the secret sauce of this whole method. Trying to scrub immediately without giving the baking soda time to work just means more elbow grease and more frustration. So go make yourself a sandwich, check your email, or take the dog for a walk. When you come back, the hard stuff will have loosened up considerably.
Step Five: Wipe It All Down
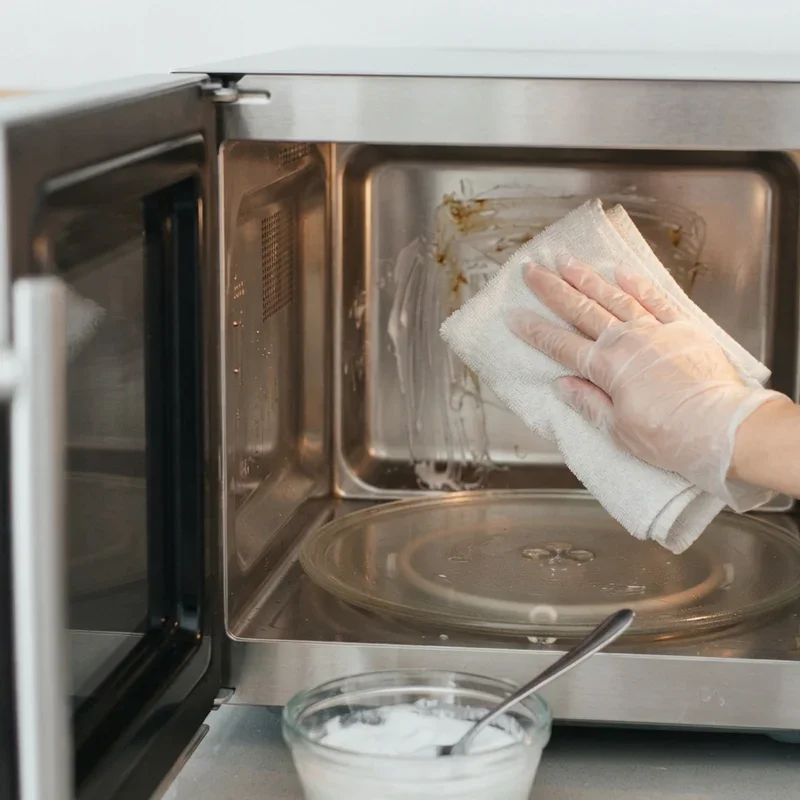
After the paste has had time to work, dampen a clean sponge or cloth with warm water and start wiping down the interior. You'll notice that the grime comes off much more easily now. The baking soda will have broken down the grease and softened the dried food, so most of it will wipe away without much effort.
For any spots that are still putting up a fight, apply a little more paste directly to the area, let it sit for another five minutes, and then wipe again. Persistence wins the battle here, not brute force. Gentle, repeated passes will get the job done without risking any damage to the interior surface.
Once you've wiped away all the paste and grime, go over everything one more time with a cloth dampened with plain water. This removes any baking soda residue so your microwave is truly clean and ready to use. Finish up by drying the interior with a clean towel.
Step Six: Clean the Removable Parts
Remember that turntable and roller ring sitting in the sink? Time to give them some attention. You can wash them with regular dish soap and warm water, or you can apply the same baking soda paste for a deeper clean. If the turntable has stubborn stains, let it soak in warm soapy water for ten minutes before scrubbing.
Rinse everything thoroughly, dry the parts completely, and pop them back into the microwave. Just like that, you're done.
The Steam Method Boosting Baking Soda's Cleaning Power
If your microwave looks like a war zone and the paste alone isn't cutting it, there's a simple trick to supercharge the process. Before applying the baking soda paste, use a steam treatment to loosen things up.
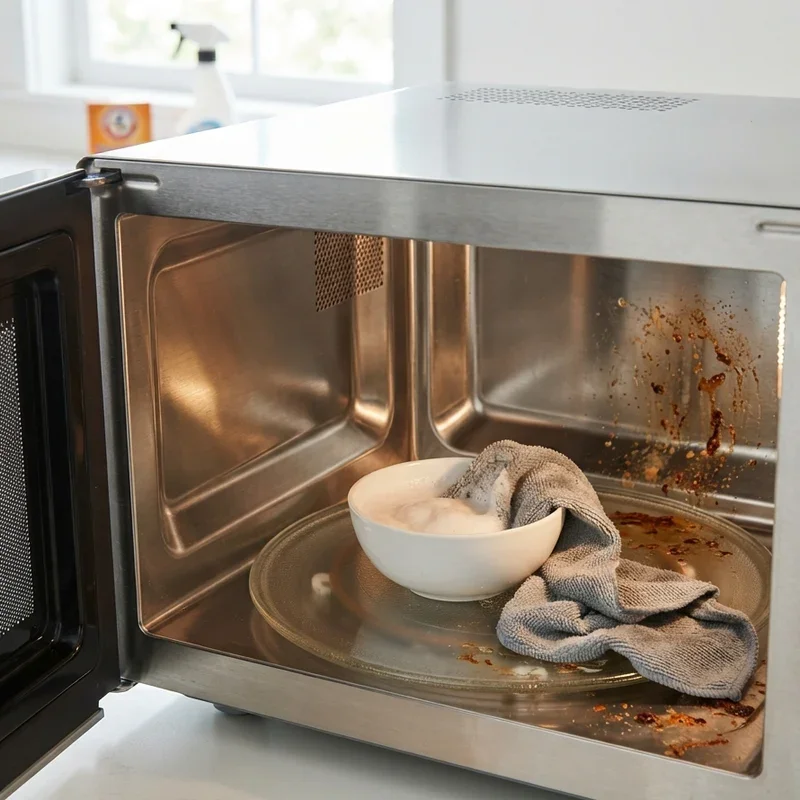
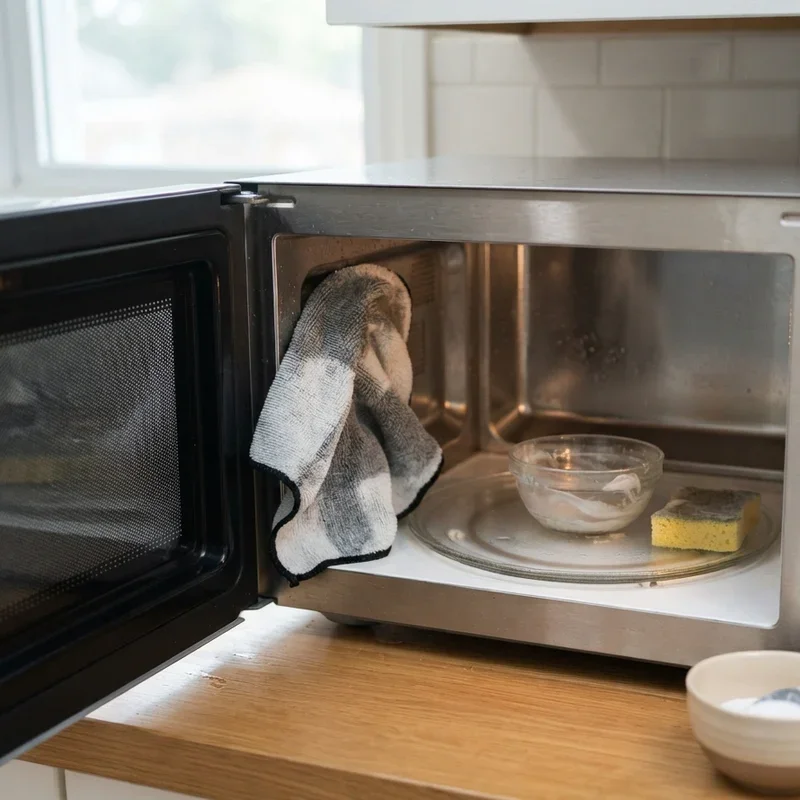
Mix one tablespoon of baking soda into a microwave-safe bowl filled with about one cup of water. Place the bowl inside and run the microwave on high for three to five minutes. Let it run until the water is boiling and the inside of the microwave is good and steamy. When the timer goes off, don't open the door right away. Let the steam sit inside for another five minutes with the door closed.
That hot steam penetrates all the dried-on grime and loosens it from the surfaces. When you finally open the door, most of the mess will wipe right off with minimal effort. You can still follow up with the baking soda paste on any stubborn spots, but honestly, the steam method alone handles the majority of the work. It's like giving your microwave a spa day.
Adding Vinegar or Lemon for Extra Freshness
Baking soda is fantastic on its own, but sometimes you want to bring in a little backup. White vinegar and lemon juice are both natural cleaning agents that pair beautifully with baking soda.
To use vinegar, add a tablespoon of white vinegar to your baking soda paste. It'll fizz up, which is completely normal and actually helps lift grime even faster. The fizzing action gets into tiny crevices and loosens particles that the paste alone might miss. Plus, vinegar is an excellent disinfectant, so you're adding a layer of germ-fighting power to your cleaning routine.
For the lemon approach, cut a lemon in half and squeeze the juice into your steam bowl along with the baking soda and water. The lemon adds a fresh, clean scent that makes the whole kitchen smell amazing. It also contains citric acid, which helps dissolve mineral deposits and hard water stains. After microwaving the lemon water mixture, your microwave will smell like a sunny grove instead of last week's leftovers.
How Often Should You Clean Your Microwave?
This is one of those questions where the honest answer is more often than you probably do. Ideally, you should give your microwave a quick wipe-down after every use. Just a damp cloth over any visible splatters takes about thirty seconds and prevents buildup from accumulating in the first place.
For a deeper clean using the baking soda method, once every two weeks is a good rhythm for most households. If you use your microwave multiple times a day or tend to heat up saucy, splatter-prone foods, you might want to bump that up to once a week. Prevention is always easier than cure, and regular maintenance keeps the job quick and painless.
Knowing how to clean a microwave with baking soda safely isn't just about tackling the big messes. It's about building a simple habit that keeps your appliance in great shape for years to come. A clean microwave heats food more efficiently, smells better, and just makes your kitchen feel more pleasant overall.
Safety Tips to Keep in Mind
Even though baking soda is one of the safest cleaning agents out there, a few precautions are still worth mentioning. Always unplug your microwave or make sure it's turned off before doing any deep cleaning, especially if you're wiping around the door seal or the vents. Water and electricity aren't friends, and it's better to be safe than sorry.
Never use steel wool, abrasive scrubbing pads, or harsh chemical cleaners inside your microwave. These can damage the interior coating, which serves as a protective barrier. Once that coating is compromised, moisture can get underneath and cause rust or even affect the microwave's performance.
When using the steam method, be careful opening the door after heating. The steam is hot and can cause burns if you stick your face right up to the opening. Give it a moment to dissipate before reaching in. Use oven mitts when removing the hot bowl, and always set it on a heat-safe surface.
If your microwave has any visible damage to the interior, like peeling paint, cracks, or exposed metal, skip the cleaning and consult the manufacturer or a repair professional. Cleaning a damaged microwave can make existing problems worse and potentially create safety hazards.
Common Mistakes People Make When Cleaning Their Microwave
Even a simple task like this comes with its share of pitfalls. One of the biggest mistakes is using too much water when wiping down the interior. Excess moisture can seep into vents and electronic components, which isn't good for the longevity of your appliance. Wring out your sponge or cloth thoroughly before wiping.
Another common error is skipping the door seal. That rubber gasket around the door traps food particles, grease, and moisture like nobody's business. Give it a good wipe with your baking soda paste and a damp cloth every time you do a deep clean. Neglecting the seal can lead to odor problems and even affect how well the door closes.
People also tend to forget about the exterior. The handle, the control panel, and the top of the microwave all collect fingerprints, dust, and grease. A quick wipe with a damp cloth keeps everything looking tidy and prevents grime from migrating back inside every time you open the door.
Finally, rushing the process never works in your favor. Giving the baking soda time to sit is what makes this method so effective. If you try to scrub everything immediately after applying the paste, you'll end up working twice as hard for half the results. Patience is your most valuable tool here, right alongside that box of baking soda.
Why You Should Ditch Chemical Cleaners for Good
Once you've experienced how to clean a microwave with baking soda safely, you might start wondering why you ever reached for those spray bottles of chemical cleaners in the first place. Commercial cleaning products often contain ingredients that leave behind residues. Those residues can get heated up the next time you use your microwave, and suddenly you're essentially flavoring your food with cleaning chemicals. Not exactly appetizing.
Baking soda leaves no harmful residue, produces no toxic fumes, and rinses away completely with water. It's safe around kids, pets, and people with sensitivities to strong chemicals. And at just a couple of dollars per box, it's a fraction of the cost of specialty microwave cleaners. It's one of those rare situations where the cheapest option is also the best one.
Conclusion
Cleaning your microwave doesn't have to be a dreaded chore that you keep putting off until the mess becomes unbearable. With just baking soda, water, and a few minutes of patience, you can tackle even the toughest stains and odors without any harsh chemicals. The process is safe, affordable, and genuinely effective. Making this a regular habit keeps your microwave running efficiently and your kitchen smelling fresh. Once you try the baking soda approach, you'll wonder how you ever managed without it. Your microwave deserves a little TLC, and now you've got the know-how to deliver.
Read next: How to Lock a Door Without a Lock: Easy Methods
Frequently Asked Questions
1.Is baking soda safe for all microwave interiors?
Yes, baking soda is gentle and non-abrasive, making it safe for all microwave surfaces.
2.Can I mix baking soda with vinegar inside the microwave?
Absolutely, combining them creates a fizzing action that helps loosen stubborn dried-on grime.
3.How long should the baking soda paste sit before wiping?
Let it sit for fifteen to twenty minutes, or up to an hour for heavy buildup.
4.Will baking soda remove burnt popcorn smell from my microwave?
Yes, baking soda naturally absorbs and neutralizes odors, including stubborn burnt popcorn smells effectively.
5.Can I use baking soda on the microwave exterior too?
Yes, a damp cloth with baking soda paste works perfectly on the outside surfaces.
Stay up to date with our latest ideas!