How to Make Stained Glass Suncatchers Step by Step
Learn how to make stained glass suncatchers step by step with easy techniques, tools, and tips for beautiful window art.
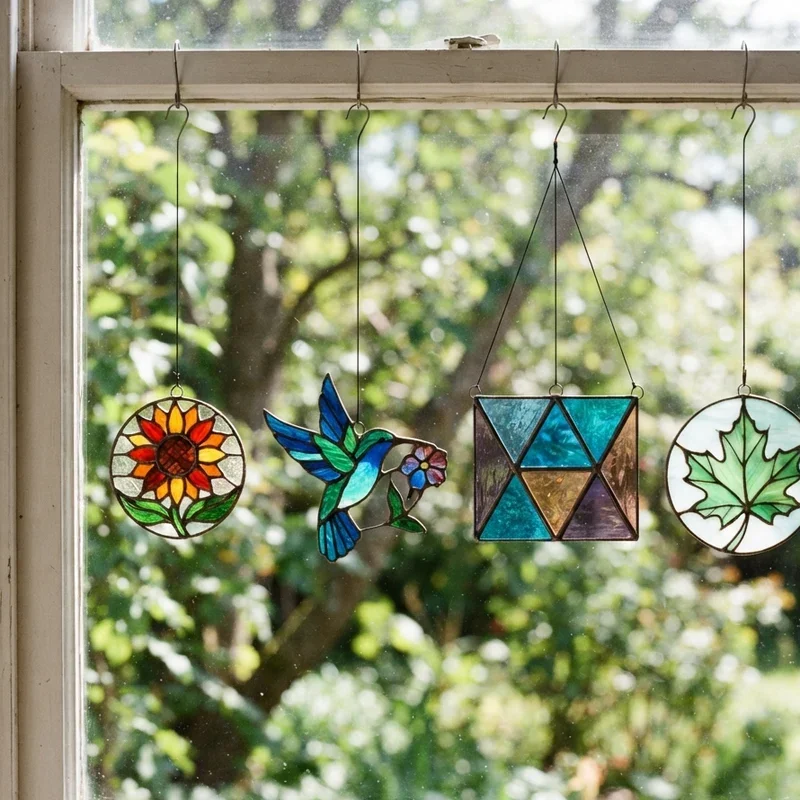
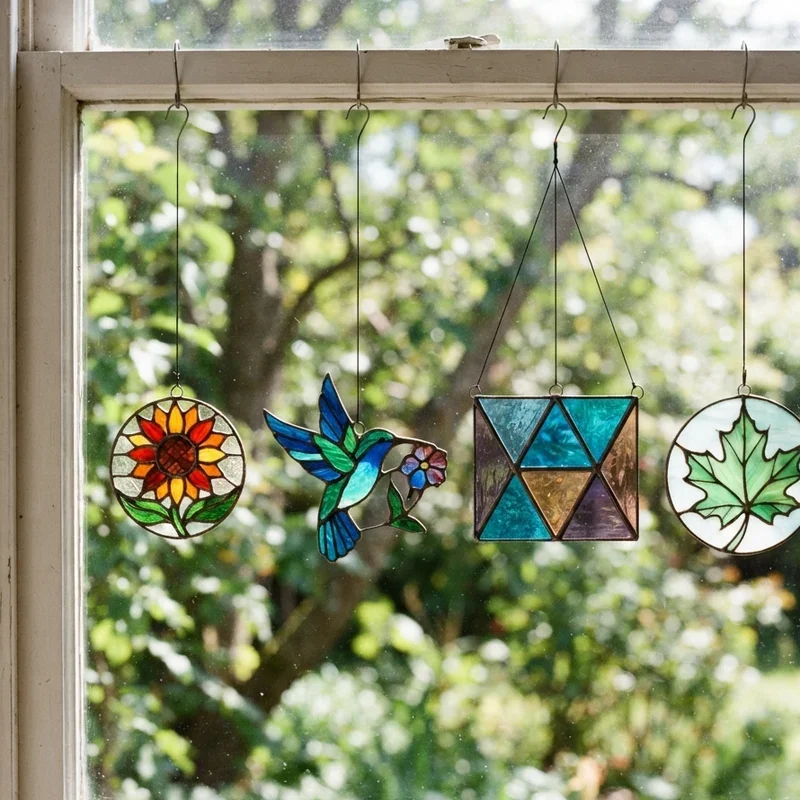
There is something almost magical about the way sunlight pours through colored glass. It transforms an ordinary window into a canvas of dancing light and color that can brighten even the dreariest of days. If you have ever admired a stained glass piece hanging in someone's window and thought, "I wish I could make something like that," well, you absolutely can. And it is a whole lot easier than you might imagine.
Stained glass suncatchers have been captivating people for centuries, and the craft has never been more accessible to beginners than it is right now. You do not need a professional studio, years of training, or a small fortune in equipment to get started. With some basic tools, a little patience, and a willingness to learn, you can create gorgeous pieces that will have your friends and family begging you to make one for them too.
Whether you are looking for a relaxing new hobby, a thoughtful handmade gift idea, or simply a creative outlet that produces something beautiful and functional, learning how to make stained glass suncatchers step by step is a rewarding journey that anyone can embark on. So roll up your sleeves, clear off your workspace, and let us dive into this incredible craft together.
Why Stained Glass Suncatchers Are Worth Your Time
Before we get into the nitty-gritty of technique, let us talk about why this particular craft has stood the test of time and continues to attract new enthusiasts every single day.
For starters, stained glass suncatchers are practical art. Unlike a painting that hangs on a wall or a sculpture that sits on a shelf, a suncatcher interacts with its environment in real time. The colors shift throughout the day as the sun moves across the sky, creating an ever-changing display that never gets boring. Morning light produces warm, soft hues while afternoon sun can blast vibrant colors across your entire room. It is like having a living piece of art.
The craft also offers an incredibly satisfying blend of precision and creativity. There is a methodical, almost meditative quality to cutting glass, wrapping foil, and soldering joints that many people find deeply calming. At the same time, the design possibilities are virtually limitless. Geometric patterns, nature scenes, abstract compositions, and whimsical characters are all fair game. Your imagination is genuinely the only boundary.
And let us not overlook the gift factor. Handmade stained glass suncatchers make absolutely phenomenal presents. They are personal, unique, and have a perceived value that far exceeds what they actually cost to produce. Give someone a suncatcher you made with your own hands and watch their eyes light up. It never gets old.
Essential Tools and Materials You Will Need
Getting set up for stained glass work does require some specific tools, but the initial investment is pretty reasonable compared to many other crafts. Here is everything you will need to get rolling.
Glass Selection
Choosing your glass is hands down the most fun part of gathering supplies. Stained glass comes in an incredible range of colors, textures, and opacity levels. You will find cathedral glass that is transparent and smooth, opalescent glass that is milky and diffuses light, and textured varieties like rippled, hammered, and seedy glass that add visual interest and dimension.
For your first project, stick with smoother glass types that are easier to cut and handle. Cathedral glass in two or three complementary colors is a great starting point. You can get adventurous with exotic textures and color combinations once you have a few projects under your belt and feel more confident with your cutting technique.
Most stained glass suppliers sell sheets ranging from roughly 8 by 10 inches up to full sheets around 12 by 16 inches or larger. For suncatchers, smaller sheets are perfectly adequate and much more budget-friendly. Many shops also sell scrap packs and remnant bags that give you a variety of colors at a discounted price, which is perfect for beginners who want to experiment without spending a lot.
Cutting Tools
A good glass cutter is your most important tool, and thankfully, decent ones are not expensive. Pistol-grip cutters are the most popular choice for beginners because they are comfortable to hold and easy to control. They run anywhere from $10 to $25 for a quality option that will last you years.
You will also need running pliers and breaking pliers. Running pliers apply even pressure along a score line to propagate a clean break through the glass. Breaking pliers let you snap off smaller pieces and nibble away at edges that need refining. A glass grinder is optional but incredibly helpful for smoothing rough edges and fine-tuning the fit of your pieces. Entry-level grinders start around $50 to $70 and are well worth the investment if you plan to stick with the hobby.
A cutting surface is essential too. A self-healing cutting mat or a piece of homasote board provides a good working surface that protects your table and gives your cutter a stable platform.
Copper Foil and Soldering Supplies
The copper foil method, also known as the Tiffany method, is the go-to technique for suncatchers. It involves wrapping each piece of cut glass with thin adhesive copper foil tape, then soldering the foiled edges together to create the finished piece.
You will need copper foil tape in either 7/32 inch or 1/4 inch width for most suncatcher projects. A roll costs just a few dollars and lasts through multiple projects. A fid or burnishing tool helps press the foil down firmly and smoothly against the glass edges.
For soldering, you will need a soldering iron rated at 80 to 100 watts, a roll of 60/40 lead-free solder, and liquid flux. The flux is crucial because it helps the solder flow smoothly and bond properly to the copper foil. Without it, your solder will ball up and refuse to cooperate. A flux brush and a damp sponge for cleaning your iron tip round out the soldering essentials.
Safety Gear
Glass work involves sharp edges, hot metal, and chemical fumes, so proper safety gear is non-negotiable. Safety glasses protect your eyes from tiny glass chips that can fly off during cutting and grinding. Work gloves, or at least finger guards, help prevent cuts when handling raw glass edges. And a well-ventilated workspace or a small fan to direct soldering fumes away from your face keeps you from breathing in stuff you really do not want in your lungs.
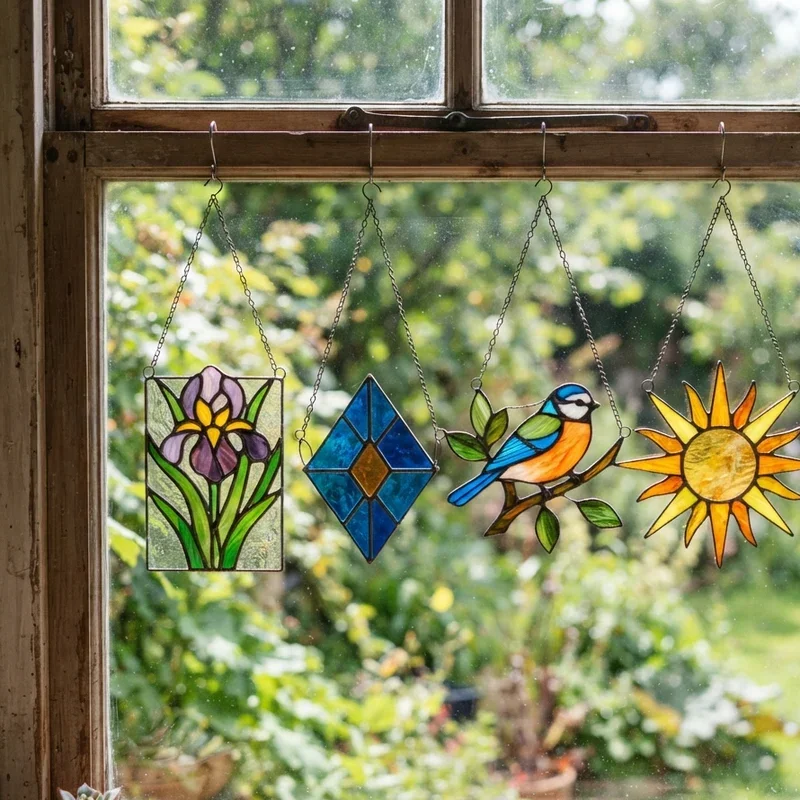
How to Make Stained Glass Suncatchers Step by Step
Now that you have got all your supplies gathered and your workspace set up, it is time to actually make something beautiful. Here is the complete process broken down into manageable stages that will take you from a blank piece of glass to a finished suncatcher you can be proud of.
Step 1: Choose and Prepare Your Pattern
Every suncatcher starts with a pattern, and as a beginner, keeping things simple is the smart play. Look for designs with smooth curves and gentle lines rather than sharp angles and tiny intricate pieces. Simple geometric shapes, flowers, butterflies, and sun and moon motifs are all excellent choices for a first project.
You can find free patterns online, purchase them from stained glass suppliers, or draw your own. If you are creating your own design, keep each individual piece no smaller than about one inch in any dimension. Tiny pieces are much harder to cut, foil, and solder, and they will test your patience in ways you are not ready for just yet.
Once you have your pattern, make two copies. One copy serves as your working template that stays on your work surface as a reference. Cut the second copy apart to create individual piece templates that you will trace onto your glass. Some crafters use pattern shears that automatically remove a thin strip of paper between pieces to account for the space taken up by copper foil and solder. If you do not have pattern shears, just keep in mind that your finished piece will be slightly larger than the original pattern.
Step 2: Cut Your Glass Pieces
Cutting glass sounds intimidating, but once you get the hang of it, the process is incredibly satisfying. Place your paper template piece on your chosen glass and trace around it with a fine-tipped permanent marker. Position the template to minimize waste and avoid any bubbles or inconsistencies in the glass.
Hold your glass cutter at a slight angle and apply firm, consistent pressure as you draw it along the marked line. The goal is to create a continuous score line in one smooth motion. Do not go back over a score line, as this damages your cutter wheel and actually makes for a worse break. You should hear a soft scratching sound as the cutter scores the glass surface.
After scoring, use your running pliers to apply pressure at the beginning of the score line. Position the center mark on the pliers directly over the score and squeeze gently. The crack should run smoothly along the entire scored line, giving you a clean break. For curves, you may need to make relief cuts, which are straight score lines running from the edge of the glass to the curved score line, allowing you to remove the waste glass in manageable sections.
Take your time with this step. Rushing through cuts is the fastest way to waste glass and frustrate yourself. Even experienced glass artists occasionally get a bad break, so do not beat yourself up when it happens. It is just part of the process.
Step 3: Grind and Fit Your Pieces
With all your pieces cut, it is time to refine them. Place each piece over your working pattern to check the fit. Chances are good that some pieces will need a little adjustment, and this is where your glass grinder earns its keep.
Gently press the edges of each piece against the wet grinding bit to remove excess glass and smooth out any rough spots. Work slowly and check the fit frequently. You want each piece to match the pattern closely with just a tiny gap between adjacent pieces to accommodate the copper foil and solder.
If you do not have a grinder, you can use a carborundum stone or a diamond hand pad to smooth edges manually. It takes more time and elbow grease, but it gets the job done. Make sure every edge is smooth enough that the copper foil will adhere properly. Rough, jagged edges can poke through the foil and cause problems during soldering.
Once all your pieces fit together nicely on the pattern, give each one a thorough cleaning with glass cleaner or rubbing alcohol. The surfaces need to be completely free of oil, dust, and marker residue for the copper foil to stick properly. Dry each piece thoroughly before moving on to the next step.
Step 4: Apply Copper Foil
Wrapping copper foil is the step that really brings your suncatcher together and prepares it for soldering. Peel back a few inches of the paper backing from your foil tape and center the glass edge on the sticky side. The foil should extend evenly on both sides of the glass edge.
Work your way around the entire perimeter of each piece, keeping the foil centered and pressed firmly against the glass. Overlap the starting point by about a quarter inch when you get back around to where you began, then trim the excess with a craft knife or scissors.
Now comes the burnishing. Using your fid or the back of a pencil, press the foil down firmly against both flat surfaces of the glass and fold it snugly over the edges. Good burnishing is critical because any foil that is not firmly adhered will cause solder to flow underneath and create a messy joint. Take your time here and make sure every bit of foil is smooth, tight, and wrinkle-free.
Once all pieces are foiled and burnished, lay them back on your pattern and press them together snugly. You should see a thin line of copper between each piece where the foiled edges meet. This copper surface is exactly where your solder will flow to bond everything together.
Step 5: Flux and Solder
This is where the magic really happens. Apply a thin coat of liquid flux to all the exposed copper foil surfaces using your flux brush. The flux chemically prepares the copper to accept solder and promotes smooth, even flow. Do not be stingy with it, but you also do not need to drown the piece. A light, even coat does the trick.
Heat up your soldering iron and give it a couple of minutes to reach full temperature. Touch the tip to your solder wire and pick up a small bead. Place the iron tip on the fluxed copper seam and let the solder melt and flow along the joint. The goal is to create a slightly raised, smooth bead of solder that covers the copper foil completely.
Start by tack soldering a few strategic points to hold all the pieces in position. Once everything is locked in place, go back and run a continuous solder bead along every seam. Keep your iron moving at a steady pace. Too slow and the glass can crack from excessive heat. Too fast and the solder will not flow properly.
After completing one side, carefully flip the piece over and solder all the seams on the back. You want both sides to look clean and consistent. Experienced artists can achieve beautifully smooth, rounded solder lines that look almost like beading. Do not worry if yours are a little lumpy on your first attempt. You will improve quickly with practice.
Run a bead of solder around the entire outside edge of the suncatcher to create a finished border. This step frames the piece and gives it a polished, professional appearance. If you are adding a hanging ring, solder a small jump ring or a loop of tinned copper wire to the top edge now while you have your iron hot.
Step 6: Clean and Finish
Once the solder has cooled completely, your suncatcher needs a good cleaning to remove flux residue. Leftover flux is corrosive and will eventually damage the solder and discolor the piece if it is not removed. Scrub all surfaces gently with warm soapy water and an old toothbrush, then rinse thoroughly and dry with a soft cloth.
If you want to give your solder lines a darker, more traditional appearance, you can apply copper or black patina solution at this stage. Simply brush the patina onto the solder lines and watch them change color almost instantly. Rinse again after applying patina and dry the piece completely.
A final coat of finishing wax or compound adds shine and protection to the solder lines while also giving the glass surfaces a beautiful luster. Buff with a soft cloth and step back to admire your handiwork. You have just completed your first stained glass suncatcher, and honestly, there is nothing quite like that feeling of accomplishment.
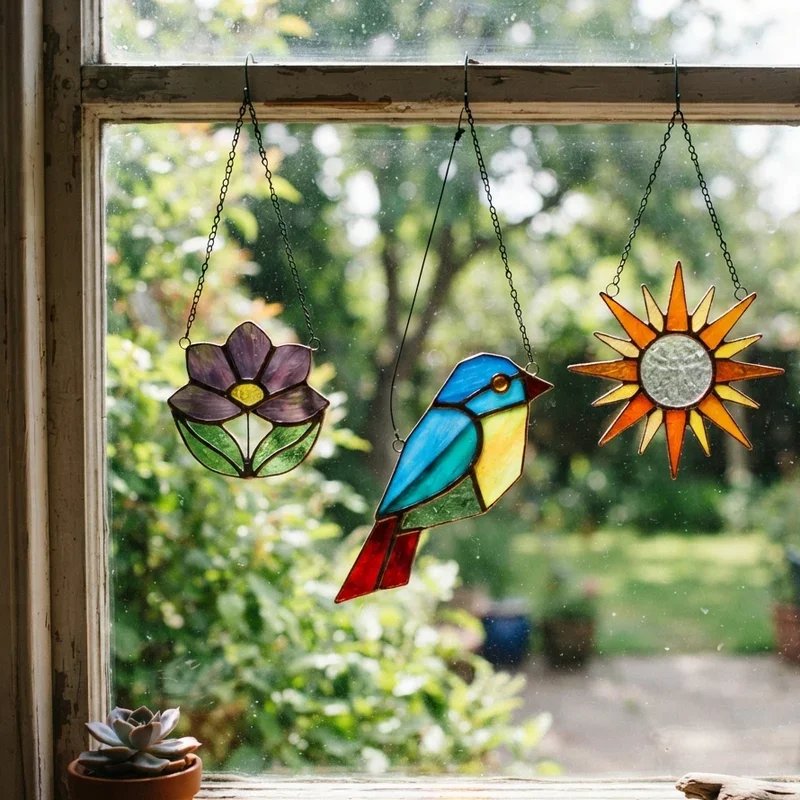
Helpful Tips for Beginners Learning How to Make Stained Glass Suncatchers Step by Step
Every new craft comes with a learning curve, and stained glass is no exception. Here are some insights that will help smooth out the bumps and accelerate your progress.
Practice your glass cutting on scrap pieces before touching your good glass. Getting comfortable with the pressure, angle, and speed of scoring takes a few tries, and it is much better to make your mistakes on cheap practice glass than on that gorgeous sheet of cobalt blue you splurged on.
Keep your soldering iron tip clean by wiping it on a damp sponge frequently during use. A dirty tip does not transfer heat efficiently and will give you rough, uneven solder lines. A quick wipe every few joints keeps things running smoothly.
Do not press too hard when grinding glass. Let the diamond bit do the work. Excessive pressure can chip the glass surface or grind away more material than you intended. Light, even pressure with plenty of water on the grinder keeps everything cool and controlled.
If your copper foil is not sticking well, the glass edge is probably not clean enough. Even a tiny amount of oil from your fingers can prevent proper adhesion. Clean the edges again and try with fresh foil.
Work in good lighting. Seeing your score lines, solder joints, and foil placement clearly makes a tremendous difference in the quality of your finished piece. A desk lamp positioned to illuminate your work surface without creating glare is ideal.
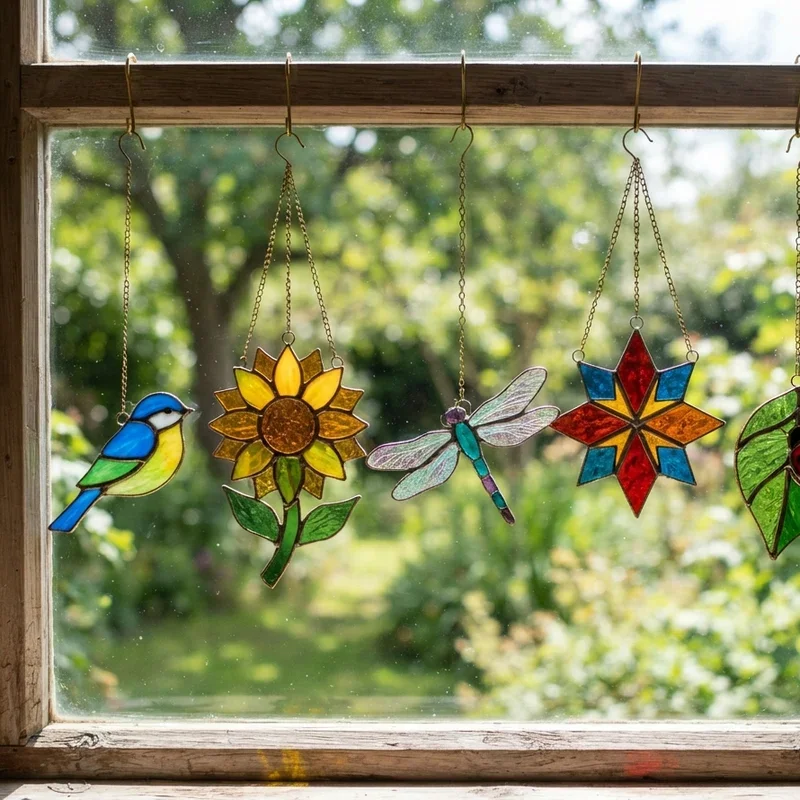
Creative Design Ideas to Inspire Your Projects
Once you have mastered the basics of how to make stained glass suncatchers step by step, the creative possibilities open up tremendously. Here are some directions worth exploring as your skills develop.
Nature-inspired designs are perennial favorites and offer endless variety. Leaves, flowers, birds, dragonflies, and trees all translate beautifully into stained glass. These organic shapes are forgiving for beginners because slight variations in cutting actually add to their natural charm rather than looking like mistakes.
Geometric patterns offer a different kind of beauty and are excellent for developing precision in your cutting and soldering skills. Circles, triangles, hexagons, and diamond shapes can be arranged into kaleidoscope-like compositions that look absolutely stunning when light passes through them.
Seasonal and holiday themes give you a rotating collection of suncatchers to display throughout the year. Snowflakes and evergreen trees for winter, flowers and butterflies for spring, suns and seashells for summer, and leaves and pumpkins for autumn. You will never run out of ideas.
Abstract designs let you play with color relationships and glass textures without worrying about realistic representation. Just pick a few colors you love, cut some interesting shapes, and arrange them in a composition that feels balanced and pleasing to your eye. Some of the most beautiful suncatchers out there are purely abstract.
Conclusion
Learning how to make stained glass suncatchers step by step opens the door to a craft that blends artistry, skill, and pure creative satisfaction. Starting with simple designs and the copper foil technique, you can produce gorgeous pieces that transform ordinary windows into displays of color and light. With practice, your cuts get cleaner, your solder lines smoother, and your designs more ambitious. All it takes is patience, the right tools, and a willingness to enjoy the learning process.
Read next: 15 Fireplace Makeover Ideas for a Stunning Upgrade
Frequently Asked Questions
1.How long does it take to make a stained glass suncatcher?
A simple beginner suncatcher typically takes about three to five hours from start to finished piece.
2.Is stained glass making an expensive hobby to start?
Basic startup supplies including tools, glass, and solder cost roughly $75 to $150 for beginners.
3.Can children learn to make stained glass suncatchers safely?
Older teens can learn with supervision, but young children should try faux glass alternatives instead.
4.What is the easiest type of glass to cut for beginners?
Smooth cathedral glass is the easiest to score and break cleanly for new stained glass crafters.
5.Do stained glass suncatchers fade over time in sunlight?
Quality stained glass does not fade because the color is embedded within the glass material itself.
Stay up to date with our latest ideas!