How to Clean Garage Floor: Step-by-Step Guide
Master how to clean garage floor with our step-by-step guide. Remove oil stains and grime for a spotless garage today!
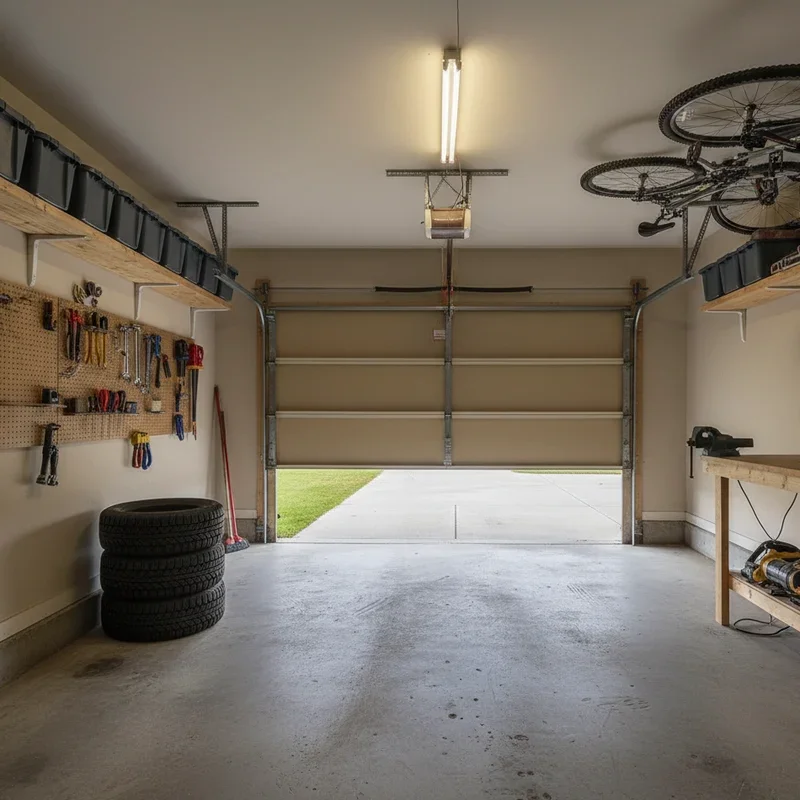
Let's be real for a second. When was the last time you actually looked at your garage floor? Like really looked at it? If you're anything like most homeowners, that concrete slab has become a crime scene of oil drips, mysterious stains, road salt residue, and enough dirt to start a small garden. It's easy to ignore since we're usually just walking through or parking cars, but eventually, that grimy mess catches up with you.
Maybe you're finally converting the garage into a workshop. Perhaps you're selling your home and need things looking presentable. Or maybe you just walked out there barefoot one time and immediately regretted that decision. Whatever brought you here, you've decided it's time to tackle that neglected floor, and honestly, good for you!
Here's the beautiful truth about garage floor cleaning. It's not nearly as complicated or time-consuming as you might think. Sure, years of accumulated gunk might look intimidating, but with the right approach and a Saturday afternoon, you can transform that disaster zone into something you're actually proud of. This how to clean garage floor: step-by-step guide will walk you through everything from basic prep work to handling those stubborn oil stains that seem permanently bonded to the concrete.
Grab your work clothes and let's get that floor looking like new!
Why Bother Cleaning Your Garage Floor Anyway
Before we roll up our sleeves, let's talk about why this project deserves your attention. Understanding the benefits might just motivate you to tackle it sooner rather than later.
Safety Comes First
Dirty garage floors are slippery accidents waiting to happen. Oil slicks, antifreeze puddles, and accumulated dust create hazardous conditions that could send you sliding into your workbench or worse. Cleaning eliminates these dangers and gives you solid footing year-round.
During winter months, wet floors from melting snow become especially treacherous. A clean, sealed floor dries faster and provides better traction even when moisture is present.
Protecting Your Investment
Concrete might seem indestructible, but it's actually quite porous and vulnerable to damage. Oil and chemicals left sitting on the surface gradually seep into the concrete, causing deterioration from within. Salt tracked in during winter accelerates this breakdown significantly.
Regular cleaning removes these harmful substances before they cause permanent damage. Think of it as preventive maintenance that extends your floor's lifespan considerably.
Better Air Quality
All that dust, dirt, and debris on your garage floor doesn't just stay put. Every time you walk through or drive in, particles become airborne. If your garage connects to your house, guess where that stuff eventually ends up? Yep, inside your home affecting your indoor air quality.
A clean garage means less dust migrating into your living spaces, which is especially important for anyone with allergies or respiratory issues.
Increased Functionality
There's something psychologically powerful about a clean workspace. Suddenly that garage feels like a place where you actually want to spend time. Projects become more enjoyable when you're not navigating around grime or worrying about getting dirty just by walking around.
Plus, if you ever want to apply epoxy coating or paint your floor, thorough cleaning is an absolute prerequisite. Get it done now, and you're ready for future upgrades.
Gathering Your Cleaning Arsenal
Success in any project starts with having the right tools on hand. Nothing's worse than getting halfway through and realizing you're missing something essential. Let's make sure you're properly equipped.
Basic Supplies You'll Need
A stiff-bristled push broom handles initial sweeping and scrubbing duties. Get one with durable bristles that won't fall apart under pressure. A shop vacuum makes debris removal infinitely easier than sweeping alone, and it handles wet messes too. You'll want a good garden hose with a spray nozzle, or access to a pressure washer for really tough jobs.
Buckets are essential for mixing cleaning solutions. Grab at least two since you'll want one for soapy water and one for rinsing. A long-handled scrub brush saves your back during the scrubbing phase. Plastic watering cans distribute cleaning solutions evenly across large areas.
Cleaning Solutions
For general cleaning, good old dish soap mixed with warm water works surprisingly well. It cuts through most everyday grime without harsh chemicals. Trisodium phosphate, commonly called TSP, tackles heavier buildup and prepares surfaces for sealing or painting.
Degreasers are essential for oil and automotive fluid stains. You can buy commercial products or use household items like baking soda and dish soap. Concrete cleaners specifically formulated for garage use offer convenience and reliable results. White vinegar handles mineral deposits and light stains naturally.
Safety Equipment
Rubber boots keep your feet dry and protected from cleaning chemicals. Safety glasses prevent splashes from reaching your eyes, especially important when using degreasers or TSP. Heavy-duty rubber gloves protect your hands from prolonged chemical exposure.
If you're using strong cleaners in an enclosed space, consider a respirator mask. Good ventilation is always important, so open that garage door wide before starting.
How to Clean Garage Floor: Step-by-Step Guide for Basic Cleaning
Alright, let's get down to business. This section covers standard cleaning that'll handle typical dirt and grime accumulation.
Step 1: Empty the Garage Completely
I know, I know. This is the part nobody wants to do. But trust me, trying to clean around stuff just leads to missed spots and frustration. Everything needs to come out, and I mean everything. Cars, motorcycles, storage bins, tools, that mysterious pile in the corner you've been ignoring for three years. All of it.
Take this opportunity to sort through things. If you haven't used something since the last decade, maybe it's time for a garage sale or donation run. Getting organized while cleaning kills two birds with one stone.
Step 2: Sweep Thoroughly
With the space cleared, grab your push broom and sweep the entire floor. Work from the back corners toward the garage door opening, pushing all loose debris outside. Get into every crack and crevice, along walls, and especially in corners where stuff accumulates.
Pay attention to expansion joints and any cracks in the concrete. Dirt loves hiding in these spots. A stiff brush or even an old screwdriver helps dislodge stubborn debris from narrow gaps.
Follow up with your shop vacuum for fine dust and particles the broom missed. This step makes a huge difference in your final results.
Step 3: Identify Problem Areas
Before wetting anything down, walk the floor carefully and note where stains are located. Different stains require different treatments, so identifying them now saves time later.
Oil and grease stains typically appear as dark, often shiny patches. Rust stains show up as orange or reddish-brown discoloration. White hazy deposits usually indicate mineral efflorescence. Paint drips and tire marks are usually pretty obvious.
Mental notes work fine, but marking problem areas with painter's tape helps you remember exactly where to focus during treatment phases.
Step 4: Pre-Treat Stains
This is where you address those problem areas you just identified. Different stains need different approaches, and treating them before general cleaning produces better results.
For fresh oil stains, cover the area generously with cat litter or baking soda. Let it sit for several hours or overnight to absorb the oil. Sweep up the absorbent material before proceeding.
Older oil stains respond well to commercial degreasers or a paste made from baking soda and dish soap. Apply the treatment, let it sit for at least fifteen minutes, then scrub vigorously with a stiff brush.
Rust stains need acidic treatment. White vinegar applied directly works for light rust. Heavier deposits might require commercial rust removers formulated for concrete.
Step 5: Apply Cleaning Solution
Mix your chosen cleaning solution according to directions. For basic cleaning, about a quarter cup of dish soap per gallon of warm water does the trick. For heavier jobs, TSP mixed according to package directions packs more punch.
Wet down a section of floor with your hose first. Then apply the cleaning solution using a watering can or pump sprayer for even distribution. Work in manageable sections, maybe a quarter of the garage at a time, so the solution doesn't dry before you get to scrub it.
Let the solution sit for about ten minutes to break down the grime. Don't let it dry completely though.
Step 6: Scrub Like Your Floor Depends On It
Here's where the workout happens. Using your long-handled scrub brush, work the solution into the concrete with vigorous circular motions. The texture of concrete creates tiny valleys that trap dirt, so really get those bristles working into the surface.
High-traffic areas need extra attention. The path where you walk from car to door probably has the most buildup. Same goes for areas around your workbench or under where cars park.
For really stubborn spots, a stiff-bristled hand brush gives you more targeted pressure. Get down on your knees for these areas so you can really bear down.
Step 7: Rinse Completely
Once you've scrubbed each section, rinse thoroughly with clean water. A garden hose with a spray nozzle works fine for light cleaning. More serious jobs benefit from a pressure washer set to a moderate setting.
Always rinse toward the garage door opening so dirty water flows out rather than pooling inside. Make multiple passes until the water runs clear.
Check for any remaining soap residue, which can leave a slippery film. If you see any suds, rinse again until they're completely gone.
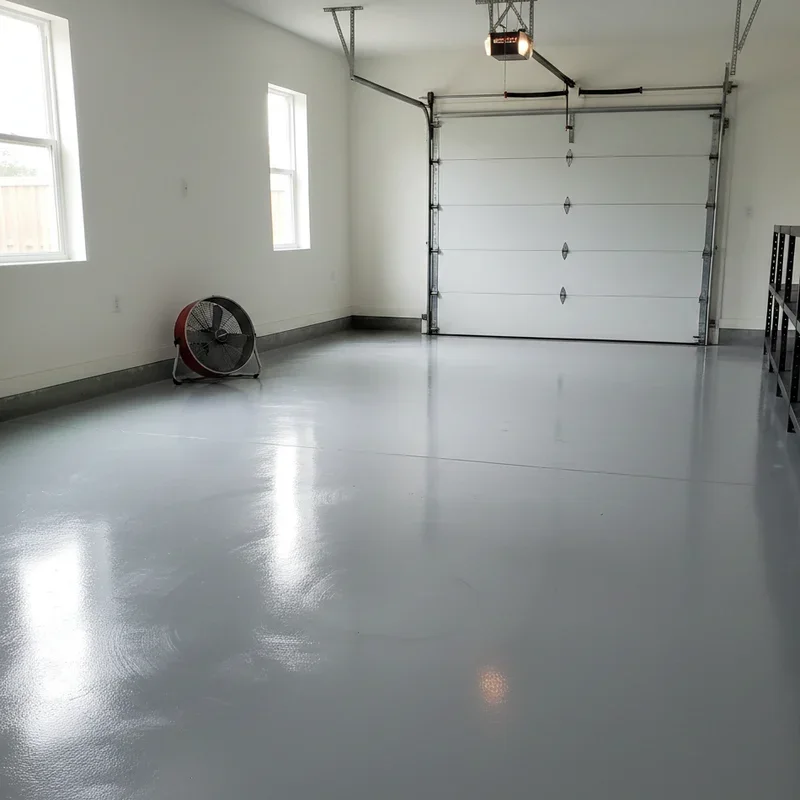
Step 8: Let It Dry
Patience is crucial here. Don't rush to bring stuff back in before the floor is completely dry. Moisture trapped under bins or equipment promotes mold growth and can damage items with metal components.
Open all doors and windows if possible to encourage air circulation. On warm, dry days, the floor might be ready in a few hours. Cooler or humid conditions could require overnight drying.
Tackling Serious Stains and Heavy Buildup
Sometimes basic cleaning doesn't cut it. Here's how to handle the really tough stuff that laughs at dish soap.
Old Oil and Grease Stains
These are the nemesis of garage floors everywhere. When oil has had months or years to penetrate the concrete, removal requires more aggressive tactics.
Create a poultice using an absorbent material like cat litter, sawdust, or diatomaceous earth mixed with a solvent like acetone or paint thinner. Apply this paste thickly over the stain, cover with plastic wrap, and tape the edges down. Let it sit for 24 hours.
The poultice draws oil out of the concrete as the solvent evaporates. Remove the dried material and repeat if necessary. Some ancient stains need three or four treatments before they fade significantly.
Commercial concrete degreasers with enzymatic or bioremediation formulas actually digest petroleum products. These take longer to work but often produce better results on old, set-in stains.
Tire Marks and Rubber Deposits
Hot tires leave behind a plasticizer residue that bonds stubbornly to concrete. Regular cleaners barely touch this stuff.
Mineral spirits or paint thinner applied with a rag can dissolve tire marks, but use ventilation and keep flames away. Commercial tire mark removers specifically formulated for concrete work well too.
For textured concrete, a stiff brush and degreaser combination usually does the job with enough elbow grease.
Efflorescence and Mineral Deposits
Those white, powdery deposits aren't stains exactly. They're mineral salts migrating out of the concrete itself. Water carries these minerals to the surface where they crystallize as moisture evaporates.
Scrubbing alone won't eliminate efflorescence because the minerals are in the concrete, not just on it. Acidic cleaners help dissolve surface deposits. Muriatic acid works powerfully but requires serious safety precautions. Phosphoric acid cleaners offer a less hazardous alternative.
Address any moisture problems causing the efflorescence, or it'll just keep coming back. Check for drainage issues, seal cracks, and improve ventilation.
Power Washing Your Garage Floor
A pressure washer takes garage floor cleaning to another level. If you've got access to one, here's how to use it effectively.
Choosing the Right Settings
For concrete garage floors, you'll want 2500 to 3000 PSI for serious cleaning. Lower pressure works for maintenance cleaning but won't cut through heavy buildup.
Use a fan tip, typically the 25 or 40 degree nozzle, rather than a concentrated stream. The wider pattern covers more area efficiently and reduces the risk of etching lines into the concrete.
Proper Technique
Keep the wand about twelve inches from the surface. Closer might seem more powerful, but you risk damaging the concrete. Maintain consistent distance as you work.
Use overlapping strokes like you're mowing a lawn. Move steadily without dwelling too long in any spot. Work from back to front so dirty water flows out the door.
For stubborn stains, you can carefully decrease distance to increase cleaning power, but watch for signs of surface damage.
Using Detergent
Many pressure washers have detergent injection systems. Apply the cleaning solution on a low-pressure setting, let it dwell for the recommended time, then switch to high pressure for rinsing.
Never use bleach or harsh chemicals that aren't approved for your pressure washer. Damage to seals and components can be expensive to repair.
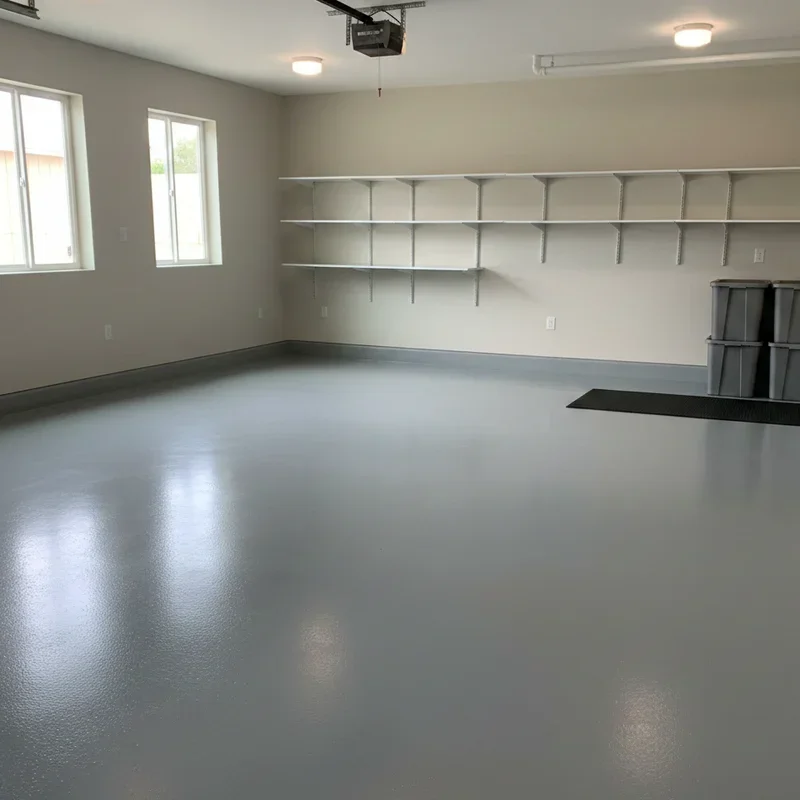
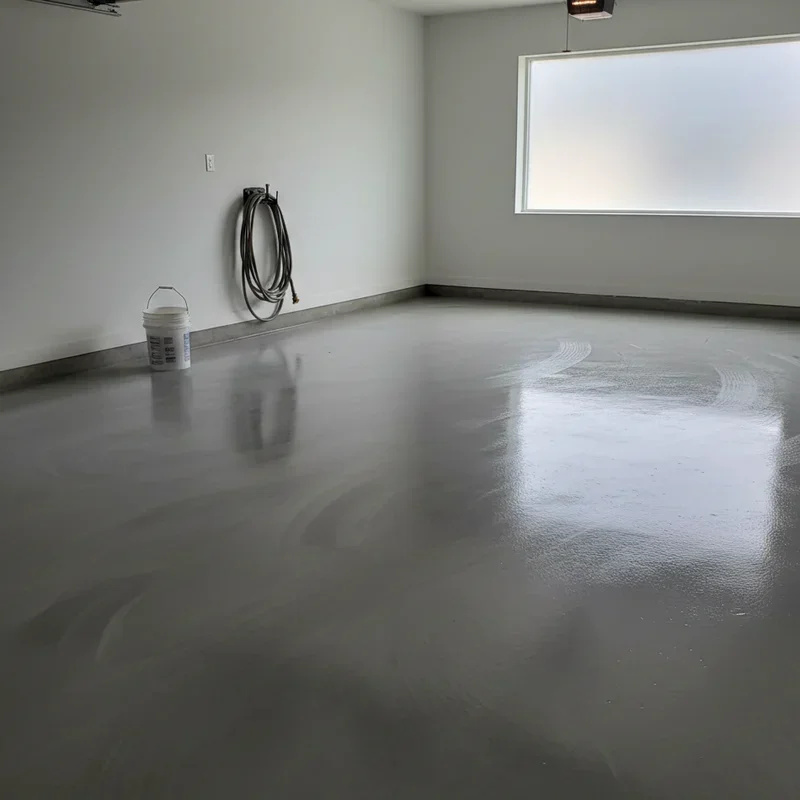
Sealing Your Clean Floor
After all that work, protecting your results makes perfect sense. A quality sealer prevents future stains from penetrating and makes ongoing cleaning much easier.
Types of Sealers
Penetrating sealers absorb into the concrete and block moisture from within. They don't change the floor's appearance and work great for basic protection.
Topical sealers form a coating on the surface. They add sheen and color enhancement but require occasional reapplication as they wear.
Epoxy coatings offer the ultimate protection and a professional appearance. Application requires more prep work and expertise but provides durable, long-lasting results.
Application Basics
Make sure your floor is completely clean and dry before applying any sealer. Even small amounts of moisture or residue cause adhesion problems.
Follow manufacturer instructions carefully regarding application rates and drying times between coats. Rushing this step undermines the entire sealing process.
Conclusion
Transforming your grimy garage floor into a clean, functional surface isn't as daunting as it might first appear. This how to clean garage floor: step-by-step guide has armed you with everything needed to tackle dirt, stains, and years of accumulated grime. Remember that preparation makes the actual cleaning go smoothly, and addressing stains specifically produces the best results. Whether you stick with basic soap and water or bring out the pressure washer, consistent effort yields impressive transformations. Your garage is about to become a space you actually enjoy spending time in!
Read next: How to Get Gas Smell Out of Garage for Fresh Space
Frequently Asked Questions
1. How often should I deep clean my garage floor?
Most garages benefit from thorough cleaning once or twice yearly, with spot cleaning as needed.
2. Can I use bleach to clean my concrete garage floor?
Bleach works for mold and mildew but may discolor concrete and harm nearby plants.
3. Will pressure washing damage my garage floor concrete?
Proper technique with appropriate pressure settings cleans effectively without causing surface damage.
4. How do I remove old paint from my garage floor?
Chemical paint strippers or mechanical grinding methods work best for removing dried paint effectively.
5. How long should I wait before parking on a sealed garage floor?
Most sealers require 24 to 72 hours curing time before allowing vehicle traffic on them.
Stay up to date with our latest ideas!