How to Build a Wooden Gate: Materials, Plans, and Tips
Learn how to build a wooden gate with our complete guide. Find materials, plans, and tips for creating a beautiful, long-lasting entrance.
There's something undeniably charming about a well-crafted wooden gate. It welcomes visitors, keeps pets safely contained, and adds that finishing touch to your fence that screams "someone who knows what they're doing lives here." But here's a little secret that professional carpenters don't always share: building a wooden gate isn't nearly as complicated as it might look!
Whether your current gate is hanging by a thread, literally sagging off its hinges, or you're starting from scratch with a brand-new fence project, constructing your own gate puts you in control of quality, style, and budget. Store-bought gates often disappoint with flimsy construction and generic designs that don't quite match your existing fence. Building your own solves both problems while giving you serious bragging rights.
Now, I won't sugarcoat things: gate building does require some basic woodworking skills and a decent collection of tools. But if you can measure accurately, cut straight lines, and drive screws without stripping them, you've got what it takes. The key lies in understanding the fundamentals of gate construction, particularly how to prevent that dreaded sagging that plagues so many DIY gates.
This comprehensive How to Build a Wooden Gate: Materials, Plans, and Tips guide covers everything you need to know for success. From selecting the right lumber to hanging your finished masterpiece, we're walking through each step together. Ready to build something you'll be proud of every time you swing it open? Let's get started!
Choosing the Right Materials
Wood Species That Last
Not all lumber is created equal when it comes to outdoor applications! Choosing the wrong wood species dooms your gate to a short, sad life of warping, rotting, and general deterioration. Let's talk about what actually works for gates that need to withstand weather exposure year after year.
Cedar remains the gold standard for outdoor woodworking projects, and with good reason. This naturally rot-resistant species contains oils that repel insects and moisture without requiring chemical treatment. Cedar weathers beautifully to a silvery gray if left unfinished, or it takes stain wonderfully if you prefer maintaining its warm reddish tones.
Pressure-treated pine offers excellent durability at a significantly lower price point than cedar. The chemical treatment process forces preservatives deep into the wood fibers, creating impressive resistance to rot, insects, and fungal decay. Just be aware that treated lumber often arrives wet and may need drying time before use to minimize warping.
Redwood provides premium performance and gorgeous aesthetics but commands premium prices. If budget allows, redwood gates last generations and look absolutely stunning. For most homeowners, cedar or treated pine offers the best balance of durability, appearance, and cost.
Hardware That Won't Fail You
Your gate is only as good as its hardware! Skimping on hinges and latches practically guarantees problems down the road. Quality hardware costs more upfront but saves headaches, repairs, and replacement expenses over time.
Hinges must be appropriately sized and rated for your gate's weight. Heavy-duty strap hinges or T-hinges work well for most residential gates. Stainless steel or galvanized finishes resist rust and corrosion that would weaken hinges over time.
Self-closing hinges add convenience and ensure your gate latches properly even when distracted kids or visitors forget to close it behind them. Spring-loaded designs pull the gate closed automatically, though they do add resistance when opening.
Gate latches range from simple thumb latches to elaborate ring pulls and lockable designs. Choose hardware that matches your aesthetic preferences while providing the security level you need. Gates leading to pools require self-latching hardware that meets local safety codes.
Fasteners for Outdoor Use
Here's where many DIY gate builders make critical mistakes! Using interior-grade screws or nails on outdoor projects leads to rust staining, structural failure, and premature deterioration. Spend the extra money on proper exterior fasteners.
Stainless steel screws provide ultimate corrosion resistance but cost significantly more than other options. They're worth considering for high-visibility areas where rust stains would be particularly unsightly.
Coated deck screws offer excellent corrosion resistance at reasonable prices. Look for ceramic coating, polymer coating, or hot-dipped galvanizing for best results. These fasteners handle weather exposure well and won't leave ugly rust streaks on your beautiful woodwork.
Galvanized nails work for applications where screws aren't necessary, though screws generally provide superior holding power for gate construction.

Planning Your Gate Design
Measuring for Perfect Fit
Accurate measurements make the difference between a gate that operates smoothly and one that binds, drags, or won't close properly. Take your time during this phase because mistakes here create problems throughout the entire project.
Measure your opening width at both top and bottom. Fence posts sometimes lean slightly, and assuming they're perfectly plumb leads to fitting issues. Use the smaller measurement as your reference, then subtract clearance for hinges and latch hardware.
Standard clearance allows roughly half an inch on the hinge side for hardware mounting and quarter to half inch on the latch side for smooth operation. These gaps also accommodate seasonal wood expansion that might otherwise cause binding.
Gate height typically matches your fence height for visual continuity, though some designs intentionally vary heights for aesthetic effect. Measure from the ground up, accounting for any slope or irregularity in the terrain where the gate will swing.
Basic Gate Frame Design
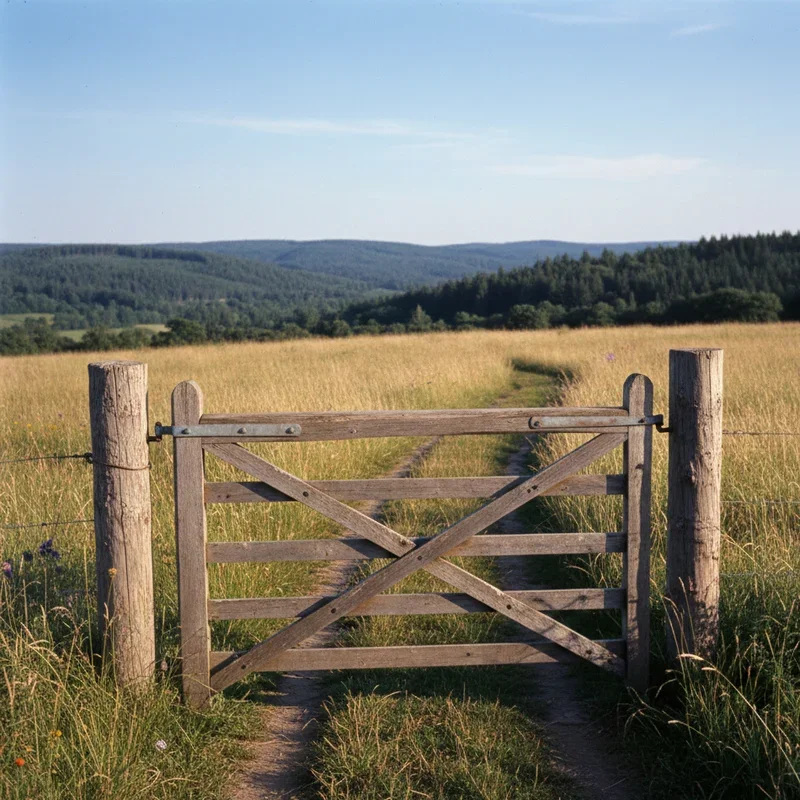
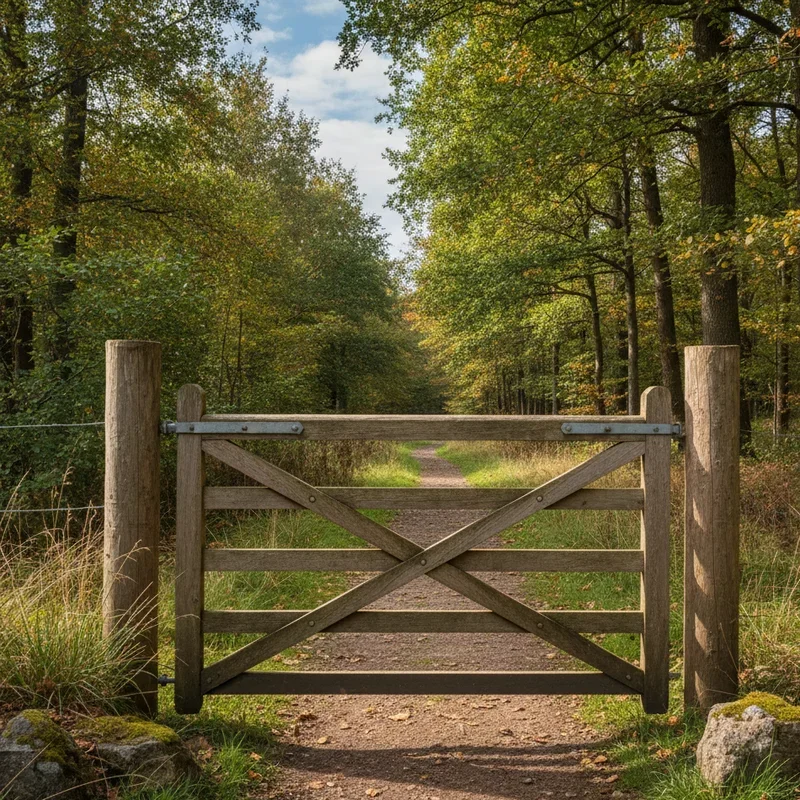
Every wooden gate needs a sturdy frame that resists the forces trying to pull it out of square. The basic rectangular frame consists of horizontal rails connected by vertical stiles, with diagonal bracing preventing the dreaded sag that destroys so many DIY gates.
For gates under four feet wide, a simple Z-brace design works beautifully. Two horizontal rails span the gate width, connected at corners to vertical stiles. A diagonal brace runs from the bottom hinge corner to the top latch corner, forming a Z shape when viewed from behind.
Here's the critical part: the diagonal must run from the bottom hinge side upward to the top latch side! Installing the diagonal incorrectly actually accelerates sagging rather than preventing it. Think of it this way: the diagonal pushes up against gravity's pull on the unsupported latch side.
Wider gates benefit from additional vertical stiles creating a more robust frame. Gates over six feet wide may require center vertical supports and double diagonal bracing for adequate rigidity.
Picket and Board Options
Your gate's face materials determine its final appearance and privacy level. Options range from widely spaced pickets providing visibility and airflow to solid board construction offering complete privacy.
Picket gates use vertical boards attached to the frame with deliberate spacing between each piece. Traditional picket designs feature pointed or rounded tops, though flat-topped pickets create more contemporary looks. Spacing typically ranges from one to three inches depending on desired privacy and aesthetic preferences.
Board-on-board construction overlaps two rows of boards, eliminating gaps while allowing some airflow. This design provides privacy while adding dimensional interest and shadow lines.
Solid board gates use tongue-and-groove or tightly butted boards for maximum privacy. These designs work well for side yard gates or anywhere complete visual screening is desired.
How to Build a Wooden Gate: Materials, Plans, and Tips Step by Step
Cutting Frame Components
With your measurements and design finalized, it's time to start cutting! Gather your lumber, double-check dimensions one more time, and set up a clean, flat work surface for assembly.
Cut your horizontal rails first. Rail length equals your total gate width minus the combined width of both vertical stiles, plus any overlap if you're using lap joints rather than butt joints.
Vertical stiles run the full height of your gate. Cut these pieces square and consistent so your finished gate frame lies flat without twisting.
Cut your diagonal brace last, after the rectangular frame is assembled. This allows you to measure the exact angle and length needed rather than calculating it beforehand. Mark directly from the assembled frame for perfect fit.
Assembling the Frame
Lay out your frame components on a flat surface, checking for square using a carpenter's square or by measuring diagonals. Equal diagonal measurements confirm your rectangle is truly square.
Pre-drill all screw holes to prevent splitting, especially near board ends. Wood splits easily when fasteners are driven too close to edges without pilot holes.
Drive screws through rails into stile ends, using at least two screws per joint for adequate strength. Three-inch exterior screws work well for most frame construction. Check for square again after tightening because sometimes things shift during fastening.
With the rectangular frame assembled and confirmed square, position your diagonal brace. Mark the cutting angles directly from the frame, transfer those marks to your brace material, and cut carefully. The diagonal should fit snugly without forcing the frame out of square.
Secure the diagonal with screws driven through into the rails and stiles. The completed frame should feel remarkably rigid compared to before the diagonal was installed.
Adding Pickets or Boards
Now your gate starts looking like an actual gate! Lay out your pickets or boards across the frame, spacing them evenly and positioning them for visual balance.
If using pickets, calculate spacing carefully so gaps appear consistent across the entire gate. Measure the total width, subtract the combined width of all pickets, then divide remaining space by the number of gaps needed. Cut a spacing block to this dimension for quick, consistent positioning.
Starting from one side, position each picket using your spacing block, check for plumb with a level, and secure with screws driven into each rail. Two screws per rail connection provides adequate holding power for most applications.
For solid board gates, begin at one edge and work across, butting boards tightly together. Tongue-and-groove boards slide together for seamless results. Check periodically for plumb because small errors accumulate and become noticeable over longer runs.
Installing Gate Hardware
With your gate fully assembled, it's time to add hardware and prepare for hanging. Position hinges on the gate first, marking screw locations and pre-drilling holes.
Hinge placement depends on your specific hardware, but generally, position them roughly six inches from top and bottom edges. Very heavy gates may benefit from a third center hinge for additional support.
Attach hinges to the gate using appropriate screws provided with your hardware or selected to match your hinge size. Don't fully tighten yet because adjustment may be needed during hanging.
Latch hardware typically installs after hanging when you can accurately position the catch relative to the striking mechanism.
Hanging Your Finished Gate
This step often requires a helper because holding a heavy gate while driving screws is challenging solo work. Having someone steady the gate while you position and fasten makes everything easier.
Place shims or blocks beneath the gate to establish proper ground clearance, typically two to three inches depending on terrain and swing path. The gate must clear any high spots in its arc without dragging.
With the gate properly positioned on temporary supports, mark hinge locations on your post. Remove the gate, pre-drill holes in the post, then rehang the gate and drive screws to secure.
Check operation before fully tightening everything. The gate should swing freely without binding or rubbing. Adjust hinge positions if needed to achieve smooth operation, then fully tighten all hardware.
Install your latch mechanism, positioning the catch to engage properly when the gate closes. Test repeatedly, making adjustments until latching operation feels smooth and secure.
Essential Tips for Gate Building Success
Preventing the Dreaded Sag
Gate sag is the most common problem plaguing wooden gates, and it's almost always preventable with proper construction. That diagonal brace we discussed? It's absolutely essential, not optional.
Beyond proper bracing, using adequately sized lumber prevents sag. Gates built from thin, lightweight boards simply can't resist the forces trying to pull them out of square. Use full dimension lumber for frame components.
Quality hinges properly sized for your gate weight also prevent sagging. Undersized hinges gradually bend and deform under load, allowing the gate to droop over time regardless of how well the frame was constructed.
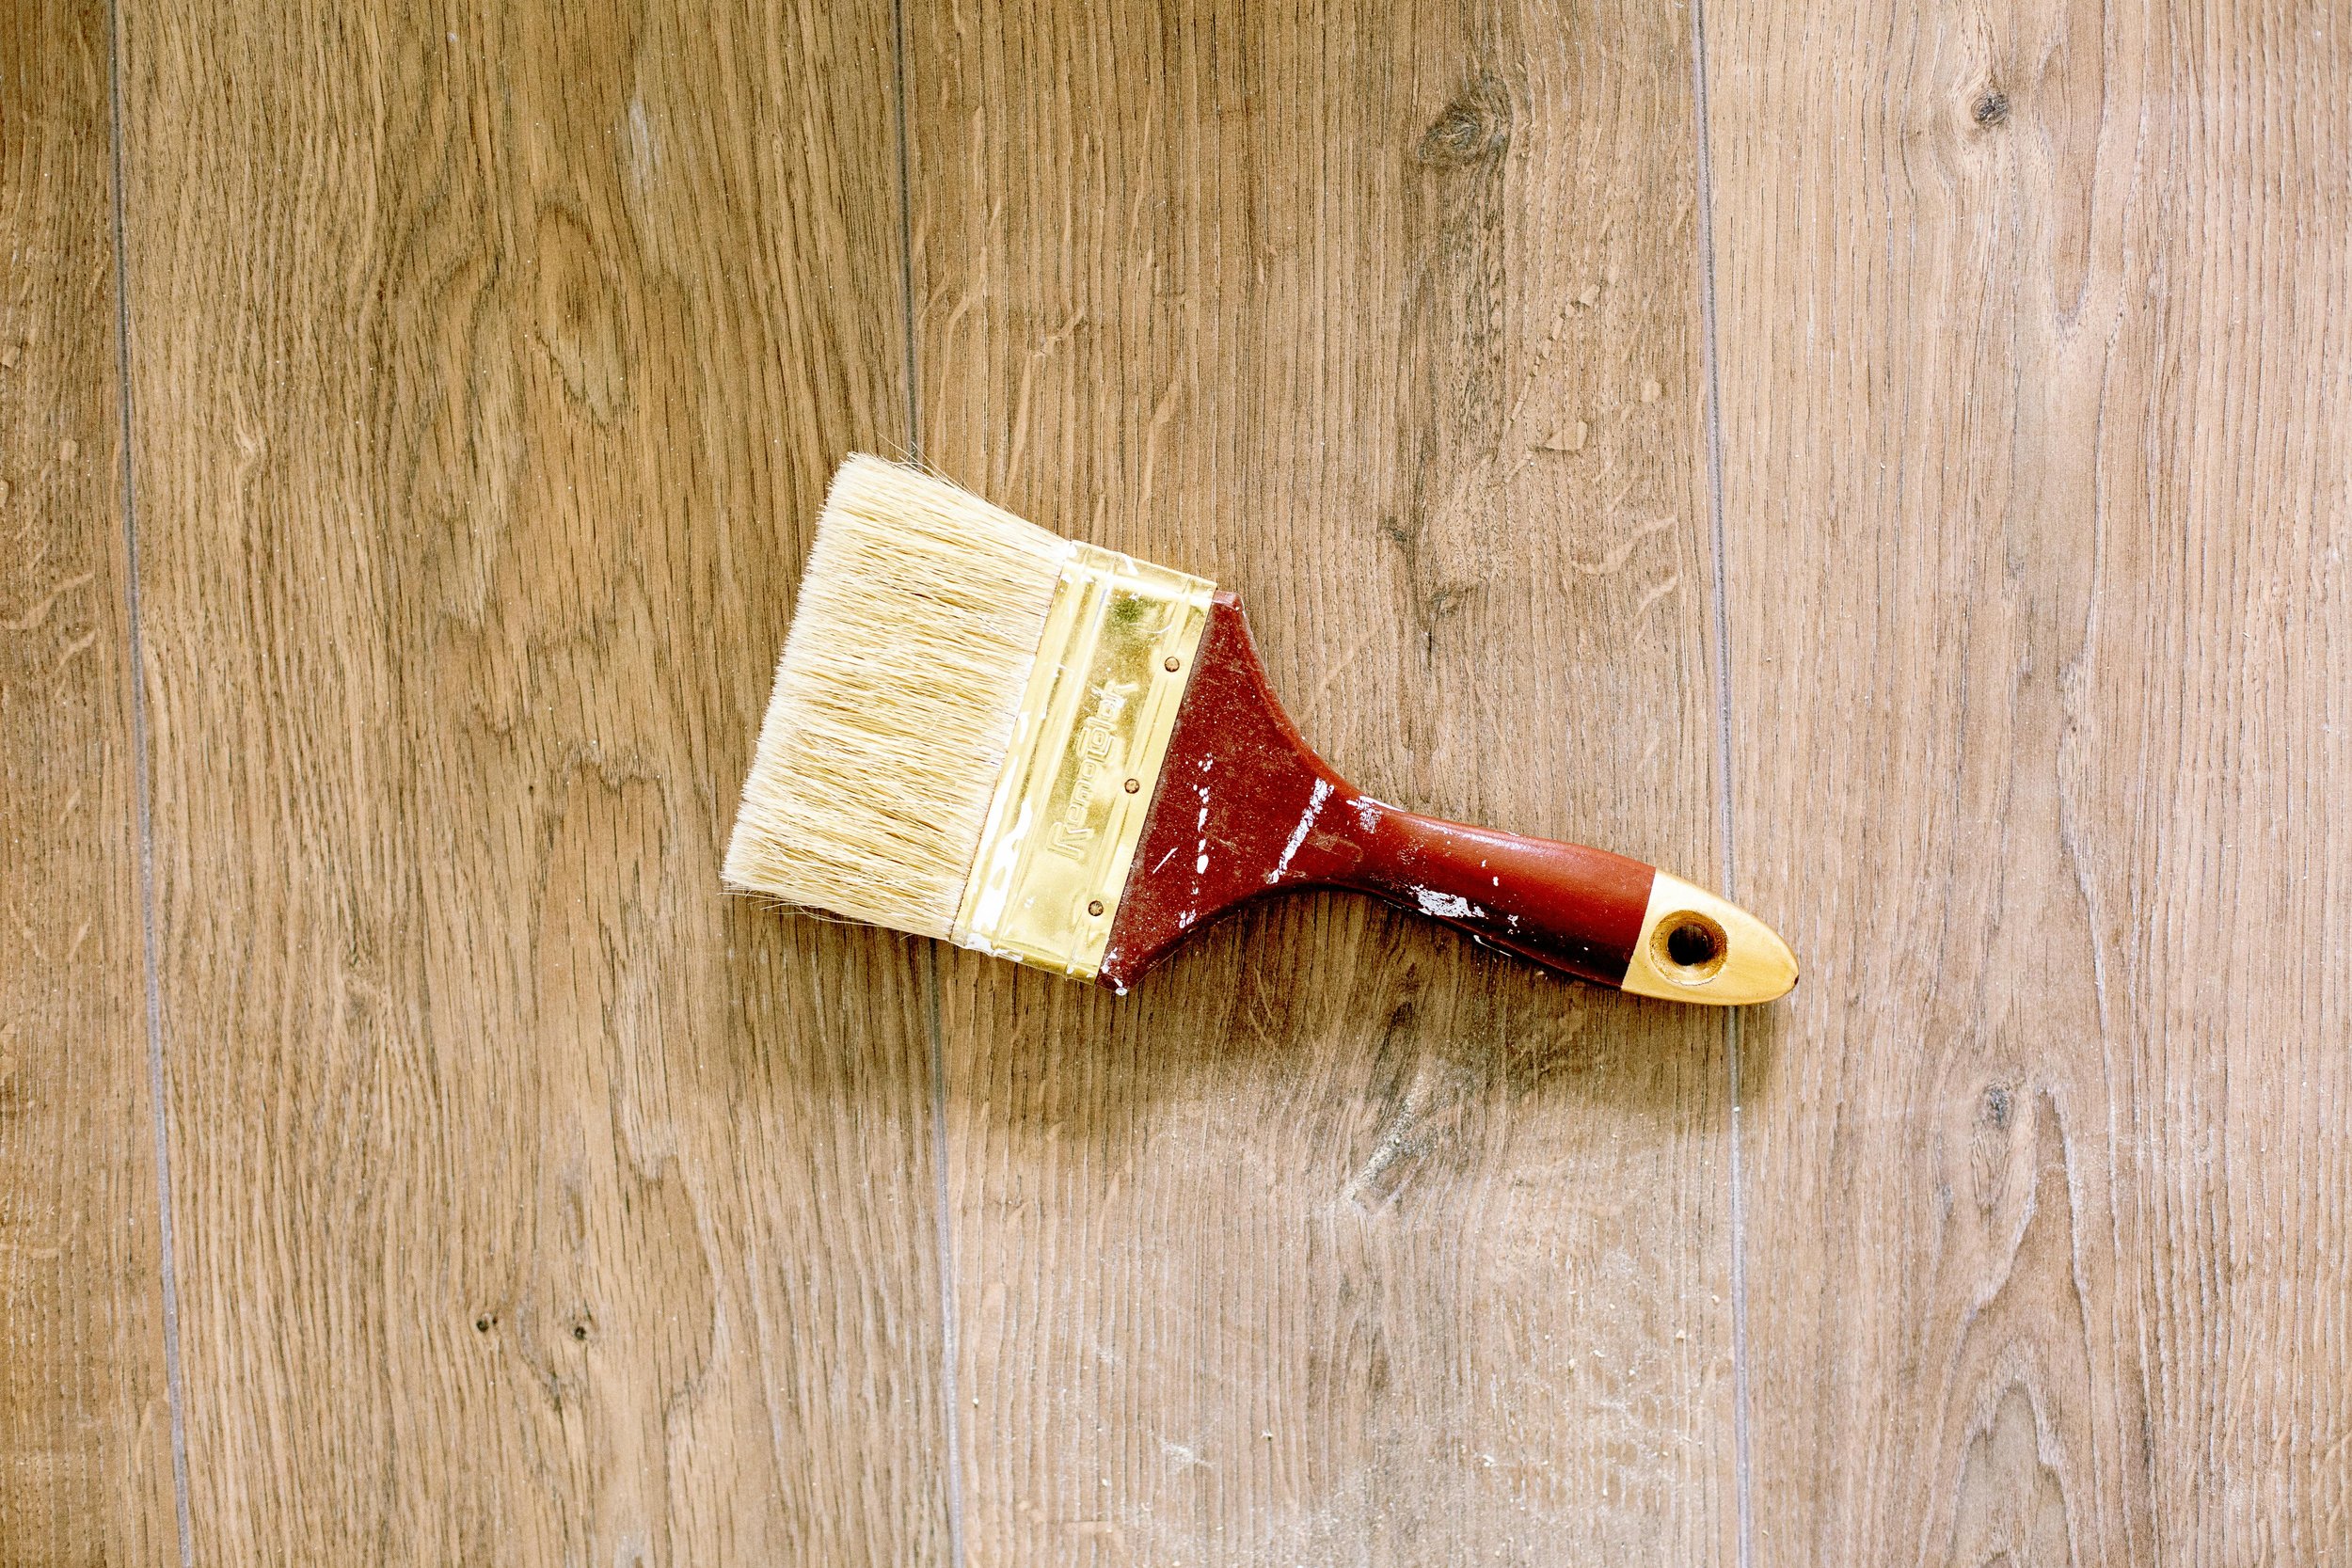
Finishing and Protection
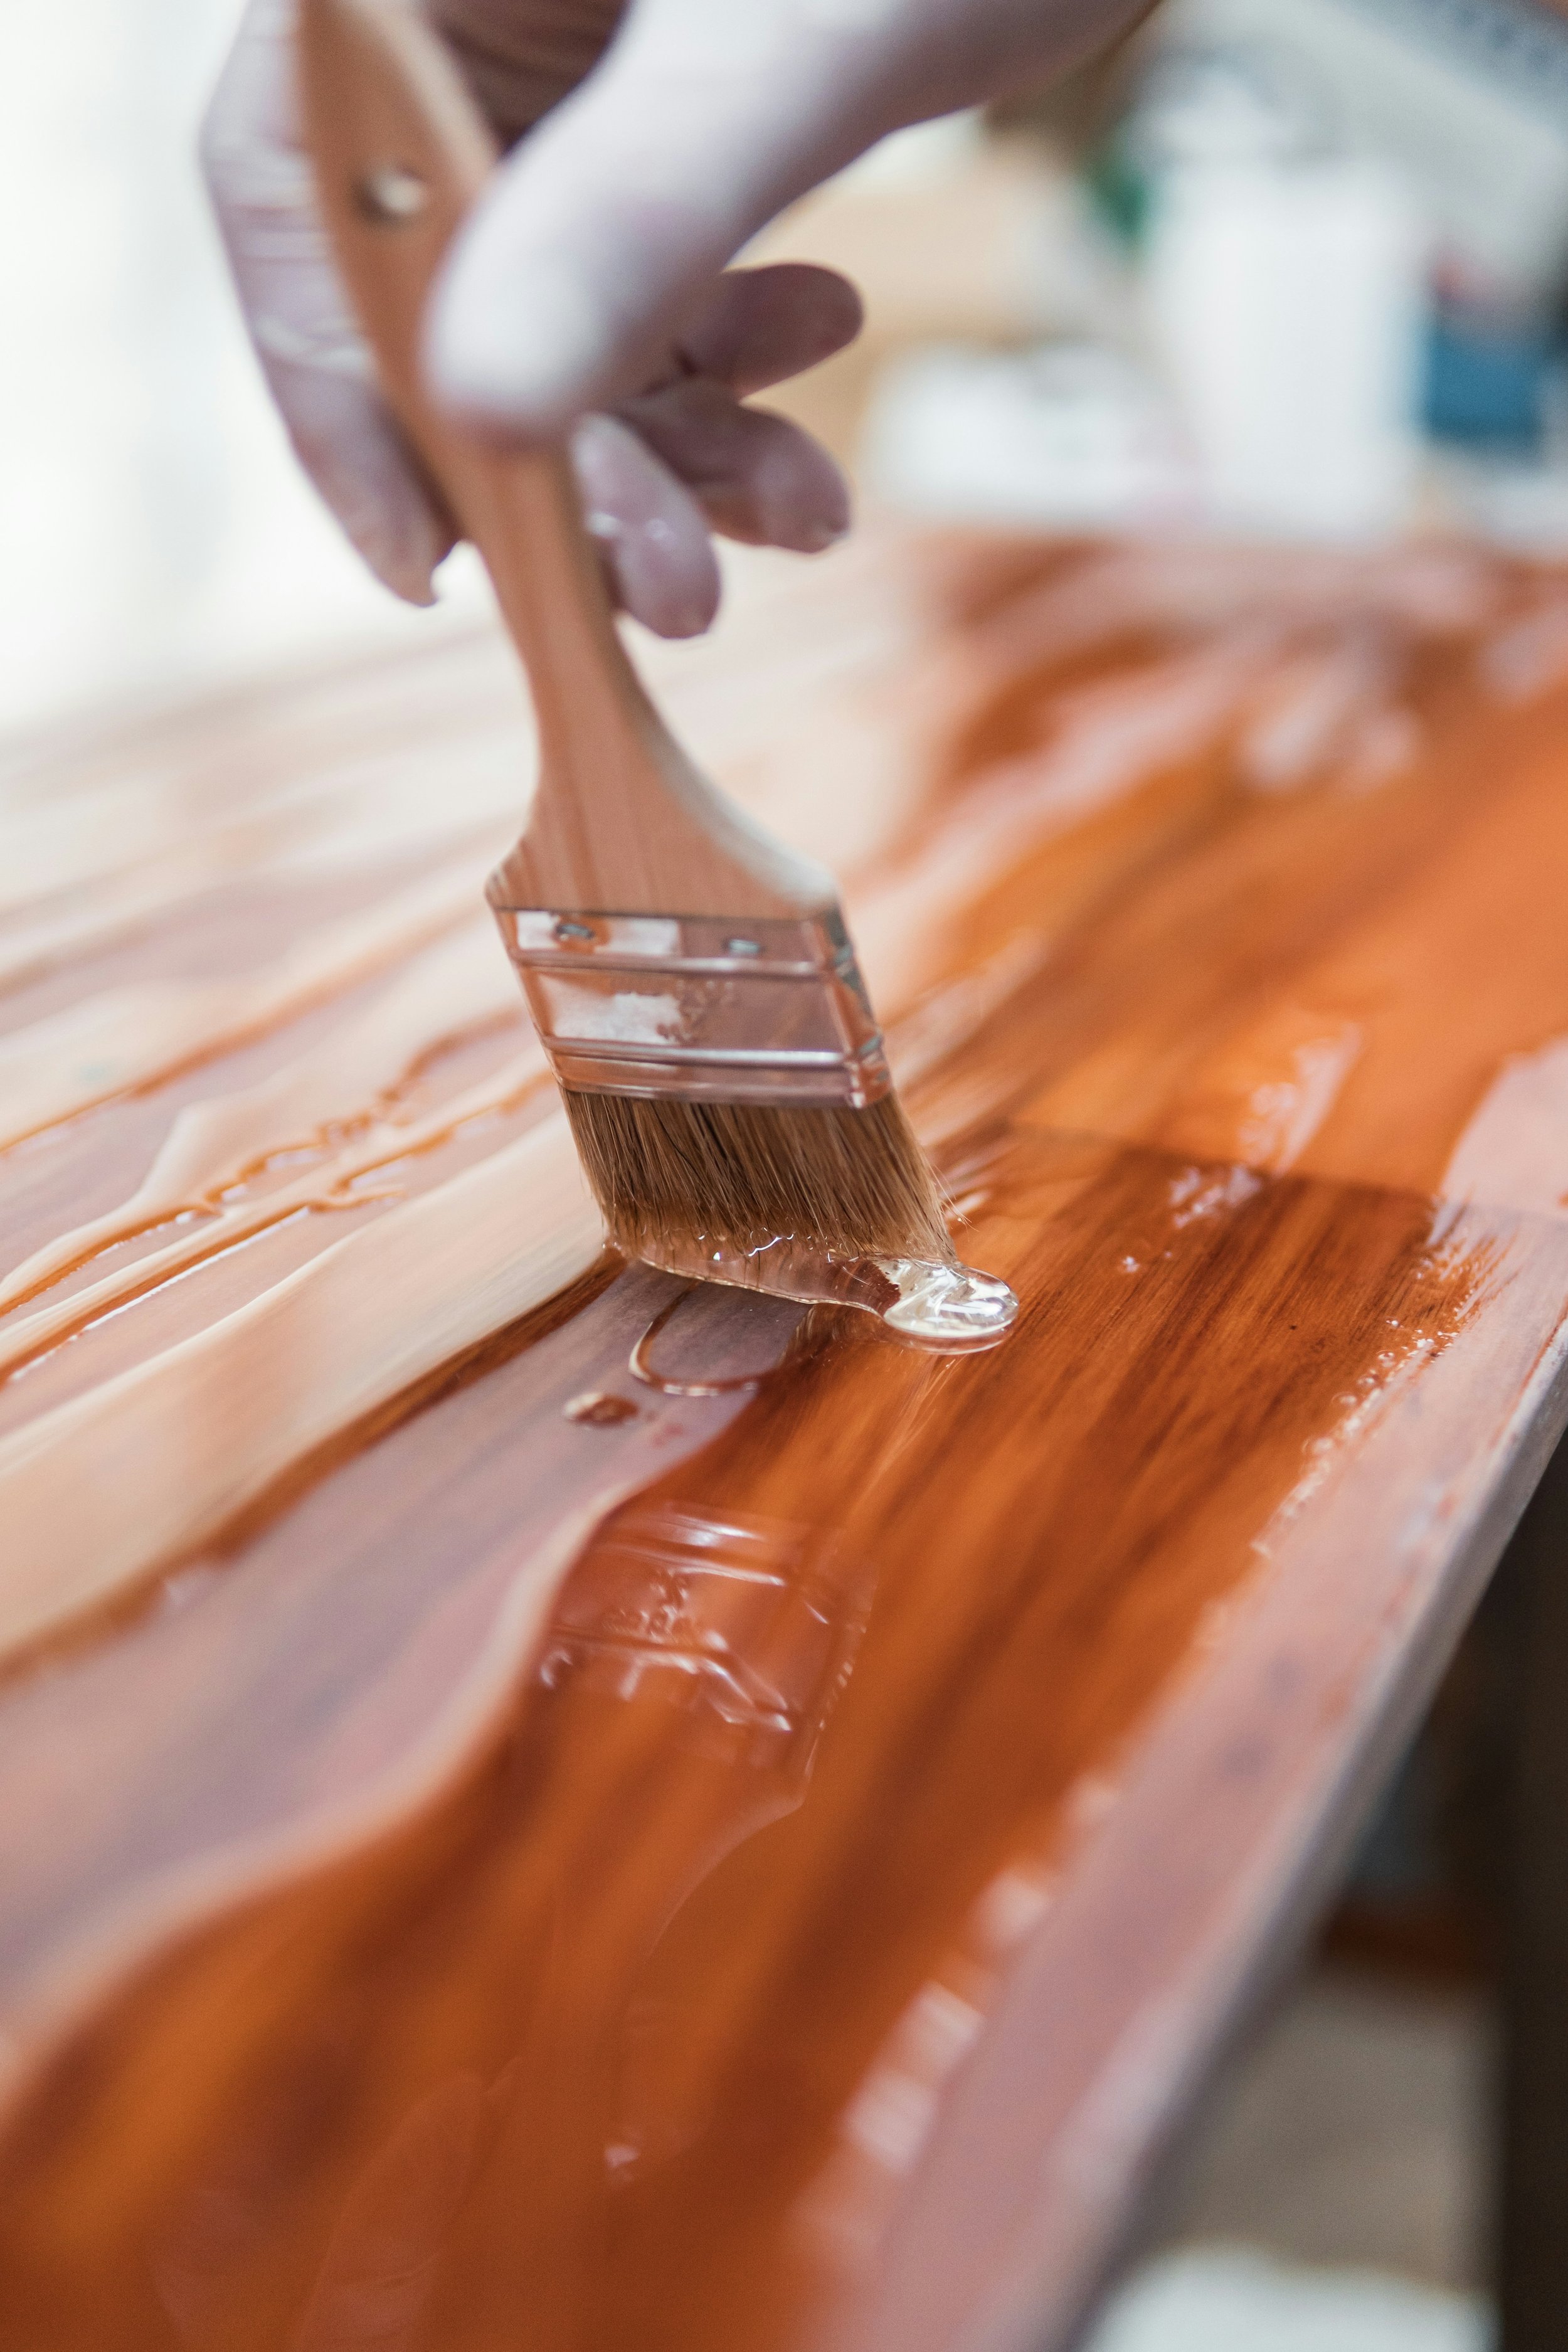
Unfinished wood exposed to weather deteriorates faster than finished wood, even naturally rot-resistant species. Apply finish appropriate for your wood type and desired appearance.
Penetrating oil finishes soak into wood fibers, providing protection while allowing natural grain and texture to show. They require periodic reapplication but are easy to maintain without stripping previous coats.
Film-forming finishes like paint and solid stains create protective barriers on the wood surface. They offer superior protection but eventually peel and require more intensive maintenance.
At minimum, apply water repellent or wood preservative to all surfaces, including cut ends where end grain is exposed. End grain absorbs moisture rapidly and is particularly vulnerable to decay.
Maintenance for Longevity
Even well-built gates need occasional attention to remain functional and attractive. Periodic inspections catch small problems before they become major repairs.
Tighten hardware annually because screws loosen over time from repeated use and seasonal wood movement. Replace any fasteners showing significant rust or corrosion.
Reapply finish according to manufacturer recommendations, typically every one to three years depending on product and exposure. Gates facing south see more sun and may need more frequent refinishing.
Check for wood damage including splitting, cracking, or soft spots indicating decay. Address problems promptly to prevent spread and extend gate life.
Conclusion
Building a wooden gate rewards you with a custom entrance that perfectly matches your fence and reflects your personal craftsmanship. This How to Build a Wooden Gate: Materials, Plans, and Tips guide has equipped you with the knowledge needed for success, from selecting durable materials to preventing common problems like sagging. Remember that proper diagonal bracing, quality hardware, and appropriate finishing make the difference between gates that last decades and those requiring premature replacement. Take your time with measurements, check for square frequently during assembly, and don't skimp on fasteners. Your beautifully crafted gate will welcome visitors and showcase your skills for years to come.
Read next: How to Build Kitchen Cabinets: Step-by-Step DIY Guide
Frequently Asked Questions
1. How wide can I make a single wooden gate?
Single gates work best under five feet wide; wider openings benefit from double gates.
2. What angle should the diagonal brace be cut?
The angle varies by gate dimensions; measure directly from your assembled frame for accuracy.
3. How much ground clearance should my gate have?
Allow two to three inches minimum clearance to accommodate ground irregularities and debris.
4. Can I build a gate without a diagonal brace?
Technically possible, but the gate will sag significantly within months without diagonal bracing.
5. How long will a properly built wooden gate last?
Well-constructed gates using quality materials and proper finishing last twenty years or more.
Stay up to date with our latest ideas!