How to Remove Bathtub Drain Step by Step
Learn how to remove bathtub drain step by step with our easy DIY guide. Save money and fix your plumbing like a pro today!

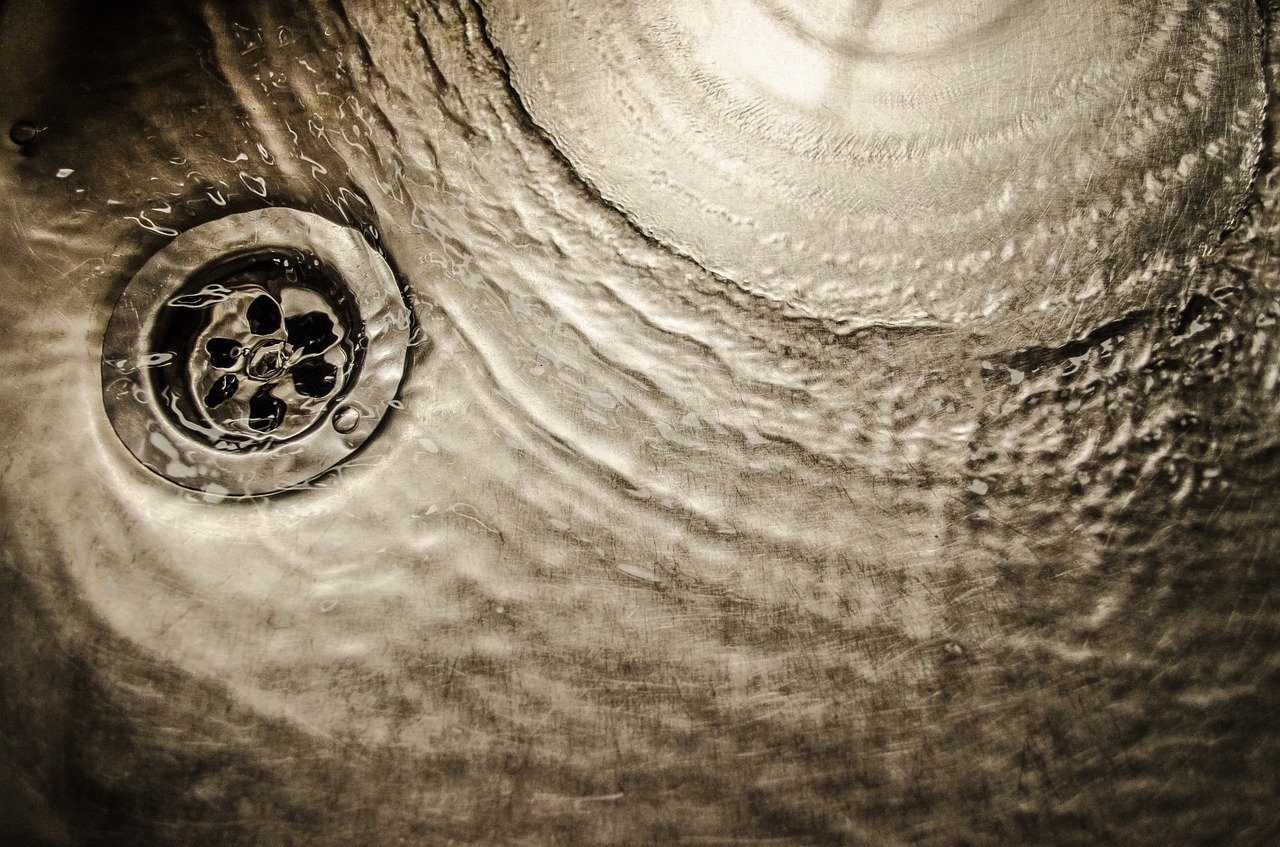
Look, we've all been there. You're standing in ankle-deep water after what should've been a relaxing shower, watching hair and soap scum swirl around your feet like some kind of unwanted whirlpool. Gross, right? Well, chances are your bathtub drain is crying out for help. Maybe it's clogged beyond what a plunger can fix, or perhaps you're upgrading to a fancy new drain assembly. Whatever your reason, knowing how to tackle this job yourself can save you a pretty penny.
Here's the thing: removing a bathtub drain isn't rocket science, but it does require some patience and the right approach. Many folks assume they need to call a plumber for this task, but honestly? You've got this. With a few basic tools and our straightforward guide, you'll have that stubborn drain out faster than you can say "plumber's rates." This comprehensive tutorial will walk you through everything you need to know, from gathering your supplies to dealing with those pesky stuck drains that refuse to budge. So roll up your sleeves, grab your toolbox, and let's dive into this hands-on project together.
Understanding Your Bathtub Drain Assembly
Before you start yanking and twisting things willy-nilly, it's crucial to understand what you're working with. Bathtub drains aren't all created equal, and knowing your drain type will make the removal process so much smoother.
Most residential tubs feature one of three common drain types: the lift-and-turn, the push-and-pull, or the trip lever style. The lift-and-turn has a small knob on top that you twist to open and close. The push-and-pull works exactly how it sounds, you push down to close and pull up to open. Trip lever drains use that little lever on your overflow plate to control drainage. Each style has its quirks, but the basic removal process remains pretty similar across the board.
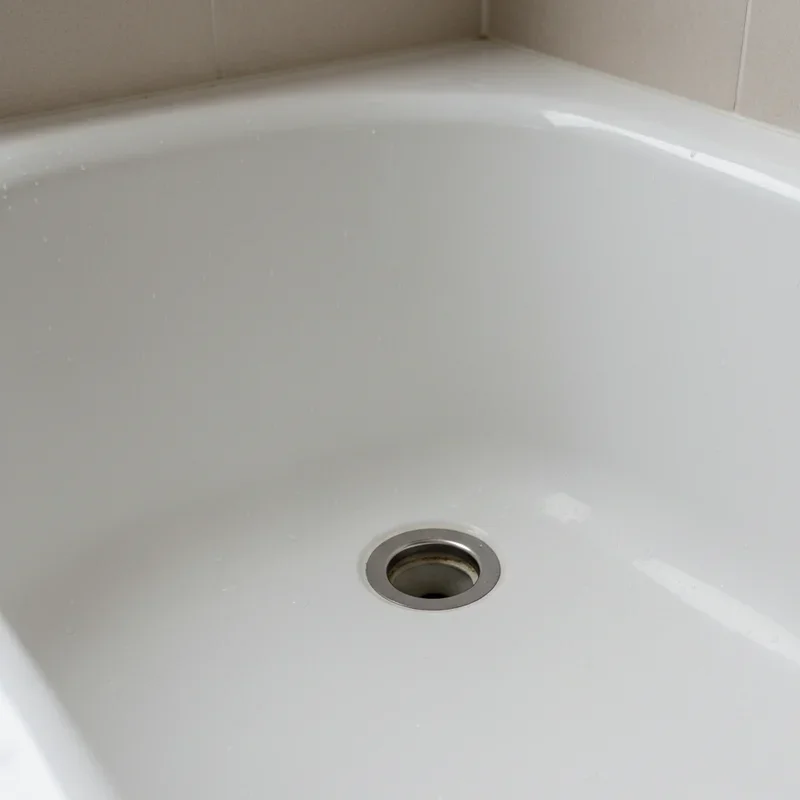
The drain assembly itself consists of several components working together. There's the visible drain cover or stopper mechanism you see in your tub, the drain flange that sits flush with the tub floor, and the drain shoe underneath that connects everything to your home's plumbing. Understanding this structure helps you figure out where things might get stuck and what you're actually trying to remove.
Essential Tools and Materials You'll Need
Alright, let's talk gear. You don't need a workshop full of fancy equipment, but having the right tools makes all the difference between a quick afternoon project and a frustrating ordeal that leaves you questioning your life choices.
Here's your shopping list:
Drain removal tool or drain key – This specialized tool is your best friend for this job
Needle-nose pliers – For gripping small components
Adjustable wrench – Because one size definitely doesn't fit all
Screwdriver set – Both flathead and Phillips head varieties
Penetrating oil – For those stubborn, corroded connections
Putty knife – To scrape away old plumber's putty
Flashlight or headlamp – Visibility is key in those dark tub corners
Old towels or rags – Things can get messy
Rubber gloves – Trust me, you'll want these
Bucket – For catching any leftover water
Having everything within arm's reach before you start saves you from making multiple trips to the hardware store. And believe me, there's nothing more annoying than getting halfway through a project only to realize you're missing a crucial tool.
How to Remove Bathtub Drain Step by Step: Preparation Phase
Preparation might not be glamorous, but it's absolutely essential. Skipping this phase is like trying to bake a cake without preheating the oven – technically possible but likely to end in disappointment.
First things first, clear out everything around your tub. Bath toys, shampoo bottles, that rubber ducky collection you've been meaning to organize – move it all. You need a clean, unobstructed workspace. Next, give your drain area a good cleaning. Wipe away any surface gunk, hair, or soap residue. This isn't just about cleanliness; it's about being able to see what you're doing.
Now, check if there's any standing water in your tub. If there is, you'll need to bail it out or let it drain as much as possible. Working in water isn't just uncomfortable, it makes everything slippery and difficult to grip. Lay down those old towels around your work area to catch any drips or spills. Your knees will thank you too if you kneel on them while working.
Take a good look at your drain with your flashlight. Identify what type you're dealing with and look for any visible screws or set screws. Some drain stoppers have a small screw right in the center or on the side that needs removal before you can proceed. Snap a few photos with your phone if you want – they'll come in handy during reassembly.
Removing the Drain Stopper
The stopper is your first obstacle, and honestly, it's usually the easiest part. Different stoppers come out different ways, so let's break it down by type.
For Lift-and-Turn Stoppers: Start by opening the stopper completely. Look for a small set screw on the side of the knob. If you spot one, grab your flathead screwdriver and turn it counterclockwise until it's loose enough to remove. Once the screw's out, you should be able to unscrew the entire stopper by turning it counterclockwise. Sometimes these get stuck due to soap buildup, so don't be afraid to apply some steady pressure.
For Push-and-Pull Stoppers: These guys are typically threaded directly into the drain. Grab the stopper firmly and turn it counterclockwise. If it won't budge, try gripping it with a rag for better traction. Some models have a small set screw under the cap that you'll need to remove first.
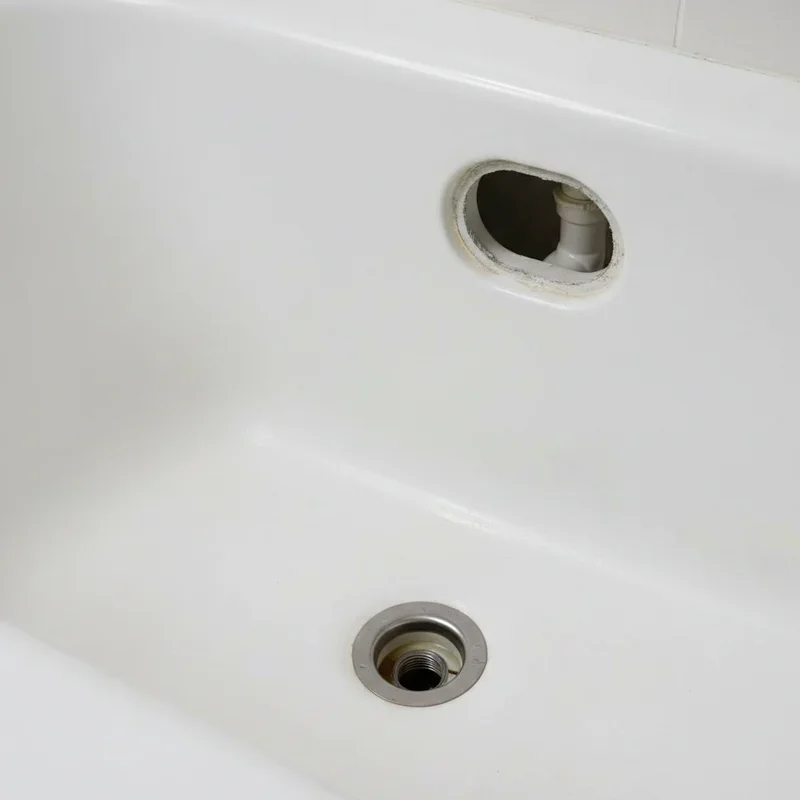
For Trip Lever Drains: With trip levers, you'll need to unscrew the overflow plate on your tub wall. Remove those screws, then carefully pull the entire linkage assembly out through the overflow hole. It's connected to a long rod that extends down into the drain system, so pull slowly and steadily.
Once you've got the stopper out, set it aside somewhere safe. You'd be surprised how easy it is to lose small components during home improvement projects.
Accessing the Main Drain Body
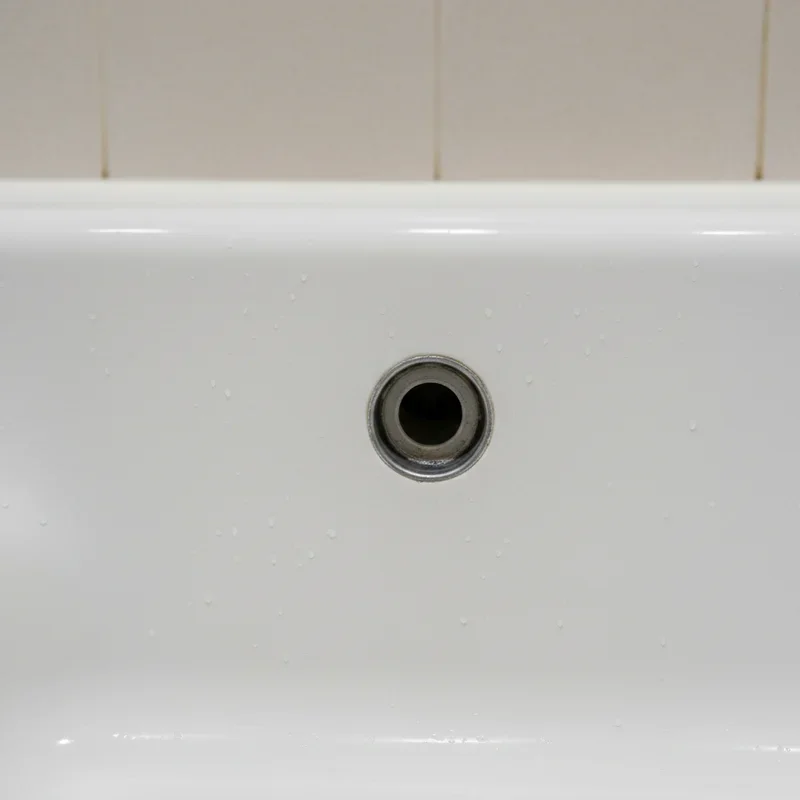
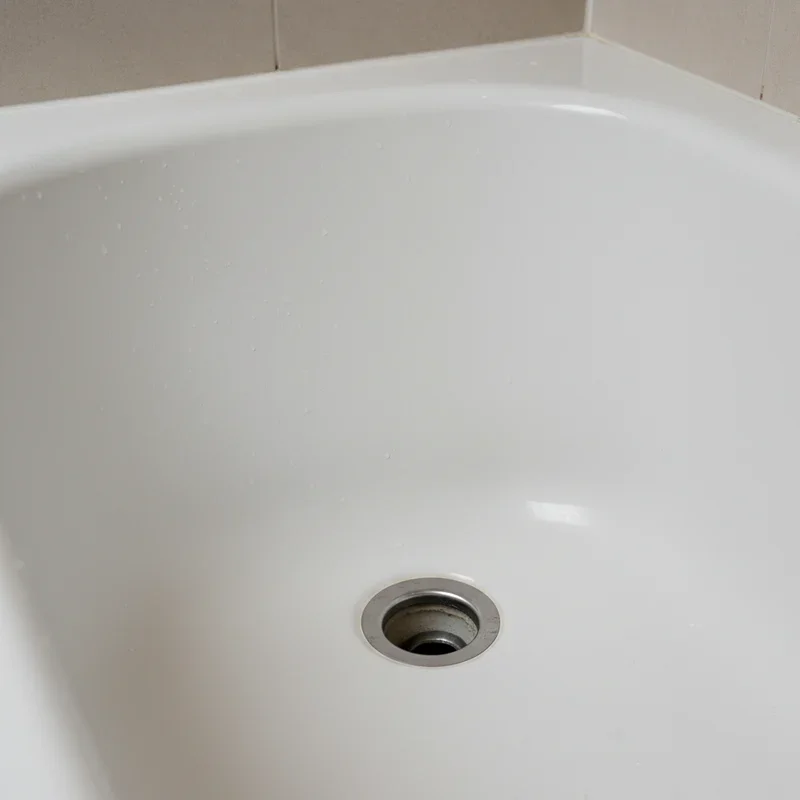
Now we're getting to the meat and potatoes of the operation. With the stopper out of the way, you should be able to see down into the drain opening. Shine your flashlight in there and take a look at what you're dealing with.
The drain flange is that threaded piece that screws into the drain shoe below. Inside the drain opening, you'll typically see crossbars or a grid pattern. This is where your drain removal tool comes into play. These tools are designed with prongs that fit into those crossbar slots, giving you the leverage needed to twist the drain loose.
If you've got a drain key or proper removal tool, insert it into the drain opening until the prongs catch securely in the crossbars. You want a snug fit here because you're about to apply some serious torque. Don't have a specialized tool? No worries. You can fashion a makeshift version using needle-nose pliers or even a pair of sturdy metal scissors. The key is finding something that'll grip those crossbars without slipping.
Before you start cranking away, here's a pro tip that'll save you tons of frustration: spray some penetrating oil around the drain flange where it meets the tub. Let it sit for at least 15 minutes, or even better, overnight if you're not in a rush. Years of soap scum, hard water deposits, and general corrosion can practically weld that drain in place. The penetrating oil works its magic by seeping into those tiny gaps and breaking down the gunk.
The Actual Removal Process
Alright, moment of truth. This is where you find out if your drain's going to cooperate or put up a fight. Spoiler alert: they usually fight back a little, but you're tougher.
Insert your drain removal tool firmly into the crossbars. Position your adjustable wrench on the tool for extra leverage. Now, turn counterclockwise. Remember the old saying, "righty tighty, lefty loosey"? That applies here. Apply steady, firm pressure. Don't jerk or yank – smooth, consistent force is what you're after.
If the drain starts turning, fantastic! Keep going until it's completely unscrewed. The threads might feel a bit gritty or rough – that's normal. Just maintain steady pressure and keep turning. As you get near the end, you might be able to finish unscrewing it by hand. Once it's loose, lift the drain flange straight up and out.
But what if nothing's happening? What if that drain's stuck tighter than a jar of pickles at grandma's house? Don't panic. Apply more penetrating oil and give it another 15-20 minutes. Sometimes these things need multiple applications. Try tapping gently around the drain flange with a rubber mallet or the handle of your screwdriver. The vibration can help break the seal.
Still stuck? Here's where things get real. You might need to apply heat. A hair dryer works well for this. Heat the drain flange for a few minutes – the expansion can help break the bond. Then try turning again while it's still warm. Just be careful not to damage your tub's finish with excessive heat.
In extreme cases where nothing else works, you might need to use a drain extractor or even cut the drain out. But let's be honest, that's a last resort scenario. Nine times out of ten, patience and penetrating oil win the day.
Dealing With Stubborn or Damaged Drains
Sometimes drains don't want to leave their cozy homes. Maybe the previous installer went crazy with the plumber's putty, or perhaps years of corrosion have fused everything together. Whatever the reason, you've got options.
When standard removal methods fail, consider using a pipe wrench for additional grip. Wrap the drain flange with a rag first to protect the finish, then carefully apply the pipe wrench. This gives you significantly more leverage, but be careful – you can damage the drain or even crack your tub if you get too aggressive.
If the crossbars inside the drain break off (yeah, it happens), you'll need to get creative. Some folks have success using expanding pliers that grip the inside walls of the drain. Others carefully use a chisel to turn the drain from the inside. The goal is to find any purchase point that'll let you apply rotational force.
For drains that are truly seized, there's the heat-and-ice method. Heat the drain with your hair dryer, then immediately apply ice cubes to it. The rapid temperature change causes expansion and contraction, which can crack the corrosion seal. It sounds crazy, but plumbers swear by this trick.
Here's something important: know when to call it quits. If you've been struggling for hours and making zero progress, it might be time to bring in a professional. There's no shame in that. Sometimes saving your sanity (and preventing accidental tub damage) is worth the service call.
Cleaning Up and Preparing for Installation
Congratulations! You've conquered the drain removal. But hold up, you're not quite done yet. The prep work you do now makes installing a new drain (or reinstalling the old one) exponentially easier.
First, clean the drain opening thoroughly. Use your putty knife to scrape away all the old plumber's putty or silicone from around the drain hole. You want this area completely clean and smooth. Any leftover gunk can prevent a proper seal with your new drain, leading to leaks down the road.
Inspect the threads inside the drain shoe. If they look damaged or severely corroded, you might need to replace the drain shoe as well. Minor roughness is okay, but if the threads are stripped or broken, they won't hold a new drain securely.
Wipe everything down with a rag dampened with rubbing alcohol. This removes any oil residue from the penetrating lubricant and ensures a clean surface for your new drain's sealant. Check the surrounding tub surface for any cracks or damage that occurred during removal. Small scratches usually aren't a big deal, but cracks might need professional attention.
If you're not installing a new drain immediately, stuff a rag into the drain opening to prevent sewer gases from entering your bathroom and to keep debris from falling into the pipes. Just don't forget it's there when you're ready to install!
Common Mistakes to Avoid
Let's talk about the oopsies that trip people up. Learning from others' mistakes is way cheaper and less frustrating than making them yourself.
Using the Wrong Tools: Look, I get it. You want to use what you have on hand. But trying to remove a drain with inappropriate tools often leads to stripped crossbars, damaged drains, or worse – a damaged tub. Invest in the proper removal tool. They're not expensive, and they make the job infinitely easier.
Not Using Penetrating Oil: This is probably the number one mistake. People try to muscle through with brute force when 15 minutes with some penetrating oil would've saved them an hour of frustration. Be patient. Let chemistry do the heavy lifting.
Over-Tightening: Whether you're removing or installing, gorilla strength isn't necessary. Over-tightening can crack your tub or damage threads. Firm and snug is all you need.
Forgetting About the Overflow: If you've got a trip lever drain and you don't remove the overflow assembly first, you'll be there all day wondering why nothing's working. Always start with the stopper mechanism.
Not Protecting the Tub: One slip with a metal tool and you've got a nice scratch in your tub's finish. Use towels, rags, or painter's tape to protect vulnerable surfaces.
Rushing the Process: This isn't a race. Take your time, especially if you're dealing with old plumbing. Patience prevents problems.
When to Call a Professional Plumber
Being handy is great, but knowing your limits is even better. There are situations where DIY heroics should take a backseat to professional expertise.
If you've got a cast iron tub and you're worried about cracking it, consider professional help. These tubs are heavy and brittle, and the wrong move can cause serious damage. Similarly, if your tub is a fancy material like cultured marble or fiberglass, you might want expert hands on deck.
When you discover significant rust, corrosion, or damage to the underlying pipes, that's often a sign of bigger plumbing issues. A professional can assess whether you need more extensive repairs. If water starts leaking from unexpected places during your removal attempt, stop immediately and call someone. You might've disturbed pipes or connections that need immediate attention.
Building codes and permits are another consideration. Some jurisdictions require permitted work for plumbing modifications. A licensed plumber knows these regulations and can ensure compliance. Plus, if you're planning to sell your house soon, professional work provides documentation that can be valuable during inspections.
Finally, if you've given it your best shot and that drain simply won't budge, don't force it. A professional has specialized tools and techniques that can handle the job without causing damage. Sometimes the service call fee is cheaper than replacing a cracked tub.
Tips for Reinstallation
Since you've mastered removal, here's a quick primer on putting everything back together, because what goes out must eventually come back in.
Apply fresh plumber's putty or silicone sealant around the new drain flange before installation. This creates a watertight seal between the drain and your tub. Don't go crazy with it, a thin, even layer does the trick. Thread the drain into the shoe by hand first, turning clockwise. Once it's hand-tight, use your drain tool to snug it up. Remember, firm but not Hulk-level tight.
Make sure the drain sits flush with the tub surface. If it's crooked or sits too high, back it out and try again. Test your work before declaring victory. Run water and check for leaks around the drain. If you spot any, you might need to remove it, add more sealant, and try again. Better to catch problems now than after you've put everything away.
Reinstall your stopper mechanism according to its type. Thread lift-and-turn stoppers back in clockwise, replace set screws, and ensure everything operates smoothly. For trip lever assemblies, carefully feed the linkage back down through the overflow hole and reattach the plate.
Conclusion
There you have it – your complete roadmap for tackling bathtub drain removal like an absolute pro. Sure, it might seem intimidating at first, but armed with the right tools, a hefty dose of patience, and this guide, you're more than capable of handling this DIY project. Remember, the key ingredients are preparation, proper technique, and knowing when to fight and when to call for backup. You'll save money, gain valuable skills, and earn some serious DIY bragging rights. Now get out there and show that stubborn drain who's boss!
Read next: How to Unclog a Bathtub Drain with Standing Water
Frequently Asked Questions
Q1: How long does it typically take to remove a bathtub drain?
A: Most drain removals take 30 minutes to two hours depending on corrosion and experience level.
Q2: Can I remove a bathtub drain without special tools?
A: Yes, pliers or scissors can work temporarily, but proper tools make the job significantly easier.
Q3: What if my drain's crossbars break during removal?
A: Use expanding pliers to grip the drain walls or carefully chisel from inside edges.
Q4: Is penetrating oil really necessary for drain removal?
A: It's not mandatory, but it dramatically increases success rates and prevents damage to components.
Q5: How do I know if my drain needs replacement or just cleaning?
A: Check for cracks, severe corrosion, or stripped threads requiring replacement versus simple clogs needing cleaning.
Stay up to date with our latest ideas!