How to Replace a Circuit Breaker Safely and Easily
Learn to replace faulty circuit breakers like a pro. Step-by-step safety guide with tools, tips, and troubleshooting for DIY electrical work.

Holy moly, so your circuit breaker's gone kaput, and you're sitting there in the dark wondering if you should call an electrician or channel your inner Bob Vila? Well, buckle up, buttercup, because learning "How to Replace a Circuit Breaker Safely and Easily" isn't rocket science, but it's definitely not something you wanna wing either. One wrong move and you'll be doing the electric slide for all the wrong reasons!
Look, I get it. The thought of messing with your electrical panel probably makes you sweatier than a long-distance runner in July. But here's the thing: with the right knowledge, tools, and a healthy respect for electricity, you can totally handle this job. Think of it like changing a tire. Sure, it's intimidating the first time, but once you know the steps, it's just another household skill in your toolkit. And trust me, the money you'll save not calling an electrician at weekend rates? That's beer money right there, my friend!
Understanding Circuit Breakers: The Gatekeepers of Your Home
Before we start yanking things out of your electrical panel like we're playing Jenga, let's talk about what these little switches actually do. Circuit breakers are basically the bouncers of your electrical system. When too much current tries to crash the party, they shut things down faster than you can say "overload."
Types of Circuit Breakers: Know Your Players
Not all breakers are created equal, folks. Walking into a hardware store without knowing what you need is like ordering coffee in Italy without speaking Italian. You might get something, but it probably won't be what you wanted.
Standard Single-Pole Breakers: The workhorses handling most 120-volt circuits
Double-Pole Breakers: The big boys managing 240-volt appliances like your dryer
GFCI Breakers: The safety nerds protecting you from shock in wet areas
AFCI Breakers: The fire preventers detecting dangerous arcing
Tandem Breakers: The space savers fitting two circuits in one slot
Signs Your Breaker's Ready for Retirement
How do you know when it's time to show your breaker the door? Well, if it's doing any of these things, it's waving a white flag:
Tripping constantly: Like that friend who can't hold their liquor
Won't stay reset: Flipping back off immediately? Yeah, that's not normal
Visible damage: Burn marks, melting, or that lovely electrical smell
Hot to the touch: Breakers shouldn't feel like a fresh cup of coffee
Age: If it's older than your kids, it might be time
Safety First: Don't Become a Human Lightning Rod
Alright, before we dive into the nitty-gritty of "How to Replace a Circuit Breaker Safely and Easily," we need to talk safety. And I mean really talk about it, not just give it a quick nod like you do when someone asks if you've read the terms and conditions.
Essential Safety Gear: Your Electrical Armor
Going into battle with electricity without proper gear is like bringing a knife to a gunfight. Here's what you absolutely need:
Insulated gloves: Rubber ones, not your gardening gloves
Safety glasses: Because sparks in your eyes aren't fun
Non-contact voltage tester: Your best friend for checking if wires are live
Insulated tools: Regular tools are a no-go
Rubber-soled shoes: Leave the flip-flops for the beach
Flashlight or headlamp: You'll need both hands free
The Golden Rules of Electrical Work
Turn off the main breaker: I cannot stress this enough. OFF means OFF
Test before you touch: That voltage tester isn't a decoration
Work with a buddy: Someone needs to call 911 if things go south
Never work in wet conditions: Water and electricity mix like oil and... more oil
When in doubt, call a pro: Your ego isn't worth your life
How to Replace a Circuit Breaker Safely and Easily: The Main Event
Now that we've covered the safety sermon, let's get down to business. Replacing a circuit breaker is like following a recipe. Skip a step or add your own flair, and you might end up with something explosive (literally).
Step 1: Preparation and Planning
First things first, you gotta know what you're dealing with. Head to your electrical panel and play detective:
Identify the faulty breaker (usually the one that's tripped or won't reset)
Note the amperage rating (15, 20, 30 amps, etc.)
Check the brand of your panel (breakers need to match)
Take a photo of the panel before you start (trust me on this)
Step 2: Gathering Your Tools and Materials
Running back and forth to the hardware store is about as fun as a root canal. Get everything ready:
Tools needed:
Screwdrivers (flathead and Phillips)
Wire strippers
Needle-nose pliers
Voltage tester
Flashlight or headlamp
Materials needed:
Replacement breaker (exact match!)
Wire nuts (just in case)
Electrical tape
Marker for labeling
Step 3: Shutting Down the Power
This is where things get serious. No shortcuts, no "it'll be fine" attitude.
Turn off the main breaker (the big one at the top)
Put tape over it so nobody flips it back on
Test with your voltage tester to confirm power is off
Test the tester on a known live source first (yeah, test the tester)
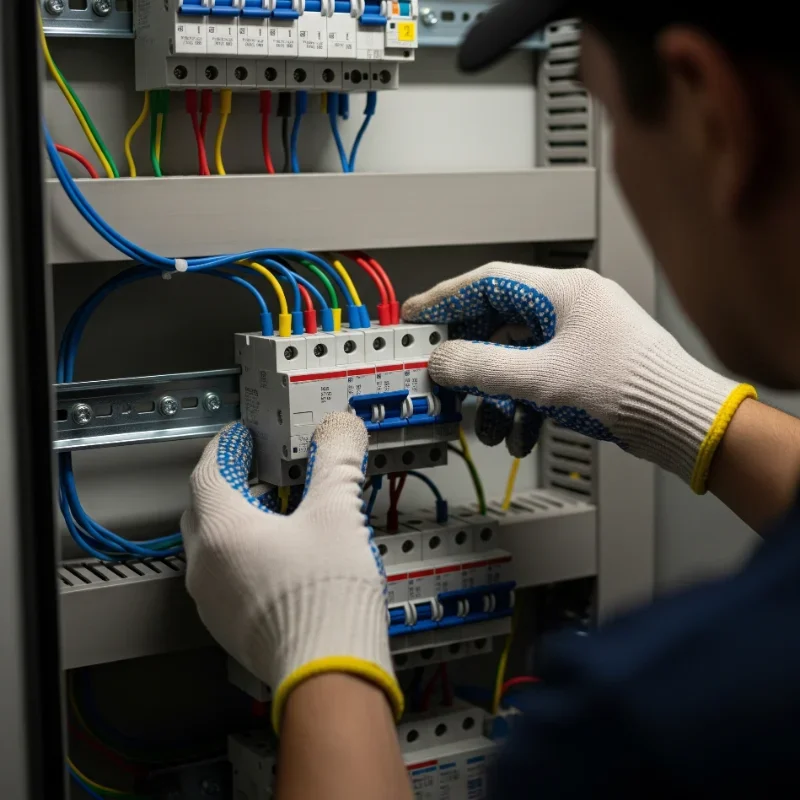
Step 4: Removing the Panel Cover
With the power off, you can now remove the panel cover. It's usually held by several screws around the edges. Keep track of these screws! They have a tendency to disappear like socks in a dryer.
Pro tips:
Work slowly and carefully
Keep the screws in a small container
Watch for sharp edges on the panel
Don't touch anything until you've tested it
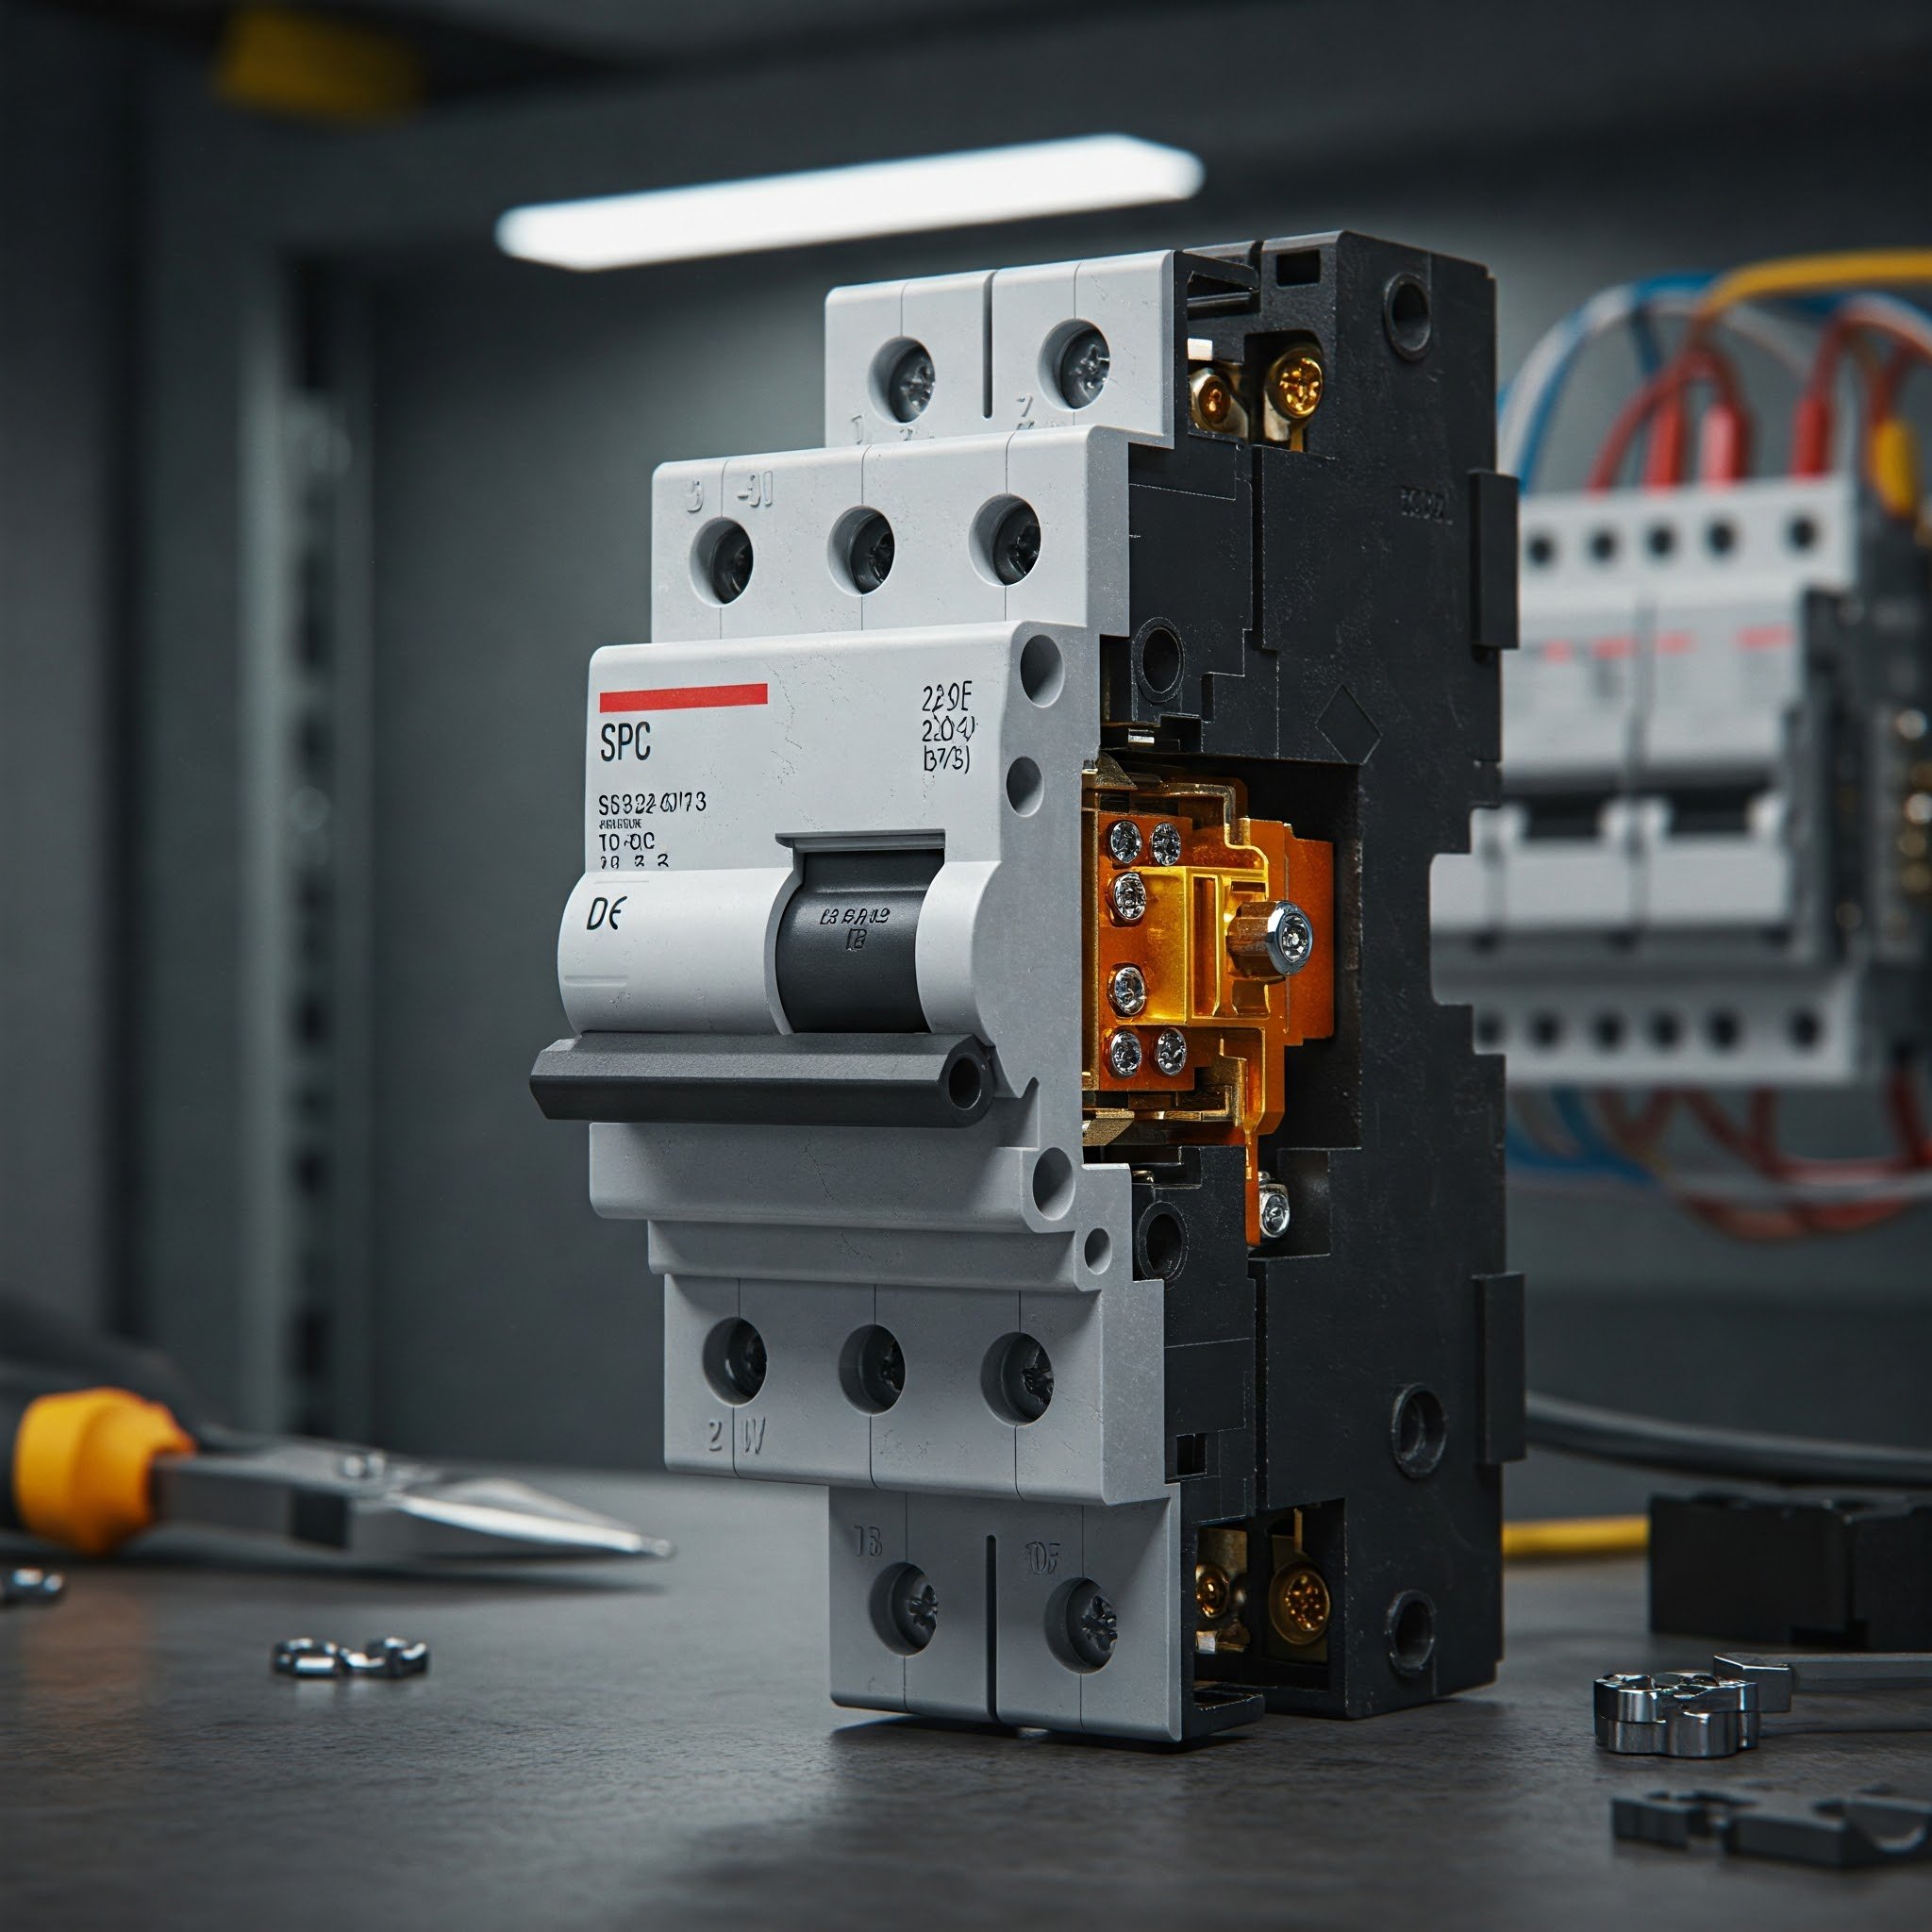
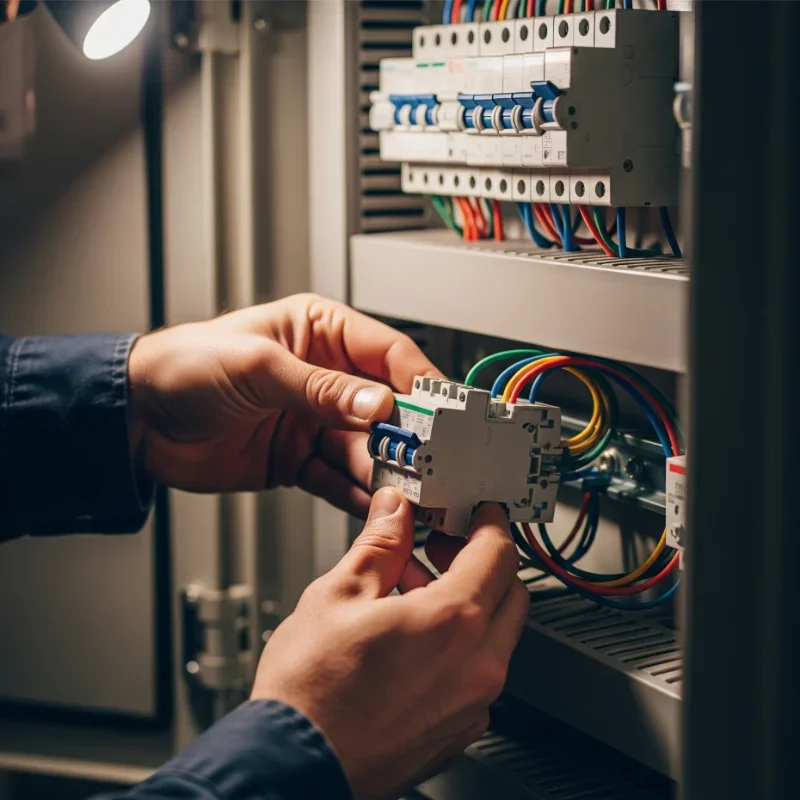
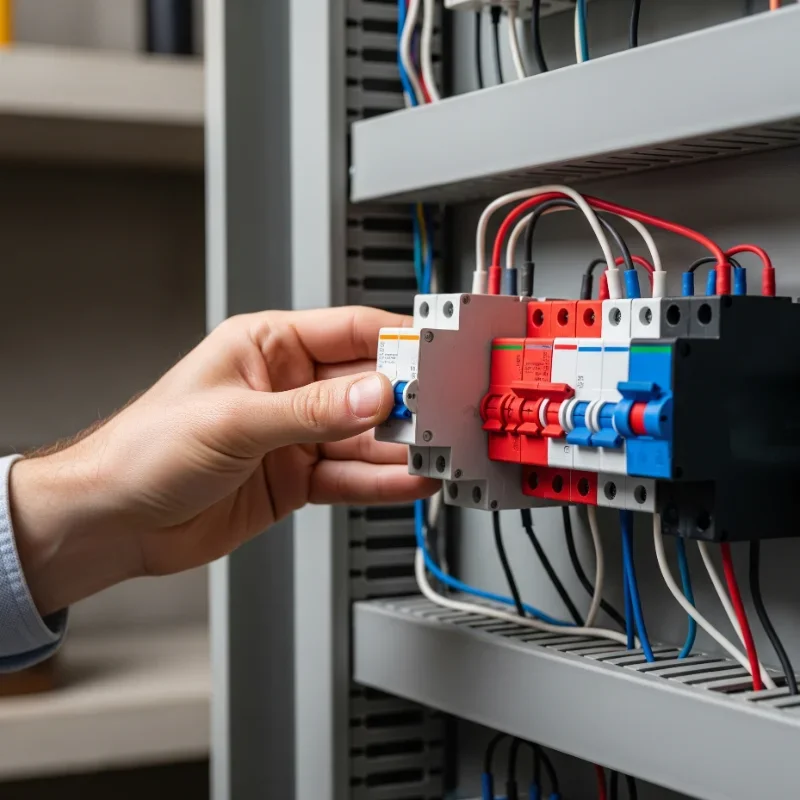
Step 5: The Actual Replacement
Here's where the rubber meets the road, or rather, where the breaker meets the bus bar:
Locate the faulty breaker: Should be obvious from your earlier detective work
Turn the breaker to full OFF position: Even though main power is off
Carefully pull the breaker out: It'll pivot out from the bus bar
Loosen the terminal screw: The wire needs to come free
Remove the wire: Note how it was connected (seriously, take a picture)
Install the new breaker: Reverse the process
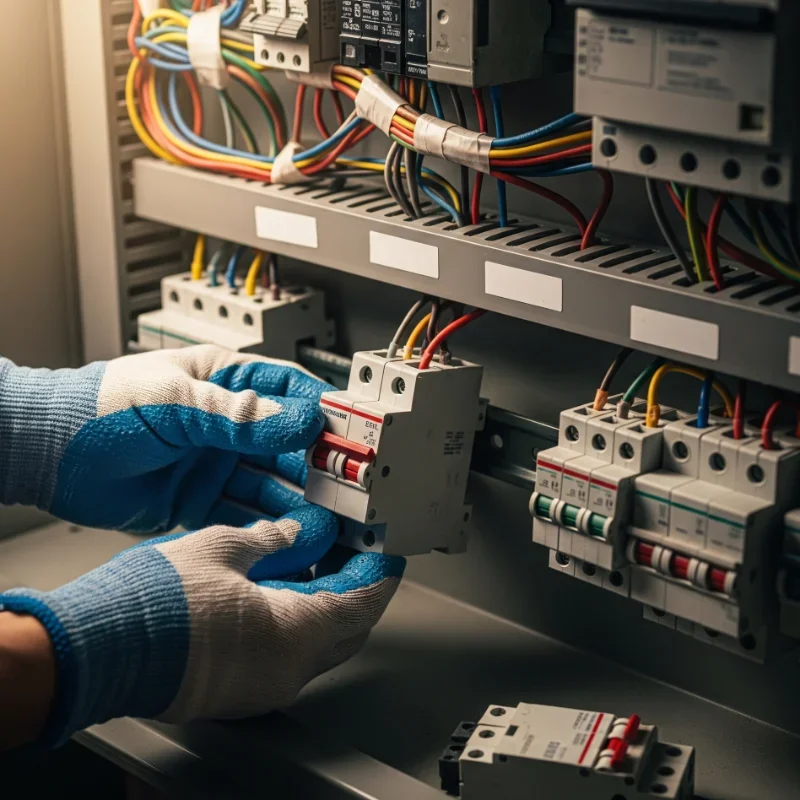
Step 6: Making the Connection
Connecting the wire to your new breaker is like threading a needle, except the thread can kill you if you're not careful:
Strip the wire if needed (usually 3/4 inch of bare copper)
Insert firmly into the terminal
Tighten the screw snugly (not gorilla tight)
Give it a gentle tug to ensure it's secure
Step 7: Mounting the Breaker
Push the new breaker onto the bus bar firmly. You should hear/feel it snap into place. If it's fighting you, don't force it! Check that you've got the right breaker and try again.
Step 8: Testing and Finishing Up
Before you start celebrating with a victory dance:
Double-check all connections: Loose wires are bad news
Replace the panel cover: All screws back where they belong
Turn on the main breaker: The moment of truth
Test the new breaker: Turn it on and check if it holds
Test the circuit: Plug something in and see if it works
Common Mistakes: Learn From Others' Oops Moments
Even with the best intentions, people mess up circuit breaker replacements all the time. Here are the biggies that'll make you facepalm:
The "Wrong Breaker" Blunder
Grabbing any old breaker off the shelf is like putting diesel in a gas car. Different panels need different breakers, and mixing brands is usually a no-no. Always match:
Brand (Square D, Siemens, GE, etc.)
Type (standard, GFCI, AFCI)
Amperage rating
Number of poles
The "It Looked Secure" Situation
Loose connections cause more problems than a teenager with a credit card. They lead to:
Arcing and sparking
Overheating
Intermittent power issues
Fire hazards
Always double-check your connections. If you can pull the wire out with a gentle tug, it's not tight enough.
The "Skip the Testing" Shortcut
Testing with a voltage tester takes 30 seconds. Getting electrocuted ruins your whole day (and possibly your life). Never, ever skip this step.
Troubleshooting: When Things Don't Go as Planned
Sometimes, even when you follow all the steps, things go wonky. Here's how to handle common issues:
New Breaker Trips Immediately
If your shiny new breaker trips the second you turn it on:
Check for short circuits in the wiring
Ensure you used the correct amperage breaker
Look for damaged wires
Consider if the circuit is overloaded
Breaker Won't Fit Properly
Fighting to get a breaker in? Stop! You might have:
Wrong brand or type
Damaged bus bar
Incorrect installation angle
Full panel needing reorganization
No Power After Installation
Double-check these common culprits:
Main breaker is actually on
New breaker is fully seated
Wire connections are tight
You didn't accidentally disconnect something else
When to Call a Professional: Know Your Limits
Look, I'm all for DIY, but there's no shame in calling in the cavalry when you're in over your head. Call a licensed electrician if:
You smell burning or see scorch marks
Multiple breakers are failing
Your panel is ancient (like, Carter administration ancient)
You're adding new circuits, not just replacing
Local codes require professional installation
You're just not comfortable (seriously, trust your gut)
Maintenance Tips: Keep Your Panel Happy
Once you've successfully replaced that breaker, don't just forget about your electrical panel like last year's New Year's resolutions:
Regular Panel Check-ups
Visual inspection every few months
Listen for buzzing or crackling sounds
Feel for unusual heat (carefully!)
Keep the area around the panel clear
Document any issues you notice
Preventive Measures
Don't overload circuits: Spread the electrical love around
Label everything: Future you will thank present you
Keep it dry: Moisture is the enemy
Schedule professional inspections: Every few years isn't overkill
Update old equipment: If it's vintage, it might need retiring
The Cost Factor: What's This Gonna Set Me Back?
Let's talk money, honey. DIY breaker replacement can save you a pretty penny:
DIY Costs:
Circuit breaker: $10-50 (depending on type)
Tools (if needed): $50-100
Your time: Priceless (or at least worth considering)
Professional Costs:
Service call: $50-100
Labor: $75-150 per hour
Breaker markup: 50-100% over retail
Conclusion
Well, there you have it! You now know everything about "How to Replace a Circuit Breaker Safely and Easily," from safety prep to final testing. Remember, electricity deserves respect, not fear. Take your time, follow the steps, and don't be a hero if things seem sketchy. With patience and the right approach, you'll have that new breaker installed faster than you can say "let there be light!"
Read next: How to Replace a Breaker Safely: Step-by-Step Guide
Frequently Asked Questions
Q1: Can I replace a 15-amp breaker with a 20-amp one?
A: No! Wire gauge must match breaker size to prevent fire hazards.
Q2: How long does a circuit breaker typically last?
A: Usually 30-40 years, but heavy use can shorten lifespan significantly.
Q3: Is it legal to replace my own circuit breaker?
A: Most areas allow homeowner electrical work, but check local codes first.
Q4: What's the difference between GFCI and AFCI breakers?
A: GFCI prevents shocks; AFCI prevents fires from arc faults. Different protection types.
Q5: Why does my new breaker keep tripping?
A: Could indicate overloaded circuit, short circuit, or faulty appliances downstream.
Stay up to date with our latest ideas!