How to Remove Bathtub Stopper: Step-by-Step Guide at Home
Learn how to remove bathtub stopper with our easy step-by-step guide at home. Fix slow drains and clean stoppers like a pro.
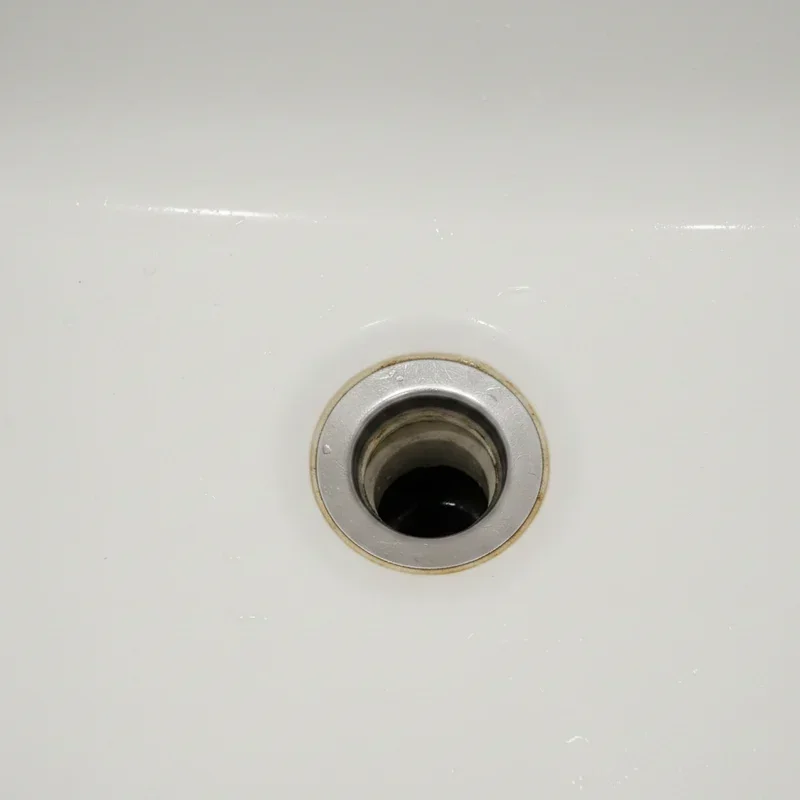
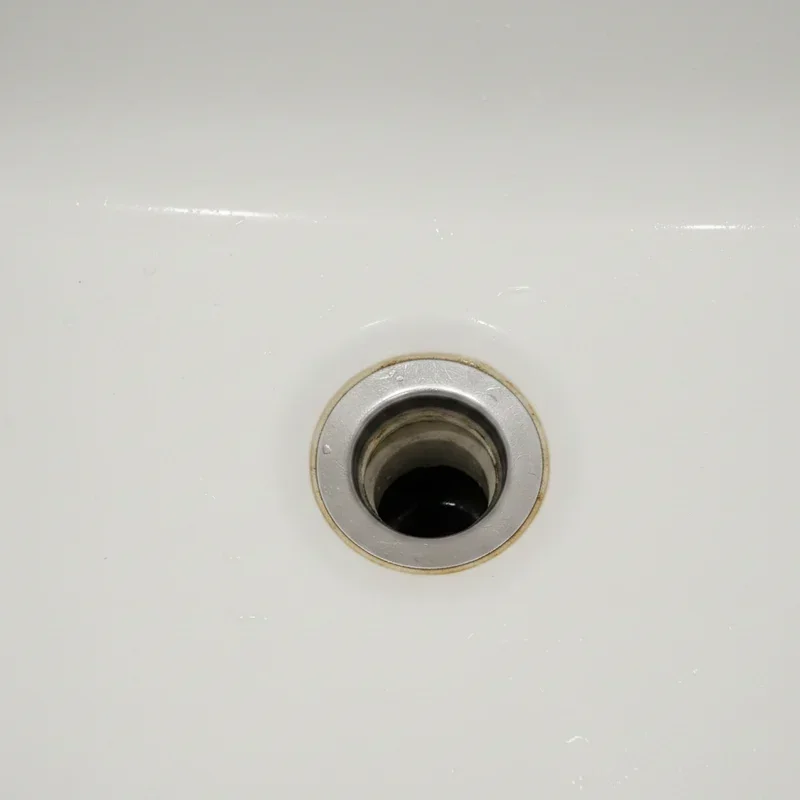
There you are, standing in ankle-deep water during your morning shower, wondering why the tub won't drain properly. Sound familiar? We've all been there, and nine times out of ten, the culprit is lurking right under that bathtub stopper. Hair, soap scum, and who knows what else have probably built up into a nasty clog that's begging to be cleaned out. Here's the good news. You don't need to call a plumber for this one. Removing a bathtub stopper is one of those satisfying home repairs that just about anyone can tackle with minimal tools and a little bit of know-how. The tricky part? Figuring out what type of stopper you're dealing with in the first place. See, bathtub stoppers aren't one-size-fits-all. Manufacturers have come up with at least six different designs over the years, and each one comes off differently. Push-pull, lift-and-turn, toe-touch, flip-it, pop-up, trip lever. The list goes on, and honestly, it can feel a bit overwhelming when you're just trying to unclog your drain. But don't worry. This comprehensive guide on how to remove bathtub stopper will walk you through every type you might encounter. By the time you're done reading, you'll be equipped to handle whatever's sitting in your tub drain. Let's roll up our sleeves and get started, shall we?
Why You Need to Know How to Remove Your Bathtub Stopper
Before we dive into the nitty-gritty, let's talk about why this skill matters. Your bathtub stopper does more than just hold water for a relaxing soak. It's the first line of defense against debris entering your plumbing system, and it takes quite a beating over time.
Regular maintenance of your stopper and drain can prevent those expensive emergency plumber visits. We're talking about avoiding backed-up pipes, water damage, and the kind of plumbing nightmares that keep homeowners up at night. Plus, a clean stopper mechanism works better and lasts longer.
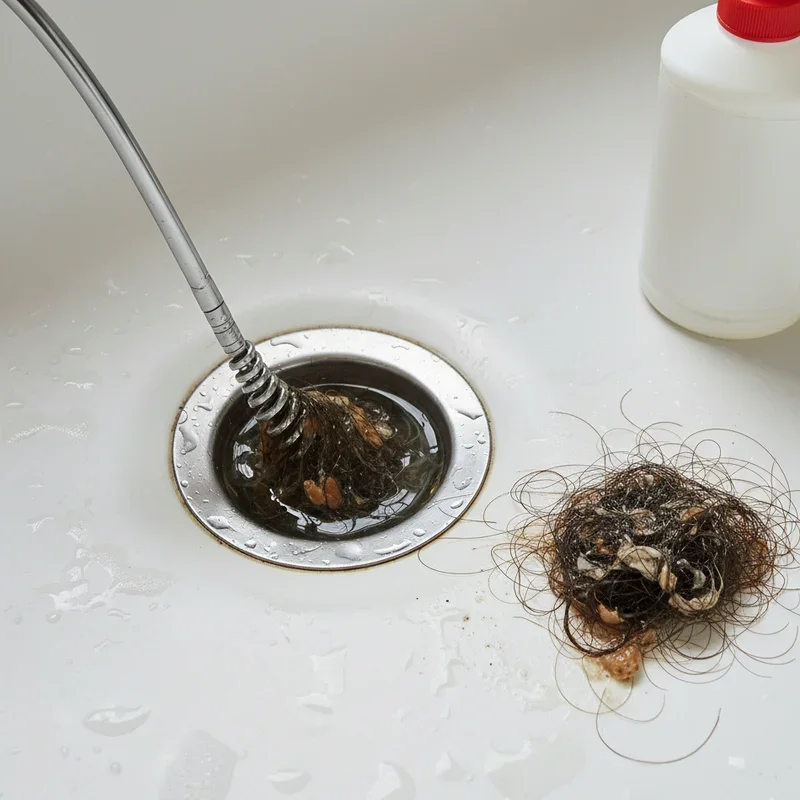
Slow drainage is usually the first warning sign that something's amiss. If water takes forever to disappear after your shower, that's your cue to investigate. Removing the stopper lets you access the drain crosshairs where hair and gunk love to accumulate. Trust me, what you'll find down there might gross you out, but cleaning it regularly keeps everything flowing smoothly.

Identifying Your Bathtub Stopper Type
Push-Pull Stoppers
These guys are pretty straightforward to spot. Push-pull stoppers have a knob on top that you push down to close the drain and pull up to open it. Simple as that. They've been around forever and remain popular because of their uncomplicated design.
The knob usually sits on a threaded post that screws directly into the drain crossbar. Sometimes there's a set screw hiding under the knob cap, but more often than not, the whole thing just unscrews counterclockwise.
Lift-and-Turn Stoppers
At first glance, lift-and-turn stoppers look almost identical to push-pull models. Here's how you tell them apart. With a lift-and-turn, you need to lift the knob slightly and rotate it to open or close the drain. There's a small turning motion involved, not just straight up and down movement.
These stoppers typically have a setscrew on the knob itself or on the base where the stopper meets the drain opening. Finding that tiny screw is half the battle.
Toe-Touch Stoppers
Now we're getting into the more modern territory. Toe-touch stoppers, sometimes called foot-actuated or push-push stoppers, operate with a simple press of your toe. Push once to close, push again to open. Pretty convenient when your hands are full of shampoo.
The spring mechanism inside these stoppers can wear out over time, which is another reason you might need to remove and replace one. They usually unscrew from the drain body by turning the entire cap counterclockwise.
Flip-It Stoppers
Flip-it stoppers are the easiest of the bunch to remove. They're basically a toggle mechanism attached to an O-ring that creates a seal inside your drain opening. No screws, no threaded posts, nothing complicated.
You literally just grip the stopper and pull it straight out. That's it. The O-ring holds it in place through friction alone. If you're lucky enough to have this type, count your blessings.
Pop-Up Stoppers
Pop-up stoppers work through a lever mechanism typically located on the overflow plate at the front of your tub. When you flip the lever, a connecting rod pushes the stopper up or lets it drop down to seal the drain.
These are a bit more involved to remove because you're dealing with connected parts. The stopper itself lifts out, but you might also need to remove the rocker arm attached beneath it to fully clean the drain.
Trip Lever Stoppers
Trip lever systems are the most complex of the bunch. Similar to pop-up stoppers, they use an overflow plate lever, but instead of a visible stopper, there's a plunger mechanism hidden inside the overflow pipe that blocks water flow internally.
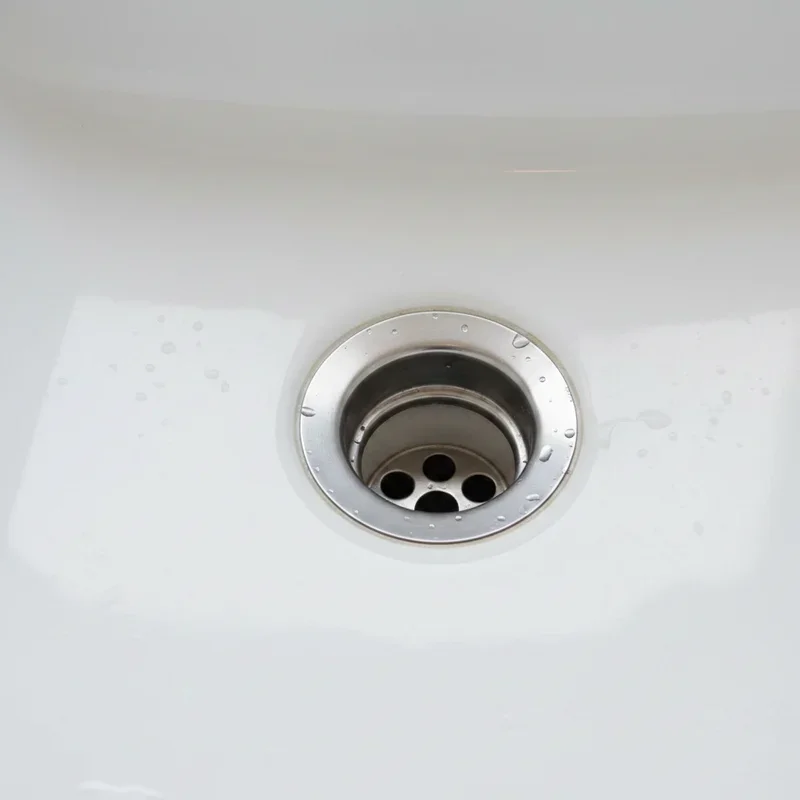
You won't see an actual stopper in the drain opening with these systems. The drain might have a simple strainer instead. To access the stopper mechanism, you need to remove the overflow plate and pull out the entire assembly.
How to Remove Bathtub Stopper: Step-by-Step Guide at Home
Tools You'll Need
Gathering your supplies beforehand saves frustration mid-project. Here's what to have on hand:
A flathead screwdriver works for most stopper types. A Phillips head screwdriver handles certain set screws. Needle-nose pliers help grip small components. An adjustable wrench or channel-lock pliers provide extra leverage. A rag or towel protects finishes from scratches. Finally, some penetrating oil like WD-40 loosens stubborn parts.
Removing Push-Pull Stoppers
Start by setting the stopper to the open position. Now, grip the knob firmly and try turning it counterclockwise while pulling up gently. Most push-pull stoppers have a threaded shaft that unscrews directly from the drain strainer body.
If the knob has a decorative cap on top, pry it off carefully with a flathead screwdriver. Underneath, you might find a screw head that needs removing first. Once the screw is out, the knob should lift right off, revealing the threaded post beneath.
Having trouble getting it to budge? Wrap a rag around the knob for better grip and try again. Sometimes these things get gunked up and need a little persuasion.
Removing Lift-and-Turn Stoppers
With the stopper in the open position, look for a set screw on the knob. It's usually located on the side of the knob itself. Use a small flathead or hex key to loosen this screw, but don't remove it completely.
Once loosened, try lifting the knob off. If there's no visible set screw, the stopper probably unscrews from the base. Hold the stopper body firmly and turn the knob counterclockwise until it separates.
Some lift-and-turn models have a second component. After removing the knob, you might find a post that also unscrews from the strainer body below.
Removing Toe-Touch Stoppers
Put the stopper in the open position first. Now, here's the trick. You need to grip the outer cylinder of the stopper and turn the whole thing counterclockwise while holding the drain body stationary.
Channel-lock pliers wrapped in a rag prevent scratches while giving you the grip strength needed. Turn slowly and steadily until the stopper threads free from the drain.
Some toe-touch models have a cap that unscrews separately, revealing a shaft that then unscrews from the base. Take your time figuring out which type you have.
Removing Flip-It Stoppers
Like I mentioned earlier, these are wonderfully simple. Just grab the stopper toggle and pull straight up with firm pressure. The O-ring seal might create some suction resistance, but it should pop free without much effort.
If the stopper seems really stuck, try wiggling it slightly while pulling. Running a little water around the edges can help break the seal too.
Removing Pop-Up Stoppers
Flip the lever to open the stopper fully. Grab the stopper cap and wiggle it while pulling upward. It should lift out along with the horizontal rocker arm attached beneath.
The rocker arm is connected by a spring clip or ball joint. Some models have a screw under the stopper cap that needs loosening first. Inspect yours carefully before yanking too hard.
Once the stopper and rocker arm are out, you can clean them thoroughly. This is also a good time to fish out any hair accumulated around the drain opening.
Removing Trip Lever Assemblies
This one requires a bit more commitment. First, locate the screws on the overflow faceplate, usually two of them positioned above and below the lever. Remove these screws and carefully pull the plate away from the tub wall.
Here's where it gets interesting. As you pull the plate out, a long connecting rod with a plunger on the end will follow. Work it out slowly because it needs to navigate through the overflow tube.
Once everything's out, you'll probably see years of accumulated gunk on that plunger. It's gross but satisfying to clean.
Troubleshooting Common Problems
Stopper Won't Budge
Mineral deposits and corrosion can essentially glue your stopper in place over time. Spray penetrating oil around all visible joints and let it sit for fifteen to twenty minutes. Sometimes an hour does the trick for really stubborn cases.
Applying gentle heat from a hair dryer can also help expand metal parts enough to break the bond. Just don't go crazy with it or you might damage surrounding finishes.
Stripped Screws
Stripped screws are every DIYer's nemesis. Try pressing down firmly on the screwdriver while turning. If that fails, a rubber band placed between the screwdriver and screw head can provide extra grip.
For seriously damaged screws, you might need a screw extractor set. These specialized bits grab onto stripped heads and back them out.
Missing Parts
After removing your stopper, you might discover that replacement parts are needed. Take the old stopper to your local hardware store for matching. Or snap a photo and measurements before heading out shopping.
Universal replacement stoppers exist for most common types and cost just a few dollars. Installing them is basically the reverse of removal.

Maintenance Tips After Removal
While you've got the stopper out, take advantage of the opportunity. Clean the stopper mechanism thoroughly with an old toothbrush and some bathroom cleaner. Pay special attention to any rubber seals or O-rings.
Inspect the drain opening for accumulated debris. A drain cleaning tool or even a bent wire hanger can fish out hair clogs. Pour some baking soda followed by vinegar down the drain for a natural cleaning boost.
Before reinstalling, apply a thin layer of plumber's grease to threaded parts and rubber seals. This makes future removal easier and helps maintain watertight seals.
When to Call a Professional
Most stopper removals are totally manageable for the average homeowner. However, some situations warrant professional help. If you've got corroded pipes visible in the drain, call a plumber. If removing the stopper reveals cracked or damaged drain components, same deal. And if you've tried everything and that stopper simply won't come out without risking damage, sometimes discretion is the better part of valor.
Knowing how to remove bathtub stopper through this step-by-step guide at home empowers you to handle routine maintenance confidently. But recognizing your limits protects you from turning a small problem into a big one.
Conclusion
Mastering how to remove bathtub stopper at home saves money and keeps your drains flowing freely. Once you identify which stopper type you have, the removal process becomes straightforward with basic household tools. Regular cleaning prevents clogs and extends your plumbing's lifespan considerably. Whether dealing with a simple flip-it or complex trip lever system, patience and the right technique will get the job done every time.
Read next: How to Unclog a Bathtub Without Calling a Plumber
Frequently Asked Questions
1. How often should I remove and clean my bathtub stopper?
Clean your bathtub stopper every three to four months to prevent buildup and drainage issues.
2. Can I replace any bathtub stopper type with a different one?
Yes, most drain openings accept universal stoppers, though sizing must match your drain diameter perfectly.
3. Why won't my stopper hold water anymore?
Worn seals, damaged O-rings, or debris preventing proper closure are the most common culprits here.
4. Do I need special tools to remove a bathtub stopper?
Basic tools like screwdrivers and pliers work for most stopper types found in residential bathtubs.
5. What causes bathtub stoppers to get stuck?
Mineral deposits, corrosion, soap scum buildup, and lack of maintenance typically cause stoppers to seize.
Stay up to date with our latest ideas!