How to Frame a Basement: Step-by-Step Guide for Beginners
Learn how to frame a basement with our step-by-step guide for beginners. Transform your space with proper techniques and expert tips.
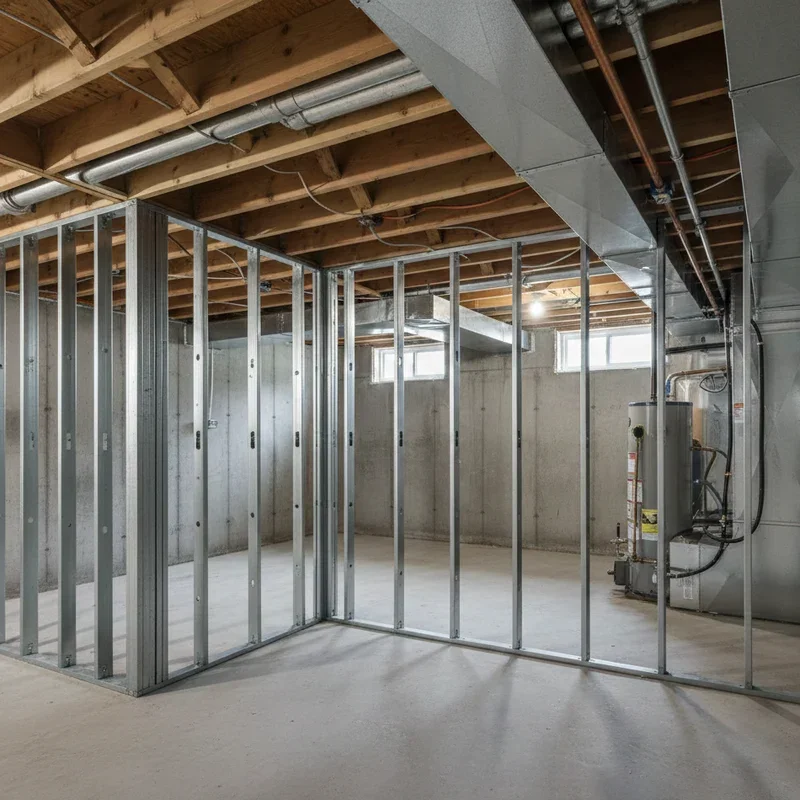
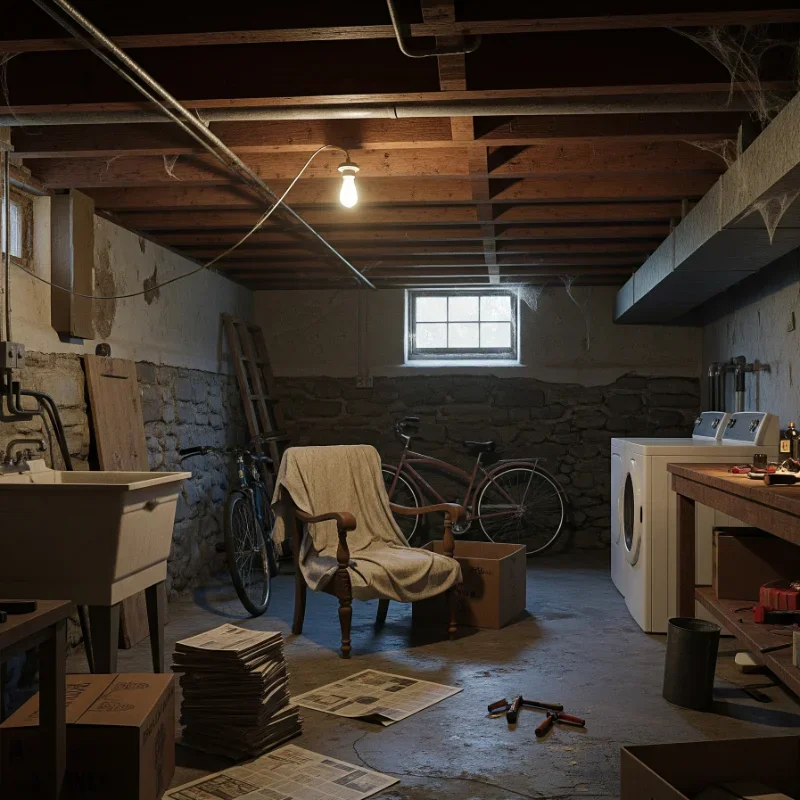
So you've been staring at that unfinished basement for years now, watching it collect holiday decorations, forgotten exercise equipment, and who knows what else. Every time you head down those stairs, you can't help but think about the potential hiding behind those concrete walls. A home office, maybe? A killer entertainment room? Perhaps a guest suite for the in-laws (strategically located as far from your bedroom as possible)?
Well, here's the exciting part. Transforming that dungeon into livable space isn't as impossible as it might seem. The first and arguably most important step in any basement finishing project is framing, and honestly, it's something most handy homeowners can tackle without calling in the professionals.
Now, I won't sugarcoat things. Framing a basement does require some physical effort, basic carpentry skills, and a willingness to learn as you go. But here's the thing about basement framing that makes it particularly beginner-friendly: you're not building anything structural. The foundation walls are already doing the heavy lifting. Your framing simply creates a framework for drywall, insulation, and all those finishing touches that turn concrete caves into comfortable rooms.
This comprehensive guide on how to frame a basement will walk you through everything from gathering materials to driving that final nail. We'll cover the tools you'll need, the mistakes you'll want to avoid, and all those little tricks that separate amateur work from professional-looking results.
Ready to finally do something with that basement? Grab a cup of coffee, maybe a notepad, and let's get you started on one of the most satisfying home improvement projects you'll ever tackle.
Understanding Basement Framing Basics
Before swinging a single hammer, let's make sure we're on the same page about what basement framing actually involves. Understanding the fundamentals prevents costly mistakes and helps everything come together smoothly.
Why Framing Matters
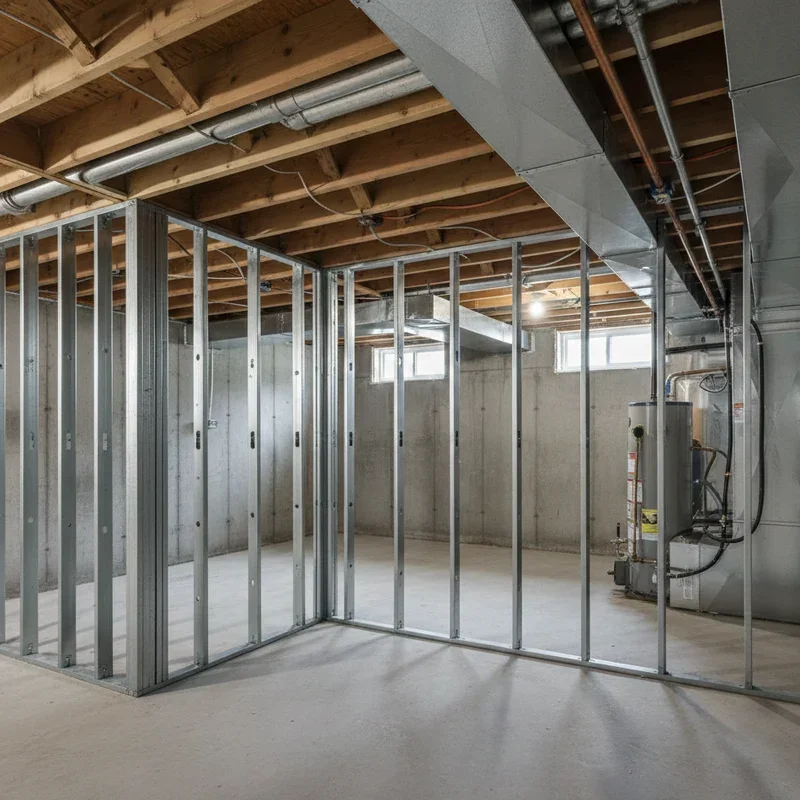
Framing creates the skeleton of your finished basement walls. These wooden structures provide attachment points for drywall, create cavities for insulation and electrical wiring, and establish the actual room dimensions of your finished space.
Unlike framing exterior walls, basement framing doesn't bear any load from the structure above. Your foundation walls handle that job. This takes tremendous pressure off beginners because small imperfections won't compromise your home's structural integrity. You've got room to learn without catastrophic consequences.
The Basic Components
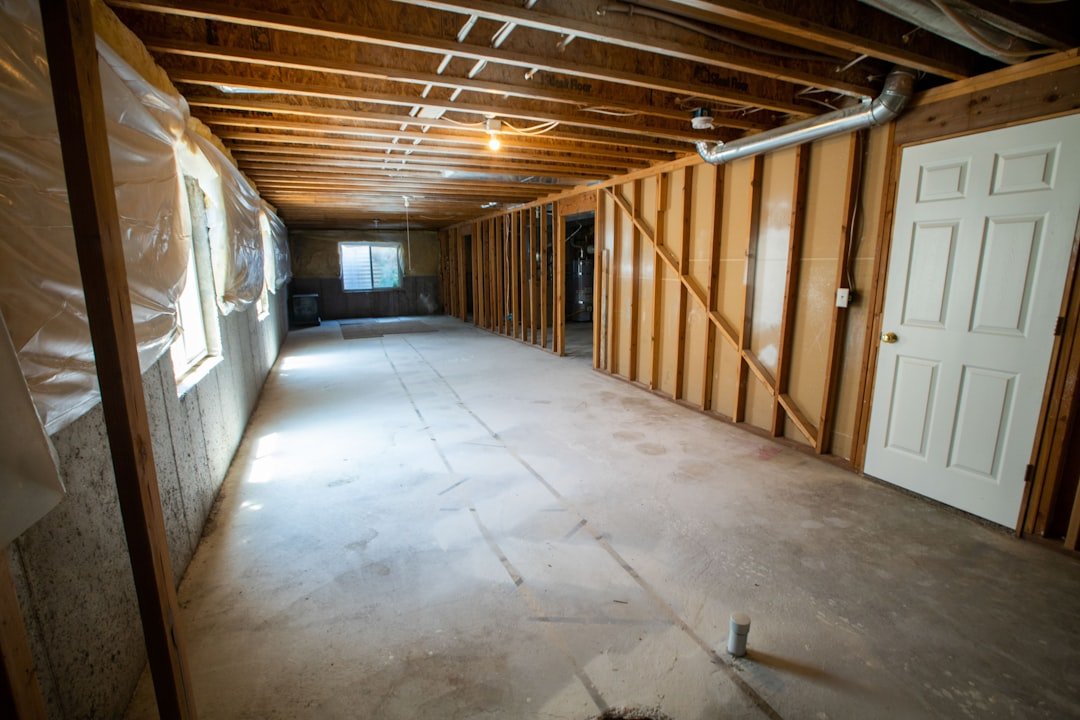
Every framed wall consists of a few fundamental parts working together. The bottom plate runs horizontally along the floor. The top plate mirrors this along the ceiling. Vertical studs connect these plates at regular intervals, typically sixteen inches apart measured from center to center.
Door openings require additional framing including headers, jack studs, and king studs. We'll get into all of that, but for now, just understand that the basic concept involves creating rectangular frames that stand against or near your existing foundation walls.
Floating Walls vs. Anchored Walls
Here's something many beginners don't realize. Basement floors and ceilings aren't always perfectly stable. Concrete floors can heave slightly with moisture changes. Floor joists above can shift and settle over time. Because of this movement, many builders recommend floating wall systems for basements.
Floating walls attach firmly to the ceiling joists but allow slight movement at the floor plate. This prevents cracking drywall and other problems that come from rigid attachments fighting against natural building movement. We'll incorporate this technique into our framing approach.
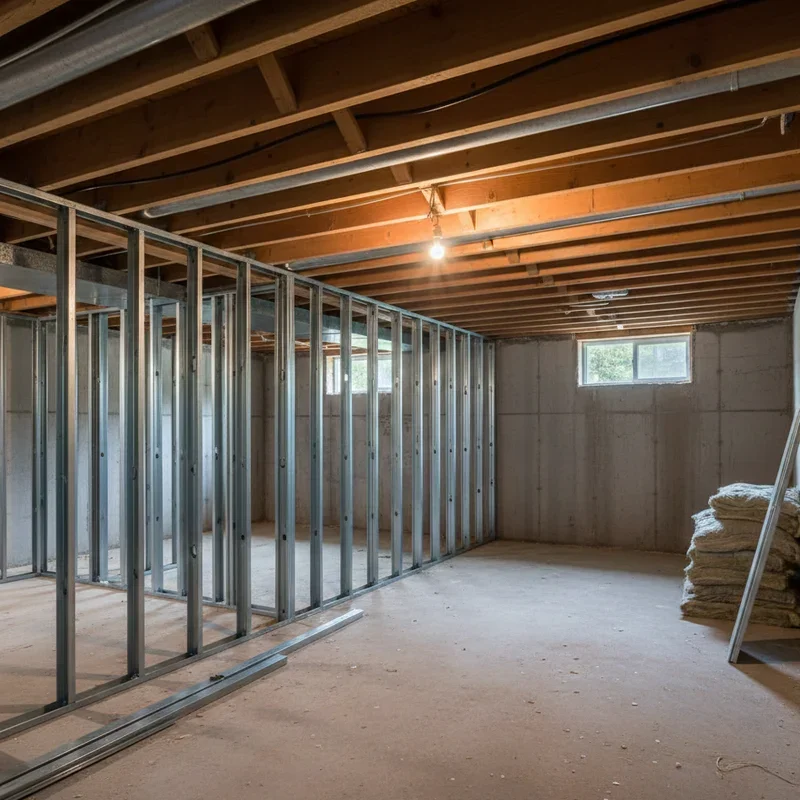
Planning Your Basement Layout
Jumping straight into construction without proper planning is a recipe for frustration. Take time to think through your layout before buying a single piece of lumber.
Assessing Your Space
Walk through your basement with fresh eyes, pretending you've never seen it before. Note the location of support columns, water heater, furnace, electrical panel, and any plumbing fixtures. These elements either need to remain accessible or be incorporated into your room design.
Ceiling height matters tremendously. Most building codes require finished basement ceilings to be at least seven feet high in the majority of the space. Measure your existing clearance and account for the thickness of any flooring and ceiling materials you'll add.
Look for moisture issues including water stains, efflorescence on concrete, or musty smells. Addressing moisture problems before framing prevents major headaches down the road. Framing over damp walls leads to mold, rot, and eventually having to tear everything out and start over.
Creating Your Floor Plan
Sketch out your desired room layout, even if your artistic skills leave something to be desired. Include doorways, closets, and any built-in features you're planning. Think about electrical needs, lighting placement, and how furniture will be arranged.
Consider traffic flow between spaces. That home theater won't be very relaxing if everyone has to walk through it to reach the bathroom. Bedrooms need egress windows meeting code requirements if you want them legally classified as sleeping spaces.
Checking Local Building Codes
Here's where many DIY enthusiasts drop the ball. Building codes exist for good reasons, primarily keeping you and your family safe. Most jurisdictions require permits for basement finishing projects, and inspections ensure work meets minimum standards.
Contact your local building department to understand what's required. They'll tell you about permits, inspection stages, and any specific code requirements for your area. Yes, it's tempting to skip this step, but unpermitted work can cause serious problems when selling your home or filing insurance claims.
Tools and Materials You'll Need
Having everything on hand before starting prevents those frustrating mid-project hardware store runs. Let's talk about what belongs in your basement framing toolkit.
Essential Tools
A circular saw handles most lumber cutting duties. A miter saw makes accurate angle cuts much easier but isn't strictly necessary for basic framing. A hammer works fine for beginners, though a framing nailer dramatically speeds up the work if you can rent or borrow one.
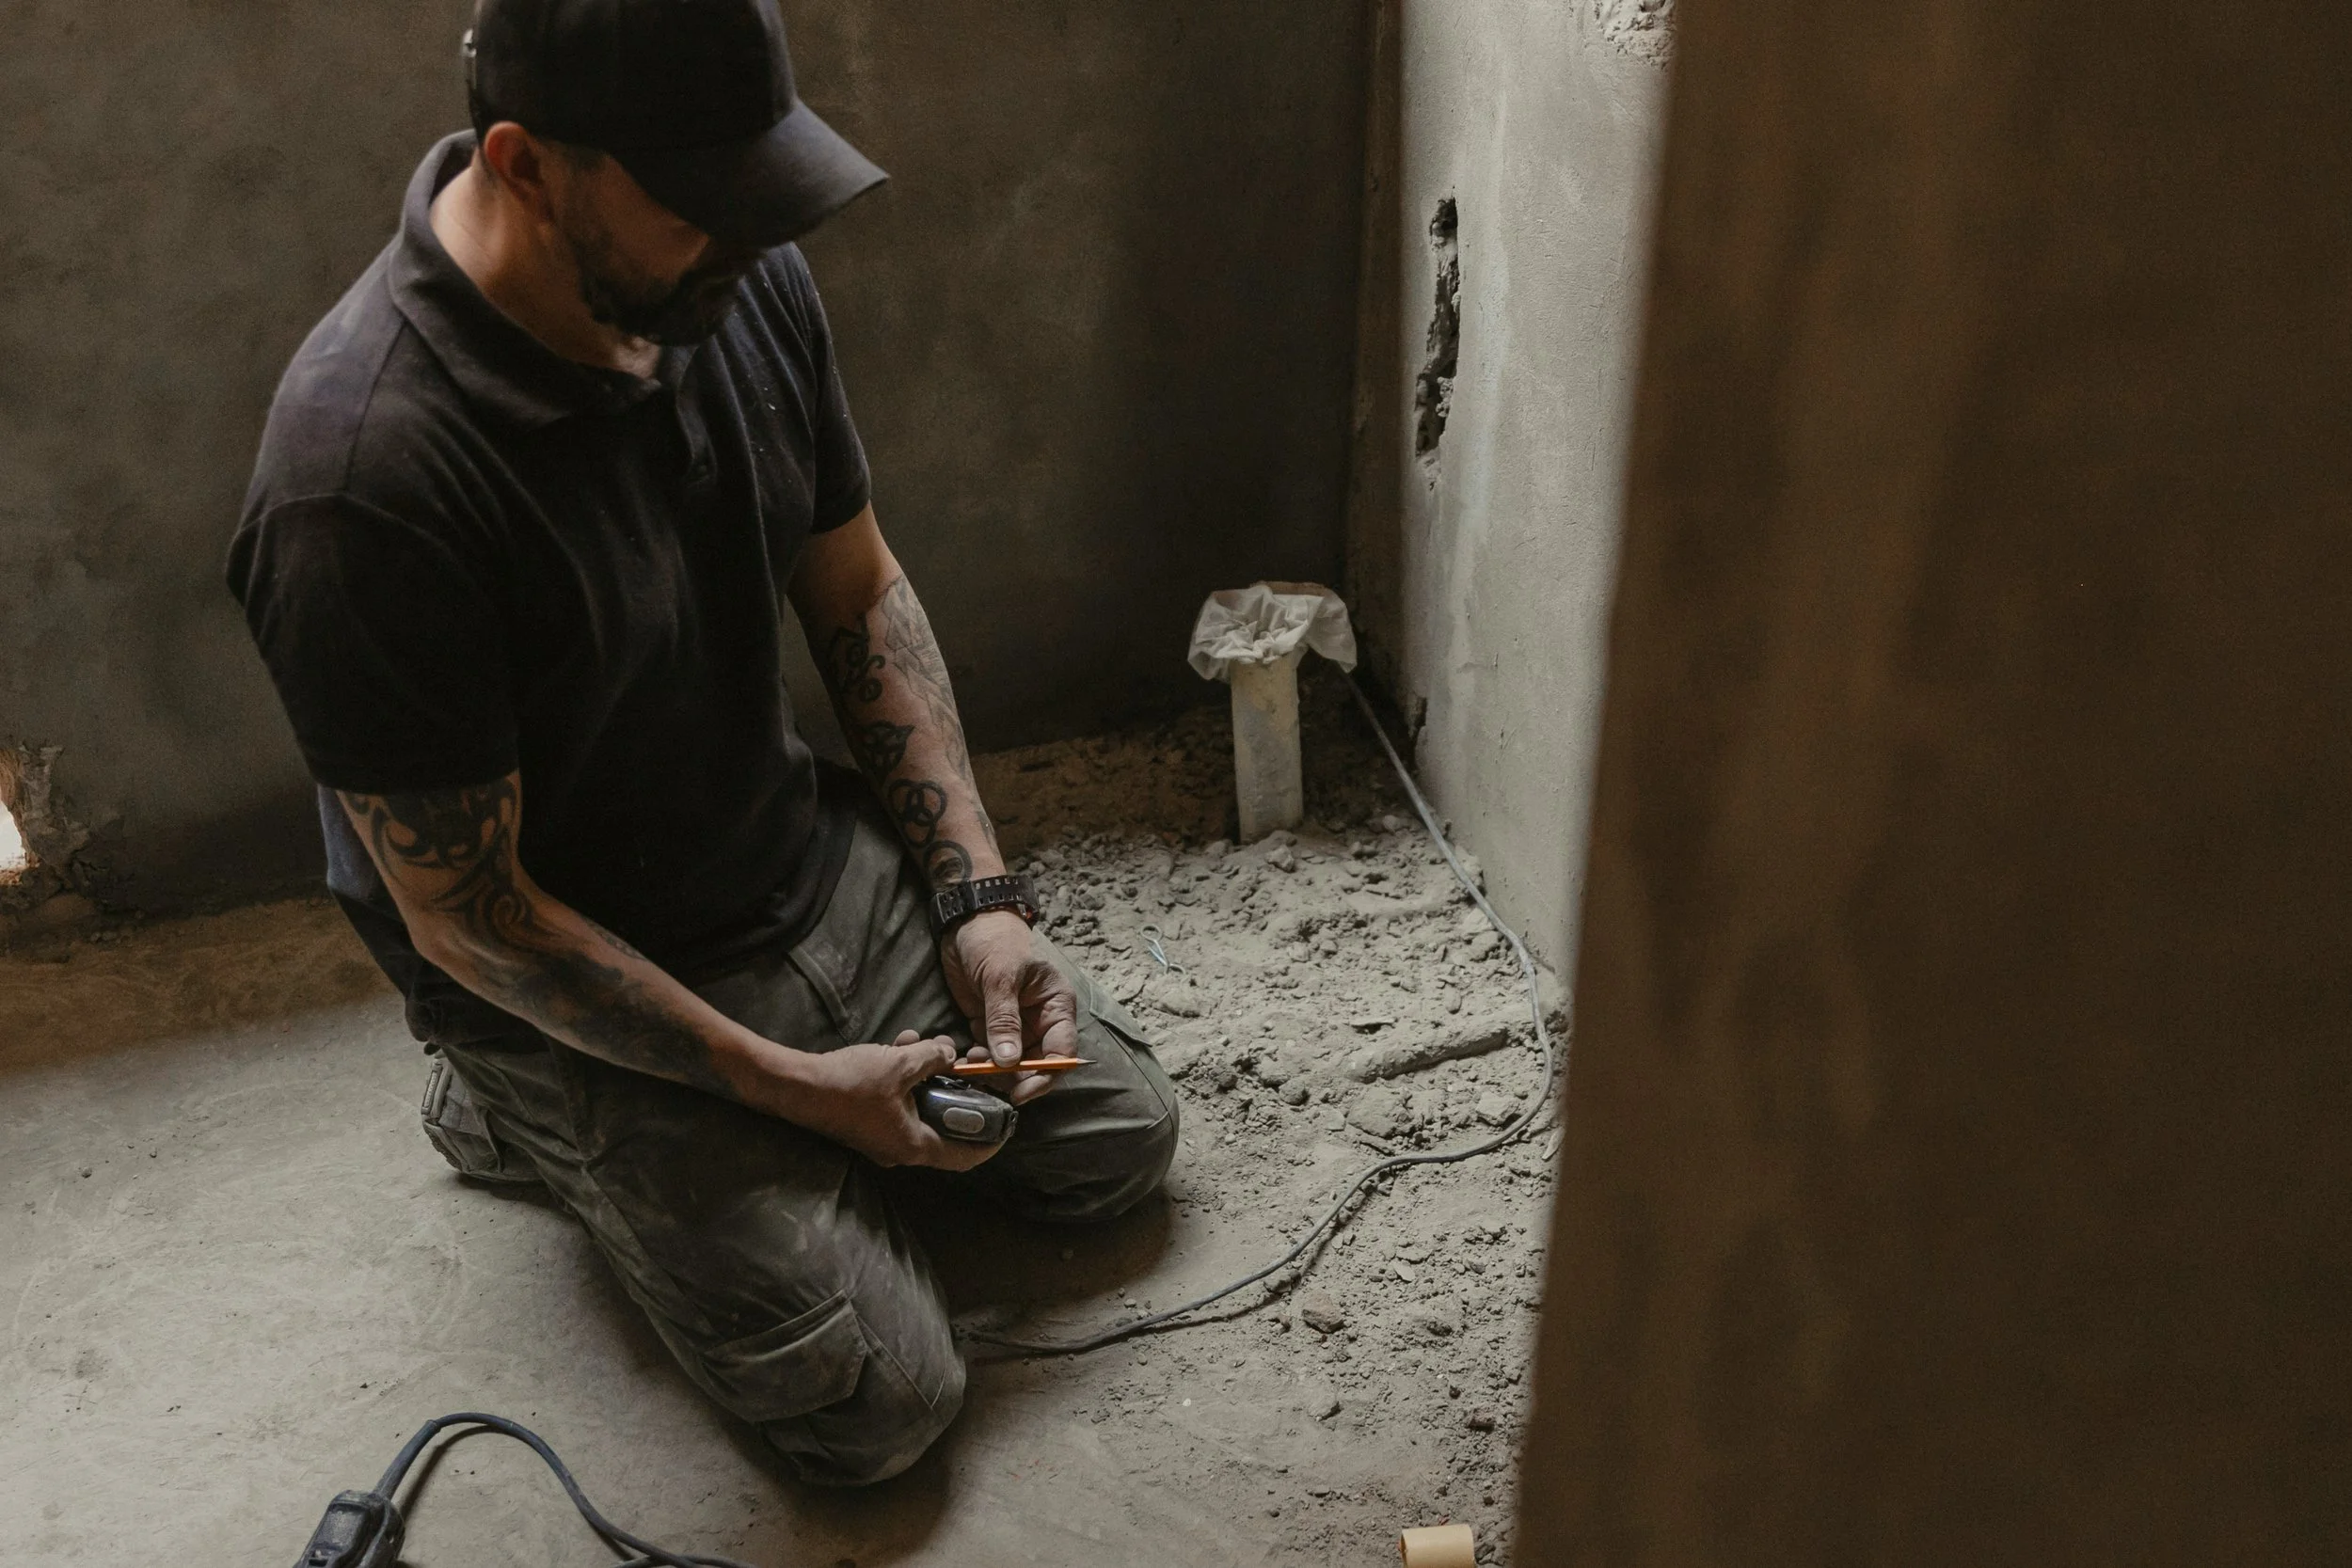
You'll need a tape measure (get a good 25-footer), speed square for marking angles, chalk line for snapping straight reference lines, and a four-foot level for ensuring everything stands plumb and level. A drill with various bits handles pre-drilling for masonry anchors and driving screws.
Safety gear matters too. Get yourself safety glasses, hearing protection if using power tools, and work gloves that fit properly without compromising dexterity.
Lumber Requirements
Two-by-four lumber forms the backbone of most basement framing projects. You'll need pressure-treated lumber for any bottom plates that contact concrete floors. Regular kiln-dried two-by-fours work fine for top plates and studs since they won't contact masonry directly.
Calculate your lumber needs by measuring total wall length and dividing by sixteen inches for stud count. Add ten to fifteen percent extra for waste, mistakes, and blocking. Trust me, you'd rather have lumber left over than make emergency supply runs.
Fasteners and Hardware
Concrete screws like Tapcon brand fasteners anchor bottom plates to concrete floors. Standard framing nails (16d common nails) or framing screws connect studs to plates. Powder-actuated nailers offer another option for concrete attachment if you're comfortable with the tool.
Pick up some construction adhesive for added bond between bottom plates and concrete. Metal brackets and hangers help with certain connections, though basic framing often doesn't require them.
How to Frame a Basement: Step-by-Step Guide for Beginners Process
Alright, let's get to the actual work. Roll up your sleeves because things are about to get hands-on.
Step One: Establishing Your Wall Lines
Start by marking where your walls will go. Measure from existing foundation walls to establish your framing lines, typically leaving about an inch of space between concrete and studs for air circulation and minor wall irregularities.
Snap chalk lines on the floor showing your bottom plate locations. Use your longest level or a laser level to transfer these lines up to the ceiling joists. Double-check everything is square by measuring diagonals, which should be equal if your corners are true ninety degrees.
Step Two: Cutting and Installing Bottom Plates
Cut pressure-treated two-by-fours to length for your bottom plates. Lay them along your chalk lines and mark locations for concrete anchor holes. Remove the plates and drill pilot holes into the concrete using a hammer drill with masonry bit.
Apply construction adhesive to the bottom of your plates, then reposition them on your chalk lines. Drive concrete screws through pre-drilled holes in the lumber into your pilot holes below. Check that plates remain straight and properly positioned as you fasten them.
Step Three: Installing Top Plates
Top plates attach to your ceiling joists. If your walls run perpendicular to the joists, you can nail or screw directly into each joist the plate crosses. Walls running parallel to joists need blocking installed between joists, or you can position the wall directly under a joist.
For floating wall systems, use specialized clips or leave slight gaps that allow minor ceiling movement without transferring stress to your walls. Your local building supply store carries floating wall hardware if this approach suits your situation.
Step Four: Measuring and Cutting Studs
Here's where accuracy really counts. Measure the distance between your installed top and bottom plates at multiple points along the wall. Basement floors and ceilings aren't always perfectly parallel, so individual studs may need slightly different lengths.
Subtract three inches from your plate-to-plate measurement (accounting for both plate thicknesses) to get your stud length. Cut studs using your circular saw or miter saw, keeping cuts as square as possible.
Step Five: Installing Studs
Mark stud locations on both your top and bottom plates before installation. Standard layout places studs sixteen inches on center, meaning the distance from the center of one stud to the center of the next measures sixteen inches.
Toenail or toenail each stud to both plates. Toenailing involves driving nails at an angle through the stud into the plate. Alternatively, use framing angles or metal connectors for easier, stronger connections. Check each stud for plumb as you install it.
Step Six: Framing Door Openings
Door openings require more complex framing to support eventual door installation. Standard interior doors need rough openings about two inches wider and taller than the door itself to accommodate the door frame.
Install king studs full-height on both sides of the opening. Jack studs (also called trimmer studs) attach to king studs and support the header. The header spans across the top of the opening, and cripple studs fill the space between header and top plate.
Step Seven: Adding Blocking and Backing
Install horizontal blocking between studs wherever you'll need solid attachment points. Towel bars, grab bars, heavy shelving, and wall-mounted televisions all need blocking behind the drywall for secure fastening.
Consider where electrical boxes, switches, and outlets will go. Adding backing boards in these locations makes later installation easier. Think ahead to avoid wishing you'd installed blocking after the drywall goes up.
Working Around Obstacles
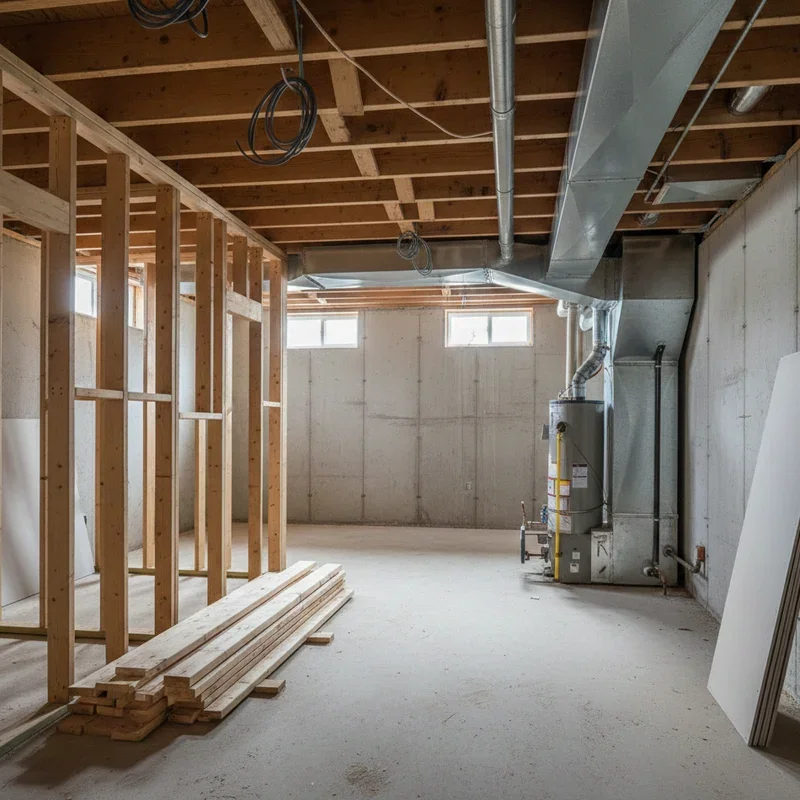
Basements rarely present nice, empty spaces for straightforward framing. Real-world basements have stuff in the way.
Support Columns
Build framing around support columns rather than trying to hide them inside walls. Create boxed enclosures using two-by-fours and drywall, or incorporate columns as design features. Some homeowners wrap columns with decorative wood or stone treatments.
Just remember that support columns are actually structural, unlike your framing. Never modify, move, or cut into support columns without professional engineering guidance.
Mechanical Equipment
Water heaters, furnaces, and electrical panels need accessibility for maintenance, repair, and safety inspections. Check code requirements for clearance around equipment. Many jurisdictions require specific distances between combustion appliances and combustible materials.
Consider creating utility closets with doors rather than fully enclosing equipment behind walls. You'll thank yourself when the HVAC technician can actually reach your furnace for annual servicing.
Plumbing and Electrical
Existing plumbing and electrical runs often need to pass through your new walls. Frame around vertical pipes by boxing them out or leaving access panels. Horizontal runs might require bulkheads or dropped ceiling sections.
If you're adding new electrical circuits, rough-in the wiring after framing but before drywall. Bore holes through studs for running wires, placing holes near the center of studs to avoid interference with drywall screws.
Common Mistakes to Avoid
Learning from others' errors saves time, money, and frustration. Here's what trips up many first-time basement framers.
Skipping Moisture Prevention
Framing over damp concrete invites disaster. Moisture trapped behind walls promotes mold growth and wood rot that you won't discover until serious damage has occurred. Address any moisture issues before picking up your first board.
Ignoring Code Requirements
Building codes seem annoying until you understand their purpose. Fire blocking, egress requirements, and electrical regulations exist to protect lives. Cutting corners on code compliance risks inspection failures, insurance issues, and genuine safety hazards.
Rushing the Layout
Measure twice, cut once isn't just a catchy saying. Proper layout takes time but prevents cascading errors throughout your project. Walls that aren't square, level, or properly positioned create problems at every subsequent stage.
Forgetting About Future Access
That plumbing cleanout behind your beautiful new wall? You'll need to reach it eventually. Plan for access panels, removable sections, or door openings that allow maintenance of hidden infrastructure.
Finishing Touches Before Drywall
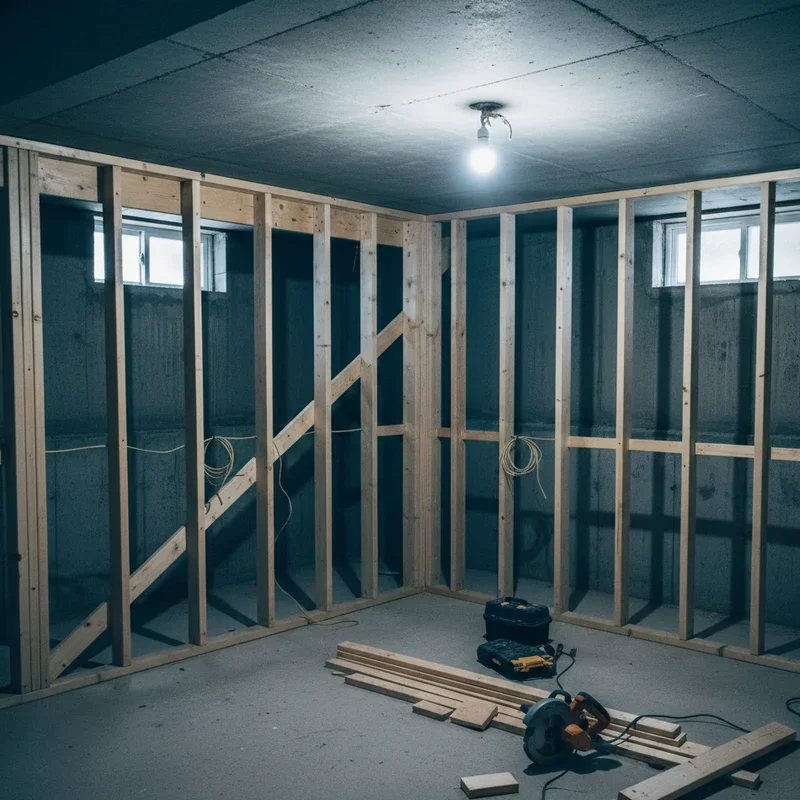
Your framing is up, but a few more steps prepare things for the finishing stages.
Inspect everything for protruding nails, crooked studs, and incomplete blocking. Now is the time for corrections, not after drywall covers your work. Walk the space imagining finished walls and verify nothing has been forgotten.
Install insulation between studs according to your local energy codes. Rigid foam against foundation walls provides moisture protection while fiberglass batts fill stud cavities. Proper insulation makes your finished basement comfortable and energy efficient.
Schedule your rough-in inspections if required by permit. Inspectors want to see framing, electrical, and plumbing before walls close up. Passing inspection at this stage prevents costly tearouts later.
Conclusion
Tackling how to frame a basement transforms unused square footage into valuable living space while building skills that serve you throughout homeownership. Though the project requires patience and attention to detail, beginners who follow proper techniques achieve professional-quality results without professional-level costs. From careful planning through final stud installation, each step builds toward the finished basement you've imagined. Your once-neglected underground space stands ready for drywall, paint, and all the finishing touches that make it truly livable.
Read nexts: How to Finish a Basement: Step-by-Step Guide
Frequently Asked Questions
1.How long does it typically take to frame an average-sized basement?
Most beginners complete basic basement framing in two to four weekends working at moderate pace.
2.Do I need a permit to frame my basement?
Most jurisdictions require permits for basement finishing, so check with your local building department.
3.Can I use regular lumber instead of pressure-treated for bottom plates?
No, building codes require pressure-treated lumber wherever wood contacts concrete to prevent moisture damage.
4.What spacing should I use between wall studs?
Standard stud spacing is sixteen inches on center, though some situations allow twenty-four inch spacing.
5.Should I hire an electrician or do electrical work myself?
Hiring a licensed electrician ensures code compliance and safety for electrical rough-in work in basements.
Stay up to date with our latest ideas!