How to Dry Clean a Rug at Home Safely and Easily
Learn how to dry clean a rug at home safely and easily with proven DIY methods. Save money while keeping your rugs spotless and fresh!
Let's face it, folks! That gorgeous rug in your living room has seen better days, hasn't it? Between the kids treating it like a playground, your furry friends leaving their mark, and that infamous wine spill from last month's dinner party, it's crying out for help. But here's the kicker: professional rug cleaning costs an arm and a leg these days, and who's got time to haul that heavy thing to the cleaners anyway?
Well, buckle up, because I'm about to let you in on something that'll change your rug-cleaning game forever. Learning how to dry clean a rug at home safely and easily isn't just possible; it's actually pretty straightforward once you know the tricks of the trade. You don't need fancy equipment or a chemistry degree, just some common household items and a bit of know-how.
Think about it this way: your grandmother probably kept her rugs immaculate without ever setting foot in a dry cleaner's shop. Sure, we've got better products now, but the basic principles remain the same. With the right approach, you can breathe new life into your tired rugs without emptying your wallet or spending your entire weekend scrubbing away. Whether you're dealing with a delicate Oriental masterpiece or that IKEA rug you bought on sale, there's a method that'll work like a charm.
What Does Dry Cleaning a Rug Actually Mean?
Breaking Down the Mystery
Here's something that might blow your mind: dry cleaning isn't actually "dry" in the traditional sense. Professional dry cleaners use chemical solvents instead of water, which is where the term comes from. But when we're talking about dry cleaning rugs at home, we're referring to methods that use minimal or no moisture to lift dirt and stains from the fibers.
The whole point is avoiding the soaking wet mess that comes with traditional shampooing. You know what I'm talking about, right? That soggy carpet that takes days to dry and smells like a wet dog mixed with mildew. No thanks! Dry cleaning methods work by absorbing oils and dirt or using just enough moisture to clean without saturating the backing.
Why Go the Dry Cleaning Route?
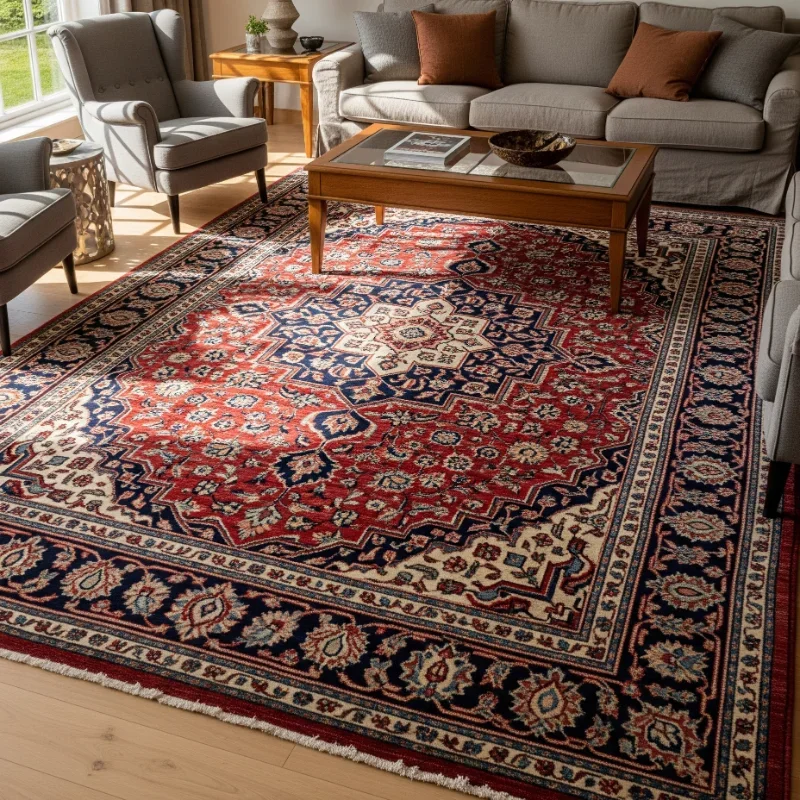
Water and certain rug materials go together like oil and, well, water! Natural fibers like wool, silk, and jute can shrink, warp, or lose their shape when they get too wet. And don't even get me started on what happens to the colors! Ever seen a beautiful Persian rug turn into a tie-dye disaster? It ain't pretty, trust me.
Besides the material concerns, there's the practical side of things. Wet rugs take forever to dry, especially if you live in a humid climate. During that drying time, you're basically inviting mold, mildew, and funky odors to set up shop in your rug. With dry cleaning methods, your rug is ready to use within hours, not days.
Getting Ready: The Pre-Cleaning Detective Work
Know Your Rug Inside and Out
Before jumping into how to dry clean a rug at home safely and easily, you've got to play detective for a bit. What's your rug made of? This isn't just casual curiosity; it's crucial information that'll determine your cleaning approach. Check for care labels, though honestly, most rugs seem to have lost theirs somewhere along the way.
If there's no label, here's a neat trick: do the burn test! Carefully snip a tiny fiber from an inconspicuous spot and light it up (safely, of course). Wool smells like burning hair and leaves ash, synthetics melt into hard beads, and cotton burns quickly with a paper-like smell. Knowledge is power, my friends!
The All-Important Color Test
Nothing, and I mean NOTHING, ruins your day quite like watching your vibrant red rug turn everything around it pink. Before you apply anything to your entire rug, you've got to test for colorfastness. It's like a patch test for hair dye, but for your rug.
Here's how you do it: • Grab a white cloth or paper towel • Dampen it with your cleaning solution • Press it firmly against different colored sections • Check if any color transfers to the cloth • Test dark colors and bright reds especially carefully
If you see color transfer, pump the brakes! That rug needs super gentle treatment or professional help.
Your Dry Cleaning Toolkit
The Essential Supplies
You don't need to raid a professional cleaning supply store to get started. Most of what you need is probably sitting in your pantry or cleaning closet right now. Here's your shopping list:
• A decent vacuum cleaner (with adjustable settings if possible) • Baking soda (buy the big box, you'll use it) • Cornstarch for grease absorption • A soft-bristled brush and a stiffer one • White vinegar for deodorizing • Clean white cloths or paper towels • Rubber gloves (save your hands!) • Optional: commercial dry carpet cleaner • A few drops of essential oils for scent • Small bowl for mixing solutions
Homemade Magic Potions
Why shell out big bucks for commercial cleaners when you can whip up effective solutions from stuff you've already got? My favorite all-purpose dry cleaning powder is dead simple: mix two cups of baking soda with half a cup of cornstarch and 10 drops of lavender essential oil. This bad boy absorbs odors, lifts dirt, and leaves your rug smelling like a dream.
For tougher jobs, try this power mix:
2 cups baking soda
1 cup cornstarch
1/2 cup salt (acts as a mild abrasive)
15 drops tea tree oil (natural antimicrobial)
Mix it all up in a container with a lid, shake well, and you're ready to tackle just about anything.
The Main Event: How to Dry Clean a Rug at Home Safely and Easily
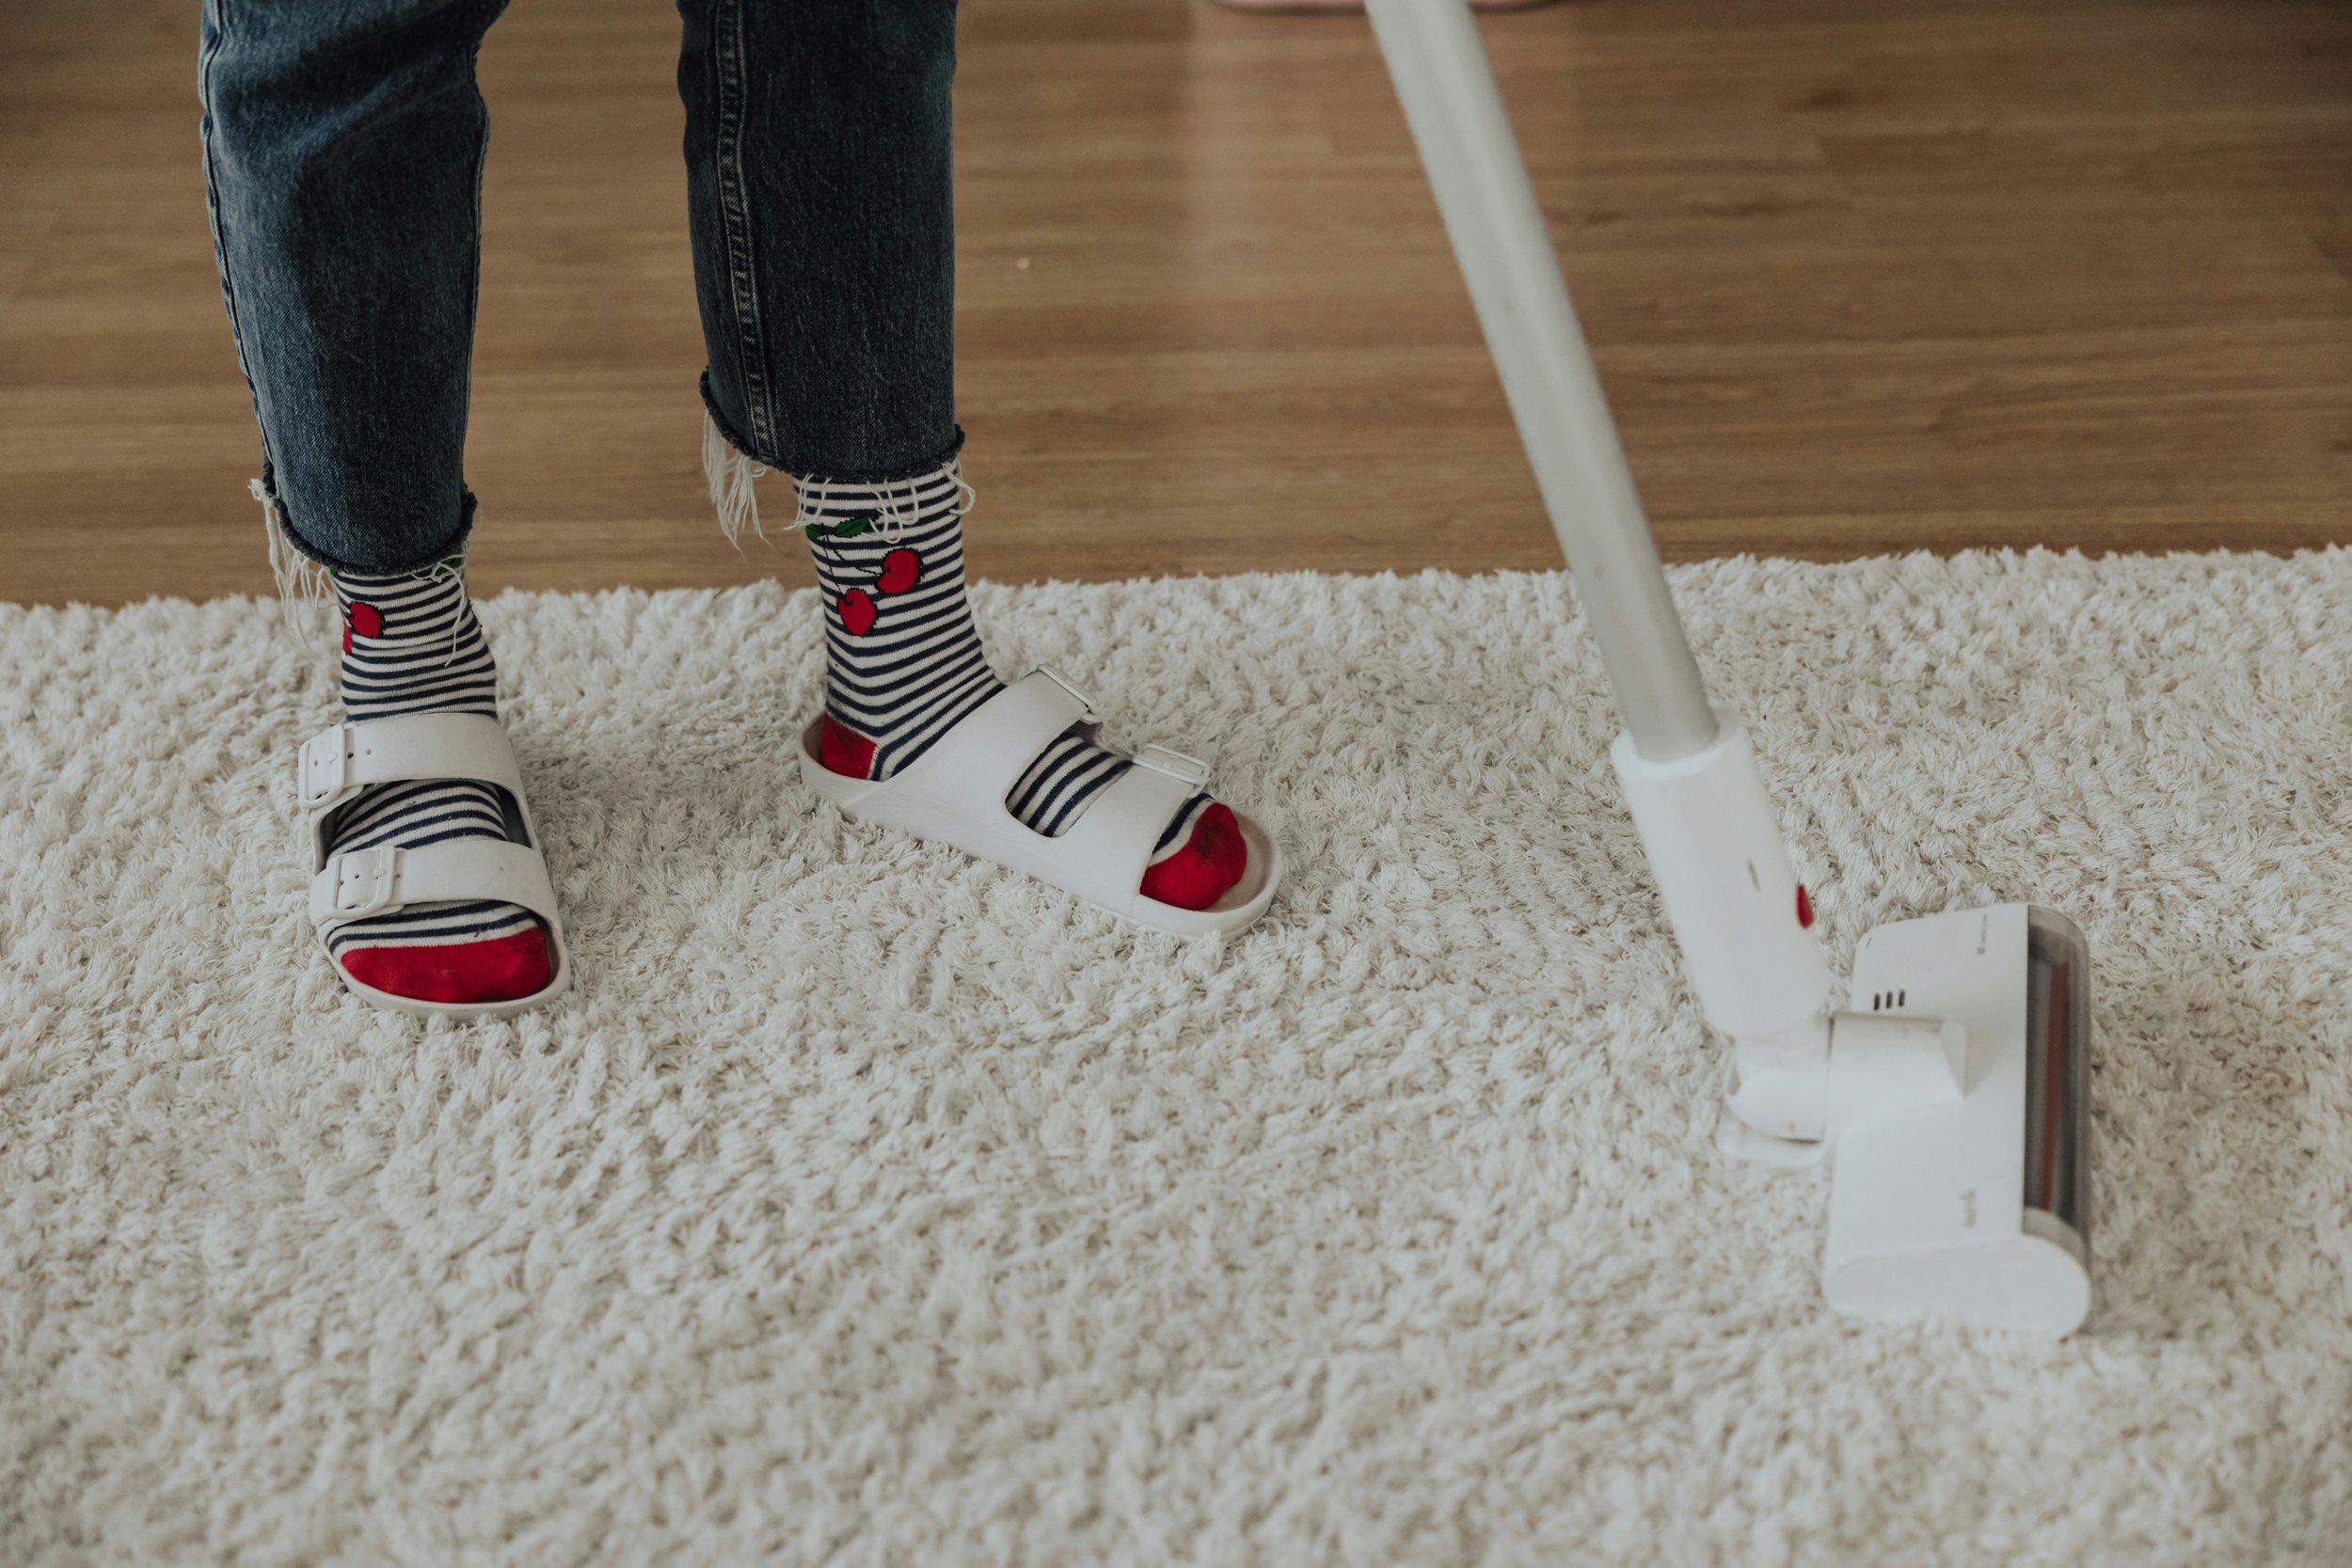
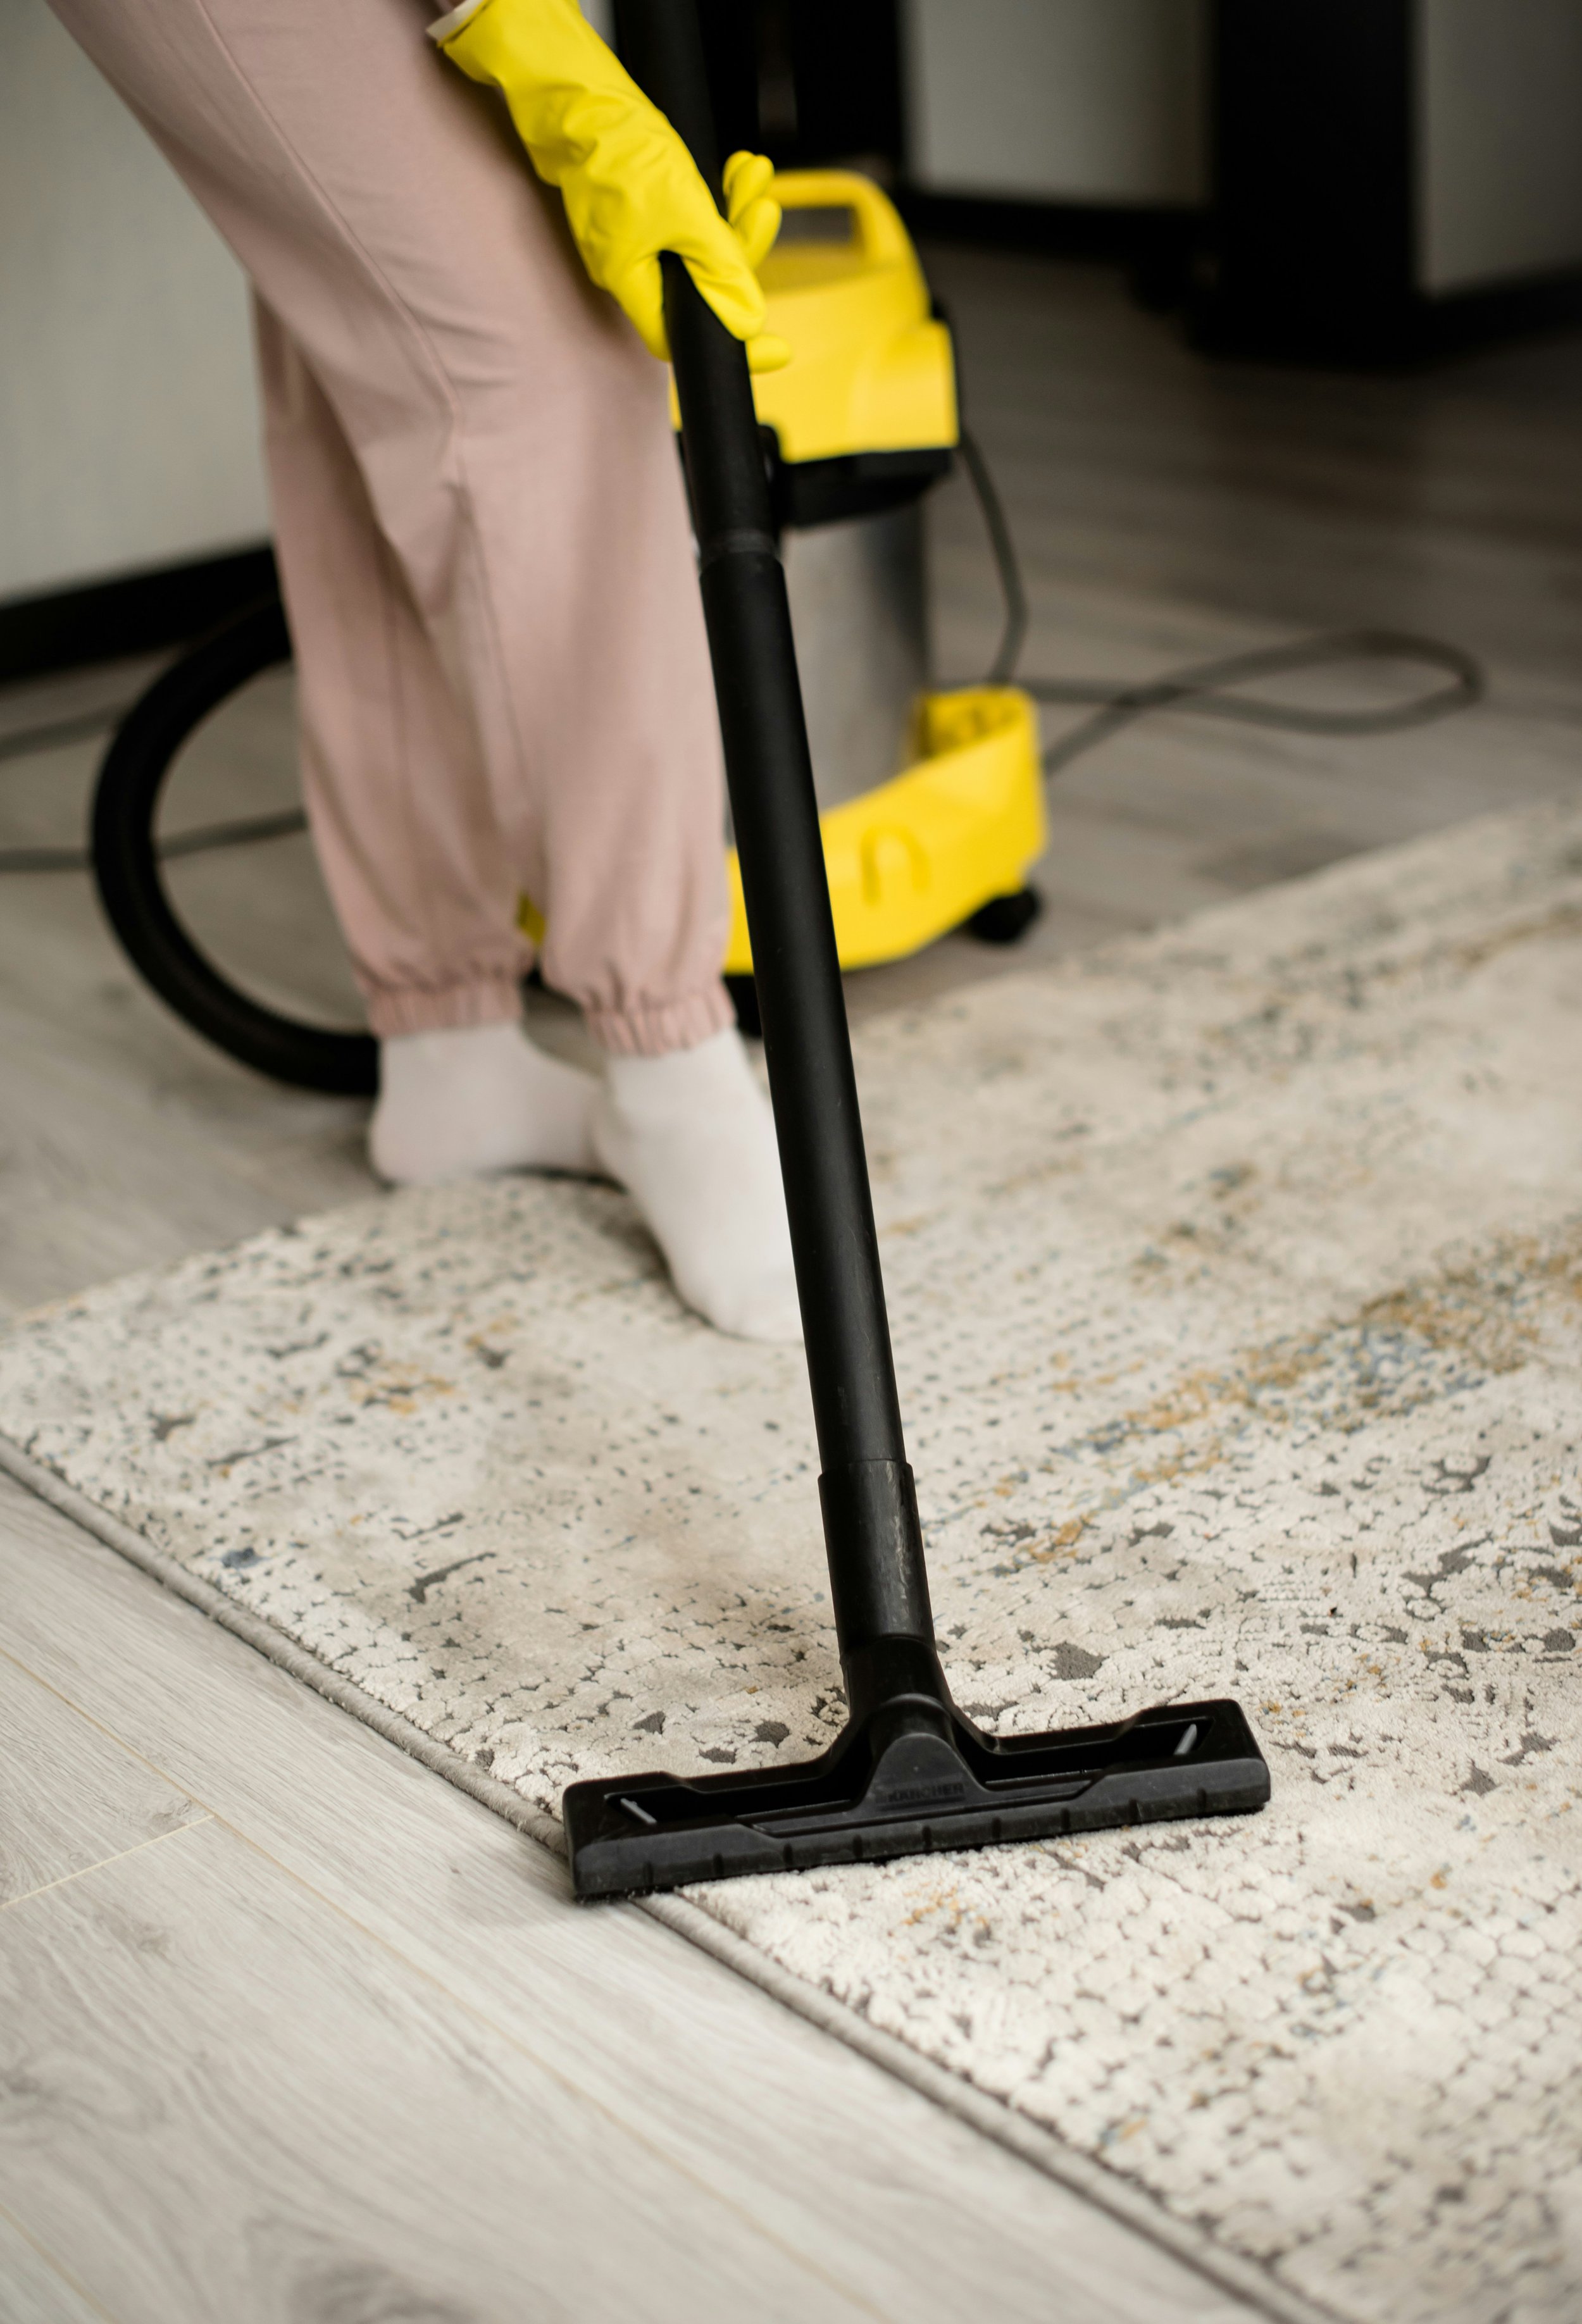
Step 1: The Pre-Game Vacuum
First things first, you've got to clear the playing field. Vacuum that rug like your life depends on it! Go over it multiple times from different angles. North to south, east to west, diagonal if you're feeling fancy. The goal is to remove every bit of loose dirt and debris before you start the actual cleaning.
Pro tip: if your vacuum has a beater bar, consider turning it off for delicate rugs. You want to suck up dirt, not beat your rug into submission. For shag or high-pile rugs, use the upholstery attachment to avoid damaging those lovely long fibers.
Step 2: Spot Treatment Surgery
Before going all-in with the dry cleaning powder, let's deal with those problem areas. Different stains need different approaches, kind of like how different illnesses need different medicines. Got a grease stain? Pile on the cornstarch thick and let it sit for at least an hour. Mystery stain that's been there since the dawn of time? Make a paste with baking soda and just a tiny bit of water.
For pet accidents (we've all been there), sprinkle the area with baking soda mixed with a few drops of essential oil. The baking soda neutralizes odors while the oil adds a fresh scent. Leave it on for at least 30 minutes, longer if you can stand it.
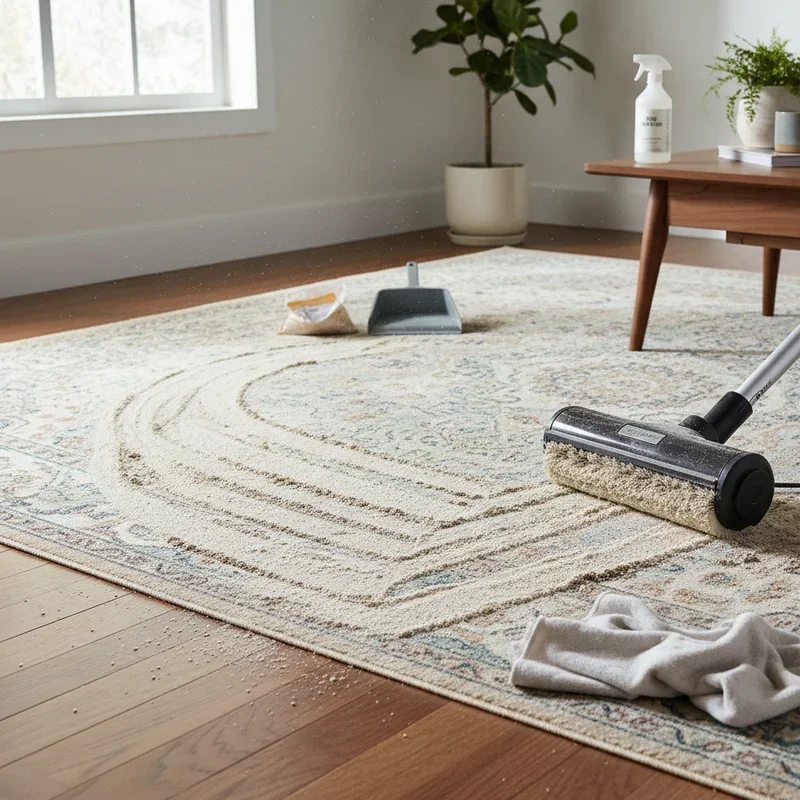
Step 3: The Powder Application
Now we're getting to the good stuff! Sprinkle your dry cleaning powder evenly across the entire rug. Don't be shy, but don't go crazy either. You want it to look like a light dusting of snow, not a blizzard. Use a broom or soft brush to work the powder into the fibers with gentle circular motions.
This is where patience becomes your best friend. The powder needs time to work its magic, absorbing oils, odors, and loosening embedded dirt. I recommend leaving it for at least an hour, but honestly? If you can leave it overnight, you'll get even better results. Just make sure to keep kids and pets away during this time.
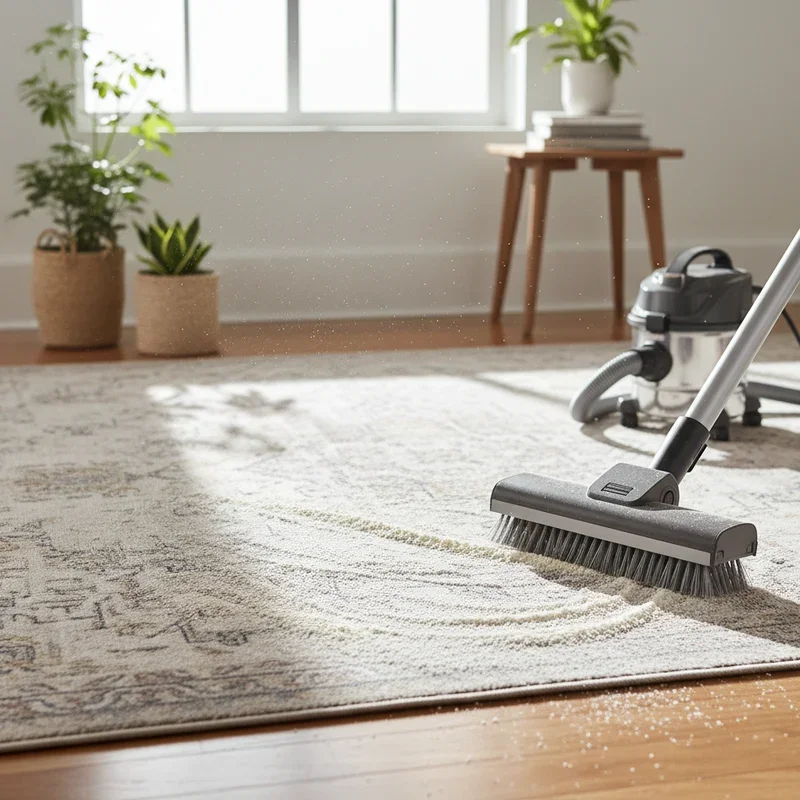
Step 4: The Workout Session
After the powder has had time to do its thing, grab your brush and get ready for a mini workout! Using firm but not aggressive strokes, brush the rug in multiple directions. This agitates the fibers and helps the powder penetrate deeper while also loosening stubborn dirt.
Pay extra attention to high-traffic areas where dirt gets ground in deep. You might notice the powder changing color as it absorbs dirt, which is weirdly satisfying and proof that it's working! Don't rush this step; thorough brushing is what separates an okay cleaning job from a great one.
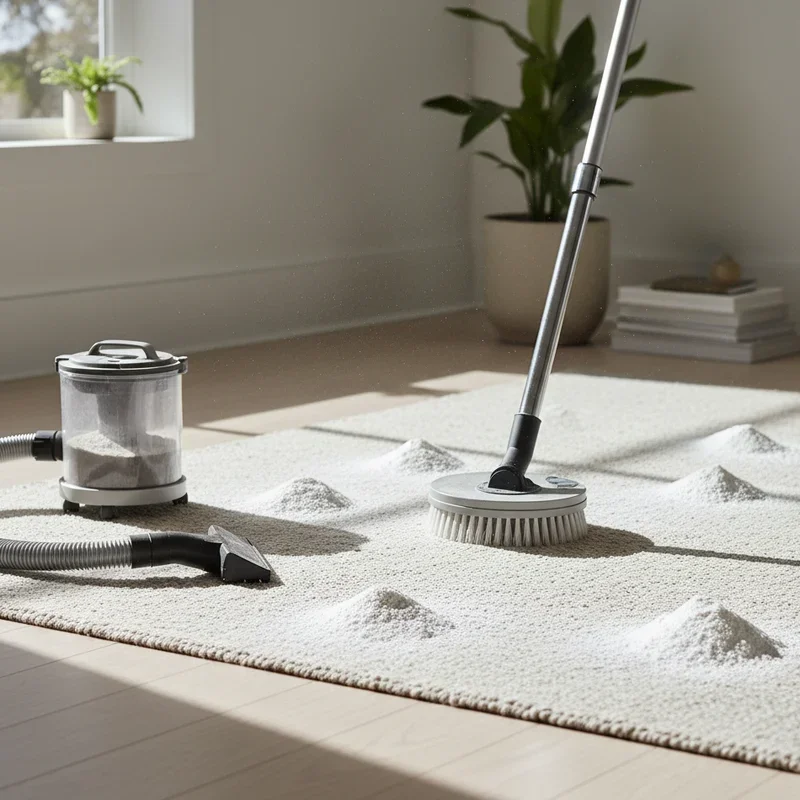
Step 5: The Grand Finale Vacuum
Time for the big reveal! Vacuum up all that powder slowly and methodically. This isn't a race; slow and steady wins here. Make multiple passes over each section, and don't be surprised if you need to empty your vacuum bag or canister partway through.
Keep vacuuming until you don't see any more powder coming up. For thick rugs, this might take several rounds. If you spot areas that still look dingy, no worries! You can repeat the process on just those spots.

Tackling Specific Challenges
The Pet Odor Nightmare
Let's be honest, if you've got pets, you've dealt with this issue. Regular dry cleaning powder might not be enough for serious pet odor problems. Here's my nuclear option: mix equal parts baking soda and activated charcoal powder (you can find it at pet stores or online). This combination doesn't just mask odors; it literally absorbs them.
Apply this mixture generously to affected areas and let it sit for 24-48 hours if possible. Yes, that means sectioning off part of your room, but trust me, it's worth it. The charcoal is like a sponge for odors, and combined with baking soda, it's practically unstoppable.
Ancient Stains That Won't Budge
Got stains older than your youngest kid? Been there! For these stubborn marks, you need to get a bit more aggressive. Create a barely-damp paste using:
3 tablespoons baking soda
1 tablespoon white vinegar
1 teaspoon dish soap
Just enough water to make it spreadable
Apply this paste to the stain, cover with plastic wrap, and let it sit for 2-3 hours. The plastic wrap prevents it from drying too quickly. Once time's up, remove the plastic, let it dry completely, then brush and vacuum away.
Reviving Matted High-Traffic Areas
Those pathways where everyone walks can start looking flat and sad, even when clean. After dry cleaning, here's a trick to revive them: lightly mist the area with a mixture of one part fabric softener to three parts water. Don't soak it, just a light misting!
Then, use a soft brush to gently lift the fibers, brushing against the grain. As it dries, the fibers will stand up better, and the fabric softener helps them stay that way. Your rug will look fuller and more luxurious.
Safety First, Always!
Ventilation Matters Big Time
I can't stress this enough: open those windows! Even natural cleaning products can be irritating when concentrated. Good airflow prevents you from breathing in too much powder and helps everything dry faster if you've used any moisture.
If you're using commercial products, ventilation becomes even more critical. Some contain solvents that can cause headaches or dizziness. If you start feeling woozy, take a break immediately and get some fresh air. Your rug isn't worth a trip to the emergency room!
Protecting Yourself and Others
Always, and I mean always, wear gloves when handling cleaning products. Even "natural" doesn't mean "harmless to skin." Baking soda and salt can dry out your hands something fierce with prolonged exposure.
Keep pets and kids away from the area while cleaning and until everything's completely vacuumed up. Curious cats especially might try to investigate or roll in the powder, which could irritate their skin or respiratory system. Better safe than sorry!
Keeping Your Rug Fresh Between Deep Cleans
The Maintenance Game Plan
Now that you know how to dry clean a rug at home safely and easily, let's keep it looking good! Vacuum high-traffic areas at least twice weekly and the whole rug weekly. This prevents dirt from settling deep into fibers where it's harder to remove.
Once a month, do a light refresh with just baking soda. Sprinkle, wait 30 minutes, vacuum. It's like a mini spa treatment for your rug that prevents odors and keeps things fresh between deep cleanings.
Spot Prevention Strategies
Prevention beats cleaning every time! Consider these strategies: • Implement a no-shoes policy (your rugs will thank you) • Keep cleaning supplies handy for immediate spill response • Use doormats religiously to reduce tracked-in dirt • Rotate your rug periodically to distribute wear evenly • Apply fabric protector spray after deep cleaning
When DIY Isn't Enough
Knowing Your Limits
Look, I'm all for DIY, but sometimes you've got to recognize when professional help is needed. If you're dealing with genuine antiques, silk rugs worth more than your car, or severe water damage, call in the pros. The risk of damage isn't worth the money saved.
Also, if you've tried these methods multiple times and still have issues, there might be deeper problems like mold in the backing or permanent staining that requires professional equipment and expertise.
Conclusion
There you have it! Mastering how to dry clean a rug at home safely and easily really isn't as daunting as it might seem. With the right tools, techniques, and a little patience, you can keep your rugs looking fresh and beautiful without the hassle and expense of professional cleaning. Remember, consistency is key, so regular maintenance will make each deep cleaning session easier. Now go forth and show those dirty rugs who's boss!
Read next: What Size Rug Is Best for Your Living Room?
Frequently Asked Questions
Q1: Can I use this method on all types of rugs?
A: Most rugs yes, but silk and antique rugs need extra care or professional cleaning.
Q2: How long should I leave the powder on my rug?
A: Minimum one hour, but overnight gives the best results for deep cleaning action.
Q3: Will baking soda bleach or fade my rug colors?
A: No, baking soda is color-safe when used properly and vacuumed thoroughly after application.
Q4: Can I use regular carpet shampoo for dry cleaning?
A: No, carpet shampoo requires water; stick to dry powders for true dry cleaning.
Q5: How often should I dry clean my rugs at home?
A: Deep clean every 3-4 months, with light monthly maintenance for best results overall.
Stay up to date with our latest ideas!