How to Install Attic Baffles: Tools, Tips, and Safety
Learn how to install attic baffles properly with our complete guide. Essential tools, tips, and safety advice for improved attic ventilation.

Ever wondered why your upstairs rooms feel like saunas in summer and ice boxes in winter? The culprit might be hiding right above your head! Proper attic ventilation plays a massive role in home comfort and energy efficiency, and attic baffles are unsung heroes in making that ventilation actually work. Without them, you might as well be throwing money out the window on heating and cooling bills.
Here's the thing most homeowners don't realize: insulation and ventilation need to work together, not against each other. When insulation gets stuffed all the way to the eaves and blocks soffit vents, your attic becomes a stagnant nightmare. Hot air can't escape in summer, moisture builds up in winter, and your roof sheathing pays the price with rot, mold, and premature failure.
Attic baffles solve this problem elegantly by creating protected channels that keep airflow moving from soffit vents up to ridge or roof vents, even when insulation tries to crowd into those tight spaces near the eaves. Installing them isn't rocket science, but it does require some know-how, the right materials, and serious attention to safety.
This comprehensive How to Install Attic Baffles: Tools, Tips, and Safety guide walks you through everything from understanding why baffles matter to completing a professional-quality installation. Whether you're adding insulation and want to maintain proper ventilation or fixing problems in an existing attic, we've got you covered. Ready to give your attic the airflow it desperately needs? Let's dive in!
Understanding What Attic Baffles Do
The Science Behind Ventilation
Before grabbing tools and heading up the attic ladder, let's understand why baffles matter so much. Your attic needs continuous airflow to function properly, and that airflow follows a specific path: in through soffit vents at the eaves, up through the attic space, and out through ridge vents, gable vents, or roof vents near the peak.
This movement creates what building scientists call "passive ventilation," using natural convection currents where hot air rises and pulls cooler air in behind it. When working correctly, this system removes excess heat in summer, reducing air conditioning loads significantly. In winter, it removes moisture that would otherwise condense on cold roof sheathing and cause serious problems.
The trouble starts where roof slopes meet exterior walls. This tight space is exactly where insulation needs to be thickest to prevent heat loss, but it's also exactly where air needs to enter from soffit vents. Without baffles, insulation inevitably blocks airflow, and the whole ventilation system breaks down.
Consequences of Poor Ventilation
What happens when attic ventilation fails? Nothing good, I can promise you that! In summer, attic temperatures can exceed 150 degrees without proper airflow, baking your roof shingles from below and dramatically shortening their lifespan. That scorching air also radiates heat into your living spaces, making air conditioning work overtime.
Winter brings different problems. Warm, moist air from your living spaces rises into the attic. Without ventilation to carry it away, that moisture condenses on cold roof sheathing. Over time, this creates perfect conditions for mold growth, wood rot, and structural damage that costs thousands to repair.
Ice dams represent another winter ventilation failure. When attic air warms enough to melt snow on your roof, water trickles down and refreezes at the colder eaves, creating dams that force water back under shingles. Proper ventilation keeps attic temperatures close to outside temperatures, preventing this cycle.
Types of Attic Baffles Available
Foam Baffles
Rigid foam baffles offer excellent durability and provide some additional insulation value where they're installed. They maintain their shape well and don't compress over time like some other options might.
Foam baffles typically cost more than alternatives but install easily and last indefinitely once in place. Their rigidity makes them particularly well-suited for situations where you might be adding blown-in insulation that could compress lighter materials.
Plastic and Polystyrene Baffles
The most common baffle type, these lightweight channels come in various configurations designed to fit standard rafter spacings. They're affordable, readily available at home improvement stores, and install quickly with staples or small nails.
Some plastic baffles feature built-in flanges that create a tighter seal against rafters, reducing the chance of insulation sneaking around edges. Others offer extended lengths that protect more of the ventilation channel from insulation encroachment.
Cardboard Baffles
Budget-friendly cardboard baffles work adequately in dry climates but present problems where moisture exposure is likely. They're lighter and easier to handle than rigid options but can deteriorate over time in humid conditions.
If you're installing cardboard baffles in an area with high humidity or any history of roof leaks, consider upgrading to more durable materials that won't fail when exposed to moisture.
Custom-Made Baffles
Some situations call for custom solutions, particularly in older homes with non-standard rafter spacing or unusual roof configurations. Building your own baffles from rigid insulation board or thin plywood allows perfect customization but requires more time and effort.
Essential Tools for the Job
Must-Have Equipment
Gathering your tools before climbing into the attic saves multiple frustrating trips up and down. Here's what you'll need for a successful baffle installation:
A staple gun with appropriate staples serves as your primary fastening tool. Choose a gun comfortable for extended use and staples long enough to penetrate through baffle material into wood rafters.
A utility knife handles any trimming needed to fit baffles into unusual spaces or around obstructions. Keep extra blades handy because cutting through foam and plastic dulls blades quickly.
A measuring tape and pencil help verify rafter spacing and mark any cuts needed. While most rafters are spaced at standard intervals, variations exist, especially in older homes.
A quality flashlight or headlamp illuminates the dark corners of your attic where you'll be working. Battery-powered work lights can be positioned to illuminate specific work areas.
Safety Equipment
Attic work presents real hazards that demand proper safety equipment. Skipping protective gear might save a few dollars but could cost you much more in medical bills or permanent injury.
A properly fitted respirator or N95 mask protects your lungs from insulation fibers, dust, and any mold spores present in your attic. Fiberglass insulation in particular releases irritating particles that you definitely don't want to breathe.
Safety glasses shield your eyes from the same airborne particles plus any debris that might fall from above while you're working. Insulation fibers in your eyes create serious discomfort.
Gloves protect your hands from fiberglass irritation and sharp edges. Some baffles have edges that can cut skin, and nobody enjoys picking insulation fibers out of their hands for days afterward.
Long sleeves, long pants, and closed-toe shoes minimize skin exposure to insulation. Some folks wear coveralls specifically for attic work that can be removed immediately upon finishing.

How to Install Attic Baffles: Tools, Tips, and Safety Procedures
Preparing for Installation
Before touching a single baffle, take time to assess your attic situation thoroughly. This preparation prevents surprises and ensures you have enough materials to complete the job.
Count your rafter bays to determine how many baffles you'll need. Each bay between rafters where a soffit vent exists requires its own baffle. Having extras on hand accounts for mistakes or unexpected situations.
Clear any insulation that's currently blocking soffit vents. Use a long stick or pole to gently push material away from eaves, creating space for baffle installation. Be careful not to damage any existing vapor barriers or electrical wiring during this process.
Identify any obstructions like wiring, plumbing vents, or electrical junction boxes that might complicate installation in certain bays. Planning around these ahead of time saves frustration later.
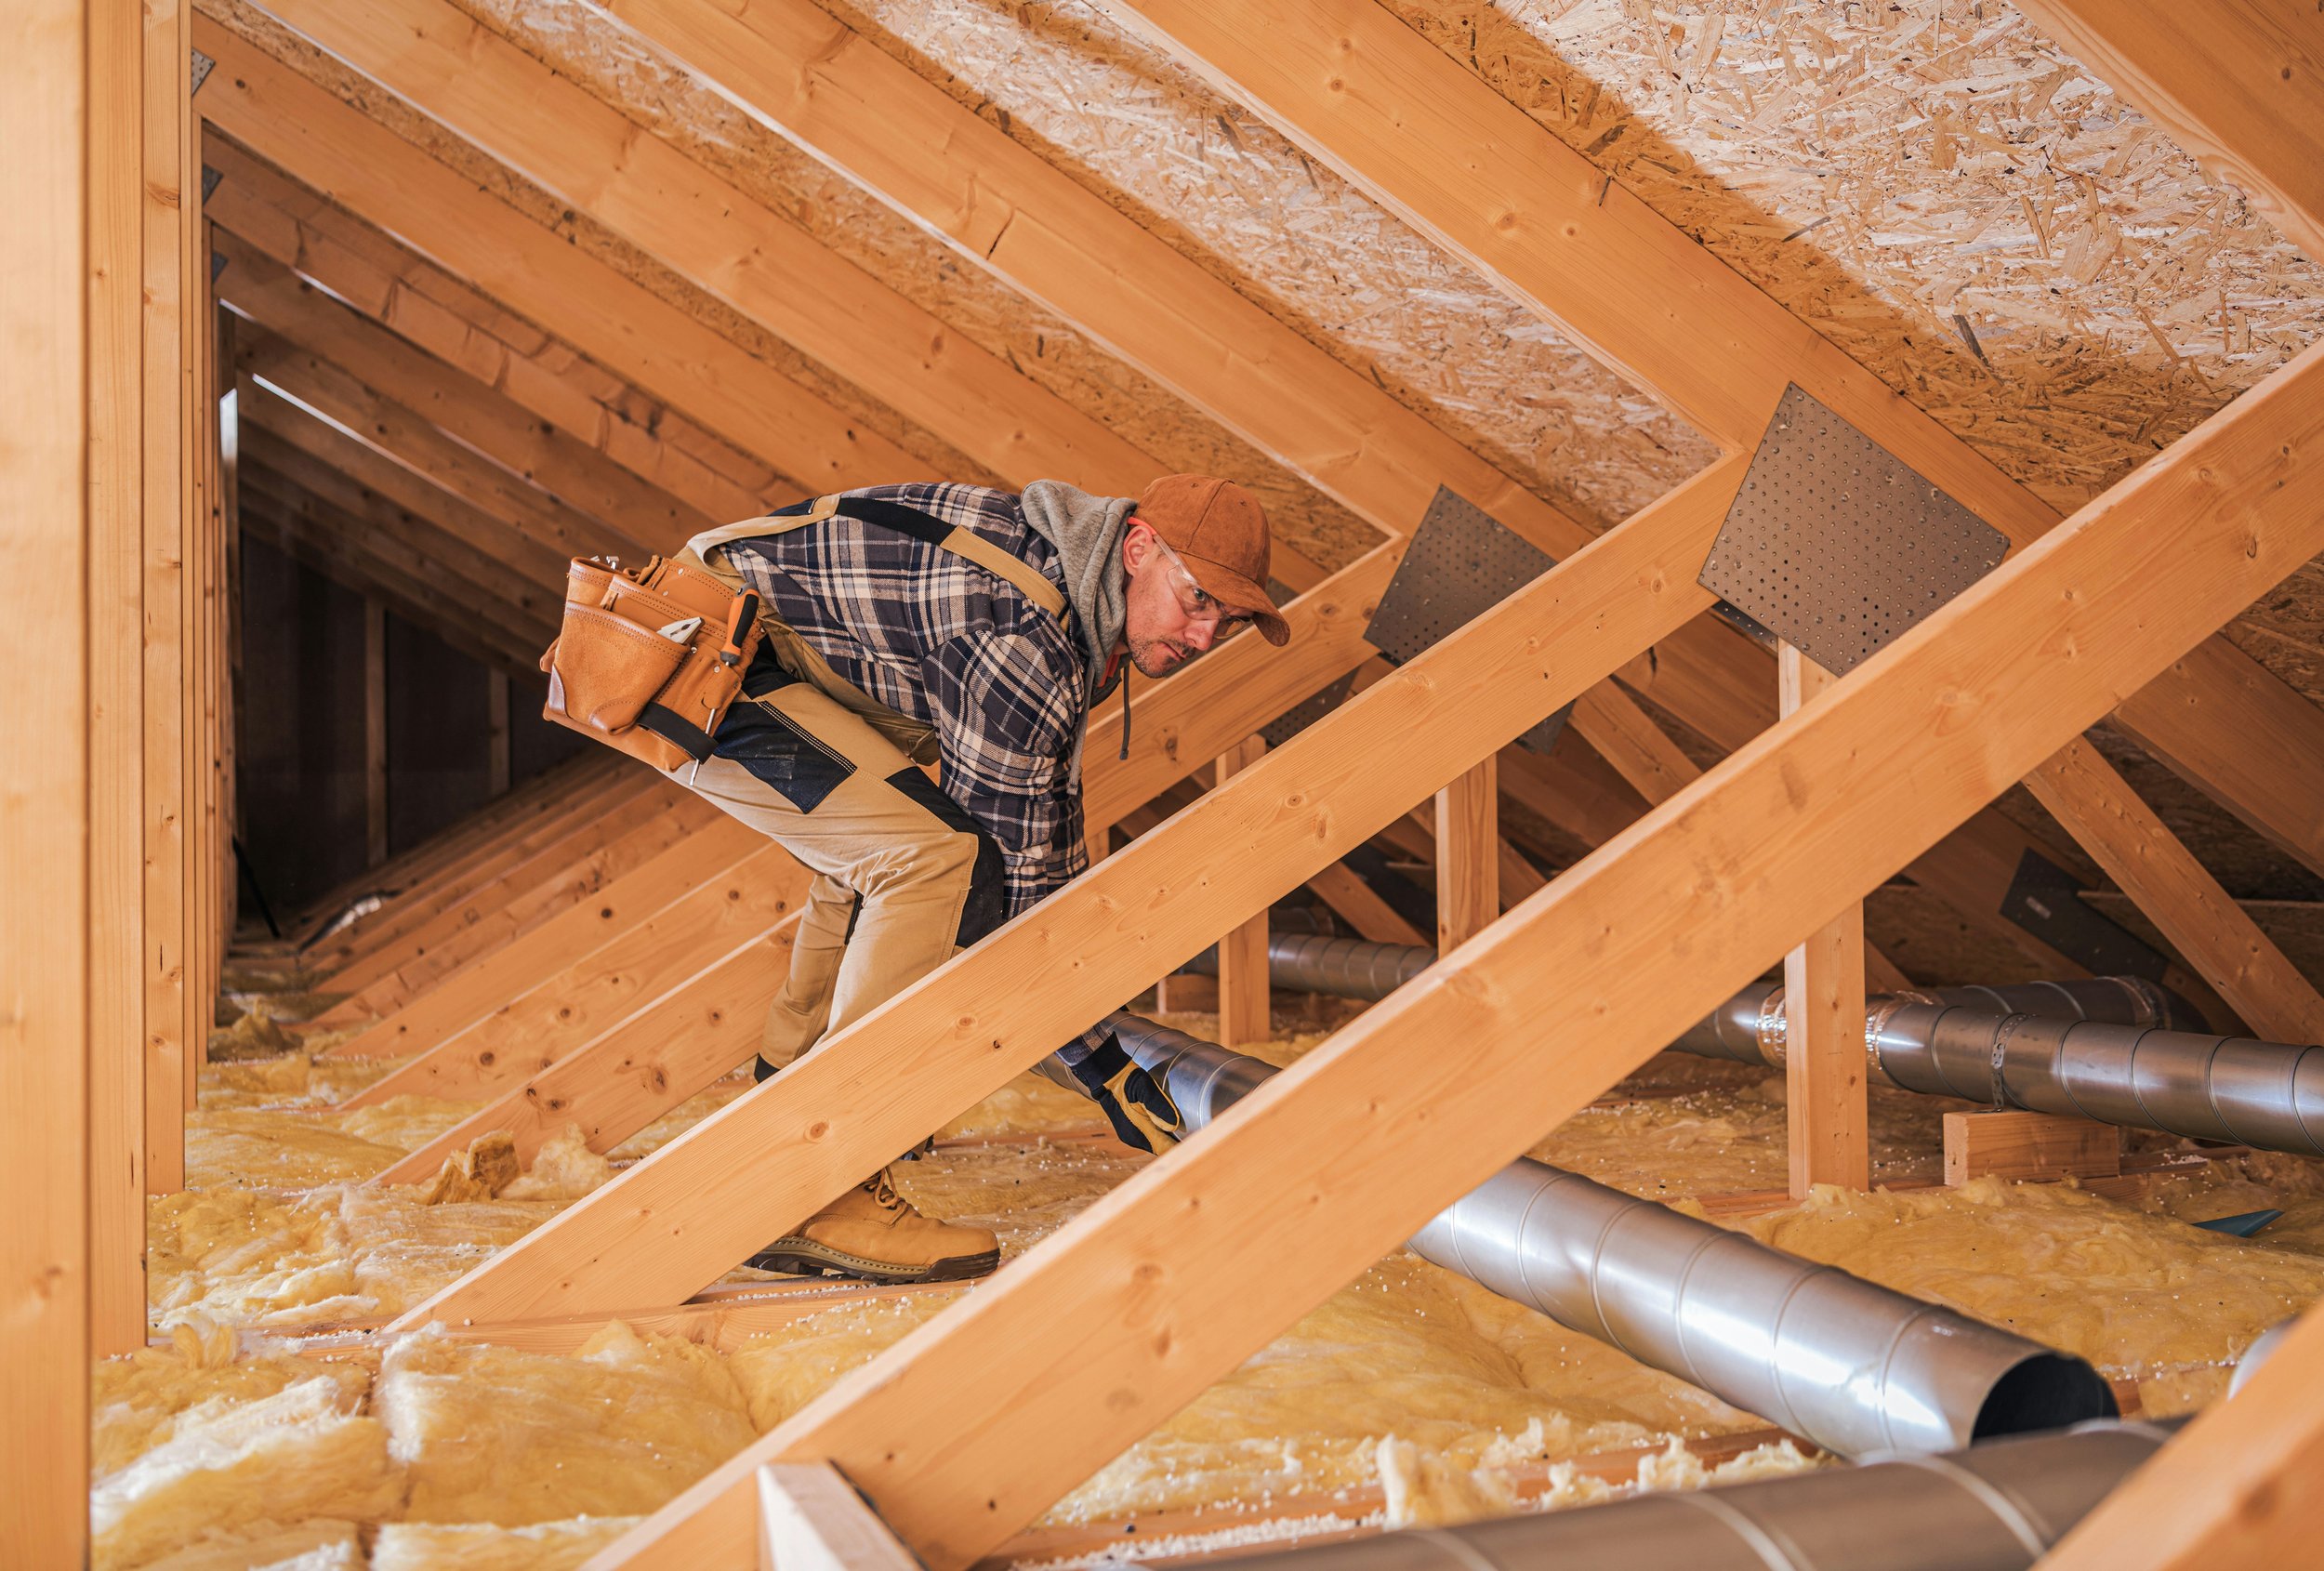
Working Safely in Your Attic
Attic safety deserves serious attention because falls through ceilings cause significant injuries every year. The space between ceiling joists contains nothing but drywall or plaster that cannot support your weight!
Only step on ceiling joists or structural framing, never on the spaces between. Lay plywood sheets across multiple joists to create stable walking and working platforms if needed.
Work during cooler times of day during warm months. Attics become dangerously hot in summer afternoons, creating heat stroke risks that aren't worth taking. Early morning work keeps temperatures manageable.
Stay hydrated and take breaks. Attic work is physically demanding, especially in warm conditions. Fatigue leads to mistakes and accidents.
Let someone know you're working in the attic. If you fell and became injured, would anyone know to check on you? Having someone aware of your activities provides a safety backup.
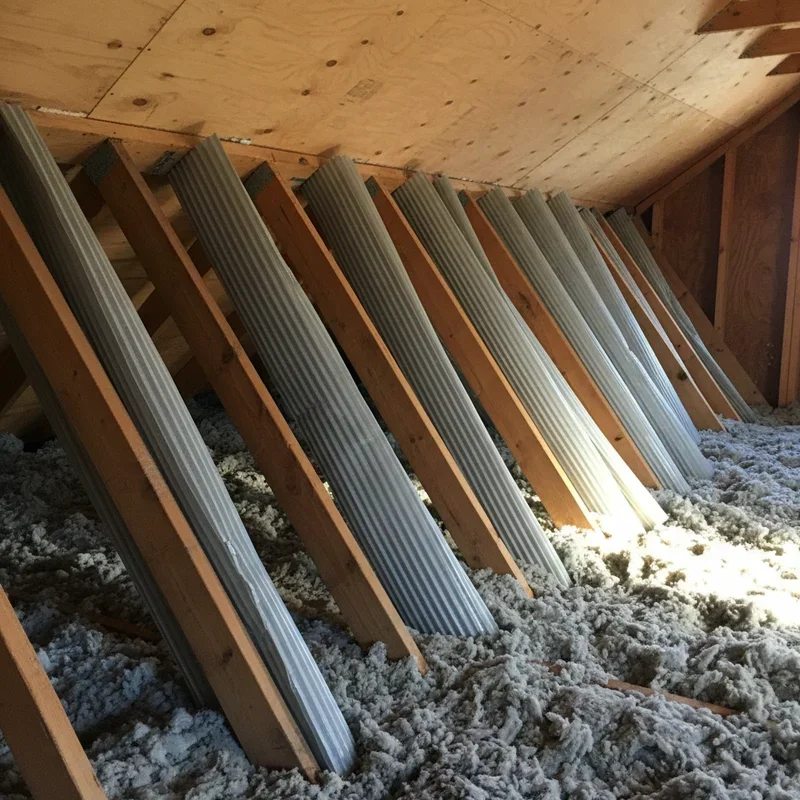
Step-by-Step Installation Process
Position yourself at the first rafter bay where you'll begin installation. Starting at one end of your attic and working systematically across ensures complete coverage without missed spots.
Slide your baffle up into the rafter bay, pushing it toward the eave until it reaches the soffit vent area. The bottom of the baffle should extend down near the top plate of the exterior wall, creating a complete channel from soffit to attic space.
Verify the baffle is centered in the bay with flanges resting against rafter faces on both sides. Adjust positioning until the channel runs straight and unobstructed.
Secure the baffle using staples driven through the flanges into the rafters. Place staples every six to eight inches along both sides for secure attachment. Some baffles may require nails instead of staples depending on material thickness.
Continue installing baffles in each rafter bay that has corresponding soffit ventilation. Not every bay necessarily needs a baffle if soffits only have vents at certain locations, but continuous soffit vents require baffles throughout.
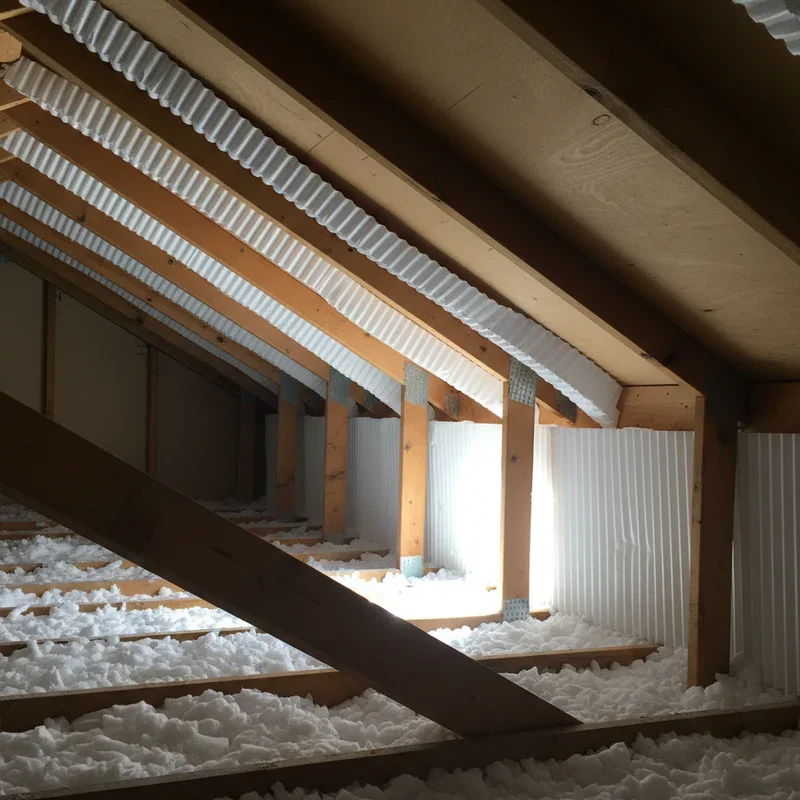
Sealing for Maximum Effectiveness
Basic baffle installation works adequately, but sealing gaps around baffles provides superior performance. Air can sneak around baffle edges if they don't sit tightly against rafters.
Apply construction adhesive or foam sealant along baffle edges where they meet rafters. This creates an airtight channel that prevents insulation from working its way into the ventilation path.
Seal any gaps at the bottom of baffles where they meet the top plate of the wall. This junction point often allows air leakage that reduces overall system effectiveness.
For blown-in insulation installations, consider extending baffles higher up into the rafter bay to provide additional protection against insulation migration into ventilation channels.
Common Installation Mistakes to Avoid
Inadequate Baffle Depth
Installing baffles that don't extend far enough up the rafter bay leaves ventilation channels vulnerable to insulation blockage. When adding insulation, particularly blown-in types, material can settle into the unprotected portion and restrict airflow.
Choose baffles that extend at least 18 to 24 inches up from the top plate, or use multiple overlapping baffles to achieve adequate protection. The deeper your planned insulation, the higher your baffles should extend.
Missing Rafter Bays
Skipping bays because they seem difficult to reach or because you've run out of baffles undermines your entire ventilation system. Each blocked bay reduces overall airflow capacity and creates local hot spots or moisture accumulation zones.
Complete every bay that has soffit ventilation, even the annoying ones in tight corners. Your roof and energy bills will thank you for the thoroughness.
Crushing Baffles During Insulation
Adding insulation after baffle installation requires care to avoid crushing or displacing your carefully installed ventilation channels. Blown-in insulation in particular can collapse lightweight baffles if applied too aggressively.
Work carefully around baffles when installing insulation, ensuring channels remain open and unobstructed. Check periodically during insulation work to verify baffles haven't shifted or collapsed.
Verifying Proper Installation
Visual Inspection
After completing installation, inspect your work before leaving the attic. Look down each rafter bay to verify baffles are properly positioned with clear channels running from soffit to attic space.
Check for any gaps where insulation might infiltrate around baffle edges. Address any problems now while you're equipped and positioned to make corrections easily.
Testing Airflow
On a calm day, you can verify soffit-to-ridge airflow is functioning properly. Feel for air movement at soffit vents from outside your home, then check for warm air exhausting at ridge or roof vents.
Significant airflow differences between bays may indicate blocked channels requiring additional investigation and correction.
Maintaining Your Ventilation System
Periodic Inspections
Baffles require minimal maintenance once properly installed, but periodic inspections catch problems before they cause damage. Check your attic annually, looking for shifted baffles, insulation blocking channels, or signs of moisture problems.
After major storms or when you notice unusual heating and cooling bills, additional inspections may be warranted to verify everything remains in good condition.
Addressing Problems Promptly
If you discover blocked ventilation channels or damaged baffles during inspections, address issues promptly. Ventilation problems worsen over time, and deferred maintenance leads to more extensive repairs.
Replacing damaged baffles or clearing blocked channels takes minimal time and effort compared to repairing roof damage caused by ventilation failure.
Conclusion
Installing attic baffles represents one of the most impactful home improvements you can make for both energy efficiency and roof longevity. This How to Install Attic Baffles: Tools, Tips, and Safety guide has equipped you with the knowledge needed for successful installation, from understanding ventilation principles to completing each step safely and correctly. Remember that proper baffles protect your ventilation system even as insulation levels increase, ensuring your attic breathes properly year-round. Take your time, prioritize safety, and don't skip any rafter bays. Your comfortable home and healthy roof are worth the effort invested in doing this job right.
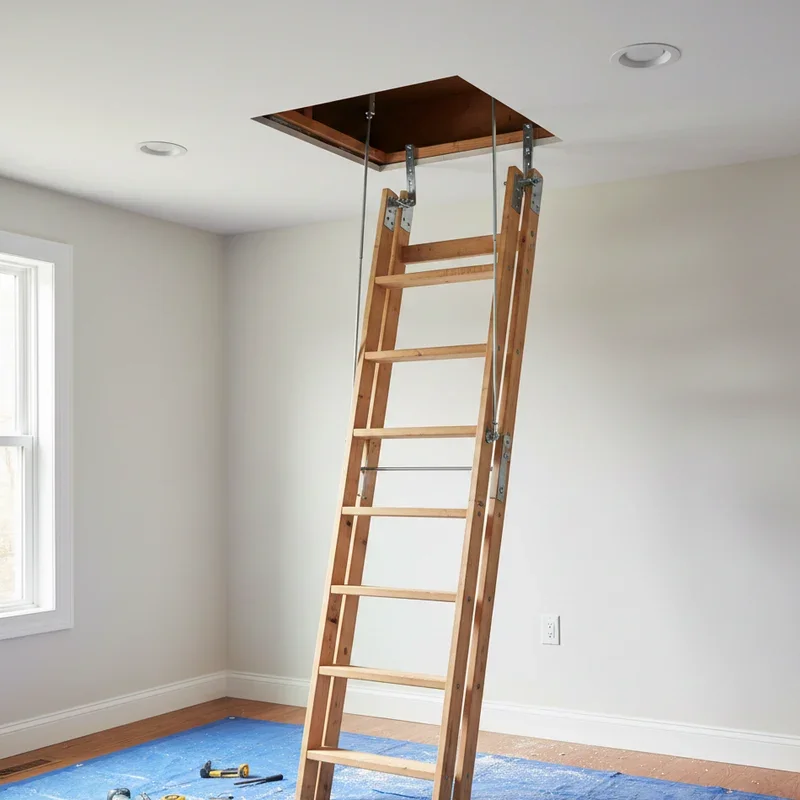
Read next: How to Install Attic Ladder: Tools, Tips, and Measurements
Frequently Asked Questions
1. How many attic baffles do I need for my home?
Count rafter bays with soffit vents below them; each bay needs one baffle installed.
2. Can I install attic baffles over existing insulation?
Yes, but you must first clear insulation away from soffit areas before installing baffles.
3. What size attic baffles should I purchase?
Measure your rafter spacing; most homes use 16 or 24-inch center baffles for standard framing.
4. Do attic baffles need to be installed in every rafter bay?
Only install baffles in bays that have corresponding soffit ventilation directly below them.
5. How far up should attic baffles extend into the rafter bay?
Baffles should extend at least 18 to 24 inches beyond the exterior wall's top plate.
Stay up to date with our latest ideas!