How to Clean Shower Floor: Simple Methods That Work
Discover how to clean shower floor with simple methods that work. Tackle soap scum, mold, and grime using easy techniques for sparkling results.
Let's be real here: nobody dreams about scrubbing shower floors. It's one of those household chores that somehow always gets pushed to the bottom of the to-do list until suddenly you're staring at grimy grout, mysterious pink stains, and buildup that makes you wonder if your shower floor was always that color. Sound familiar? You're definitely not alone in this struggle!
The irony isn't lost on anyone that the place we go to get clean is often one of the dirtiest spots in our homes. Every shower deposits a fresh layer of soap residue, body oils, dead skin cells, and whatever gunk washes off our bodies directly onto that floor. Add warm, humid conditions that mold and mildew absolutely adore, and you've got yourself a recipe for some seriously stubborn nastiness.
But here's the good news: cleaning your shower floor doesn't require expensive specialty products or hours of backbreaking scrubbing! With the right techniques and a little know-how, you can restore even the grimiest shower floors to their former glory using ingredients you probably already have under your kitchen sink.
This comprehensive How to Clean Shower Floor: Simple Methods That Work guide covers everything from quick maintenance cleanings to deep restoration projects. Whether you're dealing with ceramic tile, natural stone, fiberglass, or acrylic surfaces, we've got solutions that actually deliver results. Ready to tackle that shower floor once and for all? Let's get scrubbing!
Understanding What You're Fighting Against
The Usual Suspects
Before diving into cleaning methods, understanding what creates shower floor grime helps you choose the most effective attack strategy. Different types of buildup respond to different cleaning approaches, so identifying your enemy makes winning the battle much easier.
Soap scum forms when fatty acids in bar soap combine with minerals in your water. This stubborn film builds up gradually, creating that dull, whitish coating that makes everything look dingy. Liquid body washes produce less scum than bar soap, but nobody's completely immune to this issue.
Hard water deposits leave behind mineral residue every time water evaporates. Calcium and magnesium create white, crusty patches that feel rough and look awful. If you live in an area with particularly hard water, you're probably all too familiar with these stubborn stains.
Mold and mildew thrive in warm, wet environments, making shower floors their absolute favorite hangout spot. That pink or orange slime? It's actually bacteria called Serratia marcescens, which loves feeding on soap residue and shampoo. Black spots in grout are typically mold that's established itself in porous surfaces.
Body oils, hair products, and dead skin cells contribute to a general grimy film that coats everything. This organic matter feeds the bacteria and mold, creating a self-perpetuating cycle of nastiness if left unchecked.
Why Regular Cleaning Matters
Procrastinating on shower floor cleaning doesn't just affect aesthetics. The longer buildup accumulates, the harder removal becomes. What starts as a quick wipe-down job can turn into a major restoration project if neglected too long.
Mold and mildew aren't just ugly; they pose genuine health risks, especially for people with respiratory conditions or allergies. Breathing in mold spores during your daily shower isn't doing your lungs any favors!
Buildup also damages surfaces over time. Soap scum can etch into finishes, hard water deposits can permanently stain grout, and mold can penetrate porous materials deeply enough to cause permanent discoloration. Regular cleaning prevents damage that becomes impossible to reverse.
Identifying Your Shower Floor Material
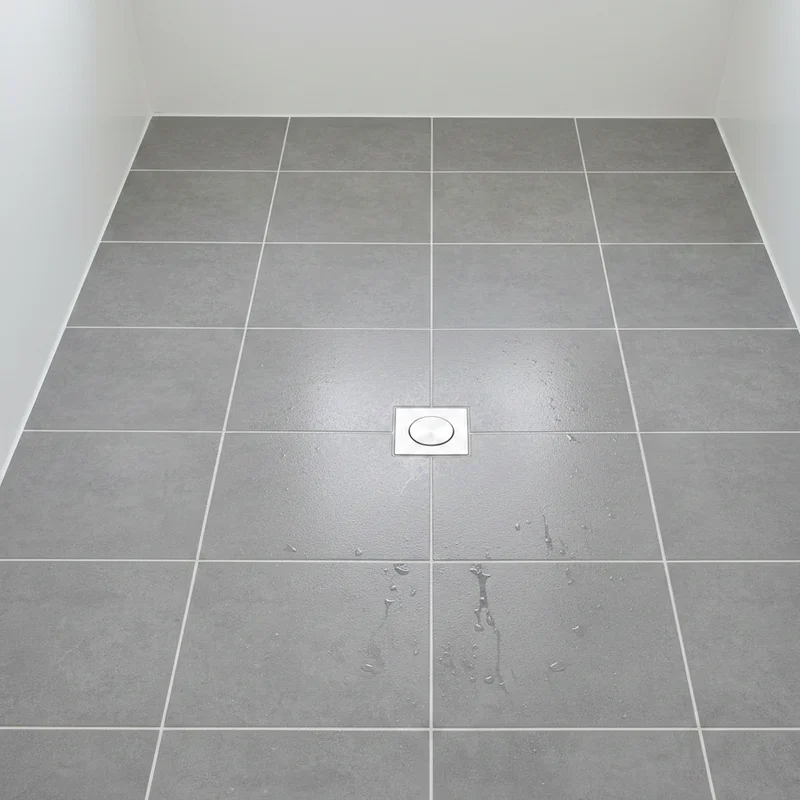
Ceramic and Porcelain Tile
The most common shower floor material, ceramic and porcelain tiles are relatively forgiving when it comes to cleaning. They tolerate most cleaning products well and can handle moderately aggressive scrubbing without damage.
The grout between tiles presents more challenges than the tiles themselves. This porous material absorbs stains, harbors mold, and requires different treatment than the smooth tile surfaces surrounding it.
Glazed tiles resist staining better than unglazed varieties. If your tiles have a shiny, smooth finish, they're glazed and will clean up more easily than matte, textured surfaces.
Natural Stone
Marble, granite, slate, and travertine shower floors require more careful cleaning approaches. These natural materials react negatively to acidic cleaners, meaning common household solutions like vinegar can actually damage them.
Stone surfaces are porous to varying degrees, making them susceptible to staining and requiring regular sealing to maintain protection. Using the wrong products on natural stone can cause etching, discoloration, or dulling that's difficult or impossible to repair.
If you have natural stone, always test cleaning products in an inconspicuous area first and avoid anything acidic. When in doubt, stick with pH-neutral cleaners specifically designed for stone.
Fiberglass and Acrylic
These lightweight, affordable materials are popular in prefabricated shower units. They're non-porous and resist mold growth better than grout, but they scratch easily and can be damaged by abrasive cleaners or tools.
Fiberglass and acrylic floors benefit from gentle, non-abrasive cleaning approaches. Harsh scrubbing or gritty cleaners create micro-scratches that dull the finish and actually make future cleaning more difficult.
Over time, these materials can develop a rough texture from improper cleaning. Once damaged, restoration is difficult, so prevention through proper cleaning techniques really matters.
How to Clean Shower Floor: Simple Methods That Work for Regular Maintenance
The Daily Squeegee Habit
Want to dramatically reduce how often you need to deep clean? Spend thirty seconds with a squeegee after every shower! This simple habit removes standing water that would otherwise evaporate and leave mineral deposits behind.
Squeegee the walls first, then the floor, pushing water toward the drain. This takes almost no effort when done immediately after showering while surfaces are still wet and warm.
Keep a squeegee in the shower so it's always within reach. If you have to go looking for it, you won't do it consistently. Make it easy on yourself!
Weekly Quick Clean
Between deep cleanings, a weekly maintenance clean keeps things from getting out of control. This quick session prevents buildup accumulation and keeps your shower floor looking decent with minimal effort.
Spray your shower floor with an all-purpose bathroom cleaner or your preferred cleaning solution. Let it sit for a few minutes while you tackle other bathroom tasks.
Return with a brush or non-scratch scrubbing sponge and give everything a quick scrub. Pay extra attention to grout lines and corners where grime loves hiding.
Rinse thoroughly with the showerhead or a container of clean water. Leftover cleaning residue attracts dirt and creates its own buildup, defeating the purpose entirely.
Deep Cleaning Methods for Stubborn Problems
The Baking Soda and Vinegar Approach
This classic combination works wonders on soap scum, general grime, and light mildew. Plus, you probably already have both ingredients in your pantry!
Create a paste by mixing baking soda with just enough water to form a spreadable consistency. Spread this paste across your shower floor, focusing on particularly grimy areas and grout lines.
Spray white vinegar over the baking soda paste. The fizzing reaction helps lift dirt and break down soap scum. Let this combination work for ten to fifteen minutes before scrubbing.
Use a stiff brush for grout and a non-scratch scrubber for tile surfaces. Work in small sections, adding more vinegar if the fizzing stops before you've finished scrubbing.
Rinse everything thoroughly with clean water. Multiple rinses may be necessary to remove all the baking soda residue.
Important note: don't use vinegar on natural stone! The acid will damage marble, limestone, and other calcium-based stones.
Hydrogen Peroxide for Mold and Mildew
When mold and mildew have established themselves in your grout or corners, hydrogen peroxide provides powerful disinfecting action without the harsh fumes of bleach.
Pour three percent hydrogen peroxide (the standard drugstore strength) into a spray bottle. Saturate affected areas generously and let it sit for at least ten minutes. For stubborn mold, extend this to thirty minutes or longer.
The peroxide bubbles as it oxidizes organic matter, lifting mold spores and killing them in the process. You might see satisfying foam forming on heavily affected areas.
Scrub with a grout brush or old toothbrush, then rinse thoroughly. Repeat the process for any remaining spots. Persistent mold may require multiple treatments over several days.
Commercial Cleaners That Deliver
Sometimes homemade solutions just don't cut it, and there's no shame in reaching for the heavy hitters! Commercial bathroom cleaners formulated for soap scum, hard water, or mold offer concentrated cleaning power that DIY alternatives can't always match.
Acidic cleaners containing phosphoric acid or hydrochloric acid dissolve mineral deposits and soap scum quickly. These products work great on ceramic tile but must never touch natural stone.
Oxygen-based cleaners like OxiClean work well on organic stains and mildew without the harshness of chlorine bleach. They're gentler on surfaces and safer for colored grout.
Enzymatic cleaners break down organic matter through biological action rather than harsh chemicals. These eco-friendlier options work well for maintenance cleaning, though they may require longer contact times.
Always follow product directions exactly, ensure adequate ventilation, and never mix different cleaning products. Some combinations create dangerous toxic gases!
Tackling Specific Problems
Restoring Grout to Its Former Glory
Grout often looks worse than tile surfaces because its porous nature absorbs stains and provides perfect conditions for mold growth. Dedicated grout cleaning can dramatically improve your entire shower floor's appearance.
Create a thick paste of baking soda and hydrogen peroxide. Apply this to grout lines using an old toothbrush, working the paste into the porous surface.
Let the paste sit for fifteen to twenty minutes, giving it time to penetrate and lift stains. For severely discolored grout, extend this time or cover with plastic wrap to prevent drying.
Scrub vigorously with a grout brush, applying additional paste as needed. The scrubbing action combined with the cleaning solution lifts embedded dirt and stains.
Rinse thoroughly and evaluate results. Multiple treatments may be necessary for badly neglected grout. Consider sealing grout after cleaning to prevent future staining.
Eliminating Pink Slime
That pinkish residue that keeps coming back isn't actually mold but bacteria that feeds on fatty substances in soap and shampoo. It's stubborn but beatable with the right approach!
Spray affected areas with a bleach-based cleaner or a solution of one part bleach to ten parts water. The bleach kills the bacteria quickly.
Let the solution sit for ten to fifteen minutes before scrubbing. Rinse thoroughly after scrubbing to remove both the bacteria and the bleach.
Prevent recurrence by reducing moisture and soap residue. Squeegee after showers, ensure good ventilation, and periodically wipe down areas where the bacteria tends to appear.
Conquering Hard Water Deposits
White, crusty mineral deposits require acidic solutions to dissolve effectively. The calcium and magnesium causing these stains respond to acid far better than alkaline cleaners.
White vinegar works for moderate deposits. Apply generously, let sit for thirty minutes to an hour, then scrub and rinse. For stubborn deposits, soak paper towels in vinegar and lay them on affected areas, keeping surfaces wet longer.
Commercial lime and calcium removers provide stronger acid concentrations for severe buildup. These products often contain phosphoric or hydrochloric acid and work quickly on even serious deposits.
Installing a water softener or filtration system addresses the root cause if hard water is a persistent problem in your area.
Cleaning Different Surface Types Safely
Safe Practices for Natural Stone
Natural stone requires pH-neutral cleaners specifically. Acidic products like vinegar, citrus cleaners, or most bathroom cleaners will damage these surfaces.
Use stone-specific cleaners or simple dish soap diluted in water. Apply gently with a soft cloth or sponge, avoiding abrasive scrubbers that could scratch.
Clean up spills promptly to prevent staining on porous stone surfaces. Regular sealing helps protect stone from absorbing stains and makes cleaning easier.
Protecting Fiberglass and Acrylic
These surfaces scratch easily, so avoid abrasive cleaners, scrubbing powders, and stiff brushes. Stick with liquid or spray cleaners and soft cloths or sponges.
Baking soda paste applied gently works well for most fiberglass cleaning needs. Just don't scrub aggressively because the gentle abrasive action can still cause scratching if overdone.
Magic erasers work wonderfully on fiberglass but are actually mildly abrasive. Use light pressure and limit their use to avoid dulling the finish over time.
Preventing Future Buildup
Ventilation Is Key
Moisture feeds mold and accelerates all types of shower floor problems. Running your bathroom fan during showers and for twenty to thirty minutes afterward dramatically reduces moisture levels.
If your bathroom lacks a fan, open windows when possible or leave the bathroom door open after showering to allow moisture to escape.
Consider a fan with humidity-sensing controls that automatically runs until moisture levels drop. This eliminates reliance on remembering to turn fans on and off.
Product Choices Matter
Switching from bar soap to liquid body wash significantly reduces soap scum formation. The fatty acids that create scum are found primarily in traditional bar soaps.
Leaving shampoo and body wash bottles on the shower floor creates rings of product residue. Install shelving or caddies that keep products off the floor surface.
Spray-on daily shower cleaners applied after showering help prevent buildup between regular cleanings. These products require no scrubbing and take just seconds to apply.
Conclusion
Maintaining a clean shower floor doesn't require superhuman effort or expensive products when you understand the right techniques for your specific surface type. This How to Clean Shower Floor: Simple Methods That Work guide has equipped you with everything needed to tackle soap scum, mold, hard water deposits, and general grime using accessible, effective solutions. Remember that consistent maintenance prevents the need for exhausting deep cleaning sessions. Daily squeegee use, weekly quick cleans, and addressing problems promptly keeps your shower floor looking fresh with minimal effort. Your feet will thank you every morning when they step onto a clean, sparkling surface!
Read next: How to Plumb a Shower: Step-by-Step Installation Guide
Frequently Asked Questions
1. How often should I deep clean my shower floor?
Deep clean monthly for regular use, or biweekly for high-traffic family bathrooms.
2. Can I use bleach on all shower floor types?
Avoid bleach on natural stone and colored grout; it's safe for most tiles.
3. Why does pink slime keep coming back after cleaning?
Pink bacteria thrives on soap residue; reduce moisture and clean more frequently to prevent.
4. What causes black spots in shower grout lines?
Black spots are typically mold that has penetrated porous grout surfaces over time.
5. Is vinegar safe to use on all shower floors?
Never use vinegar on natural stone; it's safe for ceramic, porcelain, and fiberglass.
Stay up to date with our latest ideas!